
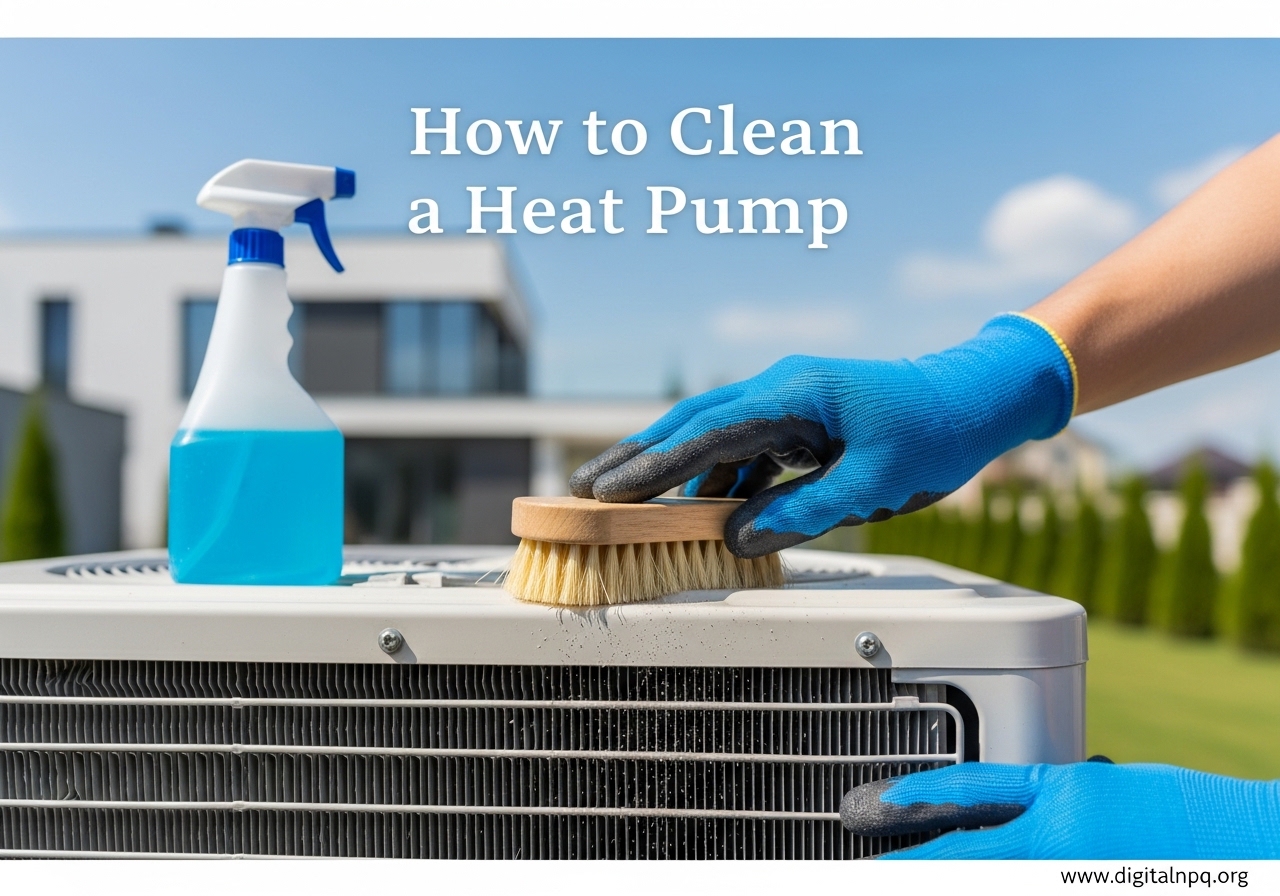
Learning how to clean a heat pump is one of the smartest things you can do as a homeowner. I learned this the hard way after ignoring my own unit for over a year. My energy bills crept up month after month, and it took a musty smell coming from the vents for me to realize something was wrong. The evaporator coil was coated in dust and the filter was nearly blocked solid.
After spending a weekend cleaning it myself, the difference was immediate. Airflow improved, the musty smell disappeared, and my next electric bill dropped by about 18 percent. That single afternoon of work saved me hundreds of dollars in wasted energy and likely prevented an expensive repair bill down the road.
In this guide, I will walk you through exactly how to clean a heat pump step by step. I cover the indoor unit, the outdoor condenser, filters, coils, and the drain line. I also break down what you can safely tackle yourself versus when it makes sense to hire a professional.
Important safety warning: Always turn off power to your heat pump at the circuit breaker before beginning any cleaning work. Never attempt to open or service refrigerant lines, electrical components, or the compressor. Those tasks require a licensed HVAC technician.
Signs Your Heat Pump Needs Cleaning
Your heat pump gives you several clear signals when it needs attention. Catching these early prevents bigger problems and keeps your system running at peak efficiency.
Here are the most common signs that your heat pump needs a cleaning:
- Reduced airflow from vents: If the air coming from your indoor unit feels weak, a clogged filter or dirty coil is likely restricting airflow.
- Strange or musty odors: A dirty heat pump can develop mold and mildew inside the air handler, producing unpleasant smells every time the system runs.
- Higher than normal energy bills: According to the U.S. Department of Energy, a dirty heat pump can waste 10 to 25 percent more energy than a clean one.
- Uneven heating or cooling: Rooms that used to heat or cool evenly may develop hot or cold spots when airflow is restricted by buildup.
- Visible dirt or debris: If you can see dust coating the outdoor fins or grime on the indoor unit louvers, cleaning is overdue.
- Unusual noises: Rattling, buzzing, or grinding sounds can indicate debris caught in the fan blades or blower motor.
If you notice two or more of these symptoms, it is time to give your heat pump a thorough cleaning.
Tools and Materials You Will Need
Before starting, gather your supplies. Most of these items are probably already in your garage or kitchen. The full list for a DIY cleaning costs between $20 and $50 if you need to buy everything from scratch.
- Screwdriver set (Phillips and flathead) for removing access panels
- Shop vacuum with brush attachment for loose dirt and debris
- Soft-bristled brush or an old toothbrush for gentle coil cleaning
- Vinegar and baking soda for a natural cleaning solution (mix one cup vinegar and half a cup baking soda in a gallon of water)
- Mild dish soap as an alternative cleaner for stubborn grime
- Foaming coil cleaner (optional but recommended for deep coil cleaning)
- Garden hose with a spray nozzle for the outdoor unit
- Fin comb (optional) for straightening bent aluminum fins on the condenser
You will also want a drop cloth or old towels to protect your floor near the indoor unit, and gloves to keep your hands clean.
How to Clean a Heat Pump: Step-by-Step Guide
Heat pump cleaning involves two main components: the indoor unit (air handler) and the outdoor unit (condenser). I recommend starting with the indoor unit since it is the easier one to access, then moving outside.
Step 1: Turn Off the Power
This is non-negotiable. Locate the circuit breaker that controls your heat pump and switch it to the off position. If your system has a dedicated outdoor disconnect switch near the condenser, turn that off as well. Working on a powered heat pump is dangerous and can damage the system.
Verify the power is off by trying to turn on the thermostat. Nothing should happen. Tape a note over the breaker box that says “Do Not Turn On” if other people are in the house.
Step 2: Clean or Replace the Air Filters
Filter maintenance is the single most important cleaning task for any heat pump owner. A clogged filter forces the blower motor to work harder, reduces airflow, and degrades indoor air quality. I clean my filters once a month and replace them every three months.
For reusable filters:
- Open the front panel of the indoor unit by gently pulling it forward or removing the clips.
- Slide the filter out carefully. It will likely be covered in dust and pet hair.
- Take the filter outside or hold it over a trash bin. Use your shop vacuum with the brush attachment to remove loose dust from the front side.
- If the filter is sticky or has buildup, wash it with mild dish soap and lukewarm water. Use a soft nylon brush for stubborn spots.
- Rinse thoroughly until the water runs clear.
- Shake off excess water and let the filter air dry completely in a shaded spot. Never reinstall a wet filter.
- Once dry, slide the filter back into position and close the front panel.
For disposable filters: Simply remove the old filter and replace it with a new one of the same size. Check the MERV rating. For most homes, a MERV 8 to 11 filter strikes the right balance between filtration and airflow. Higher MERV ratings capture smaller particles but can restrict airflow if your system is not designed for them.
Step 3: Clean the Indoor Unit (Air Handler)
With the filter removed, you now have access to the evaporator coil and the blower area. This part requires a gentle touch because the aluminum fins on the coil bend easily.
Cleaning the evaporator coil:
- Use your shop vacuum with the soft brush attachment to gently remove dust from the surface of the coil. Work in an up-and-down motion following the direction of the fins.
- For heavier buildup, apply a foaming coil cleaner according to the product instructions. Let it sit for the recommended time (usually 5 to 10 minutes) so it can break down grime.
- Rinse the coil cleaner away if the product requires it. Some no-rinse formulas are designed to wash off naturally when condensation forms during operation.
- Use your soft-bristled brush to gently clean between the fins. Never apply heavy pressure.
Cleaning the drain pan:
The drain pan sits below the evaporator coil and catches condensation. Over time, algae and slime can build up inside it, causing clogs that lead to water damage.
- Check the pan for standing water or slimy residue.
- If dirty, wipe it out with a cloth soaked in your vinegar solution.
- Pour a cup of vinegar down the condensate drain line to kill algae and keep the line flowing freely.
Cleaning the blower wheel:
The blower wheel can collect dust on its blades, which reduces the volume of air it can move. If you can see the blower through the access panel, use your vacuum and brush to clean the visible blade surfaces. For a thorough blower cleaning, you may need to remove the blower assembly, which is a task better suited for a professional HVAC technician.
Wipe down the exterior louvers and housing of the indoor unit with a damp cloth. Make sure all vents are unobstructed and the area around the unit is clear of furniture, curtains, or clutter.
Step 4: Clean the Outdoor Unit (Condenser)
The outdoor condenser unit takes a beating year-round. Leaves, grass clippings, dirt, pollen, and debris collect around and inside the unit, restricting airflow through the condenser coil. I clean my outdoor unit twice a year, once in the spring before cooling season and again in the fall before heating season.
- Clear the surrounding area. Remove any vegetation, weeds, or debris within a two-foot radius of the unit. Trim back shrubs or branches that encroach on the sides or top.
- Remove the top grille or side panels. Most condenser units have screws holding the protective grille in place. Remove them with your screwdriver and set the panels aside.
- Vacuum loose debris. Use your shop vacuum to remove leaves, dirt, and grass from the base of the unit and the fan area. Be careful not to bump the fan blades or the refrigerant lines.
- Clean the condenser coil fins. Spray the fins from the inside out using your garden hose with a gentle spray nozzle. This pushes the dirt outward rather than deeper into the coil. Avoid using a pressure washer because the high pressure will bend the delicate aluminum fins.
- Apply coil cleaner if needed. For stubborn grime, spray a foaming coil cleaner on the fins and let it sit per the instructions. Then rinse thoroughly with the hose.
- Straighten bent fins. If you notice crushed or bent fins, gently comb them straight with a fin comb. This restores proper airflow through the coil.
- Clean the fan blades. Wipe the fan blades with a damp cloth. Check for cracks or damage while you are in there.
- Reassemble the unit. Replace the panels and screws. Make sure everything is secure before restoring power.
One common question I see on forums is whether it is okay to hose down the outdoor unit. The answer is yes, as long as you use a gentle spray and avoid the electrical box. The U.S. Department of Energy specifically recommends cleaning outdoor coils by hosing off dirt and debris with the power turned off.
Step 5: Clean the Condensate Drain Line
A clogged condensate drain line is one of the most common causes of water damage from heat pumps. When the drain line backs up, water overflows from the drain pan and can ruin ceilings, walls, and flooring.
- Locate the drain line exit point. It is usually a PVC pipe that runs from the indoor unit to the outside of your home or to a floor drain.
- Pour a mixture of one cup vinegar and one cup warm water down the access port near the indoor unit.
- Let the solution sit for 15 to 30 minutes to break down algae and slime.
- Flush the line with warm water to push the debris through.
- Check the exit point outside to confirm water is flowing freely.
I do this every three months as preventative maintenance. It takes about five minutes and has saved me from at least two potential clogs over the years.
Step 6: Check Supply and Return Registers
If you have a central heat pump system with ductwork, take a few minutes to check the supply and return registers throughout your home. Vacuum dust from the register grilles and make sure none of them are blocked by furniture or rugs. Blocked registers force your heat pump to work harder and create uneven temperatures.
For ductless mini-split heat pumps, this step does not apply since each indoor unit delivers air directly to its zone without ducts.
Step 7: Restore Power and Test
After all cleaning is complete and everything is dry, restore power at the circuit breaker and the outdoor disconnect switch. Set your thermostat to heat or cool mode, depending on the season, and let the system run for about 15 minutes.
Check for the following during the test run:
- Airflow from the indoor unit feels strong and consistent
- No unusual noises from either unit
- The outdoor fan is spinning freely
- No strange odors from the vents
If everything checks out, your cleaning is complete. If you notice any issues like weak airflow, strange sounds, or error codes on the thermostat, schedule a service call with an HVAC professional.
DIY vs Professional Heat Pump Cleaning
One of the most common questions homeowners ask is what they can safely clean themselves and when they need to call in a pro. I have been cleaning my own heat pump for years, but there are clear boundaries I respect.
Tasks you can safely do yourself:
- Clean or replace air filters monthly
- Wipe down the indoor unit exterior and louvers
- Clean the condensate drain line with vinegar
- Clear debris from around the outdoor unit
- Hose down the outdoor condenser coils gently
- Replace disposable filters
- Vacuum visible dust from accessible coils
Tasks that require a professional HVAC technician:
- Deep evaporator coil cleaning on sealed units
- Refrigerant line inspection and refrigerant recharge
- Blower motor removal and deep cleaning
- Electrical component testing and repair
- Ductwork inspection and cleaning
- Compressor diagnostics
Professional heat pump cleaning services typically cost between $150 and $300 or more depending on your location, system type, and the scope of work. A full professional service usually includes coil cleaning, refrigerant level checks, electrical testing, and a complete system inspection.
DIY cleaning supplies cost roughly $20 to $50 if you are starting from scratch, and most of those supplies last for multiple cleaning sessions. That said, I still recommend scheduling a professional tune-up once a year even if you handle the routine maintenance yourself. Many manufacturers require documented annual professional maintenance to keep your warranty valid.
How Often Should You Clean Your Heat Pump
Cleaning frequency depends on your environment, how often you use the system, and whether you have pets or allergy sufferers in the household. Here is the schedule I follow and recommend.
Monthly:
- Check and clean or replace the air filter
- Inspect the area around the outdoor unit for debris buildup
- Listen for unusual sounds during operation
Every three months:
- Flush the condensate drain line with vinegar
- Wipe down indoor unit louvers and exterior housing
- Check supply and return registers for blockages
Twice a year (spring and fall):
- Clean the outdoor condenser coils with a hose
- Clear vegetation from around the outdoor unit
- Clean the evaporator coil if accessible
- Check the drain pan for standing water or slime
Once a year:
- Schedule a professional maintenance visit that includes refrigerant level checks, electrical testing, and a full system inspection
Pet owners and allergy sufferers should consider cleaning filters every two to three weeks instead of monthly. Pet hair clogs filters faster than normal household dust, and clean filters make a noticeable difference for anyone with seasonal allergies.
Common Mistakes to Avoid
Over the years I have seen (and made) a few common mistakes that can damage a heat pump or reduce its performance. Avoiding these will save you time and repair costs.
Using harsh chemical cleaners. Avoid bleach, abrasive powders, or industrial degreasers on coils and fins. These chemicals corrode the aluminum and copper components. Stick with mild dish soap, vinegar solutions, or purpose-made HVAC coil cleaners.
Bending the coil fins. The aluminum fins on both the evaporator and condenser coils are paper-thin and bend easily. Always use a soft brush and light pressure. If fins do get bent, use a fin comb to gently straighten them.
Skip the power shutoff. It is tempting to just vacuum a filter without shutting off the breaker, but doing so risks electrical shock and can damage the blower motor if it accidentally activates while you are working inside the unit.
Using a pressure washer on the outdoor unit. A garden hose with a spray nozzle is sufficient. Pressure washers will crush the coil fins and force water into the electrical compartment.
Neglecting the outdoor unit entirely. Many homeowners focus only on the indoor unit because that is the one they see every day. The outdoor condenser is equally important. Restricted outdoor airflow reduces the system’s ability to release or absorb heat, which directly impacts efficiency.
Reinstalling wet filters. A damp filter promotes mold growth inside the air handler. Always let reusable filters dry completely before putting them back in place.
FAQ
Can you clean your heat pump yourself?
Yes, you can clean many parts of your heat pump yourself including air filters, the indoor unit exterior, the condensate drain line, and the outdoor condenser coils. These routine maintenance tasks require basic tools and take about one to two hours. However, tasks involving refrigerant lines, electrical components, or deep internal cleaning should be left to a licensed HVAC technician.
Do heat pumps need to be cleaned?
Yes, heat pumps absolutely need regular cleaning. Dust, dirt, pet hair, and debris build up on filters and coils over time, which reduces airflow, lowers energy efficiency by 10 to 25 percent, and can cause breakdowns. Without regular cleaning, your heat pump works harder, costs more to run, and has a shorter lifespan.
Do you need to clean the outside unit of a heat pump?
Yes, the outdoor condenser unit requires regular cleaning. Leaves, grass clippings, dirt, and pollen collect on and around the unit, blocking airflow through the condenser coil. Turn off the power, remove debris from the surrounding area, and gently hose down the coils from the inside out twice a year for best results.
How much does it cost to have your heat pump cleaned?
Professional heat pump cleaning typically costs between $150 and $300 or more depending on your location, system type, and the level of service included. A full professional cleaning usually covers coil cleaning, refrigerant level checks, electrical component testing, and a complete system inspection. DIY cleaning supplies cost roughly $20 to $50.
Conclusion
Knowing how to clean a heat pump is a straightforward skill that pays for itself in lower energy bills, fewer breakdowns, and better indoor air quality. The process comes down to seven steps: shut off the power, clean the filters, clean the indoor evaporator coil and drain pan, clean the outdoor condenser, flush the drain line, check your registers, and test the system.
Most of this work takes one to two hours and requires only basic household tools. Monthly filter cleaning alone can improve your system’s efficiency by a noticeable margin. Pair your DIY efforts with an annual professional tune-up, and your heat pump will serve you well for 15 to 20 years or more.
Start with the filter this weekend. It is the easiest first step and you will feel the difference in airflow almost immediately.