
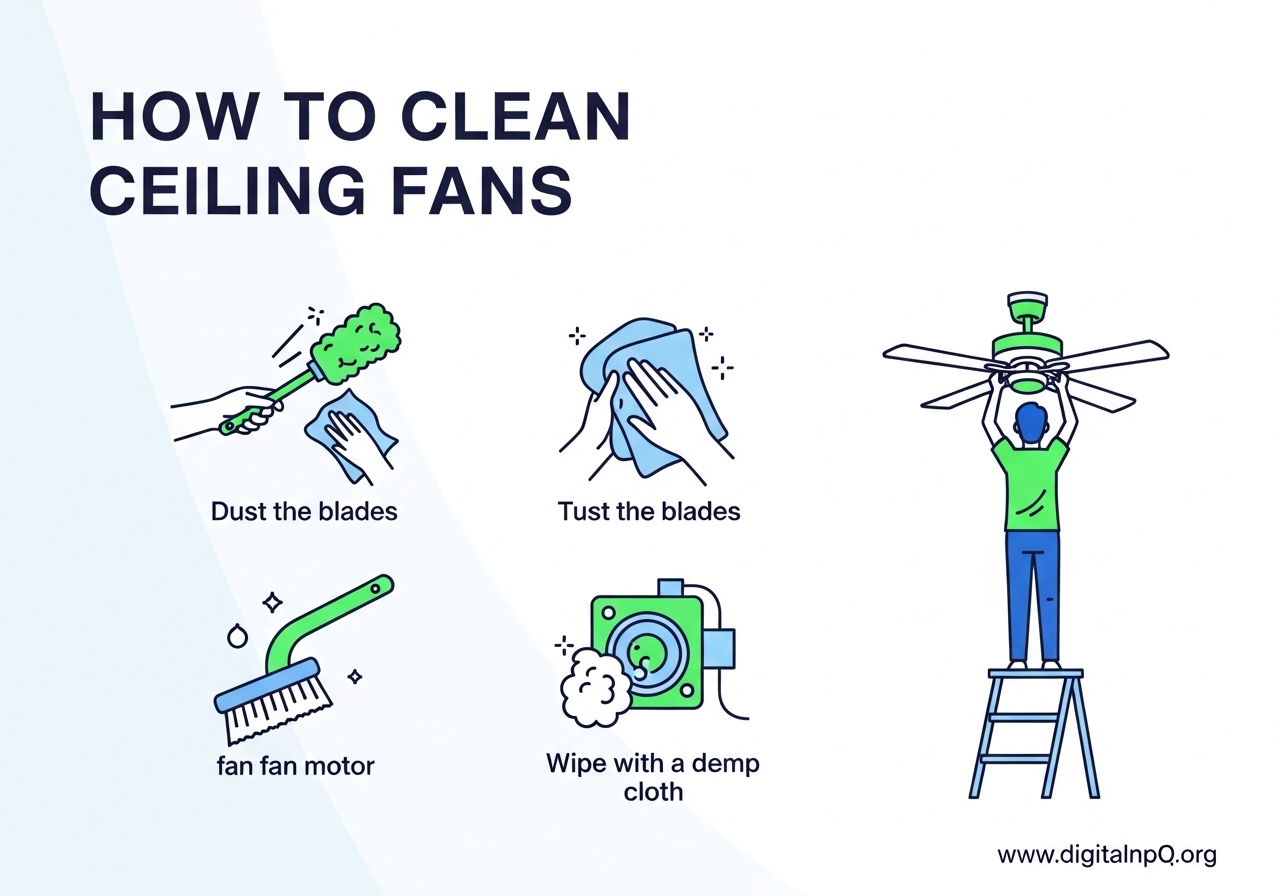
To clean a ceiling fan, slip a pillowcase over each blade and pull slowly backward to trap dust inside, then wipe with a damp microfiber cloth and mild cleaning solution. This two-step approach captures dust instead of scattering it across your room, and it takes under ten minutes once you know the process.
If you have ever turned on a ceiling fan after months of ignoring it, you already know what happens next. A thick cloud of gray particles rains down onto your furniture, your bed, and honestly, probably straight into your face. I have been there, and it is exactly why I started taking ceiling fan cleaning seriously.
Learning how to clean ceiling fans the right way is one of those small home tasks that pays off big. Your air quality improves, your fan runs more efficiently, and you stop finding mystery dust bunnies on every flat surface in the room. Our team put together this guide so you can get it done fast and without the mess.
Why Cleaning Your Ceiling Fan Matters
A dusty ceiling fan is not just an eyesore. When those blades spin, they pick up and redistribute dust particles, pollen, pet dander, and even microscopic debris throughout your entire room. If you or anyone in your household deals with allergies or asthma, that recirculated dust can trigger real symptoms.
Can a ceiling fan affect your sinuses? Yes, it absolutely can. Dust and allergens thrown around by dirty fan blades irritate nasal passages and sinus cavities, especially while you sleep directly under one. I noticed my own morning congestion dropped noticeably after I started cleaning my bedroom fan regularly.
There is also a performance angle. A thick layer of dust on fan blades throws off the blade balance and reduces air circulation efficiency. Your fan has to work harder to move the same amount of air, and that buildup can eventually strain the motor. A clean ceiling fan runs quieter, pushes more air, and lasts longer.
What You Need to Clean a Ceiling Fan
Before you start, gather your supplies. You do not need anything fancy, and you probably already have most of these items around the house. Here is what our team recommends for a thorough cleaning job.
For dusting: A clean pillowcase (the star player), a microfiber cloth, or an extendable duster with a U-shaped brush attachment. The pillowcase method traps dust instead of spreading it, which is why it gets so much love from cleaning communities online.
For wiping: A spray bottle with a vinegar-water solution (mix one part white vinegar with three parts water) or a few drops of dish soap in warm water. An all-purpose cleaner works fine too. If you prefer eco-friendly options, a simple castile soap and water blend does the job without harsh chemicals.
For safety and prep: A step ladder or stable stool, a drop cloth or old towels to place under the fan, and a HEPA filter mask if you are sensitive to dust. I also keep a pair of disposable gloves handy, especially for kitchen fans with grease buildup.
Optional extras: Compressed air can for the motor housing, dryer sheets for dust prevention after cleaning, and a vacuum with a brush attachment for a pre-clean pass.
How to Clean Ceiling Fans: Step-by-Step Process
This five-step process works for any ceiling fan, whether it is in your bedroom, living room, or kitchen. The whole routine takes about ten to fifteen minutes once you have your supplies ready.
Step 1: Turn Off the Fan and Prep the Area
Turn off the ceiling fan completely and wait for the blades to stop spinning. Never try to clean a fan that is still moving, even on low speed. If your fan has a light fixture, make sure the bulbs are cool before you touch anything nearby.
Place a drop cloth, old sheet, or a few towels on the floor directly below the fan. This catches any dust that escapes your pillowcase or cloth. I use an old bedsheet that I toss in the wash afterward.
If you have not cleaned the fan in a while and expect heavy dust, put on a HEPA filter mask. Dust from ceiling fans can contain pollen, pet dander, skin cells, and even microplastics. Breathing that in is worth avoiding. Safety glasses are a good idea too if you are working directly overhead.
Step 2: Remove Loose Dust First
Start with the pillowcase method to capture the bulk of the dust. Take a clean pillowcase and slide it over one fan blade, all the way to where the blade meets the motor housing. Press the fabric gently against both the top and bottom of the blade with your hands on either side.
Then pull the pillowcase slowly off the blade toward the tip. The dust gets trapped inside the pillowcase instead of falling on you and your floor. It sounds almost too simple, but Reddit users in cleaning communities swear by this trick, and after testing it myself, I completely understand why. The dust disappears straight into the case.
Repeat this for every blade, turning the fan by hand as needed. If the dust is really thick, you might need to flip the pillowcase inside out and do a second pass. For a quick alternative, you can use the two-cloth sandwich method: press two damp cloths on either side of a blade and slide from base to tip.
A pro tip I picked up from forum discussions: vacuum the blades with a soft brush attachment before wiping. This prevents loose dust from turning into wet mud when you use your cleaning solution in the next step. It makes a real difference for fans that have not been cleaned in months.
Step 3: Wipe Down Each Blade
After removing the loose dust, dampen a microfiber cloth with your chosen cleaning solution. You want it damp, not dripping wet. Excess water can drip into the motor housing or leave streaks on the blades.
Wipe each blade from the base near the motor out toward the tip. Work along both the top and bottom surfaces of every blade. For regular household dust, a simple vinegar-water solution (one part vinegar, three parts water) cuts through grime without damaging the finish. For bedroom and living room fans, this is usually all you need.
If the blades have stubborn sticky residue, add a few drops of dish soap to warm water instead. The soap breaks down oils and debris that plain vinegar might leave behind. Wipe each blade with your damp cloth, then follow up with a dry microfiber cloth to remove any moisture and prevent water spots.
Step 4: Clean the Motor Housing and Light Fixtures
The motor housing collects dust too, and neglecting it is one of the most common mistakes people make. Use compressed air to blow dust out of the motor vents and crevices. A few short bursts are enough. Hold the can upright and keep it a few inches away from the fan body.
If your ceiling fan has light fixtures or glass globes, remove them carefully and wash in warm soapy water. Let them dry completely before reattaching. For fixtures you cannot remove, wipe them gently with a damp cloth. Avoid spraying cleaner directly onto any electrical components.
Check the pull chains and any decorative elements too. A quick wipe with a damp cloth keeps them from getting gunky over time. If your fan has a remote control receiver tucked inside the canopy, a gentle burst of compressed air keeps that area dust-free as well.
Step 5: Dry Everything Thoroughly
Before you turn the fan back on, make sure every surface is completely dry. Moisture left on the blades can attract dust faster, which defeats the purpose of cleaning. Use a dry microfiber cloth for a final wipe on each blade, top and bottom.
Let the light fixtures air dry fully if you washed them. Reattach any globes or covers only after they are bone dry. Turning on a fan with wet blades can cause water to splatter, and in rare cases, moisture near electrical connections creates a safety risk.
Once everything is dry and reassembled, turn the fan on low for a test spin. Listen for any unusual sounds and check that the blades rotate smoothly. If you notice wobbling, a blade might not be seated properly after you handled it.
How to Clean Ceiling Fans Without a Ladder
Not everyone has a ladder, and some ceiling fans are mounted high enough that even a step stool feels risky. The good news is you can clean most ceiling fans from the ground with the right tools.
An extendable duster with a U-shaped brush is your best friend here. The U-shape slides over each blade from below, cleaning both the top and bottom in one motion. Telescopic poles extend anywhere from three to ten feet, which handles most standard and vaulted ceiling heights.
You can also use the pillowcase method from the ground if your ceilings are not too high. Attach the pillowcase to the end of a lightweight pole or broom handle with a rubber band. Slide it over each blade and pull back slowly. It takes a bit of practice to get the angle right, but it works surprisingly well once you get the hang of it.
For quick maintenance between deep cleans, a long-handled microfiber duster does a decent job on the blade tops. It will not be as thorough as getting up close with a ladder, but it keeps the dust from building up to unacceptable levels. I keep a telescopic duster in my cleaning closet specifically for this purpose.
How to Handle Kitchen Ceiling Fan Grease
Kitchen ceiling fans are a completely different challenge. Cooking releases grease vapor that floats upward and mixes with dust on the fan blades, creating a sticky, gunky layer that plain water will not touch. If your kitchen fan has a yellowish, tacky film, you are dealing with grease buildup.
Dawn dish soap and warm water is the most effective solution for greasy ceiling fans. The degreasing agents in Dawn break down the grease-dust mixture better than almost anything else. Apply it with a microfiber cloth, let it sit for thirty seconds on stubborn spots, then wipe clean. Follow with a damp cloth to remove any soap residue.
For lighter grease, your vinegar-water solution may work, but for anything heavy, skip the vinegar and go straight to degreasing dish soap. White vinegar is great for general dust and light grime, but grease requires something formulated to cut through oil.
Some people use a dedicated kitchen degreaser spray, which works too. Just avoid abrasive scrubbers that can scratch the fan blade finish. And definitely use gloves for this job, since the grease-dust mixture is unpleasant to get on your hands.
Kitchen fans need more frequent cleaning than bedroom or living room fans. I recommend wiping kitchen fan blades every four to six weeks to keep grease from building up to the point where it becomes a major cleaning project.
How Often Should You Clean Ceiling Fans
The general recommendation is to clean your ceiling fans every six weeks. This schedule prevents heavy buildup and keeps the job quick each time. If you wait six months, you are looking at a much harder clean with thick, caked-on dust.
However, the ideal frequency depends on your home and habits. If you have pets, live in a dusty area, or keep windows open frequently, you might need to clean every three to four weeks. Homes with allergy sufferers benefit from that more frequent schedule too.
Room usage matters as well. Kitchen fans, as mentioned, should be cleaned every four to six weeks due to grease. Bedroom fans above your bed deserve attention every six weeks since dust falls directly onto your sleeping area. Bathroom fans with shower humidity can develop grime faster and may need monthly cleaning.
Seasonal changes are a good natural reminder. Clean your fans when you switch the fan direction between summer (counterclockwise for cooling) and winter (clockwise to push warm air down). That gives you two scheduled cleanings per year at minimum, though more frequent is better for air quality.
Tips to Keep Your Ceiling Fan Dust-Free Longer
Cleaning is one thing, but what if you could slow down the dust buildup in the first place? A few simple tricks can extend the time between cleanings significantly.
The car wax trick: After cleaning and drying your fan blades thoroughly, apply a thin coat of car wax to each blade and buff it out. The wax creates a slick surface that dust struggles to stick to. Consumer Reports recommends this method, and I tested it on my own living room fan. The blades stayed noticeably cleaner for about three weeks longer than usual. Just use a small amount and buff well so you do not leave a hazy residue.
Dryer sheets for dust repellent: After cleaning, wipe each blade with a dryer sheet. The anti-static properties help repel dust particles. This is not as long-lasting as the car wax method, but it is faster and easier to do as part of your regular cleaning routine. Several Reddit users confirmed this works well as a quick post-cleaning step.
Flip your fan direction seasonally: Running your fan counterclockwise in summer creates a cooling downdraft. Switching to clockwise in winter pushes warm air down from the ceiling without creating a strong breeze. This seasonal switch is also a great time to give the fan a thorough cleaning.
Reduce room dust at the source: Using an air purifier, changing your HVAC filters regularly, and vacuuming frequently all reduce the amount of dust that lands on your fan in the first place. Less dust in the room means less dust on the blades, which means less frequent cleaning.
Common Mistakes to Avoid When Cleaning Ceiling Fans
Even with the right tools, a few common mistakes can make ceiling fan cleaning harder or less effective than it should be.
Spraying cleaner directly on the fan. Always spray your cleaning solution onto the cloth, not onto the fan itself. Direct spraying lets liquid drip into the motor housing, which can damage electrical components. This is probably the single most important safety tip beyond turning the fan off.
Using too much water. A dripping wet cloth leaves moisture on the blades and inside the motor area. Wring out your cloth until it is just damp. You want enough moisture to pick up grime, not enough to create puddles on your fan.
Skip the motor housing. Cleaning the blades but ignoring the motor is like washing your car but leaving the wheels caked in mud. Dust in the motor housing restricts airflow around the motor, which can lead to overheating over time. A quick burst of compressed air takes thirty seconds and makes a real difference.
Forgetting to protect the floor below. Even with the pillowcase method, some dust escapes. A drop cloth or old towel under the fan saves you from having to vacuum or mop right after cleaning. It is a one-minute prep step that saves ten minutes of cleanup.
Not wearing a mask for heavy dust. If your fan has months of buildup, disturbing that dust without a mask means breathing in concentrated allergens. A basic dust mask works, but a HEPA filter mask is better, especially if you have allergies or respiratory sensitivities.
Frequently Asked Questions
What is the best way to clean a ceiling fan without getting dust everywhere?
The pillowcase method is the most effective way to contain dust. Slide a pillowcase over each blade, press the fabric against both sides, and pull slowly toward the tip. The dust gets trapped inside the pillowcase instead of falling on your floor or furniture. For extra protection, place a drop cloth underneath the fan.
How to clean a ceiling fan in 60 seconds?
Use the two-cloth sandwich method for the fastest clean. Take two damp microfiber cloths, sandwich one blade between them, and slide from base to tip in one motion. Repeat for each blade. This works best for fans that get regular maintenance and do not have heavy dust buildup. Keep the cloths just damp, not wet.
What is the best thing to clean ceiling fans with?
A microfiber cloth and a mild cleaning solution are the best tools for ceiling fans. For regular dust, use a vinegar-water solution (one part vinegar to three parts water). For sticky or greasy buildup, warm water with a few drops of dish soap works better. The pillowcase method paired with these solutions gives you the cleanest result.
What liquid cleans ceiling fans?
A vinegar-water mixture (1:3 ratio) cleans most ceiling fan dust effectively. Warm soapy water with dish soap handles sticky residue and kitchen grease. All-purpose spray cleaners work too, but always apply them to your cloth rather than spraying directly on the fan. For an eco-friendly option, castile soap and water is a gentle but effective choice.
How often should you clean ceiling fans?
Clean your ceiling fans every six weeks for best results. Kitchen fans need attention every four to six weeks due to grease buildup. If you have pets, allergies, or keep windows open often, consider cleaning every three to four weeks. At minimum, clean your fans when you switch the fan direction each season, which gives you two deep cleans per year.
What is the sock trick for cleaning ceiling fans?
The sock trick works similarly to the pillowcase method. Slip a clean sock over your hand, dampen it slightly, and wipe each blade by running your covered hand along the top and bottom. Old, clean socks are a convenient alternative to a pillowcase, especially for smaller fans or quick touch-ups between deep cleans.
Can you use vinegar to clean ceiling fans?
Yes, white vinegar mixed with water in a 1:3 ratio is an effective and safe cleaner for ceiling fan blades. It cuts through dust and light grime without damaging most fan finishes. Avoid using undiluted vinegar, which can be too acidic for some painted or coated blades. For heavy grease, dish soap and warm water is a better choice.
Final Thoughts
Knowing how to clean ceiling fans properly makes a noticeable difference in your home. The pillowcase method takes the dread out of the job by containing the mess, and a simple vinegar-water or soapy solution handles almost any blade situation you will encounter.
The key is consistency. A quick clean every six weeks takes ten minutes and keeps your air fresh and your fan running smoothly. Skip it for six months, and you are facing a much bigger project. Set a reminder, grab a pillowcase and a microfiber cloth, and get it done. Your sinuses, your furniture, and your fan motor will thank you.