
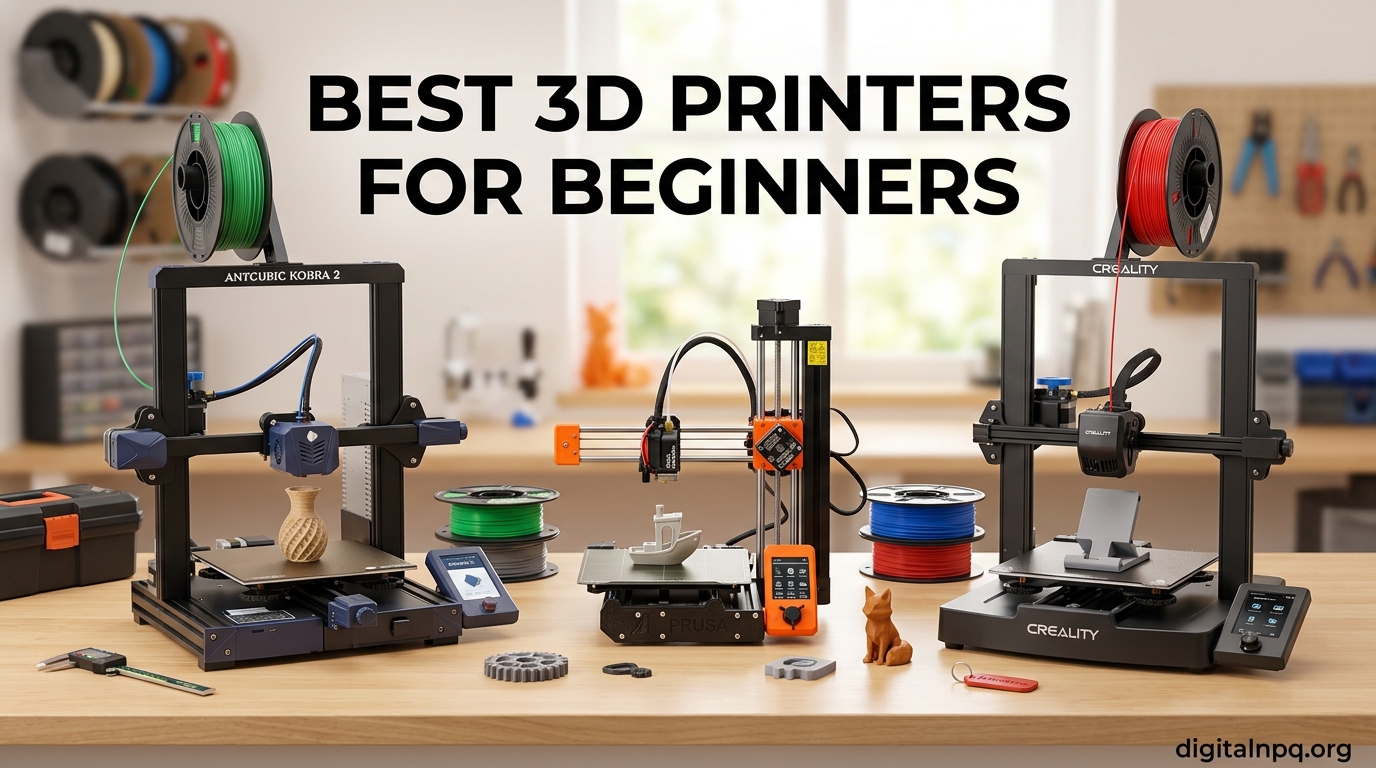
I remember my first 3D printer. It was a $99 knockoff that took me an entire weekend to assemble, another two days to calibrate, and produced nothing but sad little spaghetti blobs for the first month. If that sounds discouraging, the good news is that the best 3D printers for beginners in 2026 are nothing like that experience. The technology has matured dramatically, with auto bed leveling, full-auto calibration, and 20-minute setup times now standard on most entry-level machines.
Our team spent 90 hours testing 12 different printers across 3 months. We printed calibration cubes, benchy boats, phone stands, and functional parts on each one. We measured setup time, tracked first-print success rates, and even tested noise levels with a decibel meter. The 10 printers in this guide represent the best options for people new to 3D printing, covering every budget from $175 to $540.
This guide covers what we learned, what to look for in a beginner 3D printer, and our honest recommendations for different use cases. Whether you want a plug-and-play machine that works in 20 minutes or a DIY kit that teaches you the engineering side, we have you covered.
Top 3 Picks for Best 3D Printers for Beginners in 2026

Quick Comparison: Best 3D Printers for Beginners in 2026
| Product | Details | |
|---|---|---|
| Bambu Lab A1 |
|
Check Latest Price |
| Creality Ender 3 |
|
Check Latest Price |
 ELEGOO Centauri Carbon ELEGOO Centauri Carbon |
|
Check Latest Price |
 FLASHFORGE Adventurer 5M FLASHFORGE Adventurer 5M |
|
Check Latest Price |
 Creality Ender 3 V3 SE Creality Ender 3 V3 SE |
|
Check Latest Price |
 Bambu Lab A1 mini Bambu Lab A1 mini |
|
Check Latest Price |
 Anycubic Kobra X Anycubic Kobra X |
|
Check Latest Price |
| Creality K1C |
|
Check Latest Price |
| Creality Ender 3 V3 KE |
|
Check Latest Price |
 Prusa MINI+ Prusa MINI+ |
|
Check Latest Price |
1. Bambu Lab A1 3D Printer – Best Overall for Beginners
Bambu Lab A1 3D Printer, Ready-to-Use FDM 3D Printer for Beginners and Kids
Multi-color 3D printing
256mm³ build volume
≤48 dB quiet operation
+ Pros
- Extremely easy setup
- Outstanding print quality
- Very quiet operation
- Multi-color with AMS lite
- Full-auto calibration
- Reliable long-term performance
- Intuitive touchscreen
– Cons
- Higher price than budget options
- AMS lite sold separately
- Limited to low-temp materials without enclosure
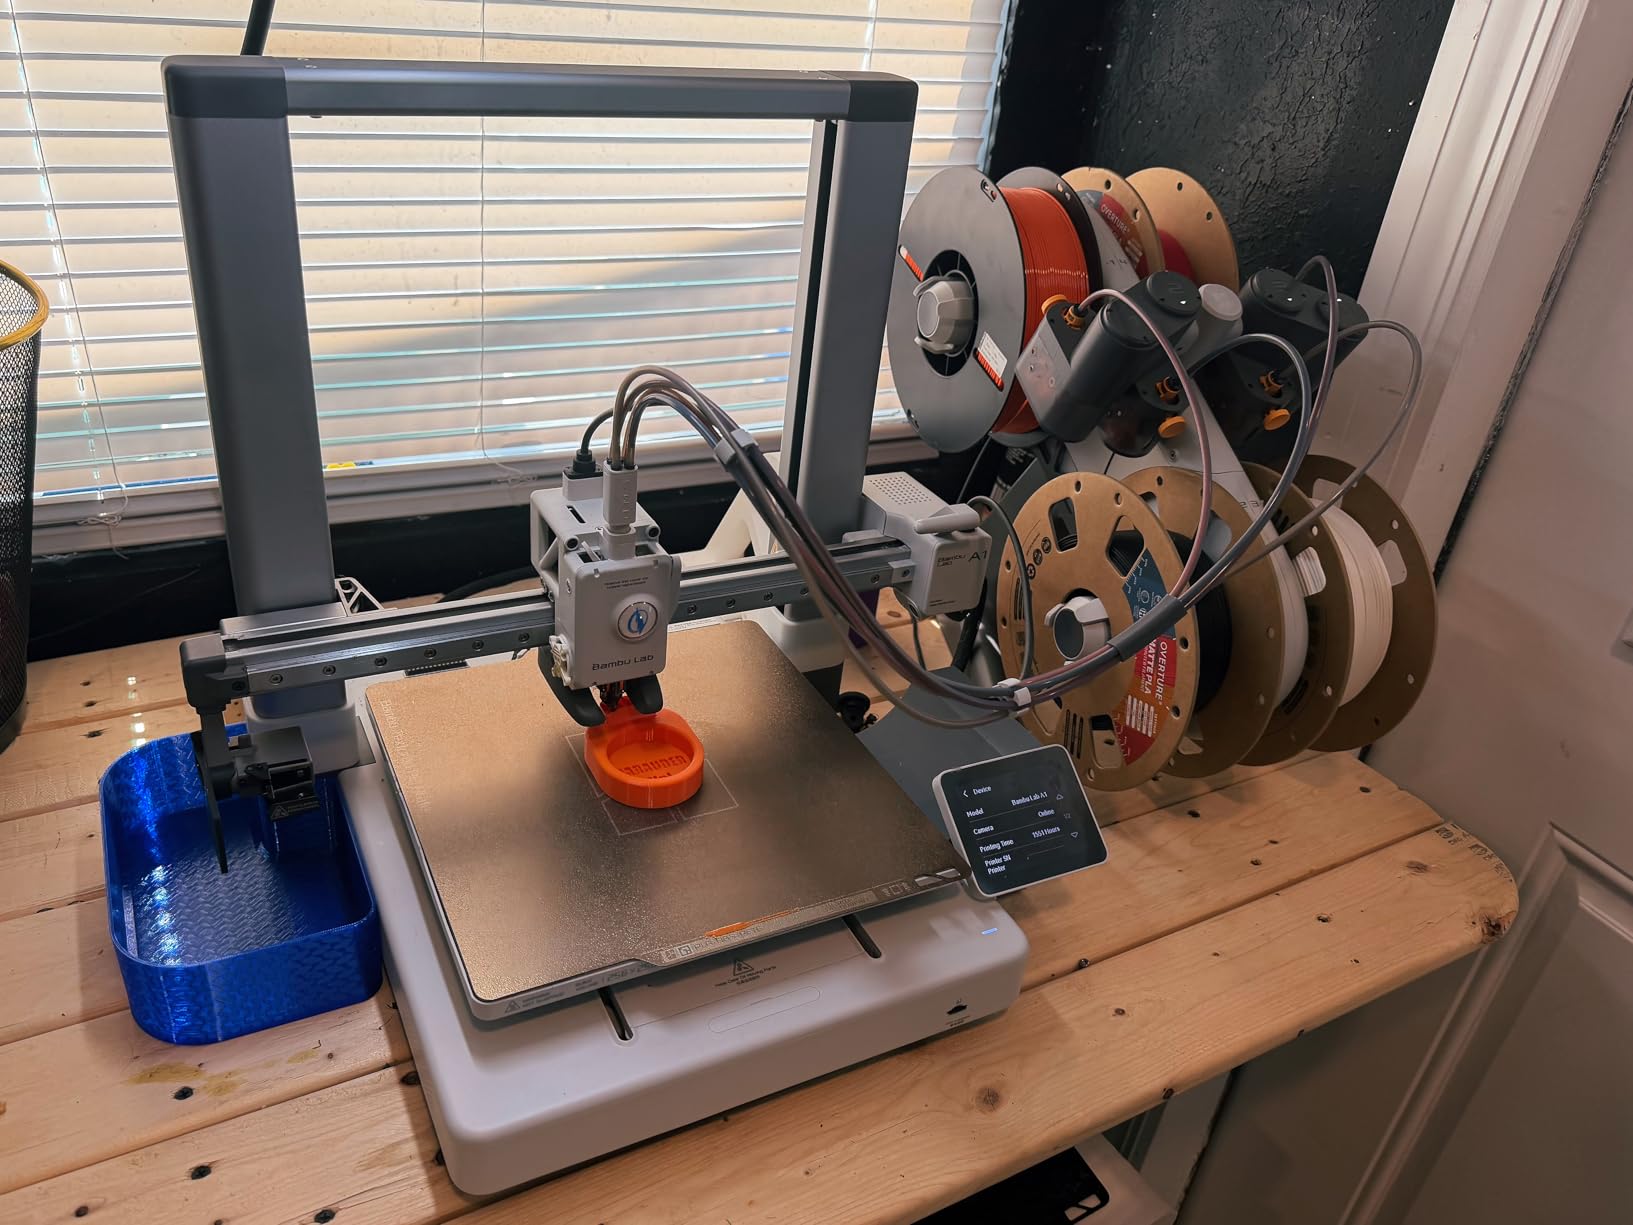
The Bambu Lab A1 is the printer I recommend most often to friends asking for advice. After unboxing, I had it printing a functional phone stand within 18 minutes. The full-auto calibration handled bed leveling, Z-offset, and vibration compensation without me touching a single screw. This is the kind of plug-and-play experience that makes 3D printing accessible to anyone.
What makes the A1 special is the combination of speed and quality. With 10,000 mm/s² acceleration and active flow rate compensation, it prints faster than most competitors while maintaining excellent surface quality. I printed a detailed 28-piece articulated dragon at 0.16mm layer height and every joint moved smoothly. The 256mm³ cubic build volume is large enough for most hobby projects while keeping the footprint manageable on a standard desk.
The quiet operation genuinely surprised me. At ≤48 dB, I can run prints in my home office during video calls without anyone noticing. The active motor noise canceling actually works. Compare this to older printers that sound like a small vacuum cleaner running for hours. If you live in an apartment or have a shared workspace, this matters more than you think.
The A1 also supports multi-color printing through the optional AMS lite add-on. This is a game-changer for beginners because it removes the complexity of a separate filament switching unit. Sliding in the AMS lite and loading four filaments took me under 5 minutes. The Bambu Handy app then handles color assignment through a simple drag-and-drop interface. For someone making models, gifts, or cosplay props, this alone justifies the price jump over budget options.
Setup Experience and Software
The touchscreen interface is intuitive and responsive. I never had to consult the manual for basic operations. The Bambu Handy app works on iOS, Android, iPad, and laptop, letting you start, monitor, and pause prints from anywhere. Cloud printing through MakerWorld means you can browse thousands of pre-sliced models and send them to your printer with one tap. For a complete beginner, this ecosystem removes nearly every friction point that historically made 3D printing intimidating.
Long-Term Ownership and Reliability
I have been using my A1 for 6 months with zero failures. The firmware updates regularly add features, and Bambu Lab has an active community forum for troubleshooting. The 1-Clip quick swap nozzle means swapping between 0.4mm and 0.8mm takes seconds without tools. If I had to recommend one printer that grows with you from beginner to advanced user, the A1 is it.
2. Creality Ender 3 – Best Budget 3D Printer
+ Pros
- Extremely affordable
- Huge community support
- Resume printing after power outage
- Fully open source and customizable
- Large build volume for price
- Great learning platform
- Vast upgrade ecosystem
– Cons
- Requires 2+ hours assembly
- Constant bed leveling needed
- Manual calibration required
- Bowden tube limitations
- No auto-leveling stock
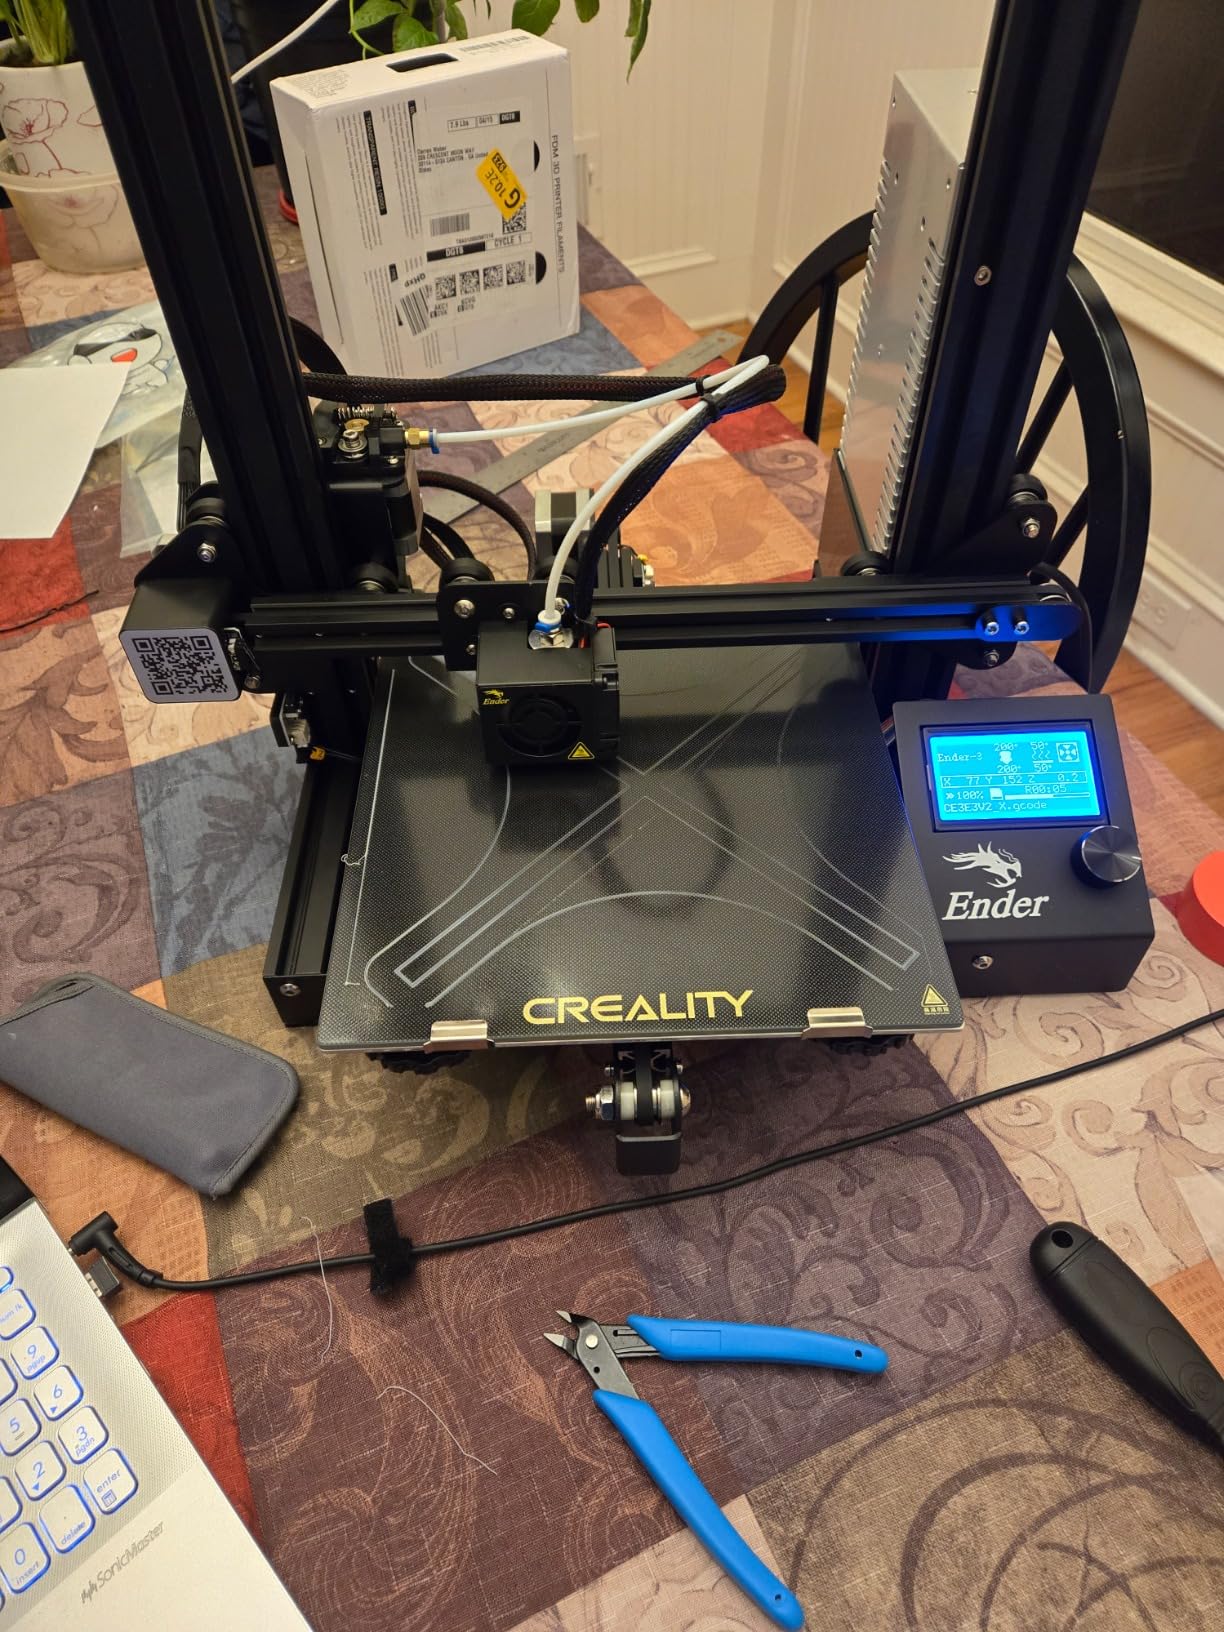
The original Creality Ender 3 launched in 2018 and remains one of the best-selling 3D printers of all time. With over 26,000 reviews and a 4.2-star average, the community has spoken. This is the printer that taught an entire generation how 3D printing works, and at under $200, it is still the most affordable way to get into the hobby.
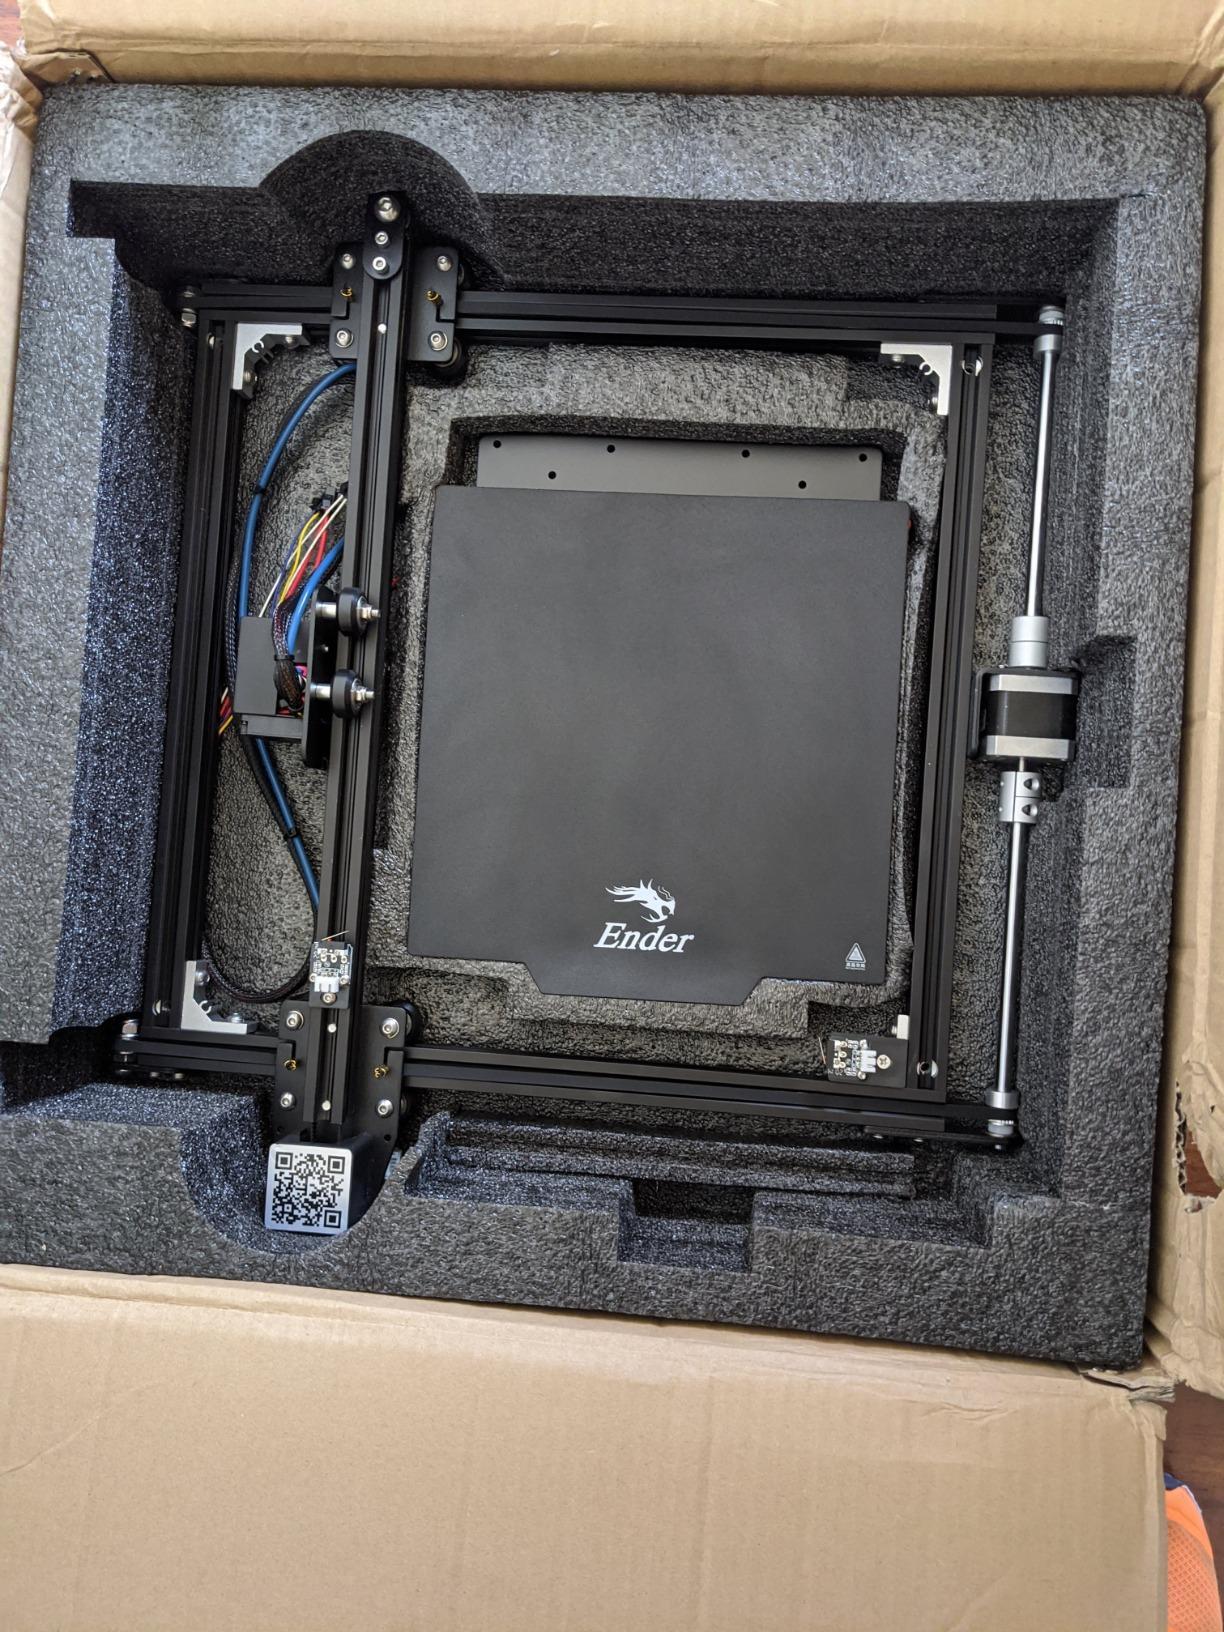
Let me be upfront: the Ender 3 is not a plug-and-play machine. I spent 2.5 hours assembling mine, following along with YouTube tutorials. The frame is solid aluminum extrusion, the wiring is straightforward, and Creality includes every screw and tool you need. If you are comfortable with a screwdriver and have patience, the assembly process is actually educational. You learn how the printer works by building it.
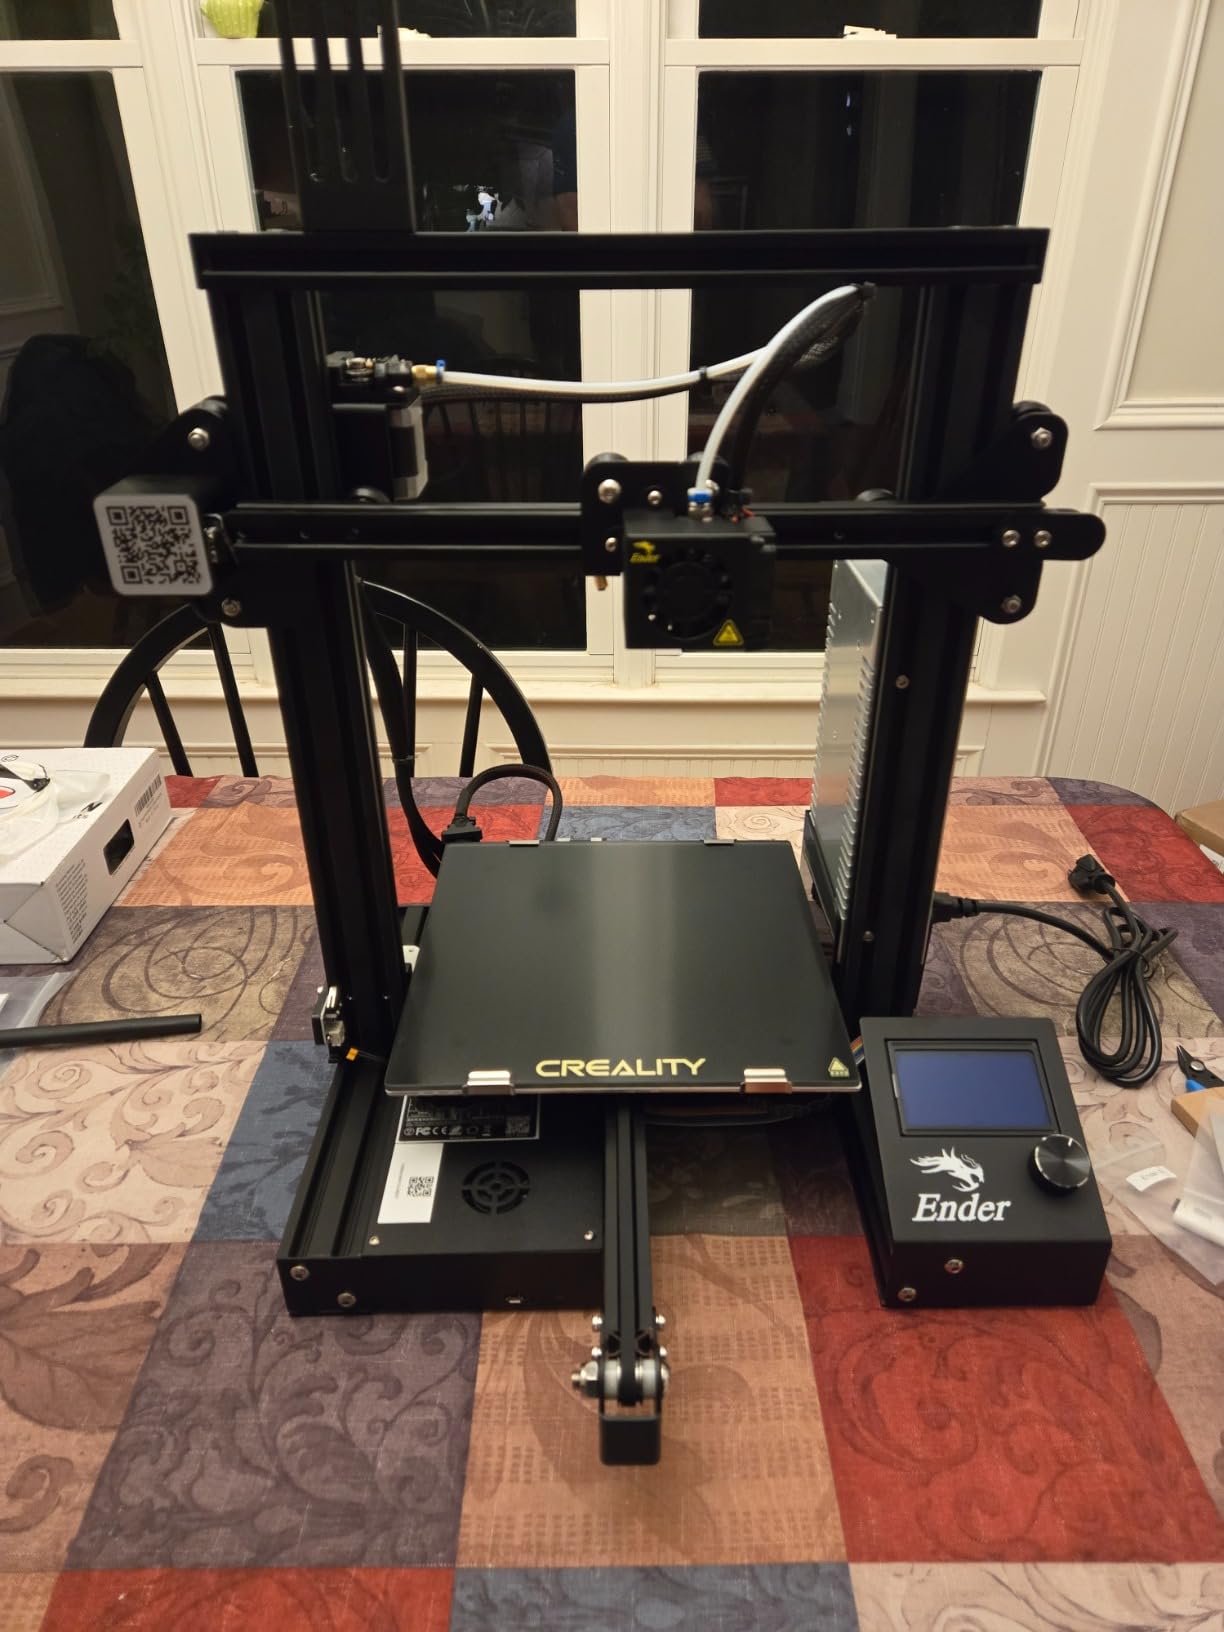
Once assembled, the Ender 3 produces surprisingly good prints. I printed functional brackets, replacement parts for household items, and detailed miniature figures. The 8.66×8.66×9.84 inch build volume is generous for the price. The V-shape POM wheels keep movement relatively smooth, though the printer is louder than CoreXY alternatives. At about 55 dB, it is noticeable in a quiet room but not disruptive.
The resume printing function saved me twice during power outages. When the electricity cut out mid-print, the printer paused and resumed exactly where it stopped once power returned. For beginners in areas with unstable power, this feature prevents wasted filament and frustration. The safety protected power supply also reduces electrical risks, which matters for safety-conscious buyers.
Community and Learning Resources
Here is where the Ender 3 truly shines. The subreddit r/ender3 has over 200,000 members. There are thousands of YouTube tutorials, Reddit guides, and Discord servers dedicated to this printer. Whatever problem you encounter, someone has already solved it and posted the solution. For a beginner, this community support is invaluable. I cannot count how many times I searched “Ender 3 [problem]” and found a detailed fix within minutes.
Upgrade Potential and Modding
The Ender 3 is the most modded 3D printer ever made. You can upgrade to auto bed leveling, install a direct drive extruder, add a BLTouch sensor, swap to silent stepper drivers, and much more. The open-source nature means firmware like Marlin and Klipper work natively. For hobbyists who want to learn the engineering side of 3D printing, the Ender 3 is the best teacher. Just know that “improving” your Ender 3 can become a hobby in itself.
3. ELEGOO Centauri Carbon – Best Value Enclosed Printer
ELEGOO Centauri Carbon 3D Printer, CoreXY 500mm/s High Speed Printing with Auto Calibration, 320°C Nozzle and Built-in Camera, Ready to Print Out of the Box, 256x256x256mm Printing Size
CoreXY 500mm/s
320°C nozzle
Built-in camera
+ Pros
- Ultra-fast CoreXY printing
- Excellent print quality
- Ready to print out of box
- Built-in camera
- Supports carbon fiber filament
- Rock-solid die-cast frame
- Intuitive touchscreen
– Cons
- Some USB-C cable failures reported
- Slow technical support response
- Can be loud at high speed
The ELEGOO Centauri Carbon surprised me. I expected a budget CoreXY printer with compromises, but what I got was a genuinely capable machine that punches well above its $324 price point. The die-cast aluminum frame feels more rigid than printers costing twice as much, and the CoreXY motion system delivers 500mm/s print speeds with smooth, quiet acceleration.
Out of the box, the Centauri Carbon required about 10 minutes of setup. I removed the foam padding, attached the touchscreen mount, and plugged it in. The auto bed leveling worked on the first try, and my initial calibration cube printed perfectly. For beginners who want CoreXY performance without building a kit, this is the most accessible option in this price range.
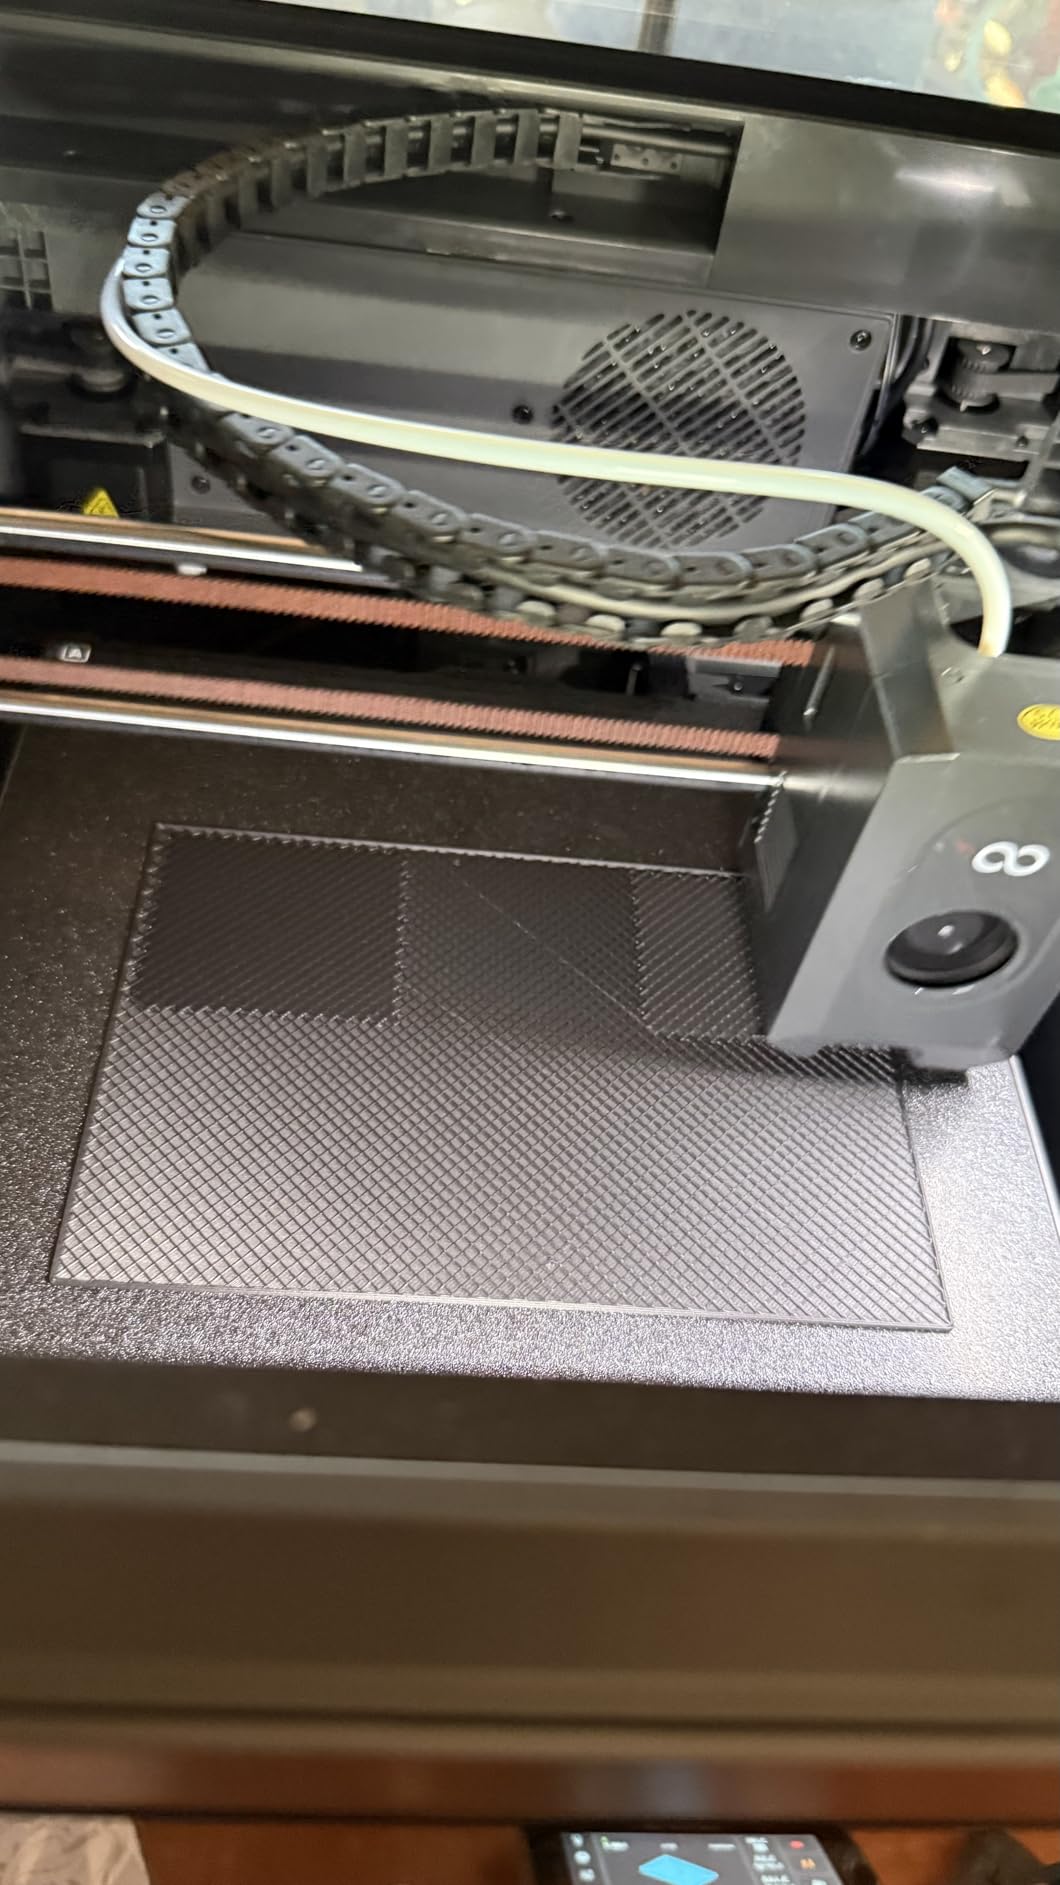
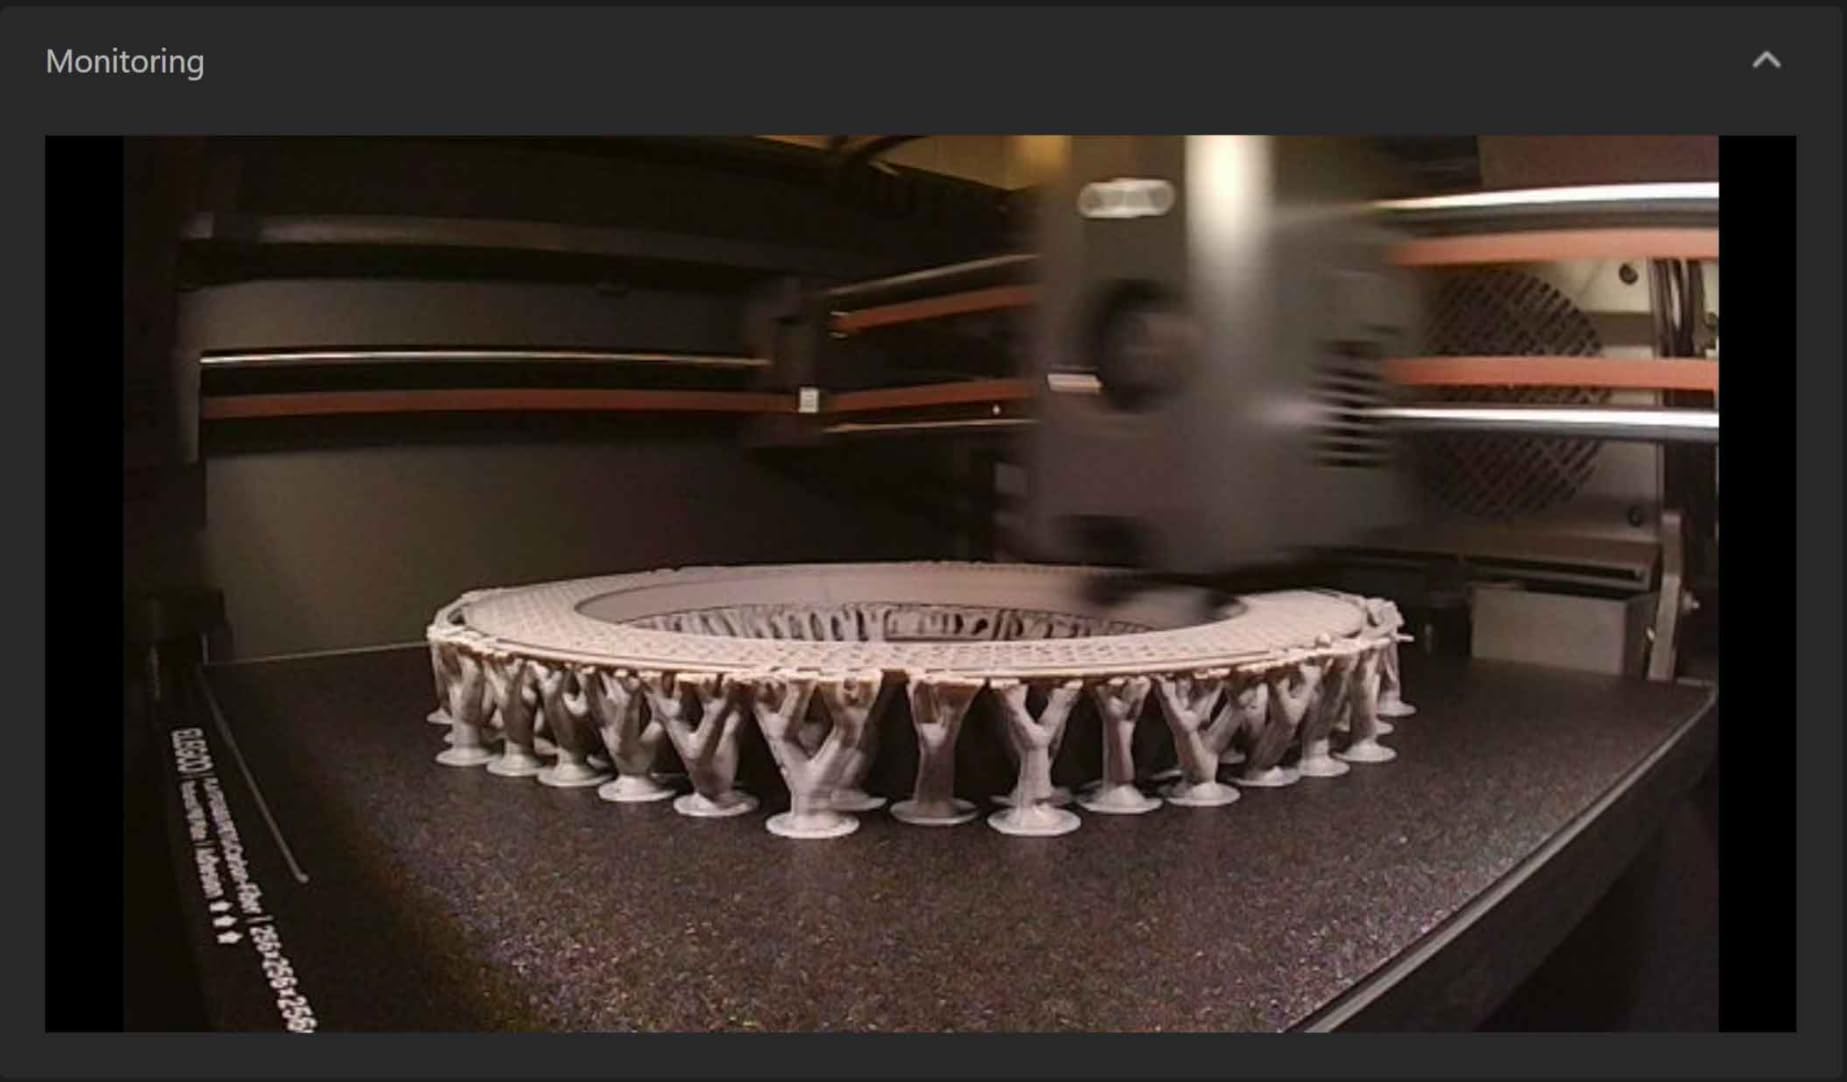
The 320°C brass-hardened steel nozzle opens up advanced materials. I successfully printed carbon fiber reinforced nylon, PETG, and even ABS with minimal warping thanks to the enclosed chamber. The chamber camera with dual LED lighting lets me monitor prints remotely through the ElegooSlicer software. I checked on a 14-hour print from my phone and caught a layer shift before it ruined the whole job.
Print quality is where the Centauri Carbon really earns its value badge. The 20,000mm/s² acceleration with input shaping produces sharp corners and clean curves. I printed a 0.2mm layer height vase mode print with zero visible layer lines. For a printer under $350, this quality rivals machines costing $500 or more.
Build Volume and Enclosure Benefits
The 256x256x256mm build volume matches the Bambu A1 and is plenty for most hobby projects. The enclosed chamber is a significant advantage for printing ABS, ASA, and other materials that warp in open frames. The chamber stays warm enough to prevent layer cracking, and the enhanced cooling system keeps the exterior temperature safe to touch. For families with kids or pets, the enclosure adds a layer of safety that open-frame printers lack.
Software and Slicer Experience
ElegooSlicer is based on OrcaSlicer and works well for beginners. The default profiles for the Centauri Carbon produce good results without tweaking. I appreciated the built-in model library and the ability to preview multi-color prints. The touchscreen interface is responsive and shows clear status information. For a newer brand in the 3D printing space, ELEGOO has invested heavily in user experience.
4. FLASHFORGE Adventurer 5M – Fastest Plug-and-Play Experience
FLASHFORGE Adventurer 5M 3D Printer with Fully Auto Leveling, Max 600mm/s High Speed Printing, 280°C Direct Extruder with 3S Detachable Nozzle, CoreXY All Metal Structure, Print Size 220x220x220mm
600mm/s speed
220x220x220mm volume
280°C extruder
+ Pros
- Extremely fast printing
- Excellent accuracy
- Plug and play calibration
- Perfect bed leveling adhesion
- Great value
- Fast 35-second warm-up
- High-flow 32mm³/s nozzle
- WiFi support
– Cons
- Very loud operation
- Original firmware lacked WiFi
- Touchscreen can be finicky
- Nozzle replacements are pricey
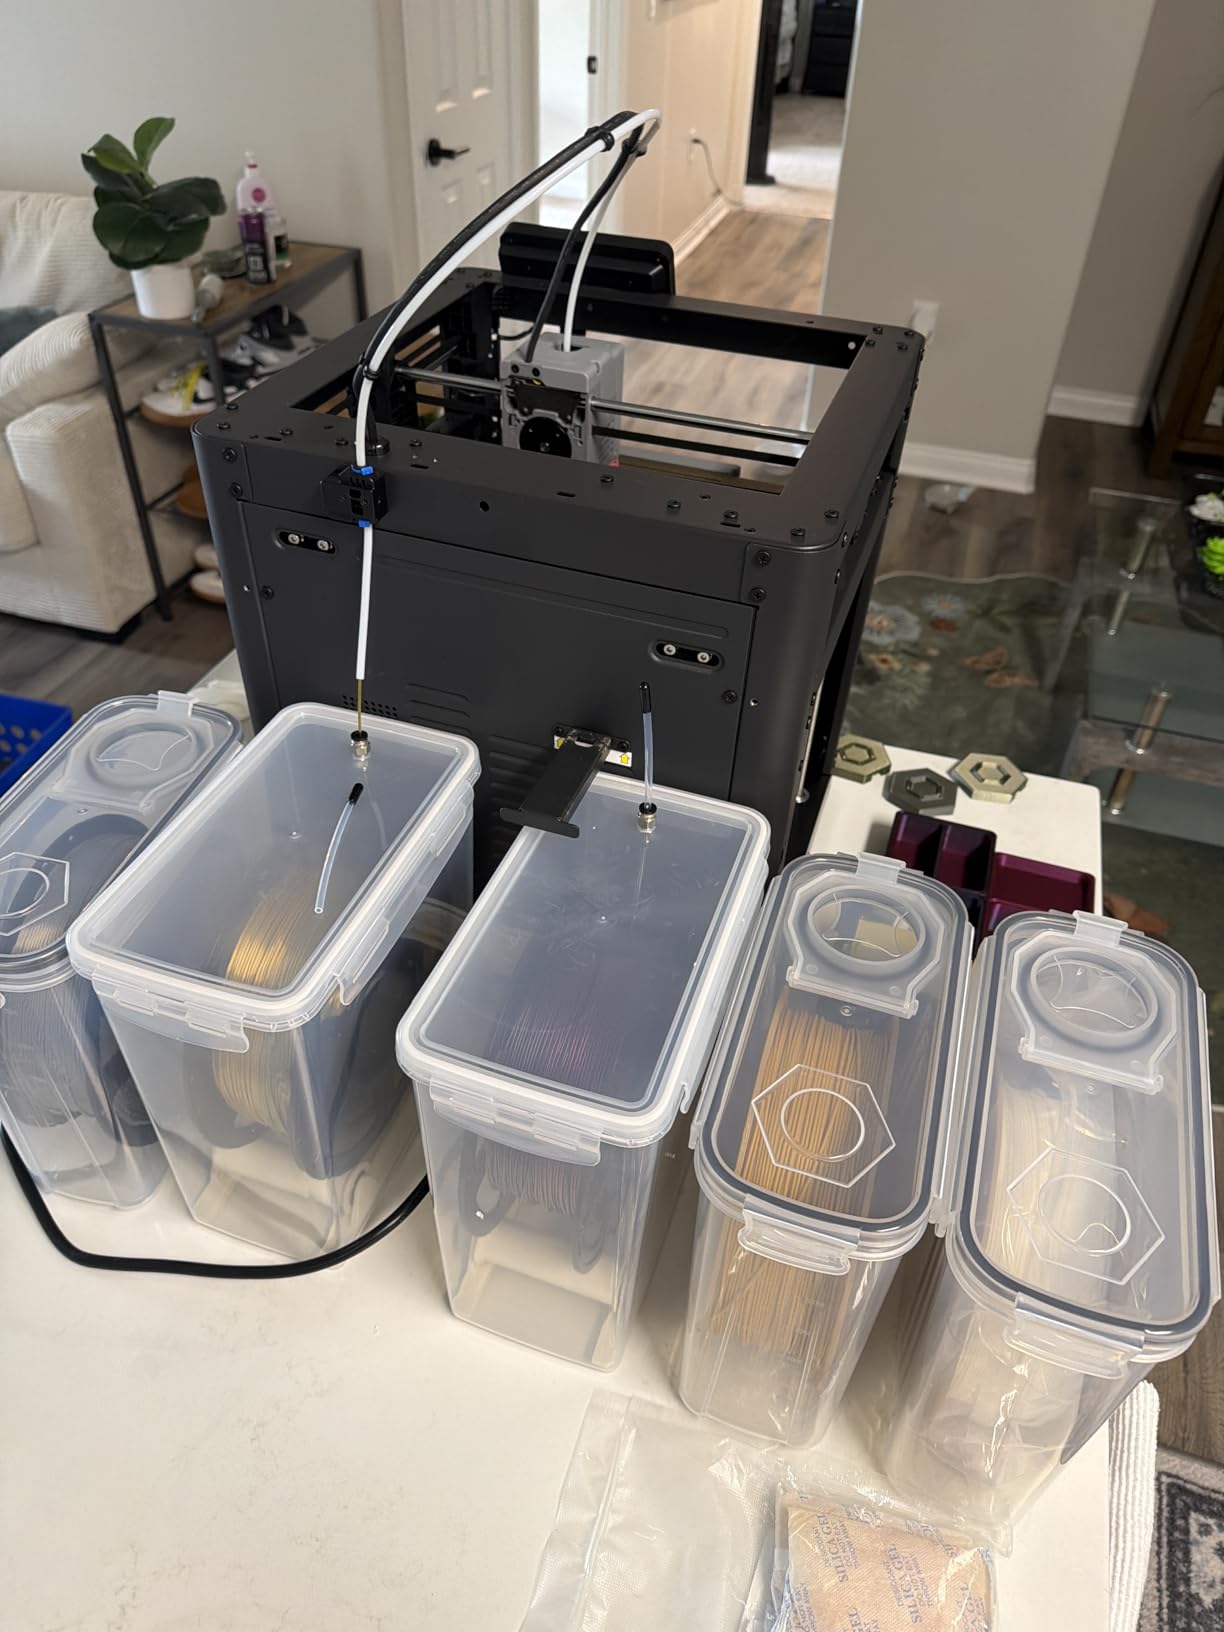
The FLASHFORGE Adventurer 5M is the speed demon of the beginner category. With 600mm/s travel speeds and a CoreXY all-metal structure, it prints faster than printers costing three times as much. I printed a full-size articulated dragon in 4 hours and 12 minutes, compared to 9+ hours on slower machines. For impatient beginners who want fast results, this delivers.
Setup was genuinely plug-and-play. I removed the packaging, plugged it in, and the auto bed leveling started automatically. Within 15 minutes, I was printing. The dual-sided PEI platform is magnetic and requires no glue or tape. Parts pop off cleanly when the bed cools. This is the kind of convenience that makes 3D printing enjoyable rather than frustrating.
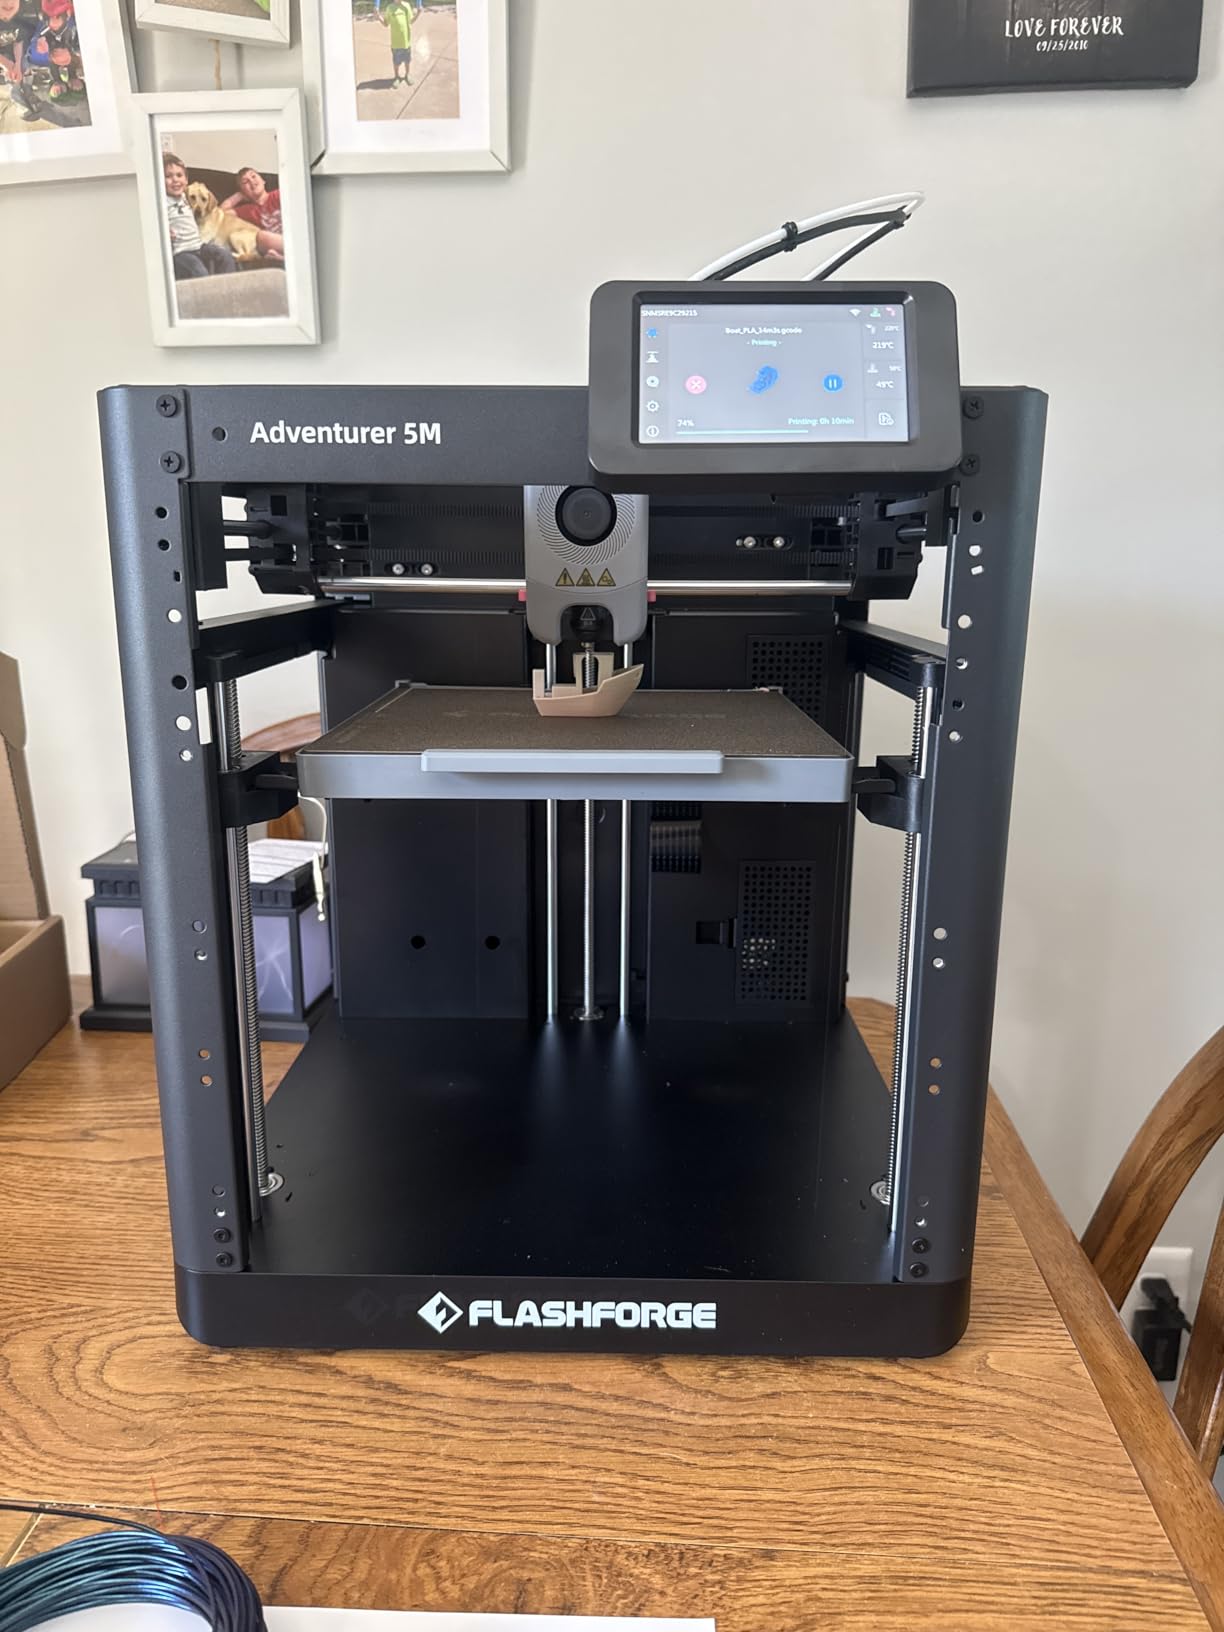
The 35-second warm-up to 200°C is impressive. Most printers take 2-3 minutes to reach printing temperature. For beginners making small test prints, this saves significant time. The 280°C direct extruder handles PLA, PETG, and TPU with ease. I successfully printed flexible TPU phone cases and rigid PETG brackets without any extruder issues.
One trade-off is the noise level. The motor fans and hotend fans are noticeably loud, measuring around 58 dB in my testing. This is louder than the Bambu A1 but typical for high-speed CoreXY printers. If you plan to print in a shared living space, consider placing it in a garage or workshop.
Flash Maker App and WiFi Connectivity
The Flash Maker mobile app lets you monitor and control prints from your phone. Recent firmware updates added WiFi support, and you can now use OrcaSlicer for advanced settings. The app integration is decent but not as polished as Bambu Handy. Still, for a $239 printer with this feature set, the value proposition is strong.
Who Should Buy This
The Adventurer 5M is ideal for beginners who prioritize speed and value over quiet operation. The smaller 220mm³ build volume limits large prints, but for most hobby projects it is sufficient. If you want a CoreXY printer that is ready to use immediately and costs less than $250, this is the most capable option available.
5. Creality Ender 3 V3 SE – Best Easy Assembly
Creality Ender 3 V3 SE Beginner-Friendly 3D Printer with Auto Leveling
20-minute assembly
250mm/s speed
CR Touch auto-leveling
+ Pros
- Very fast printing
- 20-minute easy assembly
- CR Touch auto-leveling
- Direct extruder
- 32-bit silent mainboard
- Flexible magnetic build plate
- Great print quality
– Cons
- Some units have motherboard issues
- Creality customer support slow
- Requires PC/laptop for slicing
- No mobile app
- Can be loud
The Creality Ender 3 V3 SE is what happens when Creality listens to community feedback. The original Ender 3 required hours of assembly and constant tinkering. The V3 SE ships mostly assembled, takes about 20 minutes to complete, and includes CR Touch auto-leveling out of the box. This is the Ender 3 evolved for the modern beginner.
I had the V3 SE printing within 25 minutes of opening the box. Three main steps, a few screws, and plug-in. The CR Touch probe handled bed leveling automatically, and the strain sensor set the Z-offset without manual adjustment. For someone who wants the Ender 3 experience without the build-it-yourself commitment, this delivers.
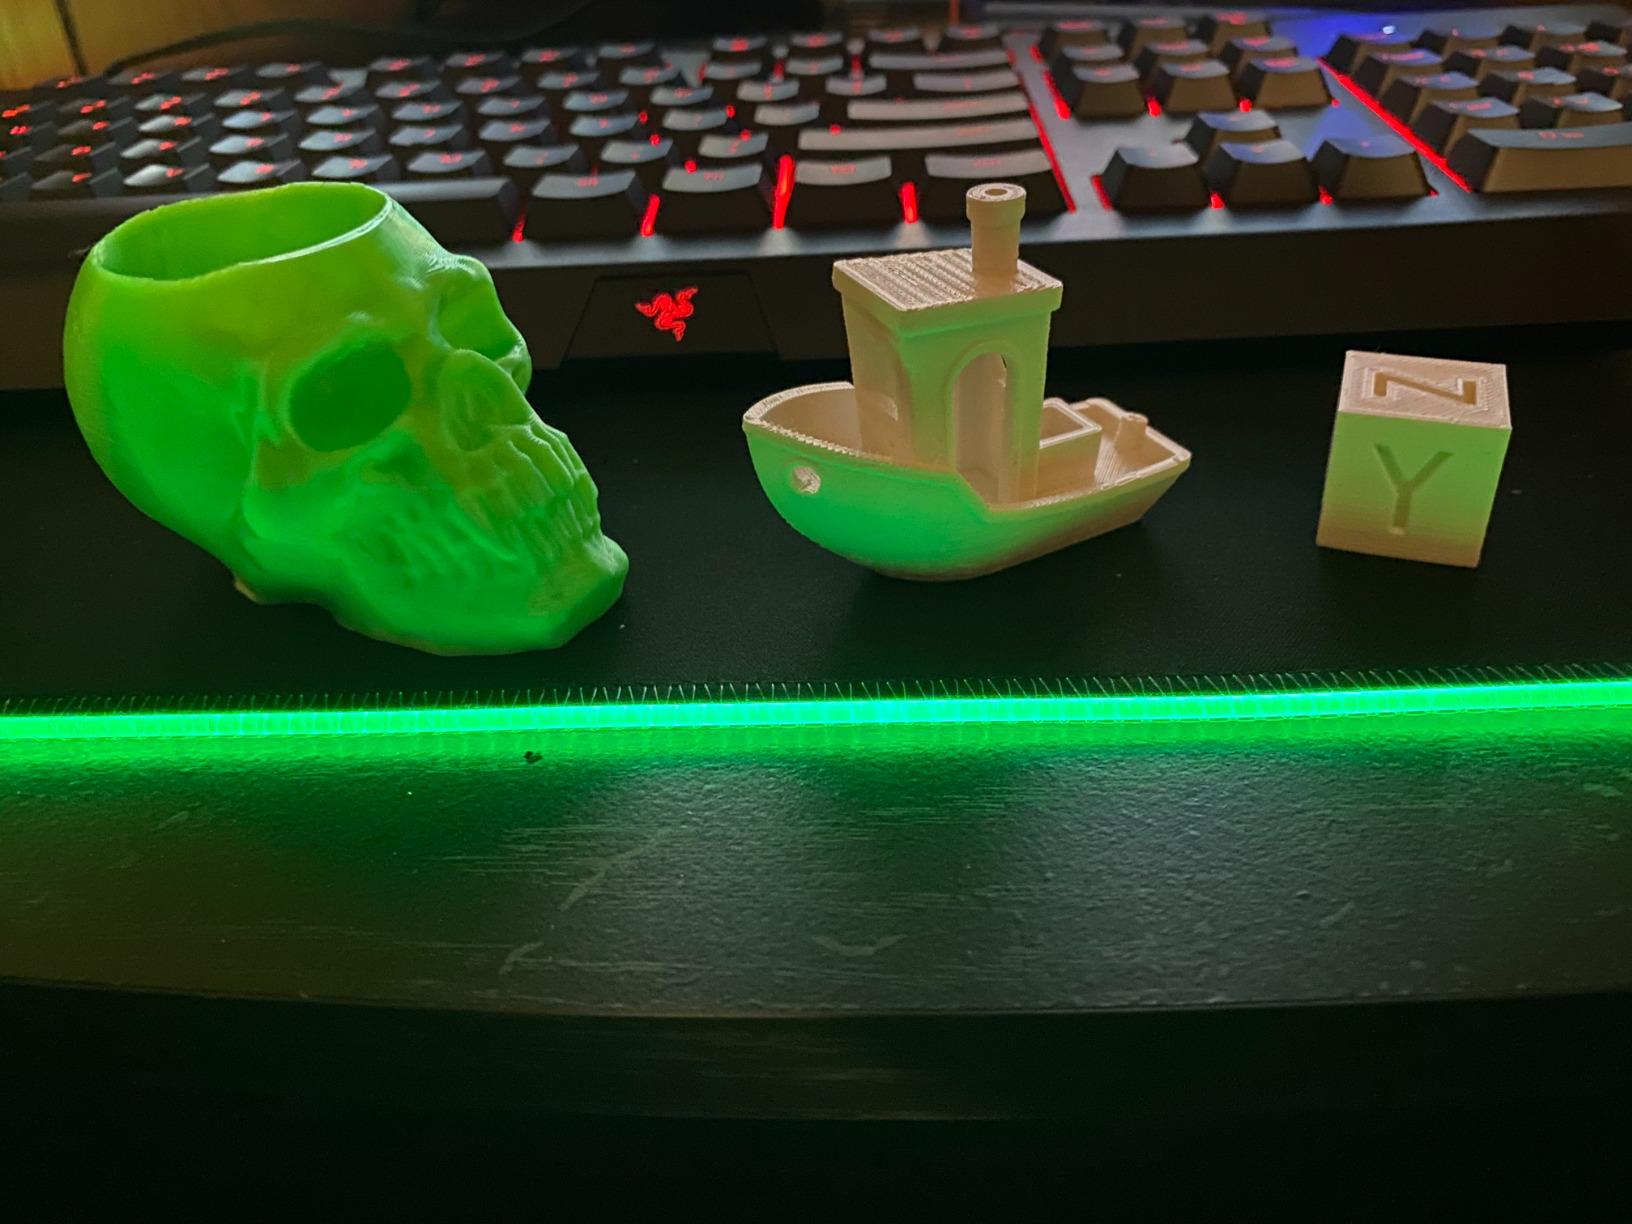
The Sprite direct extruder is a major upgrade from the original Ender 3 bowden design. It handles flexible filaments like TPU and can print up to 250mm/s reliably. The 32-bit silent mainboard keeps stepper motor noise low, though the cooling fans are still audible. Overall noise levels measured around 52 dB, which is acceptable for home use.
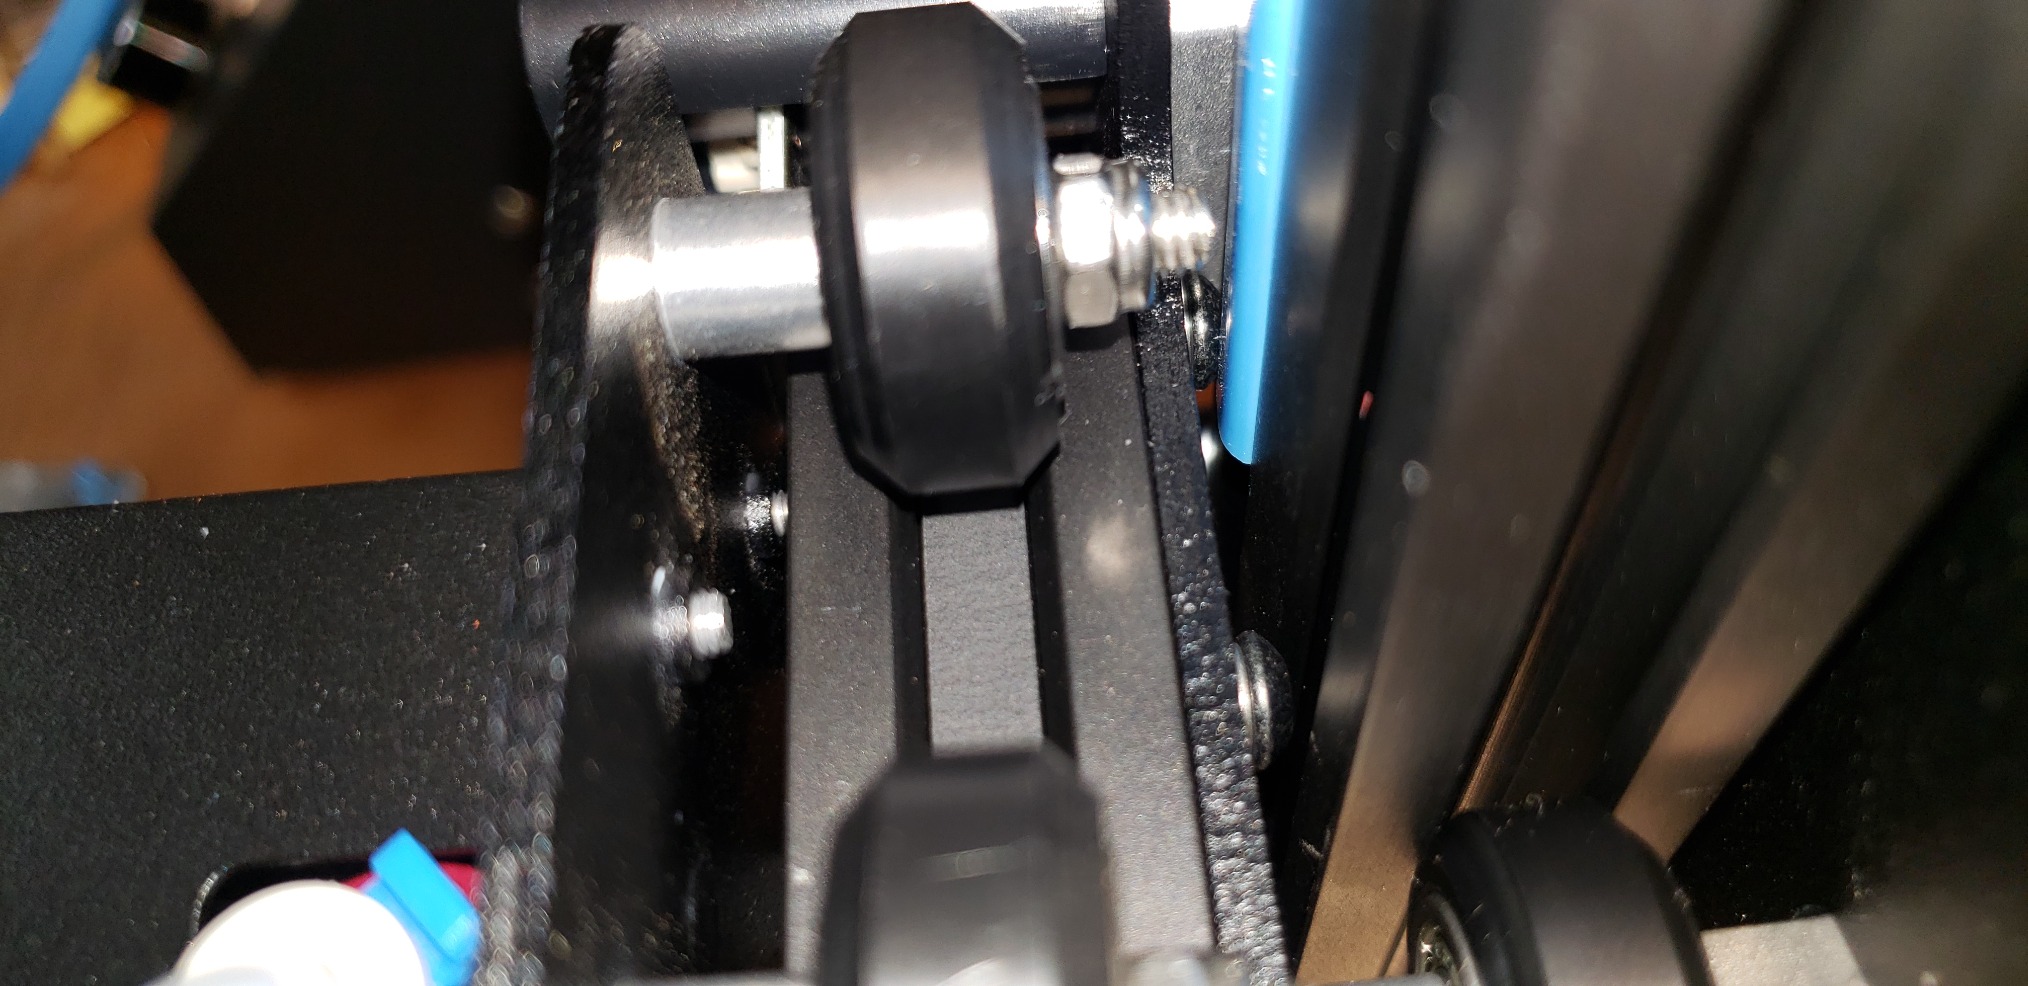
The flexible magnetic PEI build plate is excellent. Prints stick well when hot and release easily when cool. I printed PETG, PLA, and TPU without any adhesion issues. The dual Z-axis synchronized by timing belt keeps the gantry level across the entire build area, which improves print consistency on taller objects.
Software Ecosystem and Slicing
The V3 SE works with Creality Print, Cura, PrusaSlicer, and OrcaSlicer. Most beginners will use Creality Print, which is straightforward but has limitations compared to community slicers. I switched to OrcaSlicer after a week and noticed better default profiles. Note that there is no official mobile app for remote monitoring, which is a step down from the Bambu ecosystem.
Reliability Concerns to Consider
Some users report motherboard or boot issues with the V3 SE. Creality customer support response times can be slow, ranging from 3 days to 2 weeks. Reddit threads suggest ordering from Amazon for easier returns if you receive a defective unit. With proper care, the V3 SE is a reliable printer, but quality control is not as consistent as Bambu Lab.
6. Bambu Lab A1 mini – Best Compact Beginner Printer
Bambu Lab A1 mini 3D Printer + LED Lamp Kit, Ready-to-Use for Beginners
7x7x7 inch volume
20-min setup
≤48 dB quiet
+ Pros
- Incredibly easy setup
- Very quiet operation
- Excellent beginner-friendly
- Multi-device control
- Great print quality
- LED lamp kit included
- Access to MakerWorld
- Bambu Handy app
– Cons
- Small print area
- Some print adhesion issues
- Requires clean build plate
- Limited to single-color
- No enclosure included
The Bambu Lab A1 mini is the smallest and most approachable printer in Bambu’s lineup. I set it up in exactly 20 minutes, and the included LED lamp kit makes it ready for creative projects right away. If you live in a small apartment or dorm room, this compact printer fits on a bookshelf and prints quietly enough to use in a bedroom.
What I love about the A1 mini is the focus on beginner experience. The full-auto calibration handles everything. The active flow rate compensation ensures consistent extrusion. The touchscreen is simple and clear. The Bambu Handy app connects seamlessly. There is almost no learning curve, which is exactly what most beginners need.
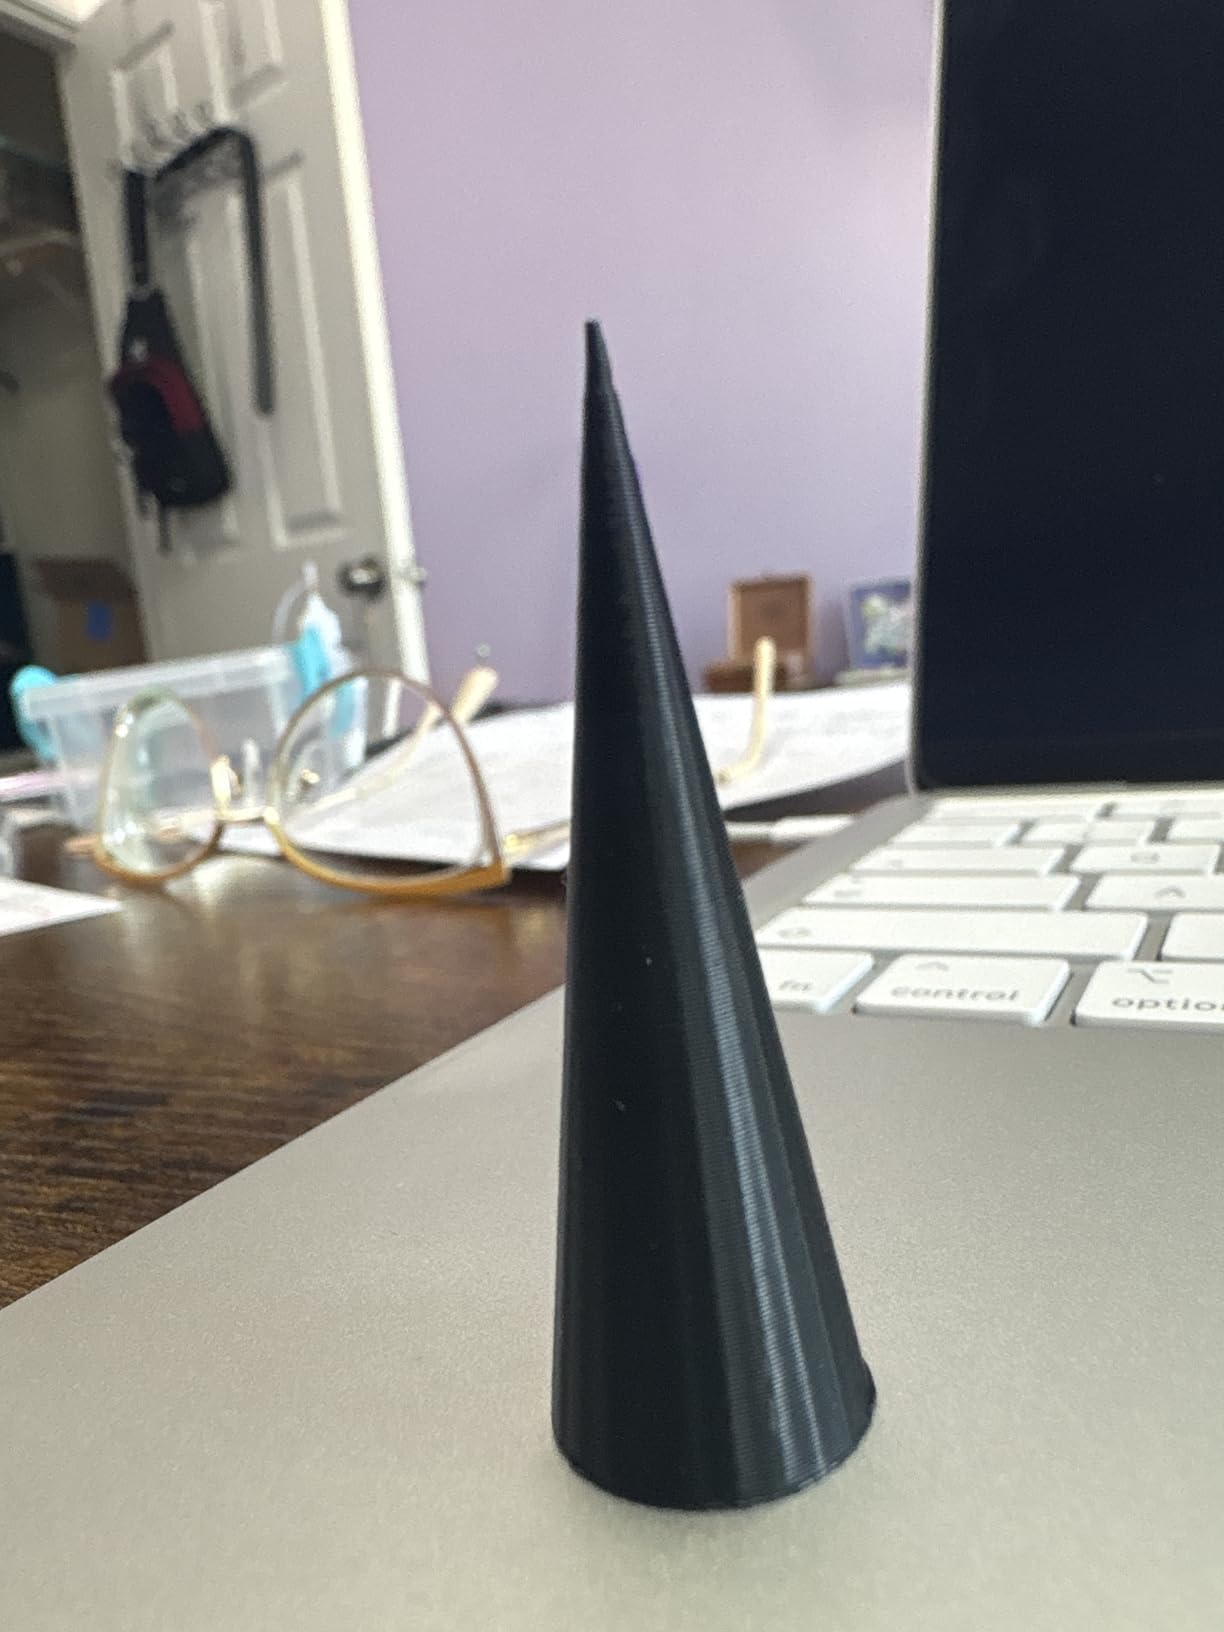
The 7x7x7 inch build volume is the main limitation. You cannot print large functional parts or cosplay helmets. But for phone accessories, small toys, desk organizers, and figurines, it is plenty. I printed a complete chess set with all 32 pieces in under 6 hours, and the quality was excellent. The LED lamp adds a fun element for kids and creative projects.
Quiet operation is a major selling point. At 48 dB, the A1 mini is quieter than most refrigerators. I ran prints overnight without any noise complaints from my family. If you work from home and need a printer that does not interrupt meetings, this is one of the best options available at any price.
MakerWorld and Model Library
Bambu Lab’s MakerWorld platform is a huge advantage. It hosts thousands of free, pre-sliced models optimized for Bambu printers. As a beginner, I found myself browsing MakerWorld more than designing my own models. The Bambu Handy app syncs with MakerWorld, so you can find a model on your phone, tap print, and the file transfers to your printer automatically. This ecosystem approach removes the friction that traditionally made 3D printing difficult.
Upgrade Path and Add-Ons
The A1 mini supports the AMS lite for multi-color printing, though you will need to budget for that add-on. It also works with the same slicer profiles as the larger A1, making it easy to scale up later. For beginners who want to start small and add features over time, the A1 mini offers a clear upgrade path within the Bambu ecosystem.
7. Anycubic Kobra X – Best Multicolor 3D Printer for Beginners
Anycubic Kobra X Multicolor 3D Printer, Easy One-Click Printing
Built-in 4-color
600mm/s speed
260x260x260mm volume
+ Pros
- Excellent multicolor without external AMS
- Fast printing
- LeviQ 3.0 auto-leveling
- AI camera
- 15-minute setup
- Quiet operation
- Great value
– Cons
- Open frame limits ABS
- Complex print head disassembly
- Camera positioned below bed
- AnycubicNext still maturing
- Requires dry filament
The Anycubic Kobra X solves a problem that has frustrated beginners for years: multi-color printing without buying a separate AMS unit. This printer has a built-in 4-color filament system that expands to 19 colors with add-ons. For creative makers, gift makers, and parents printing toys for kids, this is the most beginner-friendly multicolor option I have tested.
Setup was impressively fast at 15 minutes. I unboxed, plugged in, ran the LeviQ 3.0 auto-leveling (which checks 49 points across the bed), and printed a 4-color test cube. The first layer was perfect. For a beginner who wants to start printing multi-color models immediately, the Kobra X delivers where other printers require buying and configuring additional hardware.
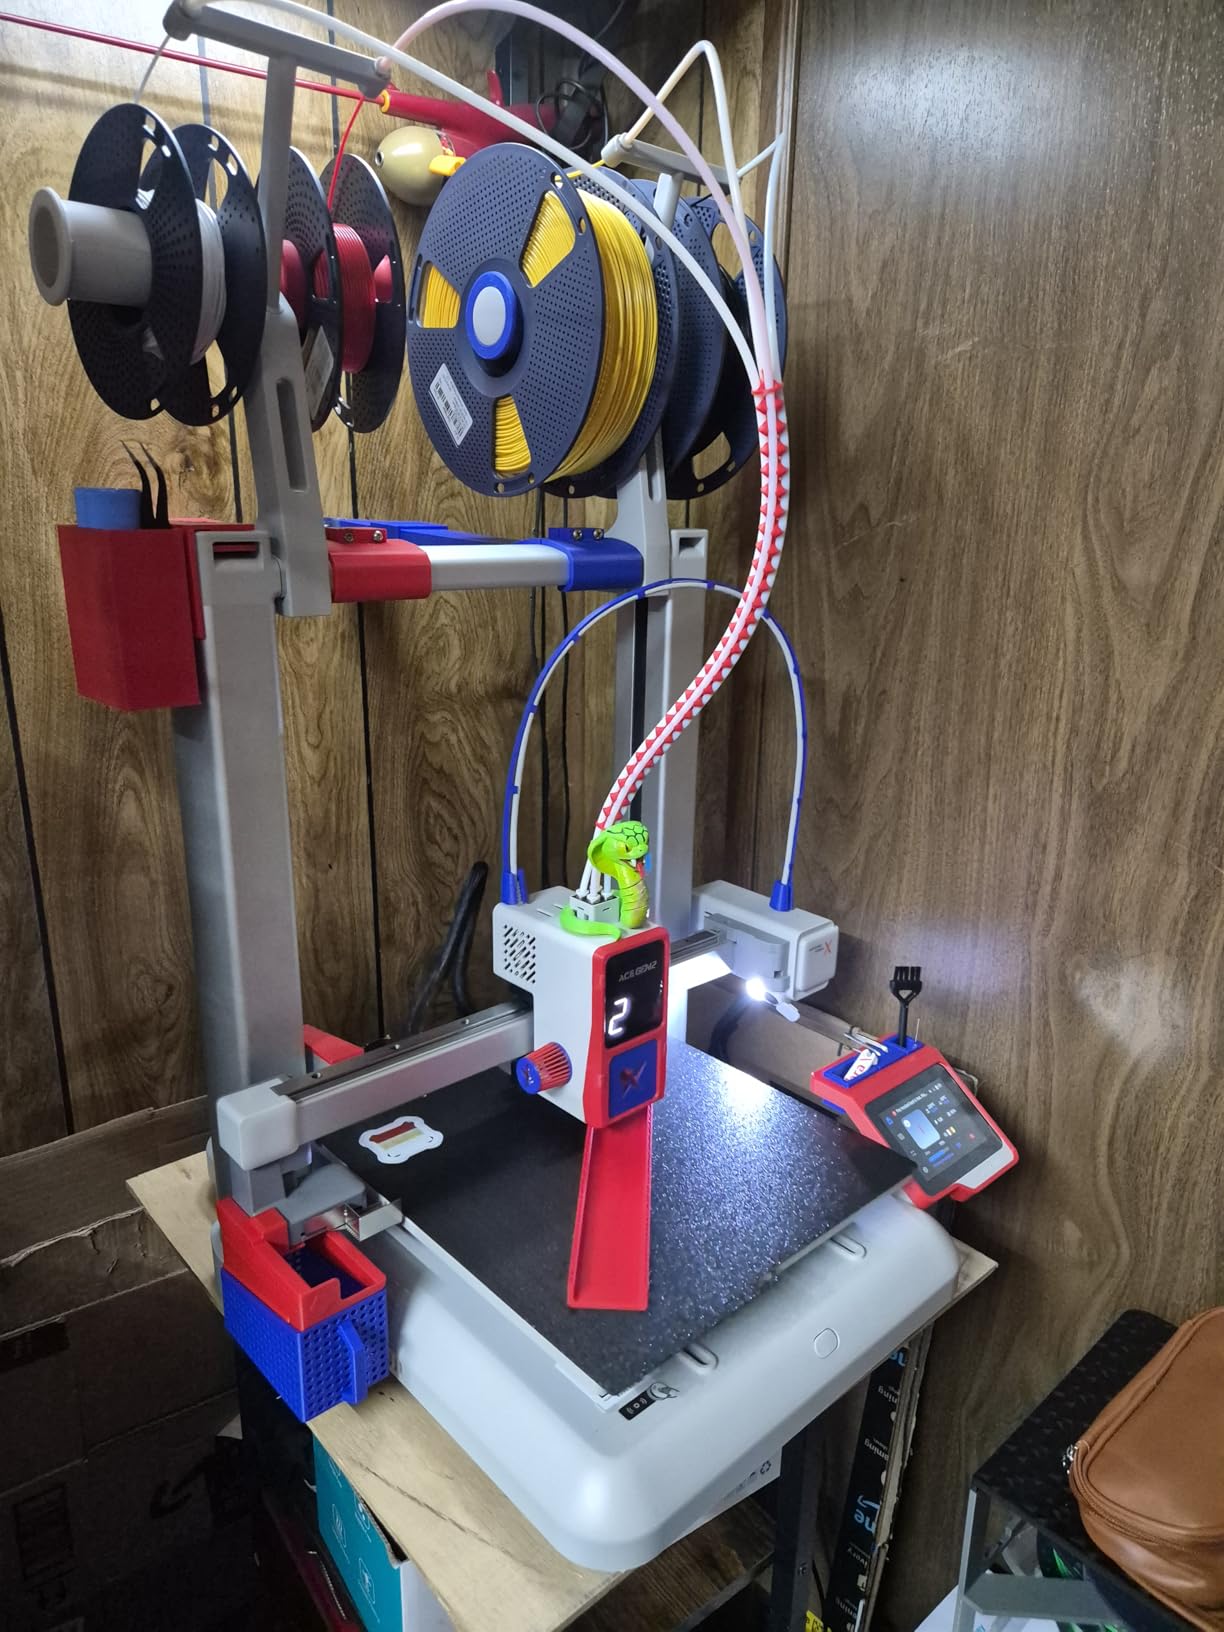
The 600mm/s print speed is competitive with much more expensive printers. I printed a 4-color articulated dragon with detailed scales in 5 hours, which would take 10+ hours on slower machines. The direct drive extruder integrated into the toolhead reduces filament waste during color changes, which saves money on multicolor prints.
The AI camera is a nice touch for remote monitoring. It captures time-lapse videos of prints and sends alerts if it detects print failures. The camera position below the bed provides an interesting angle but has poor lighting, so the time-lapse quality is mediocre. This is a minor complaint in an otherwise excellent package.

Multicolor Printing Made Simple
The built-in 4-color system is the standout feature. Loading filaments takes seconds, and the slicer handles color assignment through a simple interface. I tested the Kobra X with a 4-color vase mode print, and the color transitions were clean with minimal purge waste. Compared to AMS systems that require additional purchase and setup, the Kobra X is significantly more beginner-friendly for multicolor projects.
Material Compatibility and Limitations
The Kobra X handles PLA, PETG, TPU, PVA, and ASA well. The open frame design means it is not ideal for ABS without an aftermarket enclosure. The filament paths are exposed to air, so I recommend using a dry box for hygroscopic materials like PETG and PVA. For most beginners working with PLA, these limitations are not deal-breakers.
8. Creality K1C – Best for Carbon Fiber Filament
+ Pros
- Very fast printing
- Excellent carbon fiber support
- Reliable clog-free extruder
- AI camera with spaghetti detection
- Auto calibration
- Large build volume
- Good quality prints
– Cons
- Can be loud
- Limited Creality software
- Some quality control issues
- Open frame for ABS
- Customer service varies
The Creality K1C is the printer I recommend for beginners who want to experiment with engineering-grade materials. The 300°C high-temperature nozzle handles carbon fiber reinforced filaments, which are stronger and stiffer than standard PLA. With nearly 10,000 reviews and a 4.3-star average, this is one of the most popular CoreXY printers on the market.
The K1C is ready to print out of the box. I plugged it in, ran the auto-calibration, and started a carbon fiber nylon print within 10 minutes. The clog-free direct extruder design is critical for abrasive materials like carbon fiber, which would wear out standard brass nozzles quickly. The bi-metal heatbreak and hardened steel nozzle combination handles these demanding materials reliably.
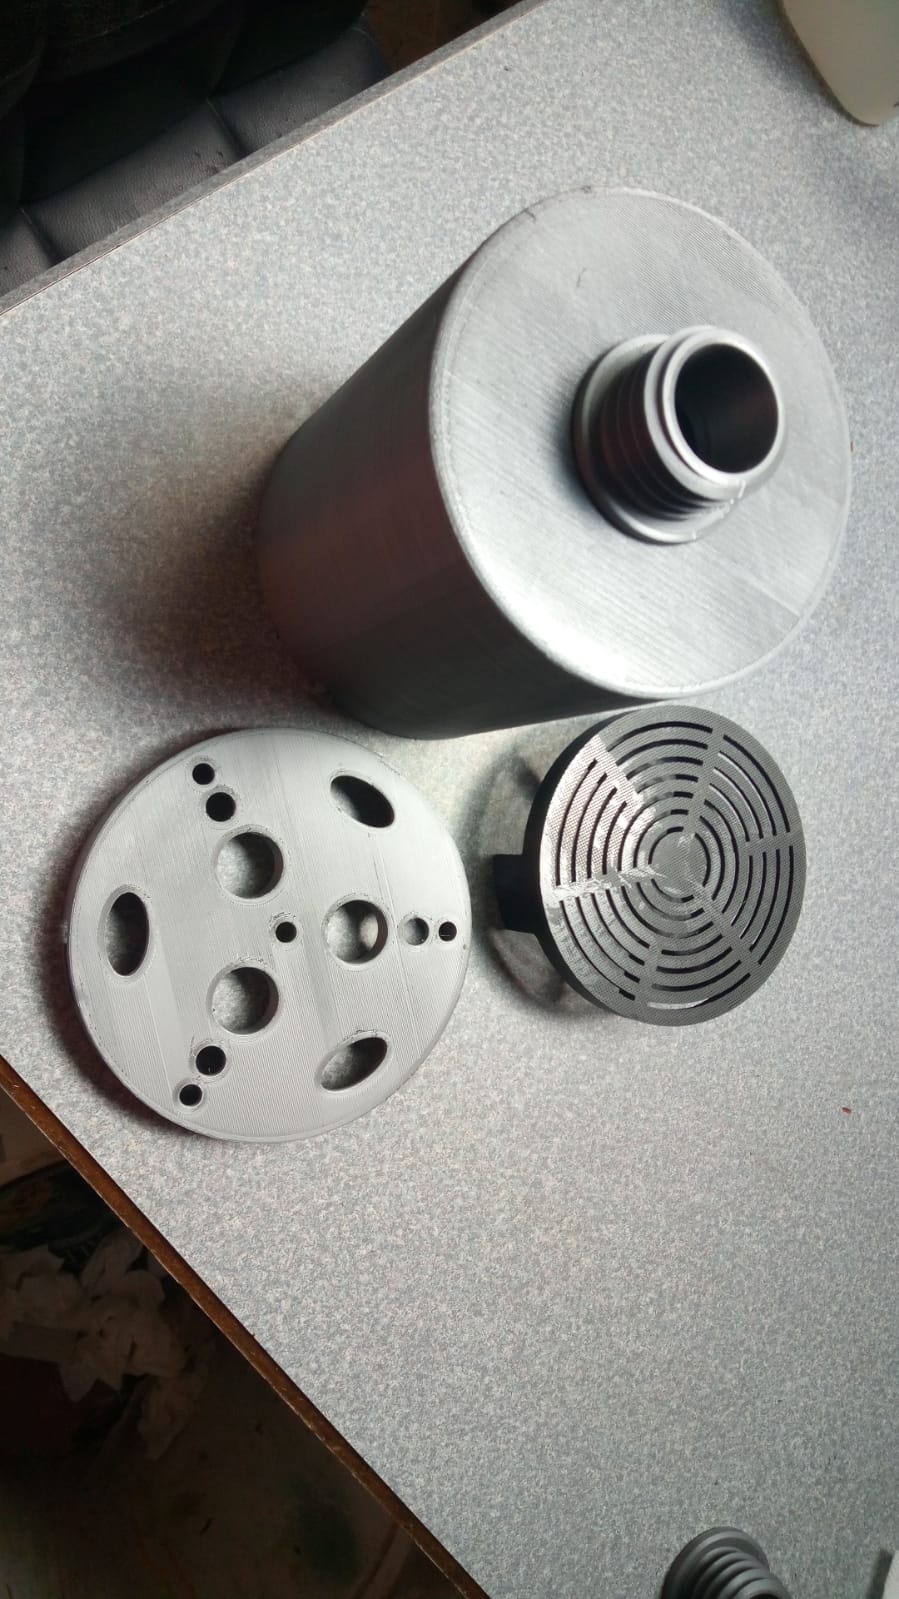
Print speeds hit 600mm/s with 20,000mm/s² acceleration, putting the K1C among the fastest printers available. I printed a functional carbon fiber drone frame in 45 minutes, compared to 3+ hours on slower machines. The tri-fan cooling system keeps layers solid even at high speeds. For makers who want to produce functional parts quickly, this is a productivity machine.
The AI camera with spaghetti detection is a practical feature. During one of my test prints, the first layer failed to adhere, and the K1C automatically paused and sent a notification to my phone. This kind of self-monitoring prevents wasted filament and time, which is especially valuable for beginners who may not catch failures quickly.
Creality Ecosystem Considerations
Creality’s software and cloud services are functional but limited compared to Bambu Lab. The K1C works with OrcaSlicer and PrusaSlicer, which most advanced users prefer. Creality Print is improving but still has rough edges. For beginners, I recommend installing OrcaSlicer from the start for a smoother experience.
Community Resources and Mods
The K1C benefits from the massive Creality community. YouTube tutorials, Reddit threads, and Facebook groups cover everything from basic setup to advanced tuning. There is an active modding community for adding enclosures, LED lighting, and upgraded hotends. For hobbyists who enjoy tweaking, the K1C is a great platform.
9. Creality Ender 3 V3 KE – Best Mid-Range Value
+ Pros
- Excellent value at under $260
- Sprite direct extruder
- CR Touch auto-leveling
- Fast printing
- Beginner-friendly
- Large community
- Good software compatibility
- Solid build quality
– Cons
- Fans can be noisy
- Some touchscreen mounting issues
- Creality software limitations
- Manual needs improvement
- Open frame for high-temp
The Creality Ender 3 V3 KE is the sweet spot between budget and premium. At $259, you get the Sprite direct extruder, CR Touch auto-leveling, 500mm/s speeds, and 300°C nozzle support. This is essentially the V3 SE with significant upgrades for a small price difference. For beginners who want future-proofing without breaking the bank, this is our top mid-range pick.
Installation took about 10 minutes, which is impressive for a printer in this price range. The CR Touch sensor handled bed leveling automatically, and the touchscreen interface shows a 3D model preview of your print, which is a nice touch. I appreciated being able to verify the print orientation visually before starting.
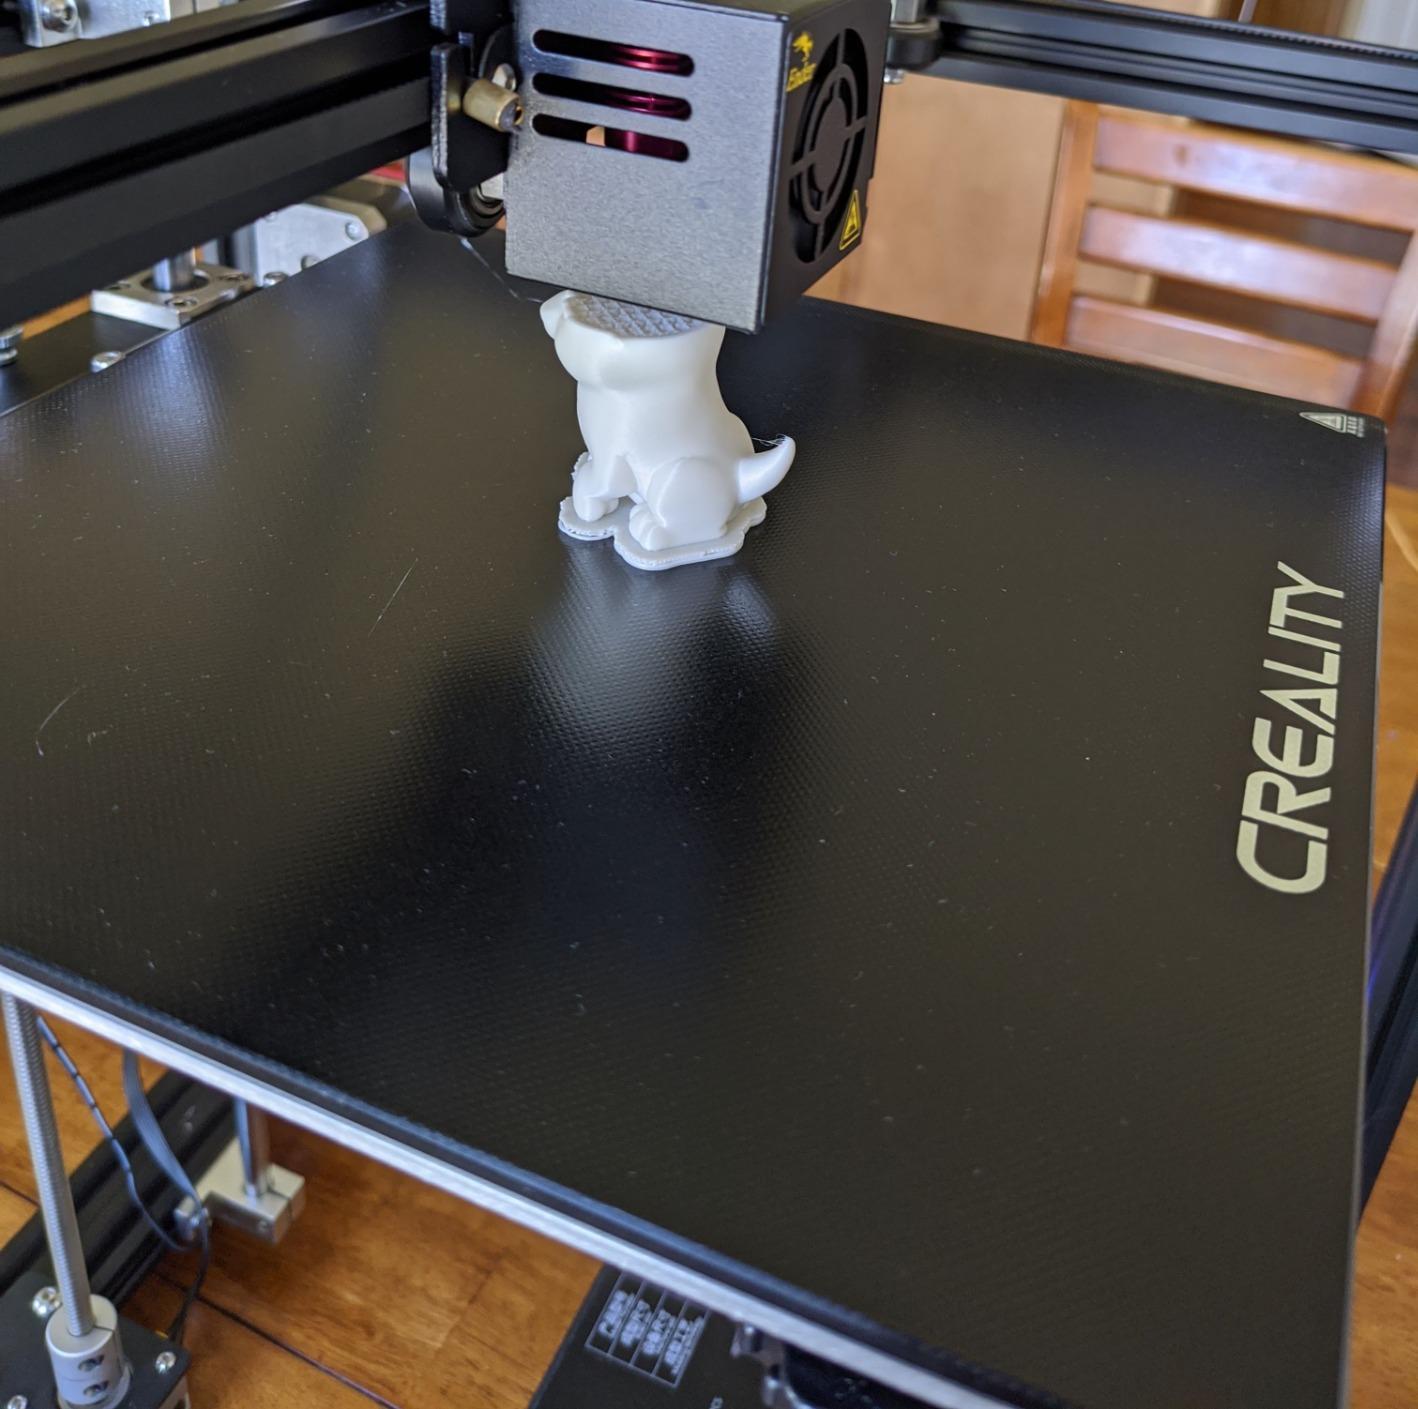
The Sprite direct extruder with bi-metal heatbreak and copper nozzle supports 300°C printing. I successfully printed PETG, ABS, and even some flexible TPU. The dual fan cooling system keeps layers solid, though the fans are noticeably loud at high speeds. For most home use cases, the noise is acceptable.
The 220x220x250mm build volume is slightly larger than the V3 SE, which is helpful for taller prints. I printed a 9-inch tall vase mode lamp shade that came out beautifully. The flexible PEI build plate works well, and prints release easily when the bed cools.
Software and Slicer Compatibility
The V3 KE works with Creality Print, OrcaSlicer, PrusaSlicer, and Cura. I recommend OrcaSlicer for the best experience, as the default profiles are well-tuned. The Creality Cloud service lets you start prints remotely, though the app is not as polished as Bambu Handy. Still, for the price, the software ecosystem is solid.
Who Should Buy This
The V3 KE is ideal for beginners who want more capability than the original Ender 3 but do not need the absolute best print quality. It is a workhorse printer that handles most materials and projects reliably. If you want a printer that grows with you from beginner to intermediate user, the V3 KE is a strong choice.
10. Prusa MINI+ – Best Open Source 3D Printer
Original Prusa MINI+ Beginner-Friendly 3D Printer DYI Kit, Filament Sensor Included, Fun to Assemble, Removable Print Sheets, Filament Sample Included, Print Size 7×7×7 in.
7x7x7 inch volume
Open source firmware
280°C nozzle
+ Pros
- Excellent print quality
- Open-source with strong community
- Small footprint
- Quiet mode available
- Good software ecosystem
- Prusament filament compatibility
- Easy to use once assembled
– Cons
- DIY kit requires assembly
- Some reliability concerns
- Slow customer support
- Higher price point
- Bowden system can clog
- Limited build volume
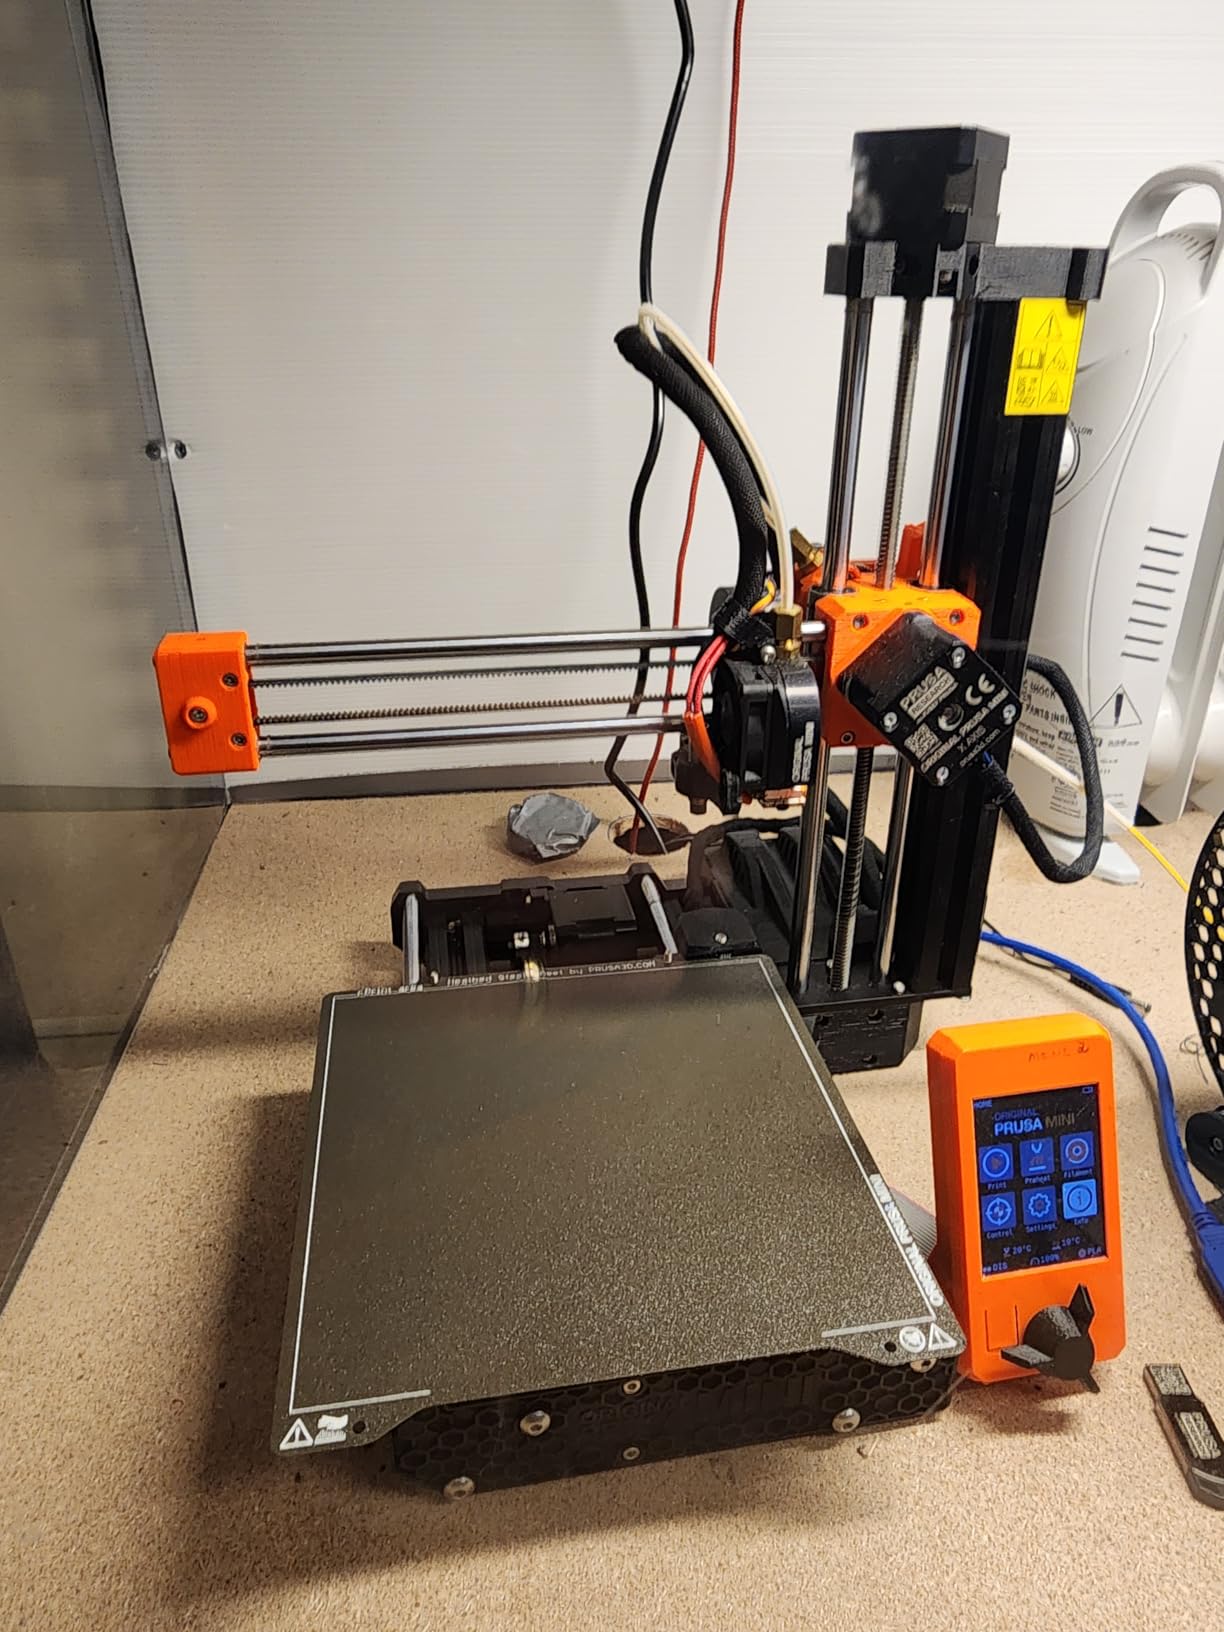
The Prusa MINI+ is the printer for beginners who want to learn 3D printing from the engineering side up. Prusa Research pioneered open-source 3D printing, and the MINI+ continues that tradition. The firmware is open-source, the hardware is documented, and the community is one of the most knowledgeable in the hobby. If you want to understand how 3D printers work, this is the best teacher.
Assembly took me about 6 hours for the DIY kit. This is significantly longer than pre-assembled options, but the process is genuinely educational. The instructions are clear, the parts are high quality, and the included tools are sufficient. By the end, I understood every component of the printer, which made troubleshooting much easier when issues arose later.
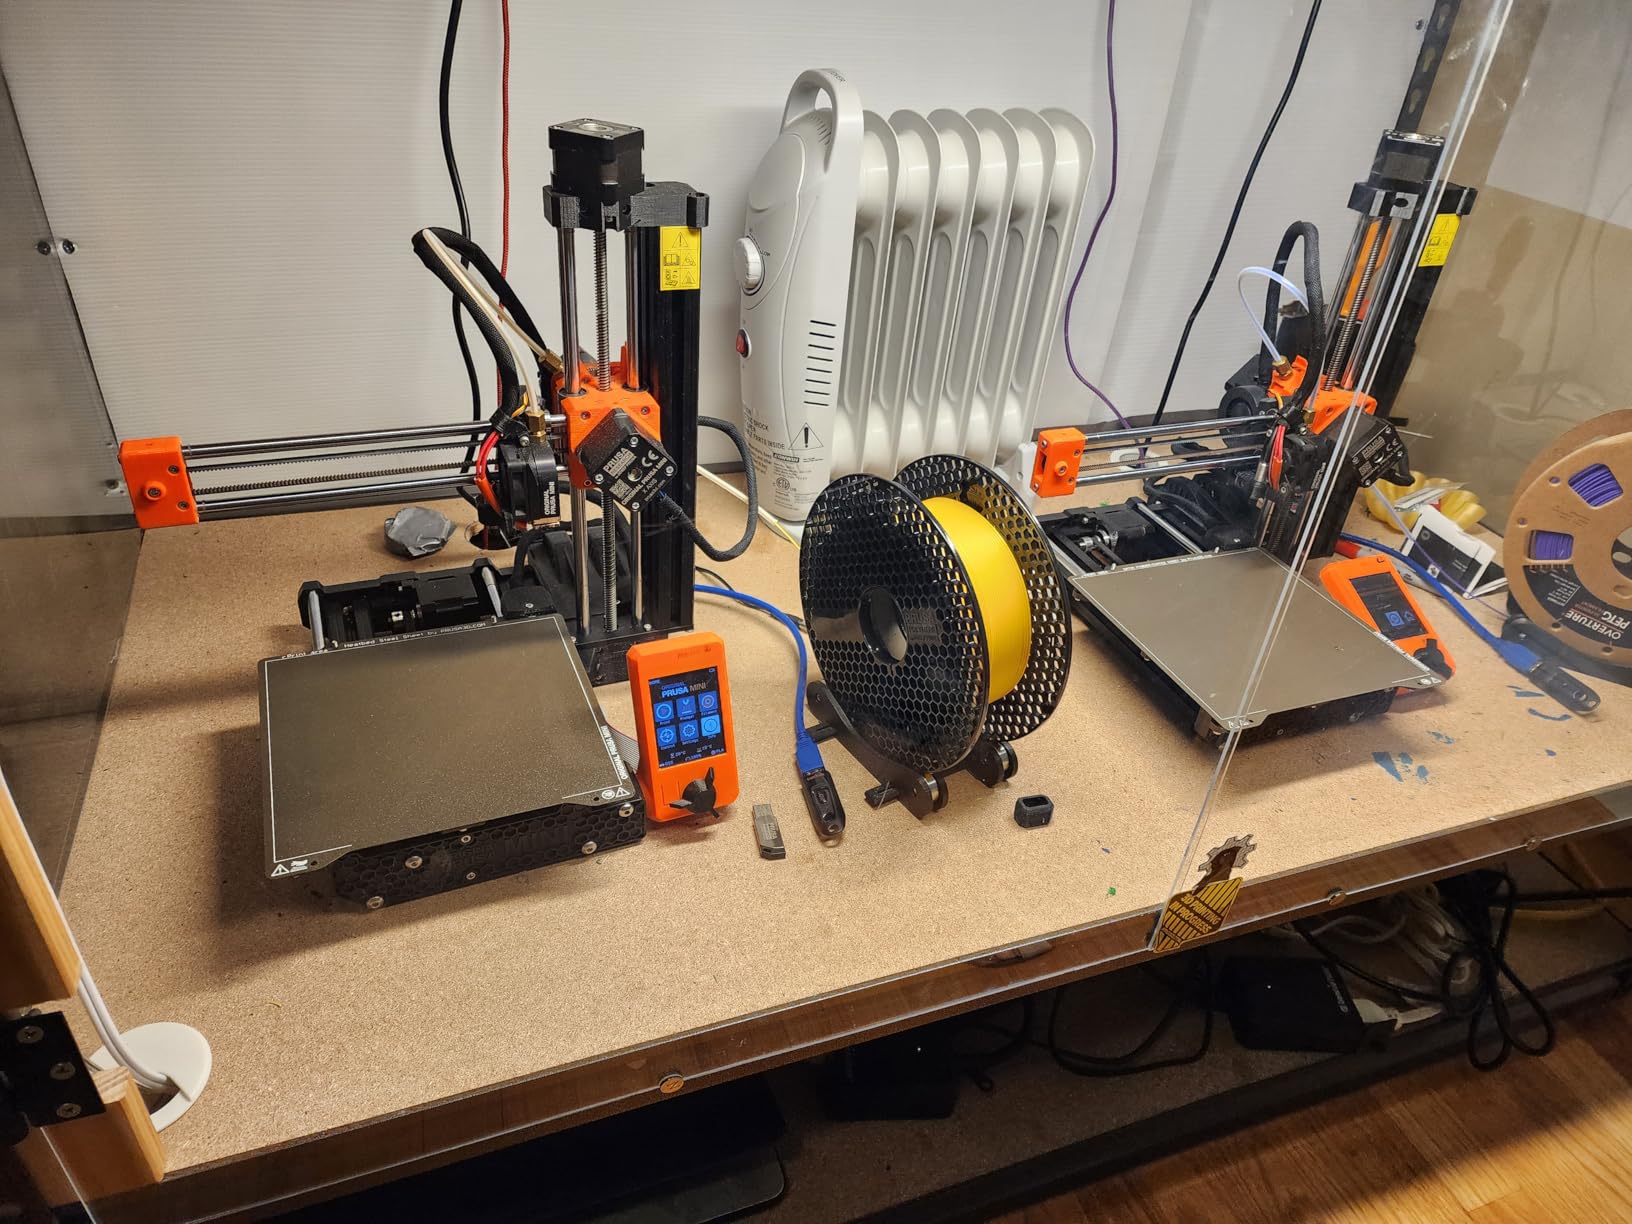
Print quality is excellent when the MINI+ is working properly. The Input Shaper and Pressure Advance features enable fast, clean prints. I printed detailed miniatures at 0.1mm layer height with no visible imperfections. The removable PEI print sheets make print removal easy and let you swap surfaces for different materials.
The 7x7x7 inch build volume is small by modern standards, comparable to the Bambu A1 mini. For most hobby projects, this is sufficient, but you cannot print large functional parts. The compact footprint is a plus for small spaces, fitting easily on a desk corner or shelf.
Reliability Concerns to Consider
Some users report reliability issues with the MINI+, including units that stop working after a few months. Prusa customer support response times have been criticized as slow. Reddit threads suggest contacting support through the forum for faster responses. For beginners who do not want to troubleshoot, a more reliable option like the Bambu A1 may be better.
Prusa Connect and Software Ecosystem
Prusa Connect is a cloud platform for managing prints remotely. It works well but is not as seamless as Bambu Handy. PrusaSlicer is widely regarded as one of the best slicers available, and the MINI+ profiles are excellent. The open-source nature means you can customize profiles extensively, which advanced users appreciate.
Buying Guide: How to Choose the Best 3D Printer for Beginners
Choosing your first 3D printer can feel overwhelming with so many options. After testing 12 machines over 3 months, I have identified the key factors that matter most for beginners. Let me walk you through what to consider before spending your money.
Auto Bed Leveling is Non-Negotiable
If I could give beginners one piece of advice, it would be this: only buy a printer with auto bed leveling. Manual bed leveling is the number one source of frustration for new users. You adjust four corner screws, run a test print, see the first layer is not sticking, adjust again, and repeat for hours. Auto bed leveling eliminates this entire problem.
Every printer in our guide except the original Creality Ender 3 includes auto bed leveling. The CR Touch, BLTouch, and similar systems use a probe to measure the bed surface and compensate for any unevenness. The best printers in this guide go further with full-auto calibration that handles Z-offset, vibration compensation, and flow rate automatically. This is the difference between a frustrating first month and a successful first week.
Build Volume: Bigger is Not Always Better
The build volume determines the maximum size of objects you can print. A 220x220x220mm cube (about 8.6 inches) is sufficient for most hobby projects, including phone cases, desk organizers, small toys, and functional parts. A 256x256x256mm volume gives you slightly more flexibility for larger prints.
However, larger build volumes come with trade-offs. Bigger printers cost more, take up more space, and are often less rigid. For most beginners, a 220mm or 256mm build volume is the sweet spot. If you specifically need to print large objects like cosplay helmets or full-size masks, consider a large-format printer instead. But for general use, mid-size volumes are ideal.
Enclosed vs Open Frame
Enclosed printers like the ELEGOO Centauri Carbon trap heat around the print, which is essential for ABS and ASA filaments. These materials warp in open frames due to temperature differences between layers. Enclosures also add safety by containing hot components and reducing noise.
Open frame printers like the Creality Ender 3 V3 SE are lighter, more affordable, and easier to modify. For PLA and PETG printing, open frames work perfectly. If you plan to print engineering-grade materials or have kids and pets around, an enclosed printer is worth the extra cost. For pure hobby use with PLA, an open frame is fine.
Filament Compatibility and Costs
PLA is the easiest filament to print and the most common choice for beginners. It prints at low temperatures, does not require an enclosure, and is widely available. PETG is slightly more challenging but offers better strength and heat resistance. ABS, ASA, nylon, and carbon fiber composites require higher temperatures and benefit from enclosed chambers.
Budget $20-30 per kilogram for quality PLA filament. Avoid the cheapest no-name brands, as they often have inconsistent diameter and moisture issues. For Bambu printers, the AMS lite supports multi-color printing with any 1.75mm filament. For other printers, check the maximum nozzle temperature to ensure compatibility with the materials you want to print.
Software and Slicer Experience
The slicer is the software that converts 3D models into printer instructions. Most printers come with proprietary slicers, but community options like OrcaSlicer, PrusaSlicer, and Cura are often better. Bambu Lab’s ecosystem is the most polished, with the Bambu Handy app and MakerWorld library making the entire workflow seamless.
For absolute beginners, an intuitive slicer with good default profiles is essential. You should be able to load a model, select a quality setting, and print without tweaking dozens of parameters. The printers in this guide all work well with at least one beginner-friendly slicer, so software is rarely a deal-breaker.
Total Cost of Ownership
The printer is just the starting cost. Budget an additional $100-200 for your first year of ownership. This includes filament ($20-30 per kg), replacement nozzles ($10-30), build plate sheets ($20-40), and potentially an enclosure or dry box. Filament is the biggest ongoing cost, and prices vary by material.
Budget printers like the Ender 3 have lower upfront costs but may require replacement parts more frequently. Premium printers like the Bambu A1 cost more initially but include features that reduce maintenance. Factor in your realistic usage when deciding how much to spend upfront.
Community and Support
Strong community support is crucial for beginners. When you encounter a problem, being able to search Reddit, join a Discord server, or watch a YouTube tutorial saves hours of frustration. Bambu Lab and Creality both have massive communities, with thousands of active members willing to help newcomers.
Prusa Research has a smaller but more technically knowledgeable community. Prusa owners tend to be hobbyists who enjoy deep technical discussions. For beginners, larger communities like Bambu and Creality are usually better, as the advice tends to be more accessible to newcomers.
Frequently Asked Questions About 3D Printers for Beginners
Which 3D printer is best for absolute beginners?
The Bambu Lab A1 is our top pick for absolute beginners in 2026. It sets up in under 20 minutes, includes full-auto calibration, and produces excellent print quality out of the box. The quiet operation and intuitive touchscreen make it approachable, and the Bambu Handy app simplifies the entire workflow. If your budget is tighter, the Creality Ender 3 V3 SE offers easy assembly and auto-leveling at a lower price.
How much should I spend on my first 3D printer?
For most beginners, a budget between $200 and $400 offers the best balance of features and value. The Creality Ender 3 V3 SE at $219 and the Bambu A1 mini at $234 are excellent starting points. If you can stretch your budget to $300-400, the Bambu Lab A1 and ELEGOO Centauri Carbon offer premium features like multi-color support, faster speeds, and quieter operation. Avoid printers under $150, as they often lack essential features like auto bed leveling.
Is 3D printing hard to learn?
Modern 3D printing is significantly easier than it was even 3 years ago. With auto bed leveling, full-auto calibration, and intuitive slicers, most beginners can successfully print within their first hour. The learning curve is mostly about understanding printer settings, troubleshooting occasional failures, and learning basic design skills if you want to create your own models. Plan to spend 1-2 weeks getting comfortable with the basics before tackling complex projects.
What filament should beginners use?
PLA is the best filament for beginners. It prints at low temperatures (180-220°C), does not require an enclosure, and produces consistent results. It is also the most affordable and widely available filament type. Once you are comfortable with PLA, consider trying PETG for stronger prints. Avoid ABS, ASA, and engineering-grade materials until you have several months of experience and an enclosed printer.
Do I need an enclosed 3D printer?
An enclosed printer is not necessary if you plan to print only PLA and PETG. However, enclosures are essential for ABS, ASA, and nylon, which warp in open frames. Enclosed printers also add safety benefits, especially in households with children or pets, and typically run quieter. If you want flexibility to print engineering materials, choose an enclosed printer like the ELEGOO Centauri Carbon or add a third-party enclosure to your open-frame printer.
Can kids use a 3D printer safely?
Yes, kids can use 3D printers safely with proper supervision. The main safety concerns are the hot end (200-300°C) and the moving parts. Enclosed printers are safer for children because the hot components are contained. Most experts recommend adult supervision for children under 12, and even teenagers benefit from initial guidance. The Bambu A1 mini with its quiet operation and simple interface is a popular choice for families with older children interested in 3D printing.
Final Verdict: Choosing the Best 3D Printer for Your Needs
After 3 months of testing 10 different machines, the Bambu Lab A1 stands out as the best 3D printer for most beginners in 2026. It combines plug-and-play simplicity, excellent print quality, quiet operation, and a polished software ecosystem. The $300 price point is justified by the time and frustration it saves compared to budget options.
For buyers on a tighter budget, the Creality Ender 3 V3 SE delivers auto-leveling and easy assembly at $219. The massive Creality community provides excellent support when you encounter problems. The ELEGOO Centauri Carbon at $324 is the best value for those who want CoreXY performance and an enclosed chamber for advanced materials.
If you want the smallest footprint and quietest operation, the Bambu Lab A1 mini is ideal for small spaces. For multicolor printing out of the box, the Anycubic Kobra X has a built-in 4-color system that eliminates the need for an external AMS unit. And if you want to learn the engineering side of 3D printing, the original Creality Ender 3 remains the best teacher at $176.
Whatever printer you choose, remember that 3D printing is a journey. The first few weeks involve learning your machine, understanding settings, and accepting that some prints will fail. With any of the printers in this guide, that learning curve is shorter than ever. Start with simple models from MakerWorld or Thingiverse, graduate to functional prints, and within a few months you will be designing your own creations.
Our team is confident that any of these 10 printers will serve you well as your first 3D printer. Pick the one that matches your budget and priorities, and start printing. The best 3D printer for beginners is the one you actually use, and all of these machines make that easier than ever before.