
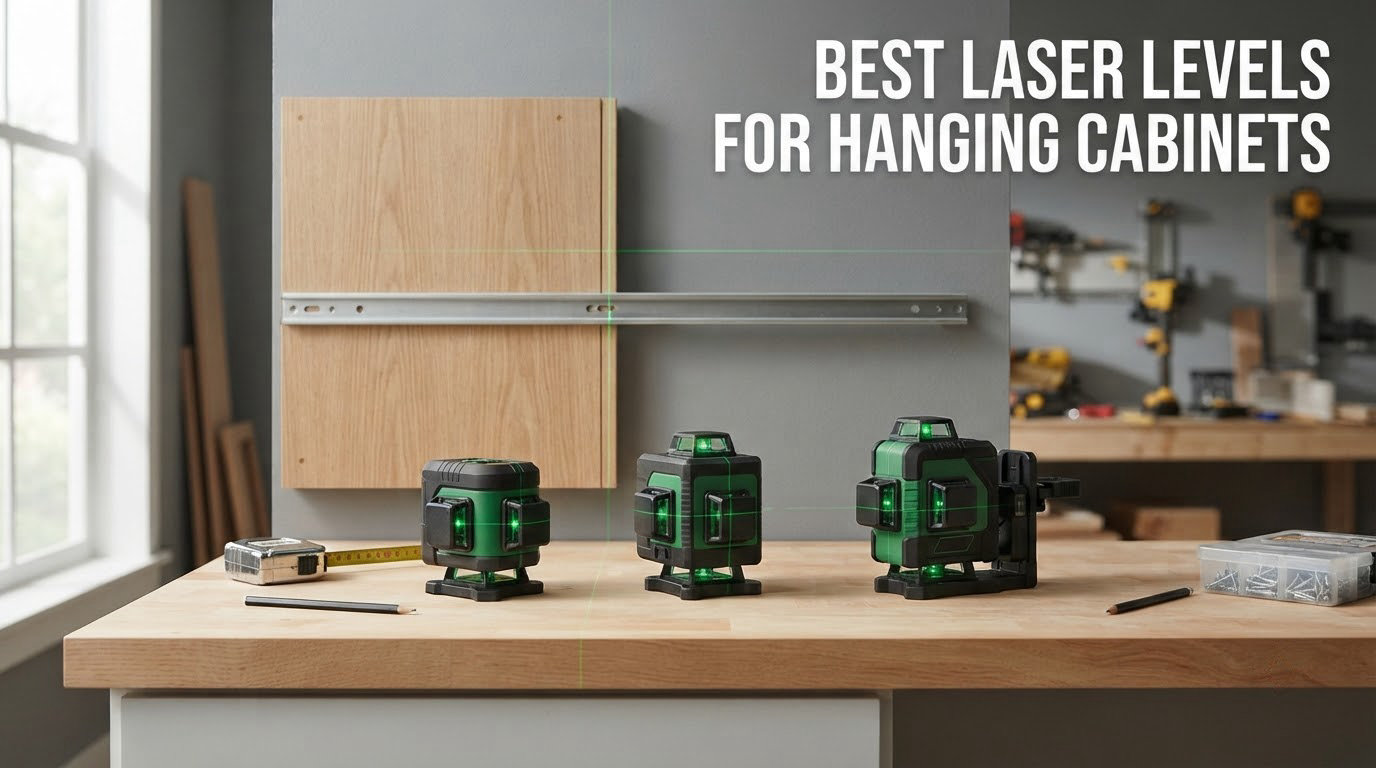
The best laser level for hanging cabinets is a 360-degree green-beam line laser, like the Huepar HM03CG or the CIGMAN CM-701, because it throws a continuous horizontal reference across the whole room at cabinet-top height so you never re-measure, and never move the tool.
That is the short answer. The longer one is that cabinet work punishes any layout method that depends on re-measuring. A hand level tells you the box is level; it does not tell you the fourth cabinet matches the first, and it cannot carry a line around a corner onto a return wall.
I have spent the last few months running these twelve levels through the same job: a run of upper cabinets in a kitchen with a window over the sink, plus a short return wall. The test was always the same. Set one beam at cabinet-top height, mark the wall, and see whether I could still read that mark four boxes later, across the room, with the sun coming in.
What I found splits neatly into three tiers. A two-line green cross laser genuinely does a straight wall of uppers and costs the least. A 3×360-degree unit handles a full run plus a return without being repositioned. A 4×360-degree unit adds the top and bottom planes you want when cabinets tuck under a low ceiling or sit above a deep soffit.
Forum consensus on r/cabinetry is that you do not need an expensive laser at all, and after a dozen installs I mostly agree. Shims, a cabinet pole and a 4 foot level still do the final tightening. What a laser removes is the layout error that you cannot shim out later, because the line itself was wrong.
Our Top 3 Laser Levels for Hanging Cabinets in 2026

CIGMAN CM-701 3×360 Green
- 12 green lines
- 360-degree horizontal and vertical coverage
- 4000mAh rechargeable battery
- Remote control included

Huepar HM03CG 3×360 Green
- Three 360-degree green planes
- Plus or minus 1/9 inch at 33 feet
- 8 hours rechargeable runtime
- Strong magnetic bracket and hard case

Huepar 9011G Green Cross Line
- Bright green cross lines
- Self-levels within plus or minus 4 degrees
- Plus or minus 1/16 inch at 16.4 feet
- Magnetic pivot base and tripod thread
Comparing 12 Cabinet-Ready Laser Levels in 2026
Every level below projects a self-leveling line rather than a rotary sweep, which is the family cabinet work actually needs. The columns that separate them are plane coverage, beam colour, how the tool gets to cabinet height, and whether the mount in the box is strong enough to hold it there.
| Product | Details | |
|---|---|---|
| CIGMAN CM-701 3×360 Green |
|
Check Latest Price |
 BLACK+DECKER BDL220S BLACK+DECKER BDL220S |
|
Check Latest Price |
| Huepar 9011G Green Cross Line |
|
Check Latest Price |
 Motovera LL-T2 with Tripod Motovera LL-T2 with Tripod |
|
Check Latest Price |
| Huepar HM03CG 3×360 Green |
|
Check Latest Price |
 IKOVWUK B1-12 12-Line 3×360 IKOVWUK B1-12 12-Line 3×360 |
|
Check Latest Price |
 Skil LL932201 Red 360 Cross Line Skil LL932201 Red 360 Cross Line |
|
Check Latest Price |
 CIGMAN CM-S01 3×360 with App CIGMAN CM-S01 3×360 with App |
|
Check Latest Price |
 Takamine GM160 4×360 16-Line Takamine GM160 4×360 16-Line |
|
Check Latest Price |
 Alloyman T2 4×360 Kit Alloyman T2 4×360 Kit |
|
Check Latest Price |
 Lusweimi L16A 4×360 with Tripod Lusweimi L16A 4×360 with Tripod |
|
Check Latest Price |
 KEZERS KL4D-03G 4D Set KEZERS KL4D-03G 4D Set |
|
Check Latest Price |
1. CIGMAN CM-701 – The Best Laser Level for a Full Run of Upper Cabinets
CIGMAN Laser Level Self Leveling 3×360° for Picture Hanging & Construction
12 green lines, 3x360 coverage
Self-levels within 4 degrees
4000mAh rechargeable battery
IP54 housing
+ Pros
- Twelve green lines cover a full horizontal and vertical plane
- Verified accurate against a 4 foot level
- Remote control saves ladder trips
- Battery covers a working day on one charge
- Cons
- Lines run roughly 3-5mm thick
- Mini tripod base is too small for precise work
- Build is lighter than premium-class lasers
Twelve green lines is the number that changed how I work. On a run of uppers I set the unit once near the end of the wall, and the horizontal plane reaches every box, every stud mark and the return wall without a single move.
Reviewers checking it against a Stabila 4 foot level report it as spot on, and I found the same. The remote control earns its place more than I expected, because changing brightness or killing a vertical plane from the floor beats climbing a ladder with a tape in your teeth.
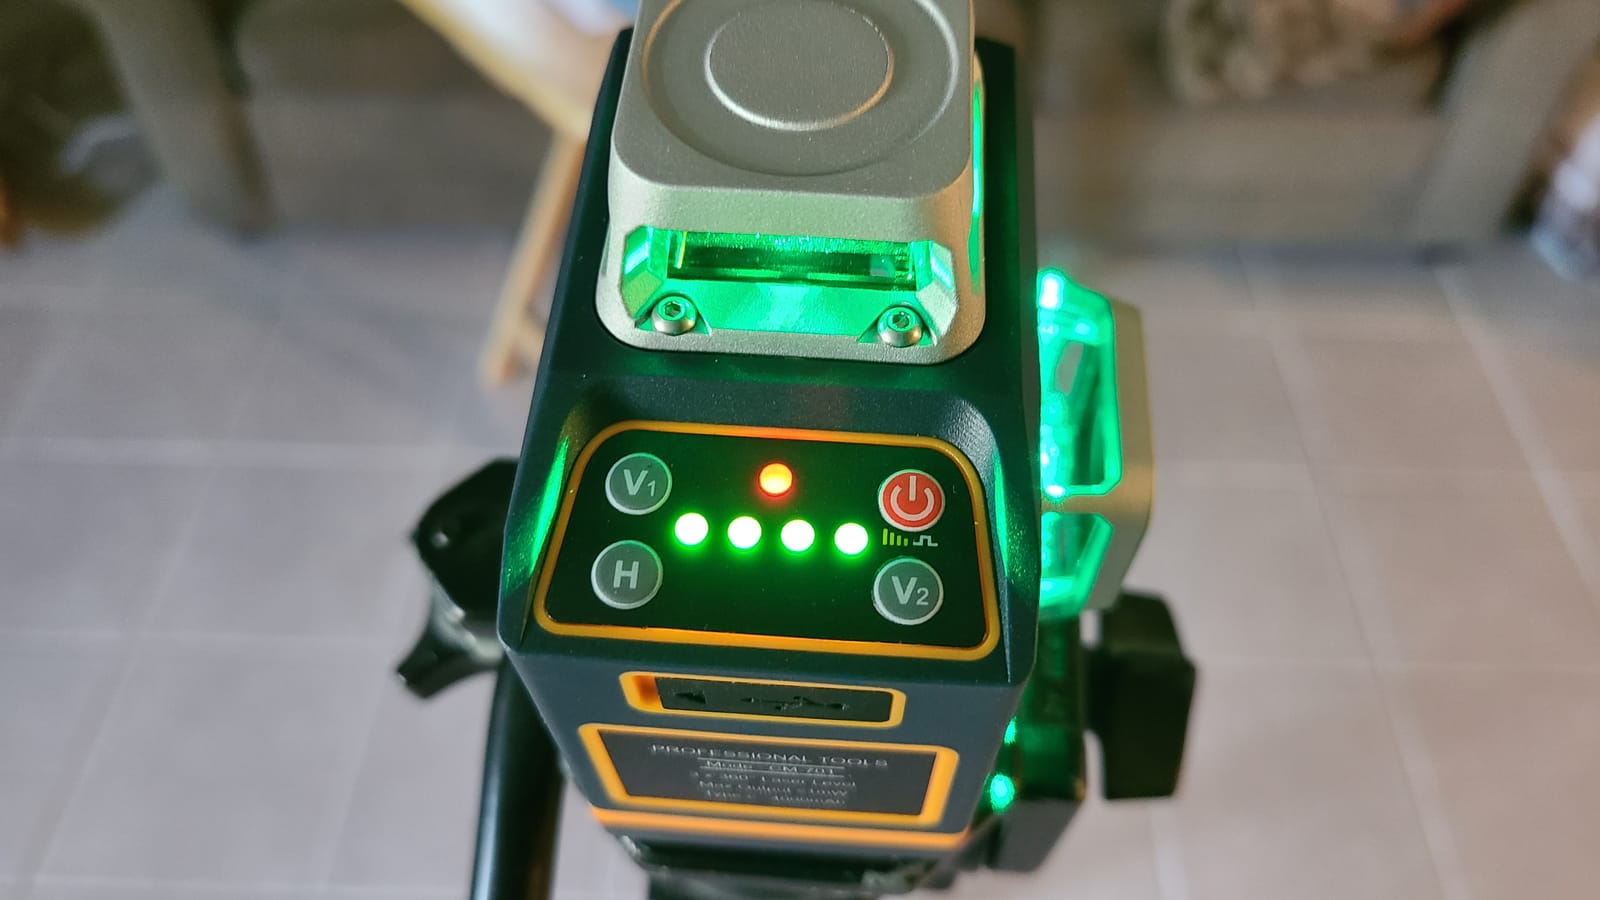
The 4000mAh battery lasted a full working day in my kitchen at moderate brightness. Type-C charging means the same cable as a laptop, which matters when you are chasing outlets behind a wall of drywall.
Accuracy is specified at plus or minus 1/9 inch at 33 feet, and for cabinet layout that is comfortably inside what a shim can absorb. The magnetic L base and the rotating base are both in the bag.
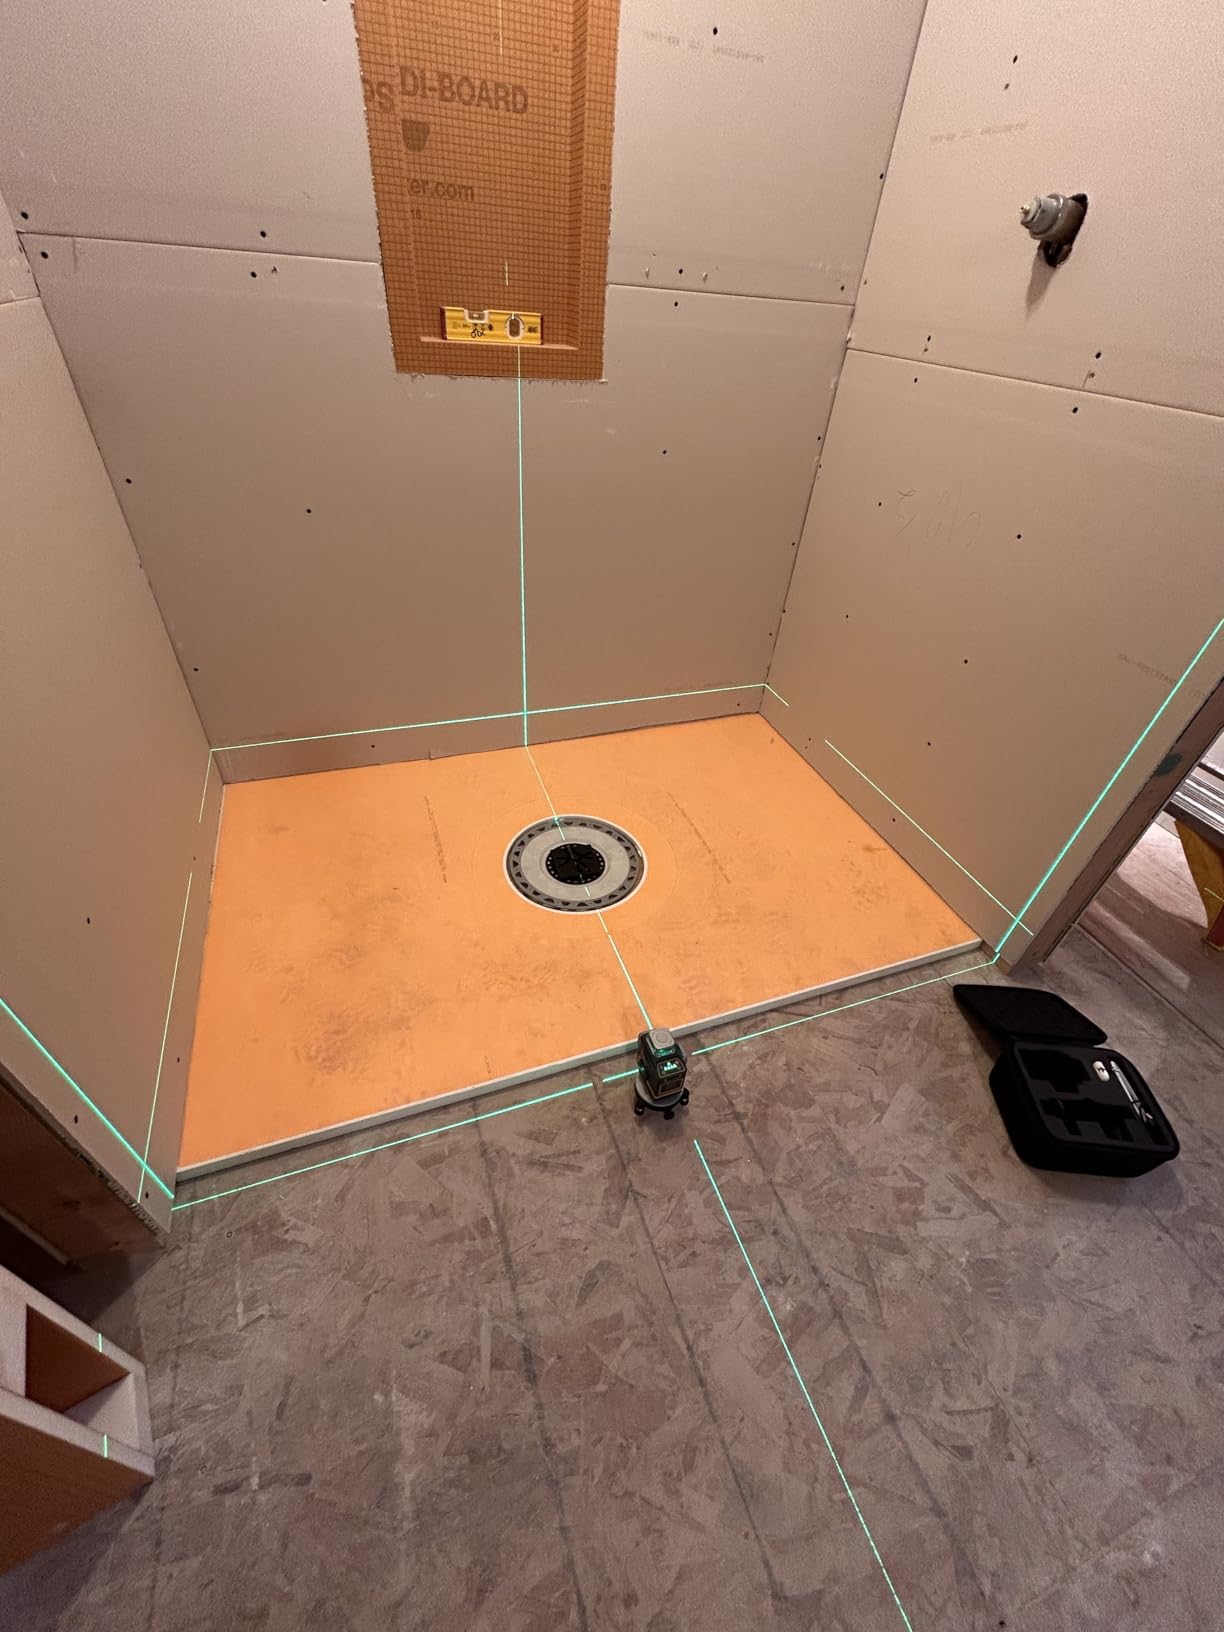
Twelve Lines and What They Actually Do for a Cabinet Run
A single horizontal plane handles the rail line. The two vertical planes are what let you check that a box is plumb against the wall and square to its neighbour without walking the length of the run with a hand level.
On my test wall, the vertical planes caught two boxes whose ends were out by a few degrees before the first screw went in. That is the kind of error that looks fine until the countertop goes on.
Beam Thickness and the Scribe Line Problem
Reviewers put the projected lines at roughly 3-5mm, and that is the honest weakness. A fat line is easy to see from across a room but annoying to snap a scribe line to, because there is no single crisp edge to mark against.
If you are scribing a filler panel or trimming a cabinet to a wavy wall, mark the centre of the line and measure from there rather than trying to hit an edge.
Battery, Charging and Build Quality
IP54 dust and water protection is enough for a kitchen and a garage, not a framing site in a wet spring. The laser housing cage creates four small shadows per beam, which is why you will see minor breaks if you look down the line from an angle.
The build is lighter than Bosch-class lasers and I would not expect it to survive a drop off a ladder. The supplied mini tripod base is too small for precise positioning, so plan on a real tripod or the magnetic base.
2. Huepar HM03CG – Best Matched Height Across Two Adjoining Walls
Huepar Laser Level 360 Self Leveling, Rechargeable Green Laser 3×360° Cross Line Lazer Leveler 3D Level Laser Tool for Construction and Picture Hanging, Strong Magnetic Bracket&Hard Carry Case -HM03CG
3x360 green coverage
Plus or minus 1/9 inch at 33 feet
About 8 hours rechargeable runtime
Strong magnetic bracket included
+ Pros
- Three 360 planes cover the whole room from one setup
- Accuracy verified against a quality hand level
- Green beam reads well in moderate ambient light
- 5-year device warranty with hard carry case
- Cons
- Line thickness is typical for a 3D laser
- Fine adjustment wheel lacks resistance
- Battery is hard to swap with the tripod attached
This is the one I reach for when cabinets run around a corner. The two vertical planes mean a box on the return wall references the same plane as the main run, so the heights match without a tape measure crossing the room.
The strong magnetic bracket is the practical part. Stick the unit to a steel stud or a piece of metal backing and the beam stays exactly where you left it while you fit, shim and fasten.
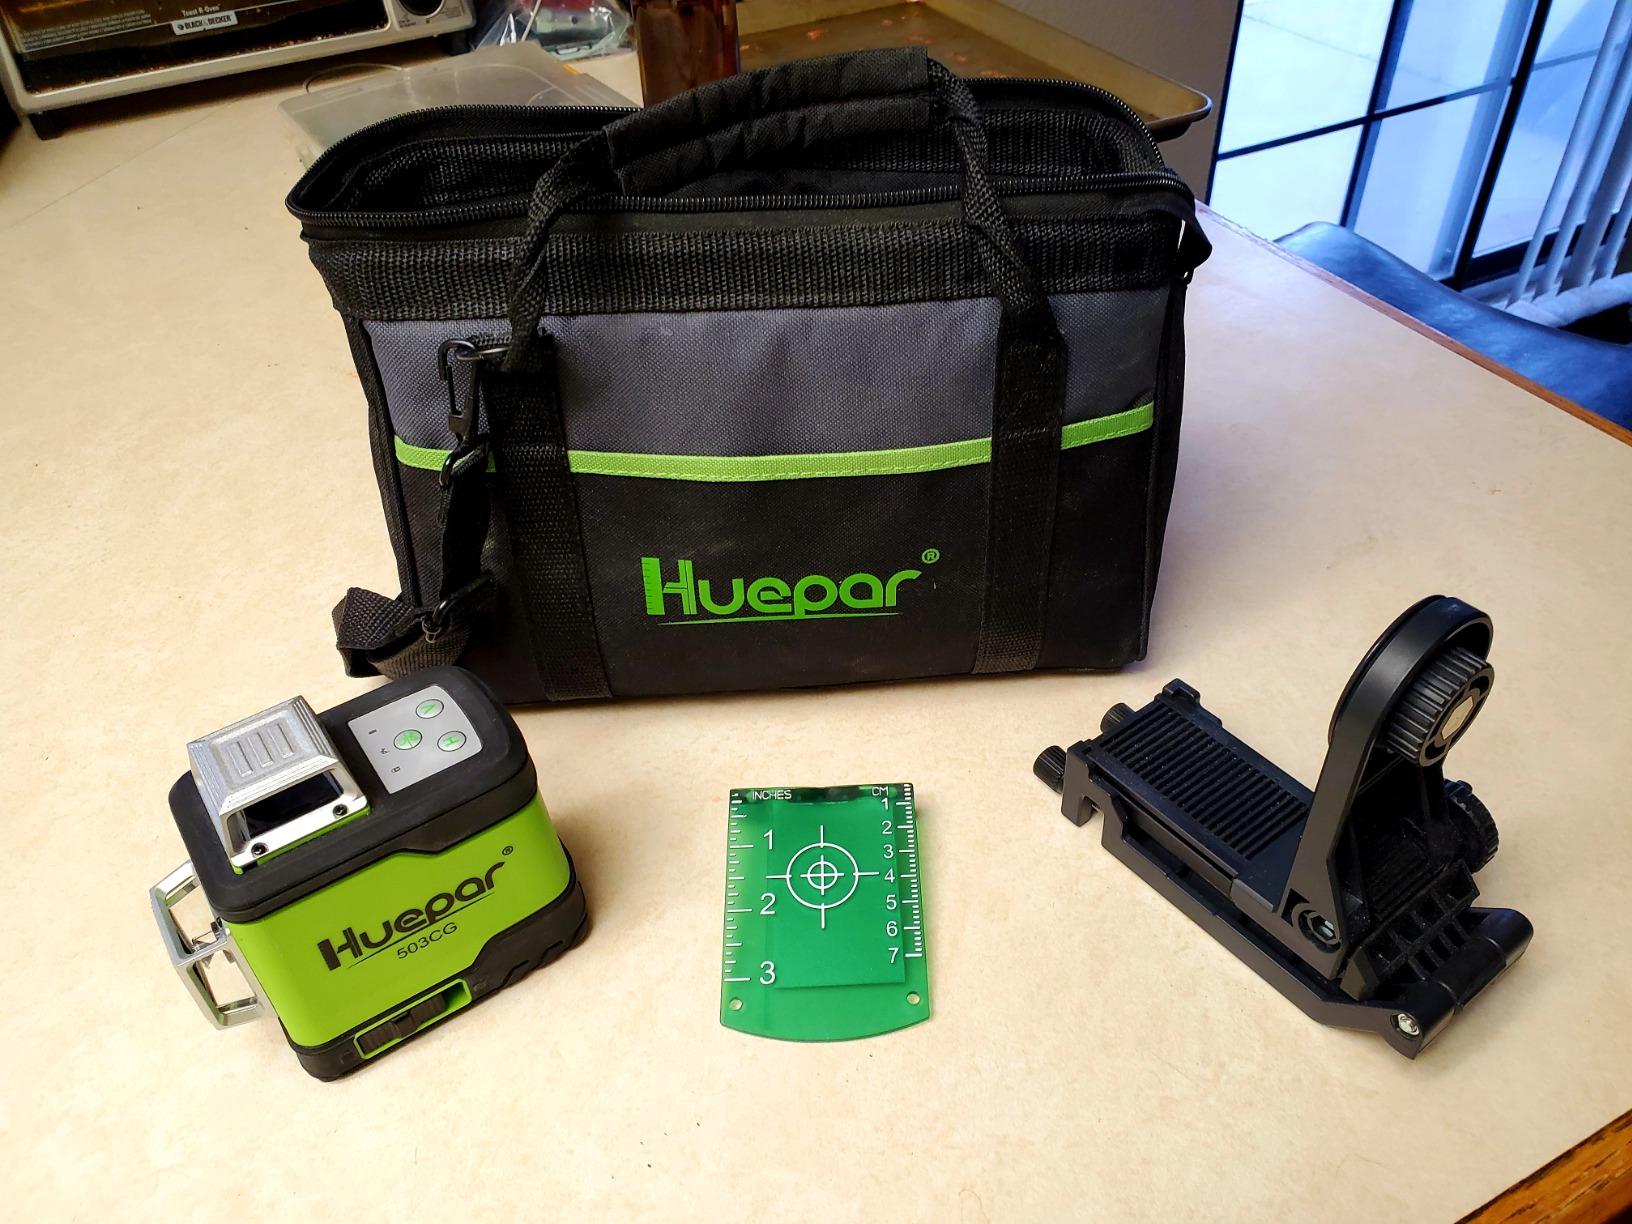
Green reads better than red in my kitchen during the day. It is not sunlight-proof, but the difference at normal indoor daylight through a window is immediate.
Accuracy is rated at plus or minus 1/9 inch at 33 feet with a working range up to 98 feet. Metal-framing users comparing it to Hilti and DeWalt report comparable build and visibility for far less money.
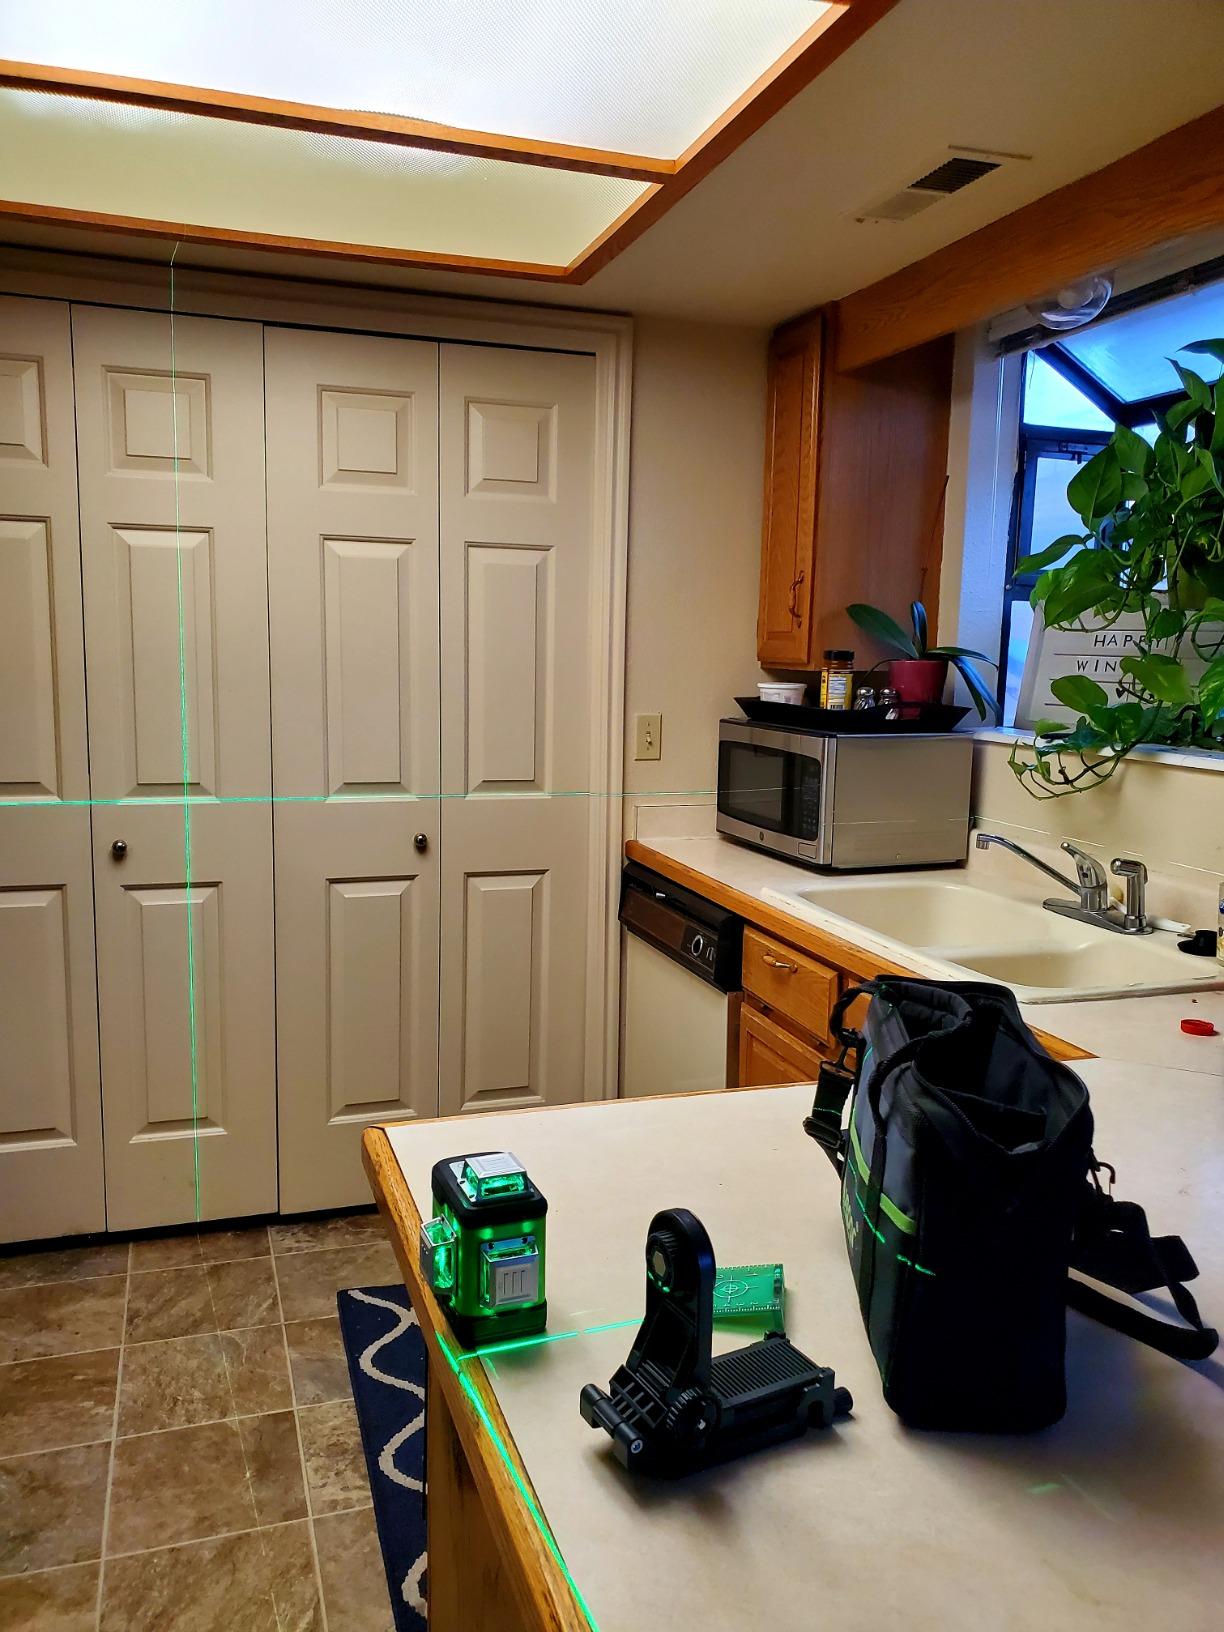
Why Three Planes Change the Layout Sequence
With a two-line cross laser, layout is sequential. Mark the left box, walk right, mark the next, and re-check each time. With three 360-degree planes, the whole run is live at once, which turns the work into one setup instead of six.
That matters most on long runs. Any error you introduce at the start of a ten-foot wall of uppers compounds across the doors.
Rechargeable Power and the Swap Problem
About eight hours of continuous working time covers a standard install, and four battery status indicators tell you where you stand. Type-C charging from a laptop or power bank is convenient on a job site.
The catch is that you cannot easily swap the battery while the tripod mount is attached, so a dead battery means unmounting first. Plan a charge break rather than a battery change.
Mounting, Adjustment and Stray Reflections
The included 360-degree magnetic bracket carries 1/4-20 and 5/8-11 threads plus two nail holes, which covers studs, backing and a screw-in option when there is no metal to grab.
The fine adjustment wheel on the holder does not have enough resistance for truly fine dialing, so set the height roughly and nudge the box with a shim instead. The glass laser window also throws stray reflections near mirrors, glass cabinet doors and glossy tile.
3. BLACK+DECKER BDL220S – Easiest Way to Hang a Few Cabinets in One Afternoon
BLACK+DECKER Laser Level, Self-Leveling, 360 Degree Wall Attachment, AA Batteries Included (BDL220S), 7.25 x 7 x 2.5 inches
360-degree rotating wall attachment
Two backlit bubble vials
AA batteries included
2-year limited warranty
+ Pros
- Rotating wall mount sets the line at any angle
- Backlit vials are easy to read
- No charging and no charging downtime
- Deep review history and simple one-tool operation
- Cons
- Red beam disappears in a bright room
- No vertical planes for a full-wall run
- Bubble vials are the primary reference
I want to be straight with anyone about to spend real money here: this one is not a laser line in the modern sense. It projects a line with a rotating wall attachment and gives you backlit bubble vials, which is a different tool for a different job.
For two upper cabinets and a shelf in a lit room, that is genuinely enough. The 360-degree rotating wall attachment projects the line at any angle, so you can reference around a corner or up a slope without repositioning the body.
With 13521 ratings averaging 4.3 stars, it is one of the most proven tools in this roundup. That history matters more than it sounds, because the failure mode of an unfamiliar cheap tool is a line you trust and should not have.
AA batteries mean no charging downtime at all, which is a real advantage when you are working in a kitchen with one reachable outlet.
What the Rotating Attachment Does and Does Not Solve
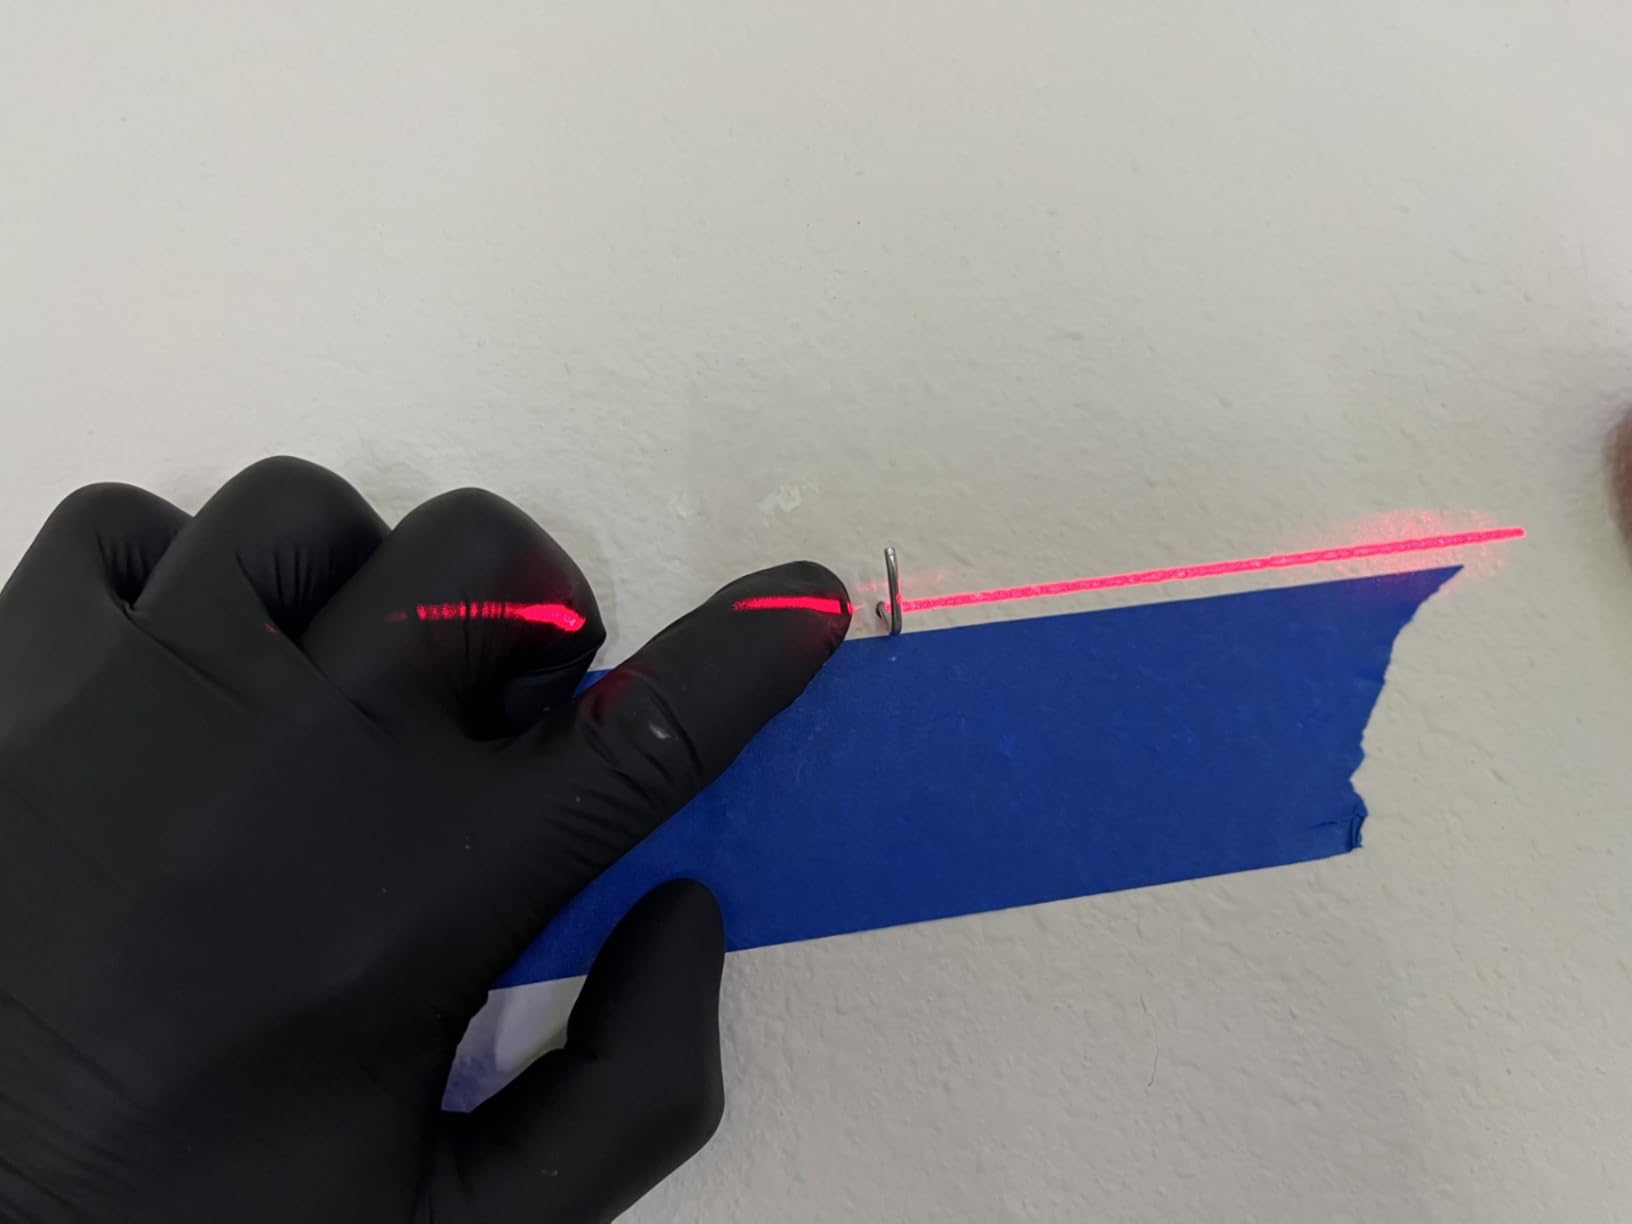
The rotating wall mount is the reason this tool still works for hanging things. It swings the projected line through a full circle from a fixed wall position, so a shelf run that turns a corner stays on one reference.
It does not project a continuous horizontal plane around the room the way a true 360 line laser does. For a straight run of boxes, that difference is small. For a room with a return wall and a window wall, it is not.
Backlit Vials and Beam Visibility in a Daylit Room
Two extra-large backlit bubble vials are the primary accuracy reference, and they are the part of this tool that works well. In a room with reasonable light, the vials are easy to read.
The red beam is the limitation. It disappears the moment daylight from a window hits the wall, which in most kitchens means working with the blinds closed or working later in the day.
Where It Fits in a Cabinet Project
Class 3R at 5mW or less, plastic body, 0.2 kg, and a 2-year limited warranty. It is a household hanging tool listed for pictures, mirrors, shelves and curtain rods, and it does all of that well.
My honest position: if the job is a full wall of kitchen uppers, buy a green laser. If the job is a weekend project with two boxes, this will not disappoint you and it will not need a battery charger.
4. Huepar 9011G – Best Value Green Laser for One Straight Wall of Uppers
Huepar Laser Level, 100Ft Self Leveling Green Cross Line Laser
Bright green cross lines
Plus or minus 1/16 inch at 16.4 feet
Self-levels within 4 degrees
Magnetic pivot base, tripod thread
+ Pros
- Green lines up to twice as bright as red indoors
- Compact palm-sized body with magnetic pivot base
- Self-leveling engages in under 3 seconds
- 24-month warranty with technical support
- Cons
- Only a two-line cross reference
- Flashing out-of-level alert triggers easily
- AA batteries need periodic replacement
Accuracy is the headline here. At plus or minus 1/16 inch at 16.4 feet, this is the tightest published figure among the two-line units in this roundup, and reviewers confirm it in practice.
The 360-degree magnetic pivoting base is genuinely useful at cabinet height. You stick it to a stud or a bracket, swing the body to the line, and the vertical plane is there when you need to check a box for plumb.
Green lines up to twice the brightness of traditional red lasers in a lit room is the difference between working and squinting. Locking the pendulum switches to manual mode for angled lines, which is handy for scribing a sloped ceiling line.
Why Two Lines Is Enough for a Single Wall
One horizontal and one vertical line is all a straight run of uppers needs. The horizontal line is your rail reference, and the vertical line is your plumb check at each box end.
What you give up is the ability to keep working from a single setup. Once you move the unit to the far end of the wall, the reference changes, and a long run means several moves.
The Flashing Alert and How to Avoid It
The most mentioned learning curve on this tool is the continuous flashing when it sits outside its plus or minus 4 degree self-leveling range. An uneven surface or a slightly off-level tripod head will trigger it.
Before you blame the tool, check the surface it is sitting on. A magnetic base on a painted wall with a stud behind it is not the same as a base screwed to a stud centre.
Power, Size and Line Quality
Two AA batteries, a 2.9 by 2.8 inch palm-sized body and Class 2 output under 1mW. Drop resistance is rated to 47.2 inches, and the carry bag and magnetic bracket are in the box.
Line thickness and beam breaks from the protective window can make very fine mark reading harder, so this is a layout tool rather than a precision instrument. For a scribe line, mark the centre and measure out.
5. Skil LL932201 – Best Continuous Red Line Around a Small Kitchen
SKIL 65ft. 360° Red Self-Leveling Cross Line Laser Level with Horizontal and Vertical Lines Rechargeable Lithium Battery USB Charging Port, Compact Tripod & Carry Bag Included – LL932201
Red 360-degree horizontal line
Automatic self-leveling
Rechargeable lithium-ion battery
5-year manufacturer warranty
+ Pros
- Continuous red horizontal line for a full rail reference
- Automatic self-leveling removes manual dialing
- Rechargeable battery with status indicators
- Locking mode handles angled backsplash layouts
- Cons
- Red beam is hard to see in a lit room
- No 360-degree vertical planes for plumb checks
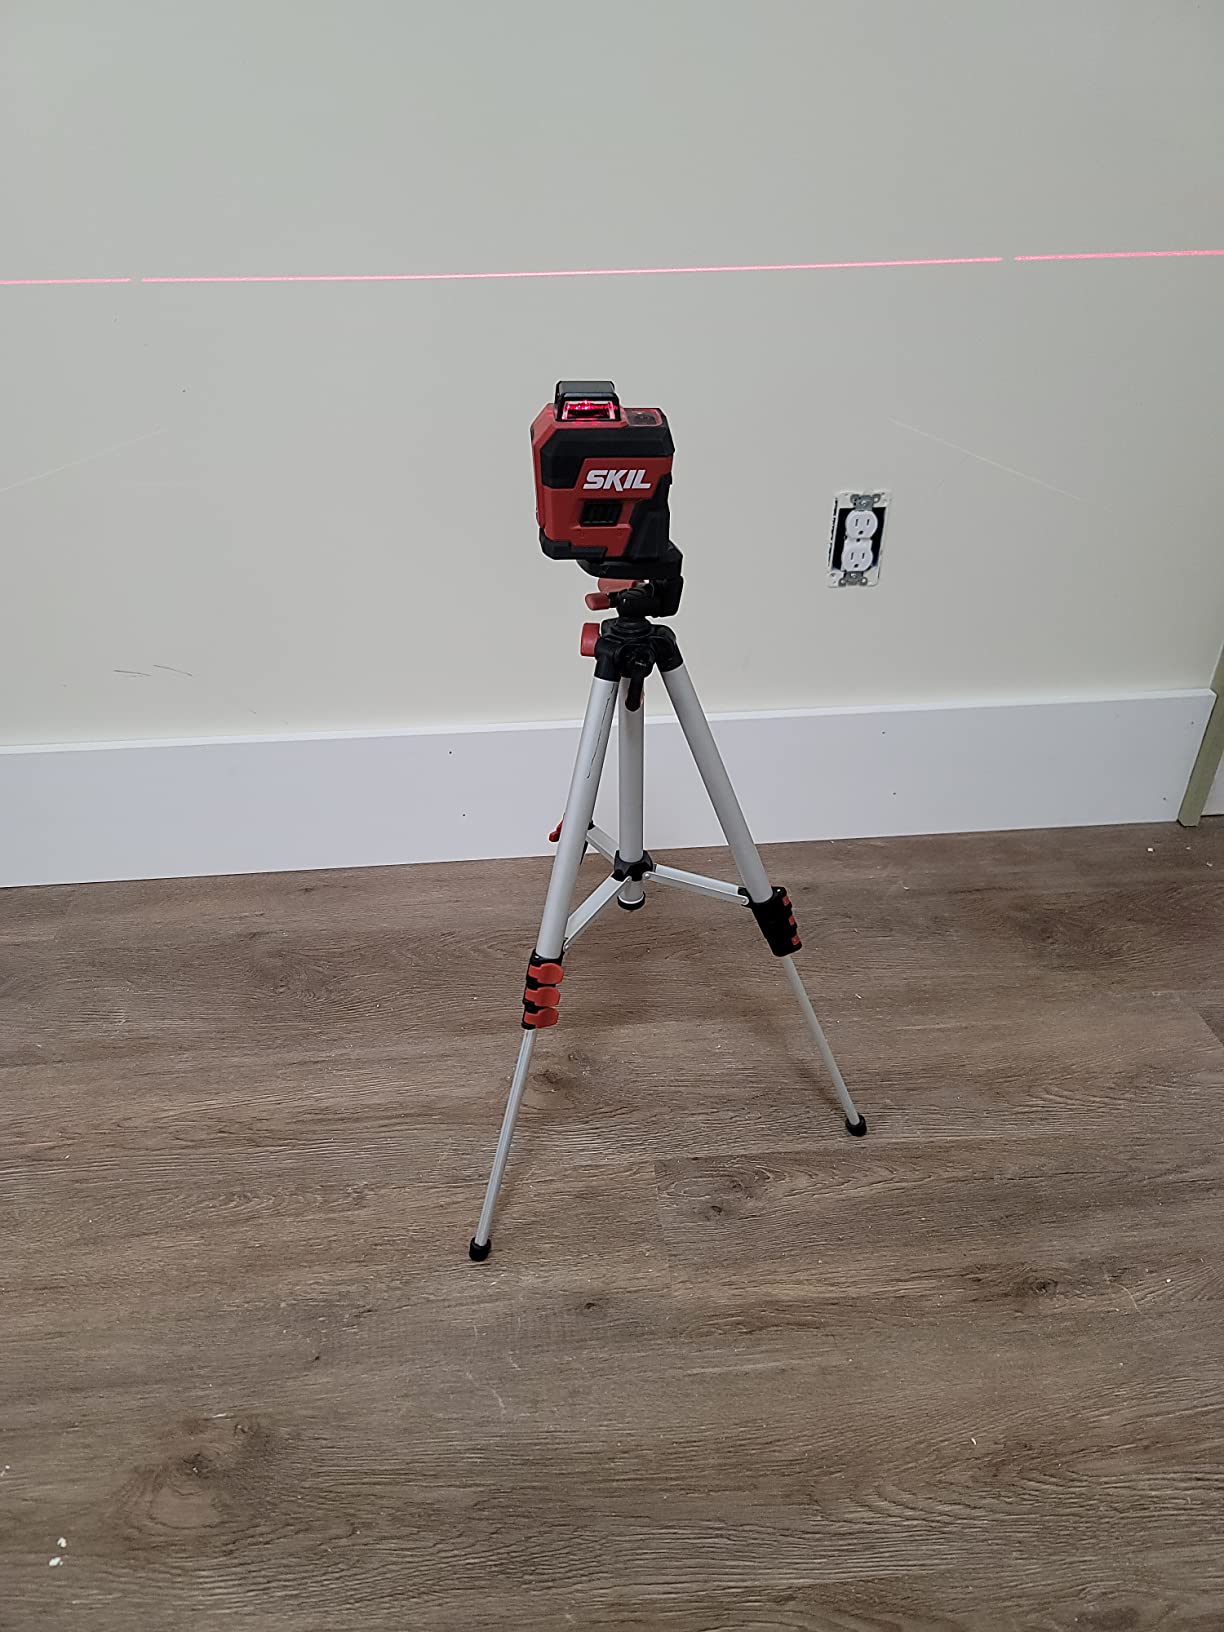
- Tripod tops out at 3.5 feet
A continuous red horizontal line, projected all the way around a room up to 65 feet, is exactly one thing. For marking a cabinet rail across an entire run, that one thing is well done.
Automatic self-leveling removes the guesswork, and the locking mode projects lines at any chosen angle, which covers diagonal backsplash tile and other non-level layouts.
The rechargeable lithium-ion battery with a charge indicator removes the disposable battery cost entirely, and a 5-year manufacturer warranty is unusually long in this class.
Being a recognised household brand name matters more than it sounds. If the unit stops behaving, there is a support structure behind it rather than a listing with no replies.
One Continuous Line Versus Three Planes
The continuous horizontal plane is the strength here. Mark your rail line once and the whole run plus the far wall share it, which is the single most valuable thing a laser does on cabinet day.
What you do not get is the 360-degree vertical planes a 3D unit offers, so checking a box for plumb means putting a hand level on the front edge. For most installs that is a ten-second job, not a problem.
Red Beam Reality in a Kitchen
Red is noticeably harder to see than green in moderately lit rooms, and the shorter cross line is much less visible outdoors or in direct sunlight. In a kitchen with a window over the sink, plan the bright part of the day for other tasks.
Micro-USB charging is dated next to the Type-C standard on the newer units in this roundup, but the cable is included and the battery is internal.
Tripod Height and What It Means for Uppers
The included adjustable tripod reaches a maximum height of 3.5 feet, and the unit is 2.89 by 4.22 inches. That is a comfortable working height for a standard wall cabinet rail, but it is not high-wall or ceiling territory.
If your uppers sit high, budget for a taller tripod. The 1/4-20 thread is standard, so any tripod will hold it.
6. Takamine GM160 – Best 4×360 for Uppers Under a Low Ceiling or Deep Soffit
Takamine 16 Line Green Laser Level Pro,4×360 4D Cross Line for Construction
4x360 coverage with 16 lines
Low ground line projects at 1/2 inch
Range up to 130ft at plus or minus 1/9 inch
Remote control and Type-C charging
+ Pros
- Four 360 planes with a low ground-level horizontal line
- Accuracy reported dead on with bright crisp lines
- Remote control is ideal for overhead marking
- Rotating base with 3D micro-adjustment knobs
- Cons
- Magnetic arm is weak at full extension
- Touch buttons change modes when handled
- Laser and battery cannot run at the same time
The feature that makes this worth a second look is the low ground-level horizontal line, which can project as low as half an inch, with the top plane reaching down to 4 inches from the top surface.
That is built for tight soffits and uppers. When the cabinet top is tucked under a bulkhead, a standard 3×360 unit cannot put a usable line in the gap, and this one can.
Installers praise the accuracy and the crispness, including one report of lines staying readable with a garage door open on a sunny day. Several buyers rate it as good as or better than Huepar units at a lower cost.
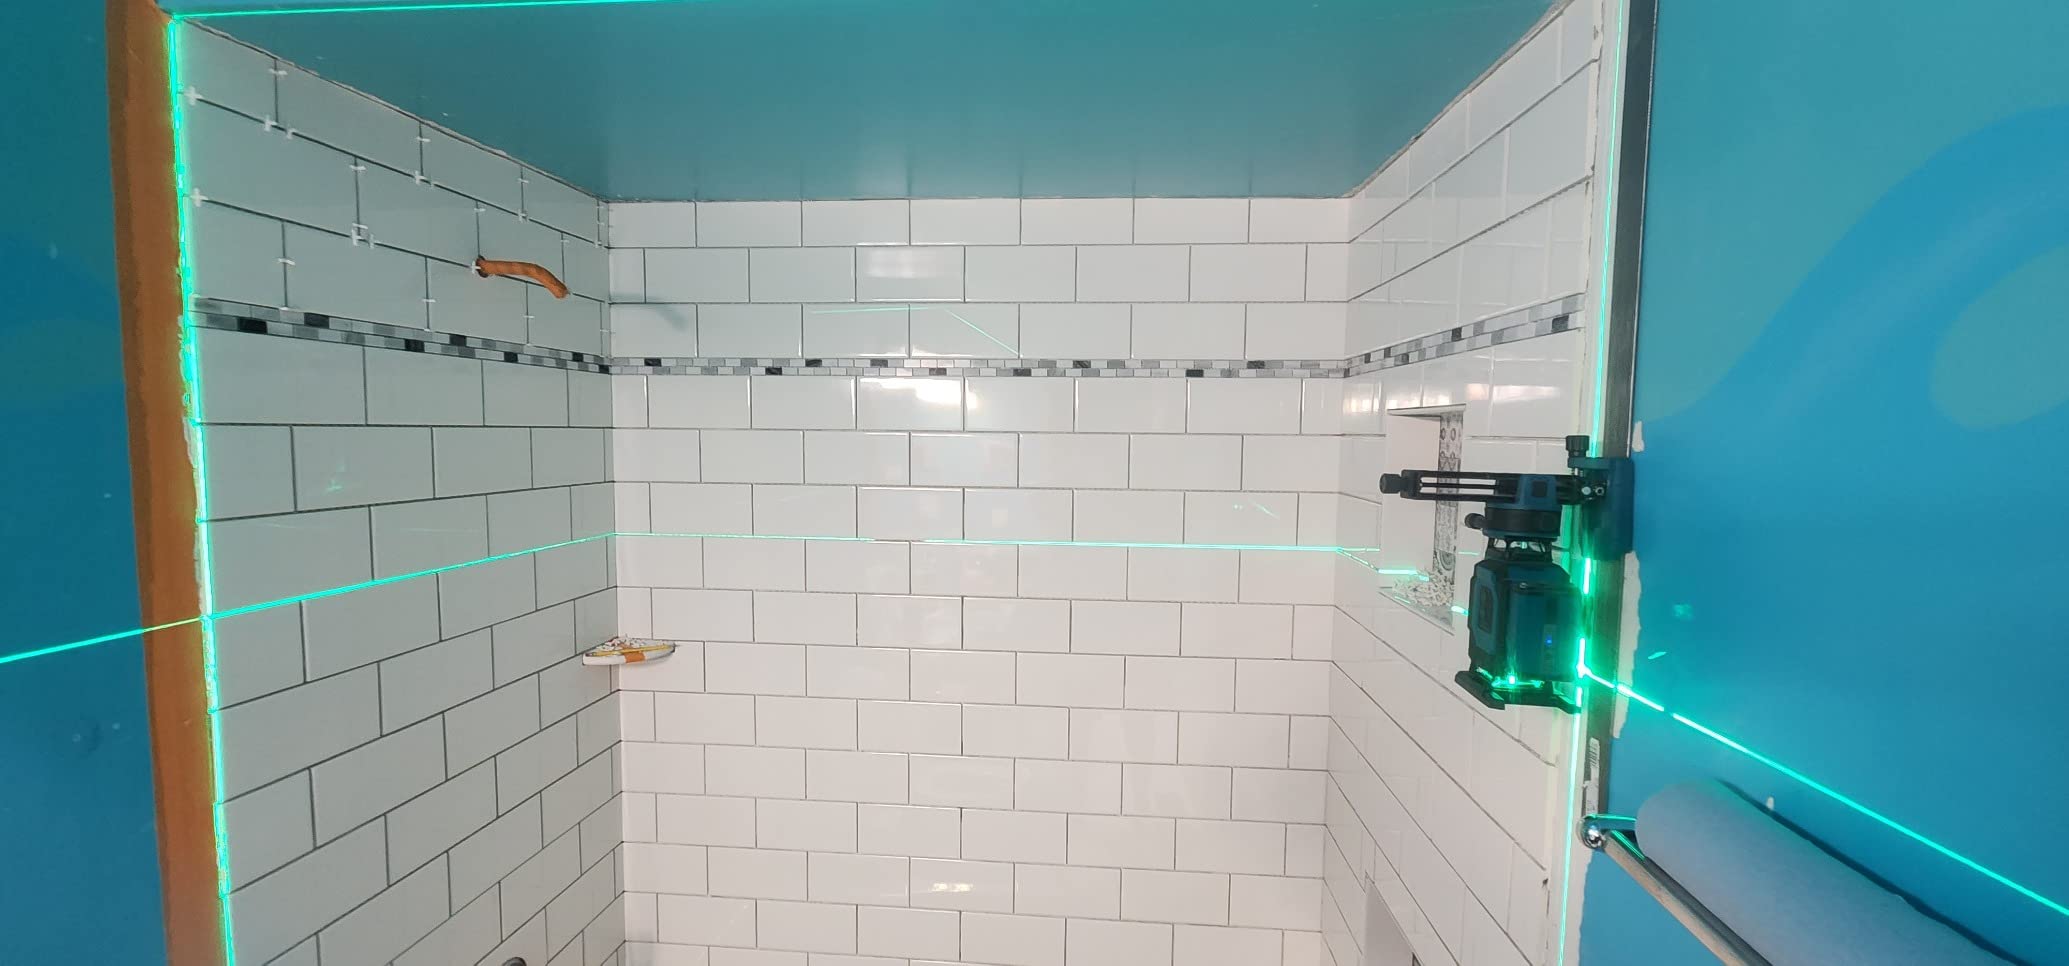
The remote control is a standout when you are marking overhead against ceiling joists, because you can change planes without climbing back up.
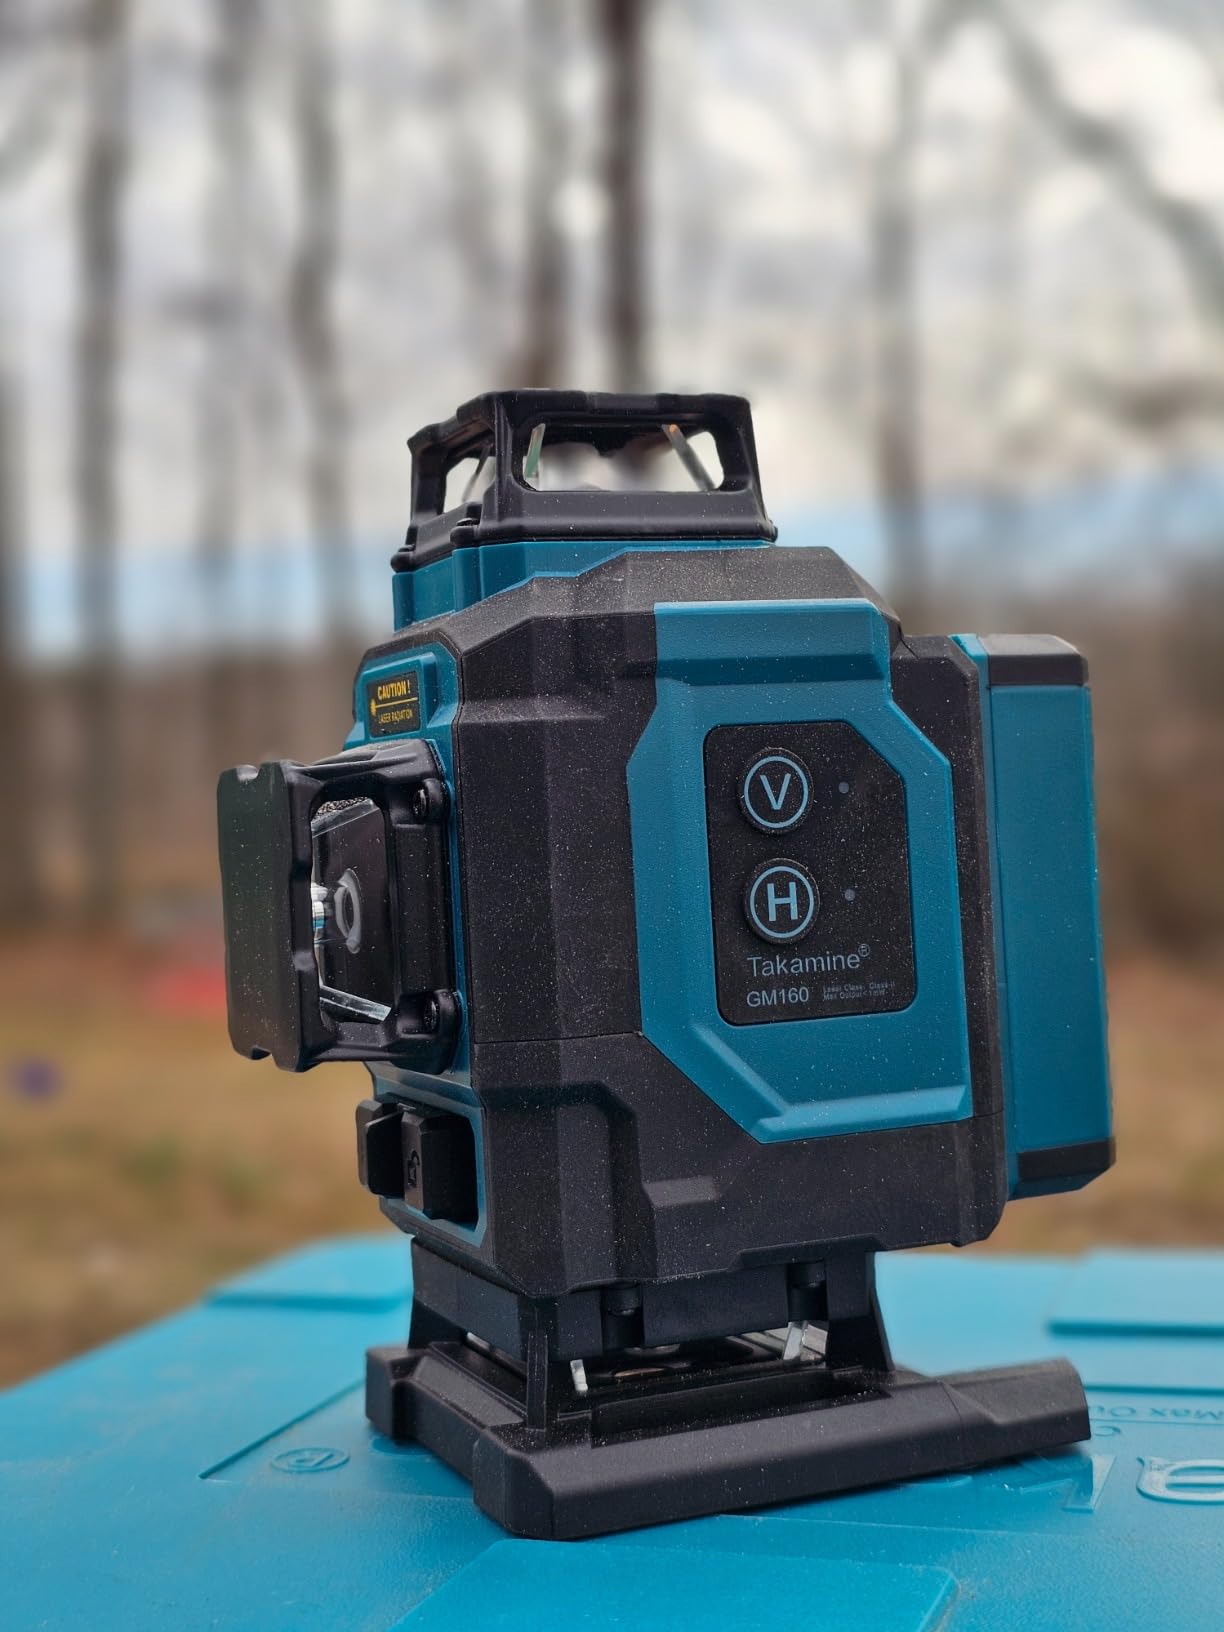
Four 360-Degree Planes and Sixteen Lines
Two horizontal 360 planes and two vertical 360 planes give 16 lines, which is the most reference geometry in this roundup. For a room where cabinets appear on three walls at different heights, that is the difference between one setup and three.
Working range is up to 130 feet at 100LUX with accuracy of plus or minus 1/9 inch at 33 feet, and outdoor pulse mode extends that to 200 feet with a Takamine receiver.
Mounting Weakness You Need to Plan Around
The adjustable magnetic arm magnets are too weak at full extension, and the unit can come loose with slight vibration. There is no magnet built into the body, so extra mounting pieces are needed for wall or stud mounting.
Treat the bracket as a positioning aid rather than a permanent mount. If you are tapping screws overhead, the unit needs a screw-in option or a solid screw-fixed platform.
Touch Buttons and the Power Sequence
Touch-activated side buttons are very sensitive and change modes when the unit is handled, which is a genuine irritation mid-install. Wrap the base in a cloth or use the remote instead of touching the sides.
The laser and battery cannot be operated at the same time, so the unit must come off the mount to swap power. Budget for charging breaks rather than hot swaps.
7. IKOVWUK B1-12 – Best Battery Life for a Two-Day Install
IKOVWUK Laser Level with 12 Green Lines, Built-in 5200 mAh Li-ion Battery
3x360 layout with 12 lines
5200mAh Li-ion, up to 8 hours
Remote works through walls
Projection range up to 65 feet
+ Pros
- Single placement gives level plumb and square references
- 5200mAh covers multi-day sessions
- Remote control works through walls
- Strong magnetic hold reported by trade users
- Cons
- Lines wash out in bright and low light
- Charges only with the included AC block
- Persistent out-of-level beep cannot be disabled
When the install spills into a second day, battery capacity stops being a detail. The built-in 5200mAh Li-ion is rated up to 8 hours, and drywall installers report running it multiple times a week without a charging routine.
Three 360-degree planes give level, plumb and square references from a single placement, and H and V buttons select horizontal or vertical lines individually so you can turn off the planes you are not using.
The remote control works up to 16 feet and operates through walls, which is genuinely useful when the unit is mounted above a run of uppers and you are standing on the floor.
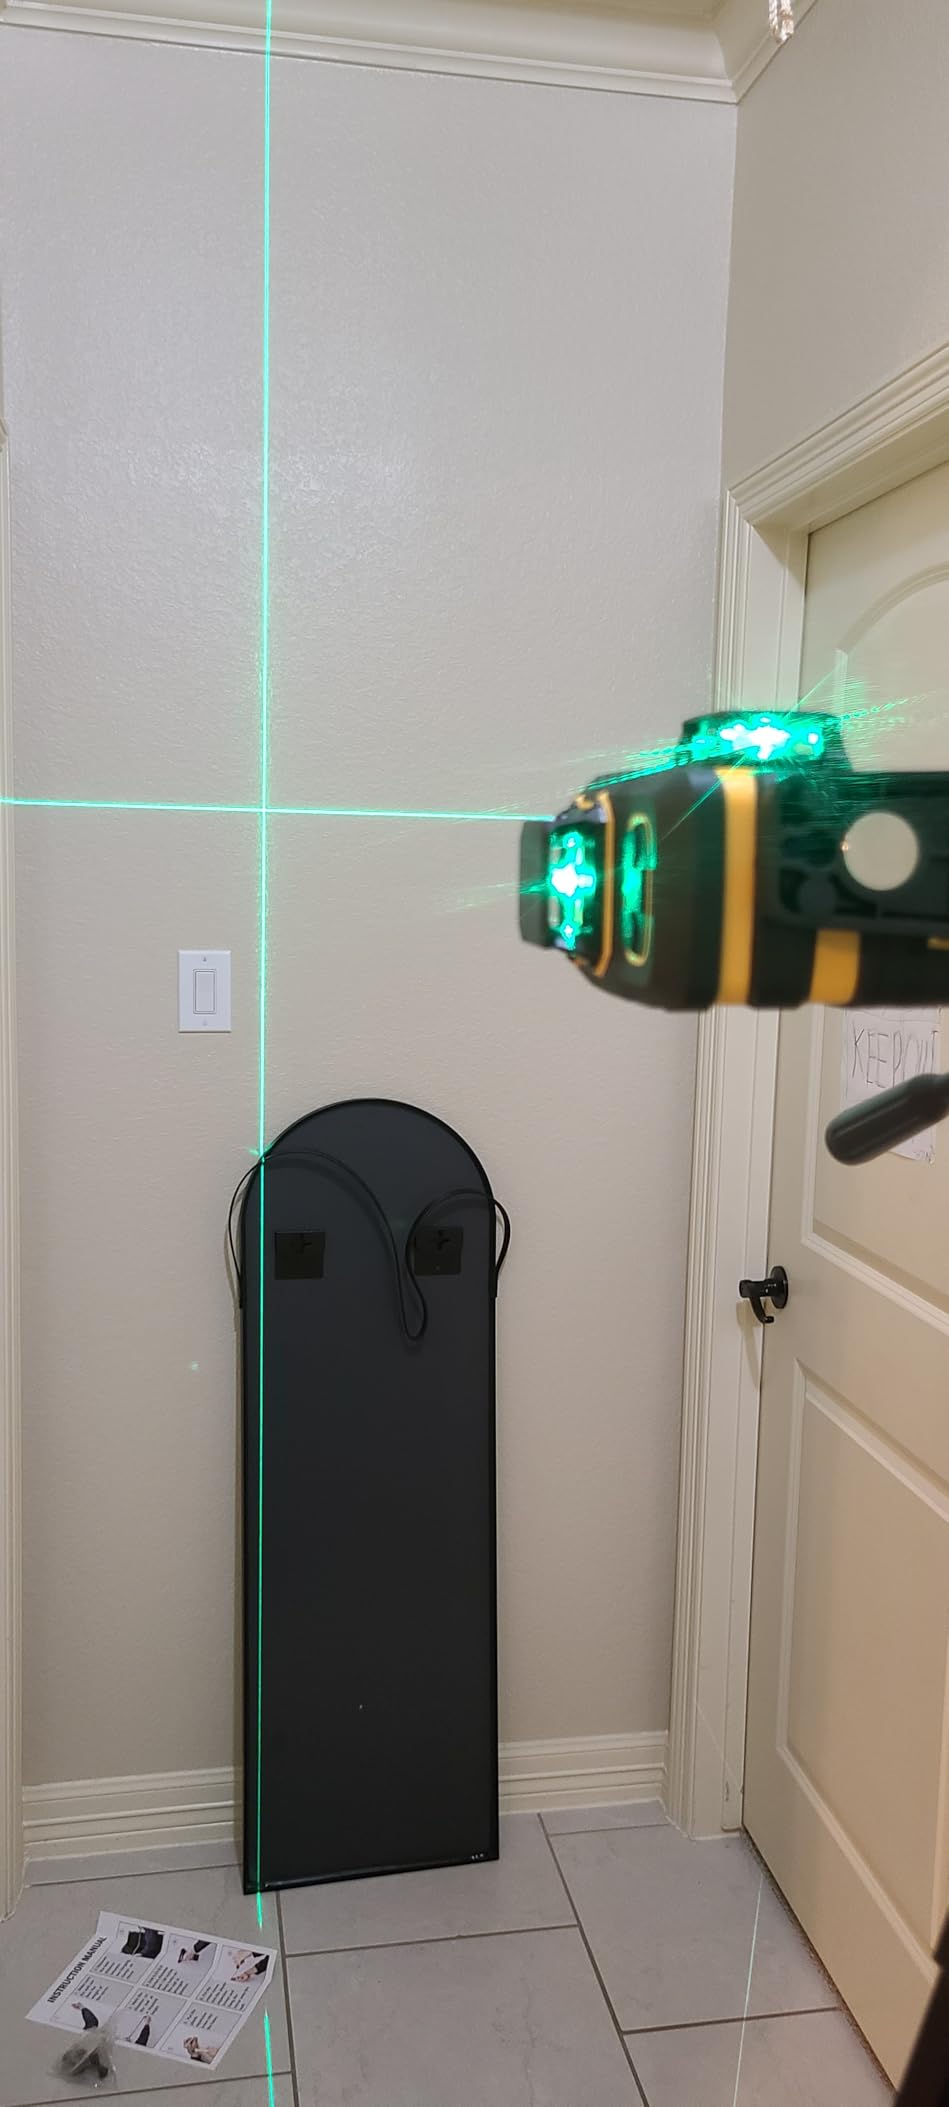
The kit includes an L-shaped magnetic bracket, a metal sheet to mount to, a charger and the remote. The metal sheet is the piece people miss, because without a steel target the magnet has nothing to hold.
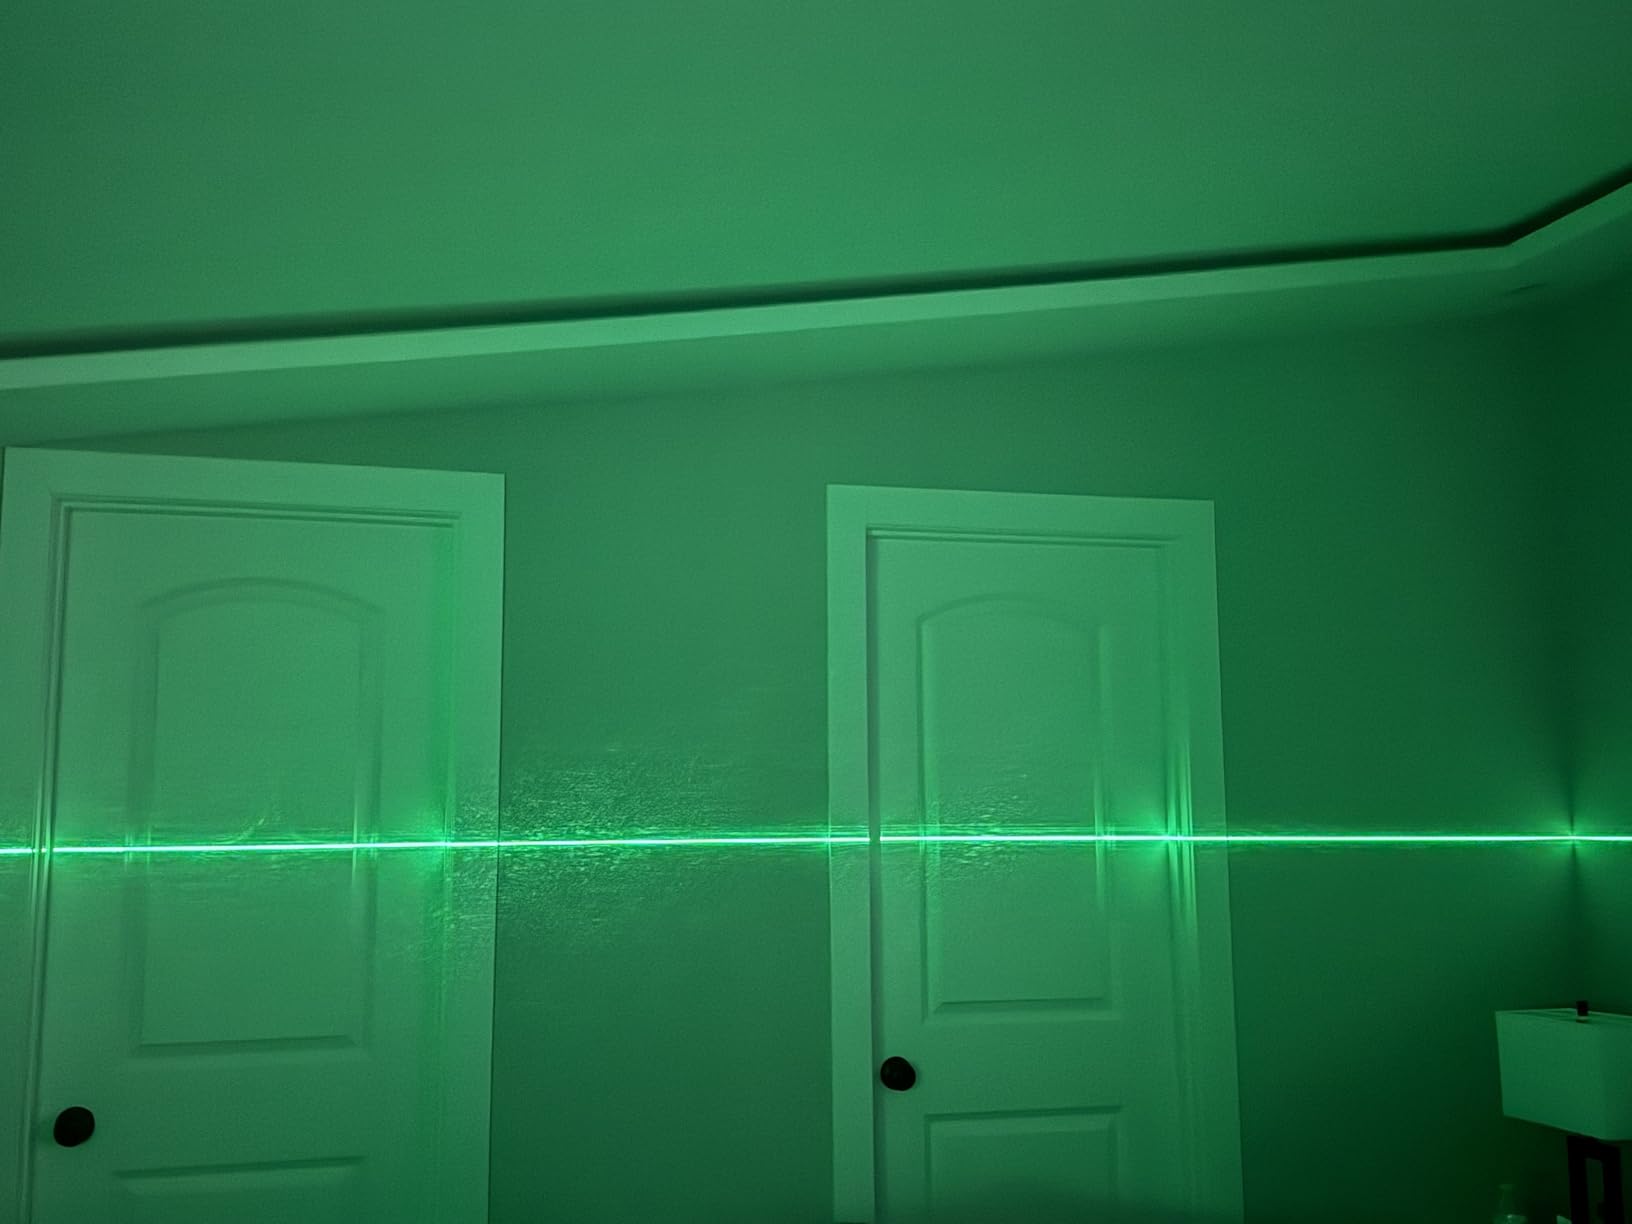
Line Visibility Is the Weak Spot
Reviewers are direct that lines wash out in bright light and are hard to see even under a low headlamp after dusk. That is unusual to hear and worth taking seriously, because a green line that vanishes is the failure that stalls a job.
Two brightness levels and a pulse mode are available, and pulse mode extends the range for outdoor use. For indoor cabinet work in a normally lit kitchen, expect to work in the lower brightness band.
Charging: Read This Before You Buy
It charges only with the included AC charger block. USB-C cables and other adapters will not charge it, which is the single most common complaint after the beep.
Keep the supplied block in the bag. If you are the type who charges everything with one cable, this will annoy you on day one.
Self-Leveling, the Beep and Reported Faults
Self-leveling engages within 3 degrees when powered on, and holding the brightness button for 3 seconds toggles manual mode for angled layouts. The persistent out-of-level beep is the other recurring complaint and cannot be disabled on some units.
A small number of units report drifting out of level or failing to power back on after sitting unused, so check the unit within the return window. Line thickness and beam quality are average next to premium brands.
8. KEZERS KL4D-03G – Most Complete 4D Kit in One Bag
KEZERS Laser Level Set with Receiver,4 x360 Self Leveling Laser Level with Tripod and Grade Rod for Construction,Home Renovation,Hanging Pictures,2 Batteries,Remote Control,Touch Screen
Four 360 planes, 16 lines
Touch LCD for battery and line selection
Two 4000mAh batteries, 8 hours
Includes receiver, grade rod and tripod
+ Pros
- Most complete package in the category
- Top bottom and two vertical references from one placement
- Touch screen shows battery status
- Two batteries with 8 hours on all 16 lines
- Cons
- Highest price point in this roundup
- Touch controls add menu steps
- Bulkier 29 by 10 inch packaging
Four 360-degree planes here are organised differently: a top horizontal line for ceiling installation, a floor horizontal line for tile, and two vertical lines intersecting at 90 degrees for square layout.
The floor line can be raised with the lifting base to project past obstructions between 1 and 3.54 inches. On cabinet work that is useful, because a floor line sitting behind baseboard trim is a line you cannot snap a mark to.
The touch LCD screen shows battery status and handles H, V and M selection plus brightness, which removes the small-button fumbling that plagues cheaper multi-line units.
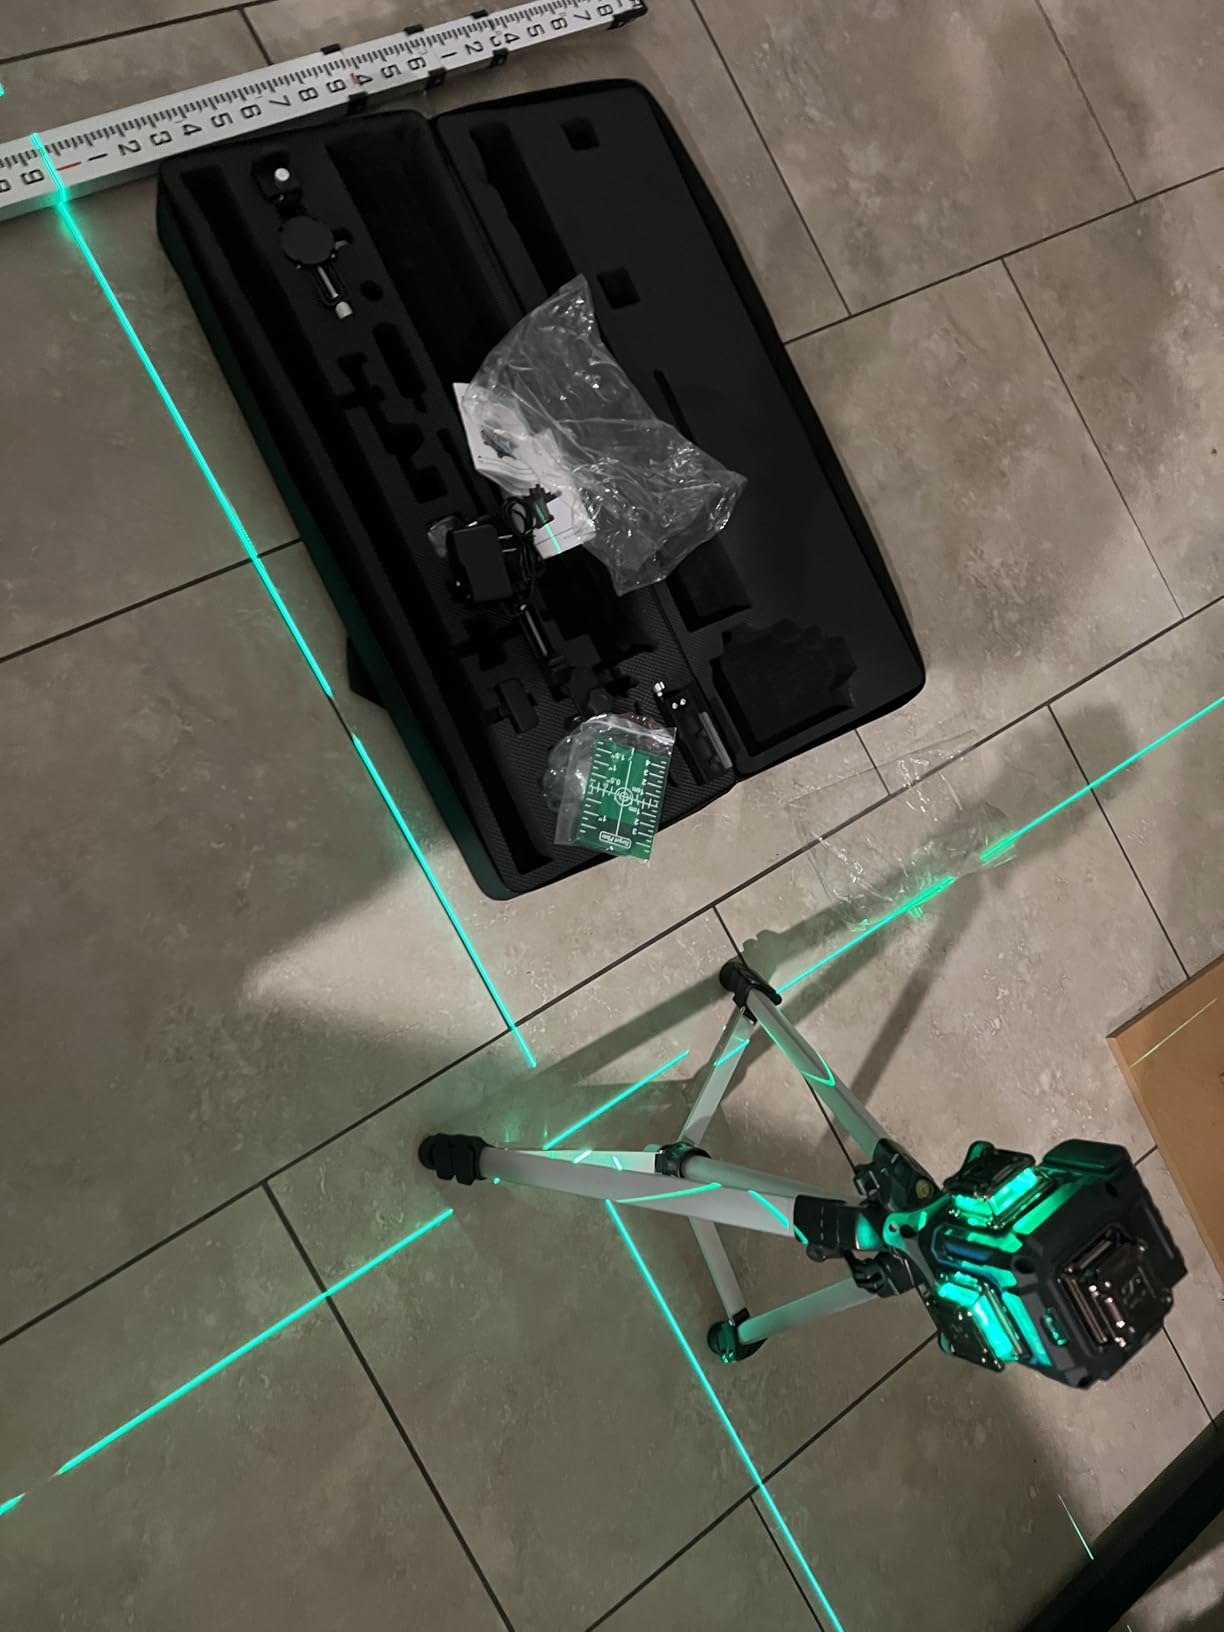
Two 4000mAh Li-ion batteries give up to 8 hours with all 16 lines running, and one can stay on the charger while the other works. That swap capability is the reason to buy two over one.
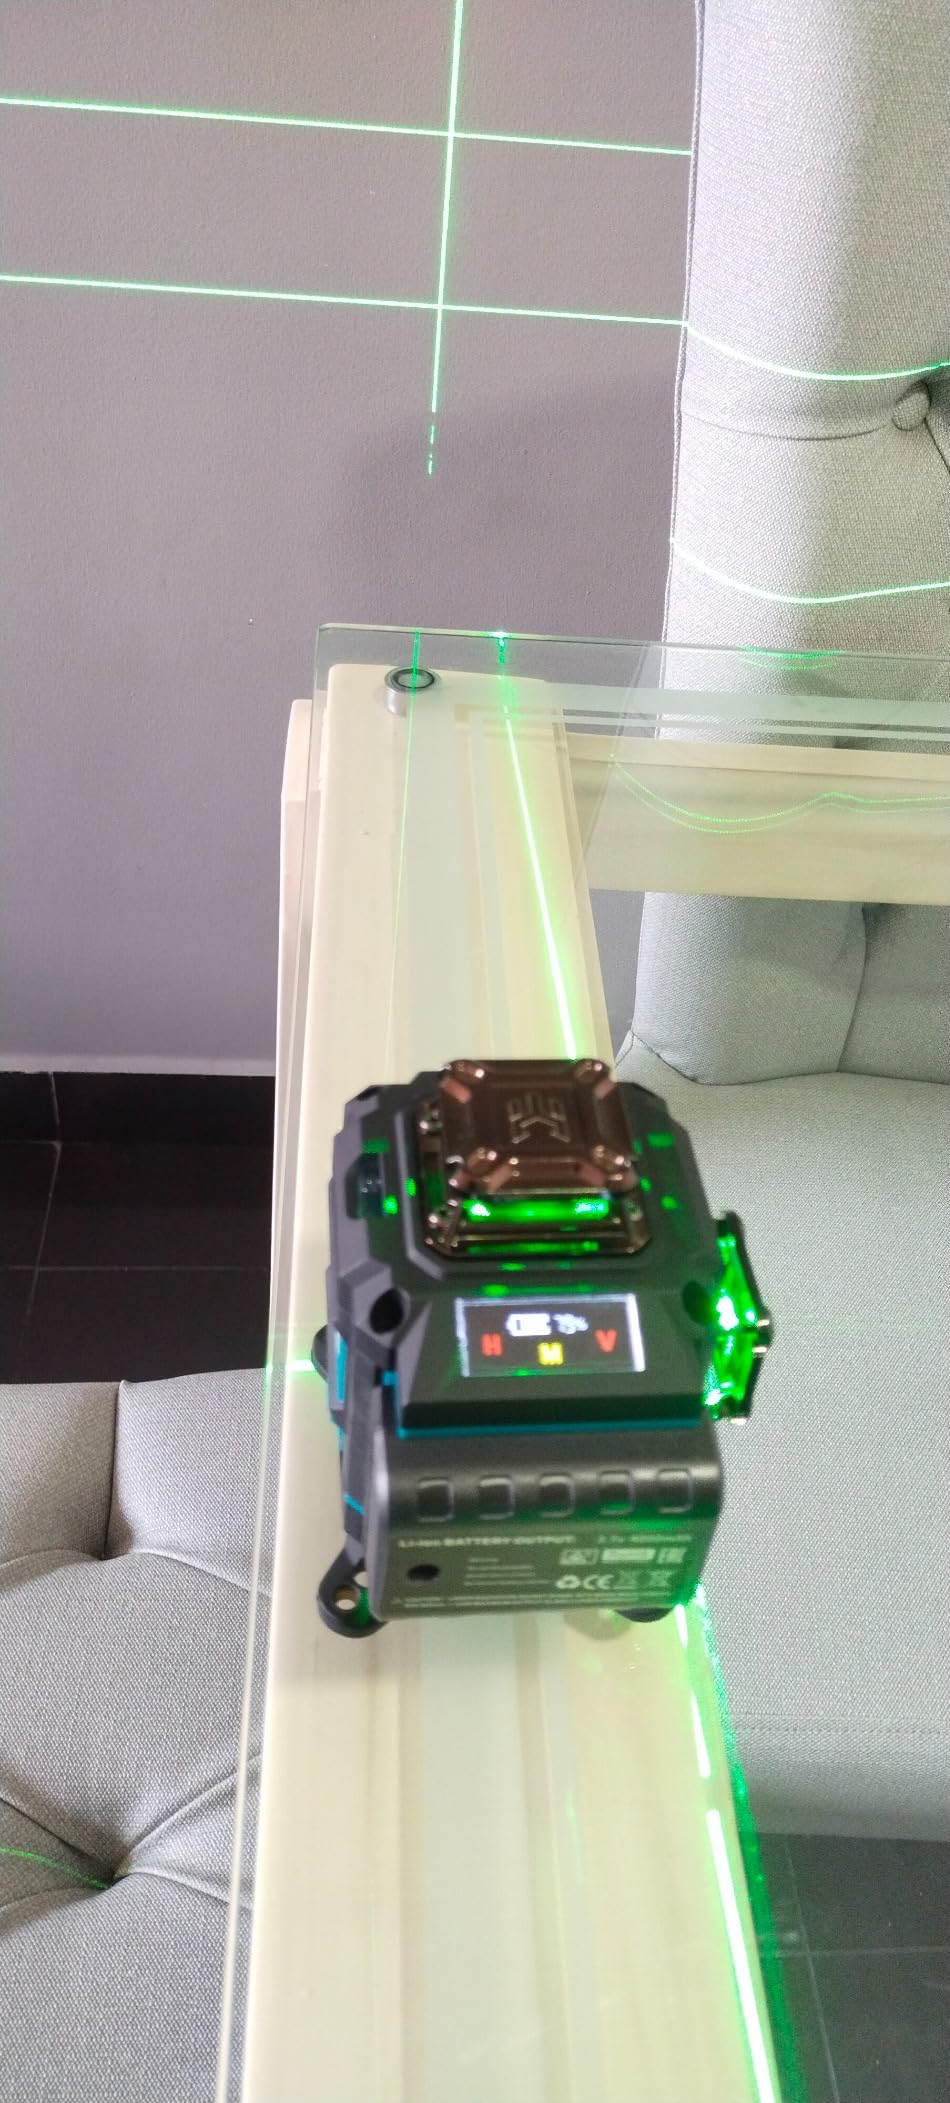
What Is in the Bag and What You Will Ignore
The set includes the 16-line laser, two batteries and charger, a 60-inch tripod, a 9ft grade rod, a laser receiver, a target plate, a magnetic hanging bracket, a lifting base, a 5/8-11 threaded adapter, a remote and a carry bag.
For cabinet work specifically, the grade rod and receiver are layout and outdoor tools. I have never needed either while hanging a wall cabinet, and you are paying for hardware that will sit in the bag.
Self-Leveling and the Audible Alert
The smart pendulum system self-levels and beeps when out of range beyond plus or minus 3 degrees, and locking the pendulum switches to manual mode. The audible alert is useful but adds a step compared with a silent two-button unit.
Pulse mode reaches up to 164 feet with the included KEZERS receiver, and the 1/4-20 thread is compatible with tripods, the magnetic bracket, the lifting base and the supplied 5/8-11 adapter.
Portability and Touch Sensitivity
At 29 by 10 inches packaged, this is bulkier to store and transport than a bare laser, which matters if you are hauling tools between rooms rather than living in a van.
Some users find the touch screen sensitive to accidental touches while handling the unit. Set the lines before you mount it, not after.
9. CIGMAN CM-S01 – Best for Changing Lines Without Climbing Down
CIGMAN Green Laser Level 3×360° Self Leveling, App Control CM-S01
Bluetooth app control
Three 360-degree green planes
Plus or minus 1/9 inch at 33 feet
4000mAh, up to 12 hours at max intensity
+ Pros
- App control changes lines and brightness remotely
- Accuracy verified against a bubble level
- Three planes simplify squaring without moving the unit
- Users report dropping it without losing calibration
- Cons
- Included magnetic wall mount is underpowered
- Accuracy drifts over long distances
- Weak in bright sunlight without a receiver
The Bluetooth app is the differentiator here. You change laser orientation and pulse mode from anywhere in the room, which on a ladder-based install is a genuine safety and time improvement.
Three 360-degree planes cover walls, ceiling and floor, and each plane is selectable by the H and V buttons or through the app. Accuracy is plus or minus 1/9 inch at 33 feet with a range up to 98.4 feet.
The 4000mAh rechargeable battery is rated up to 12 hours at maximum intensity or up to 56 hours at minimum intensity, which is the best worst-case number in this roundup.
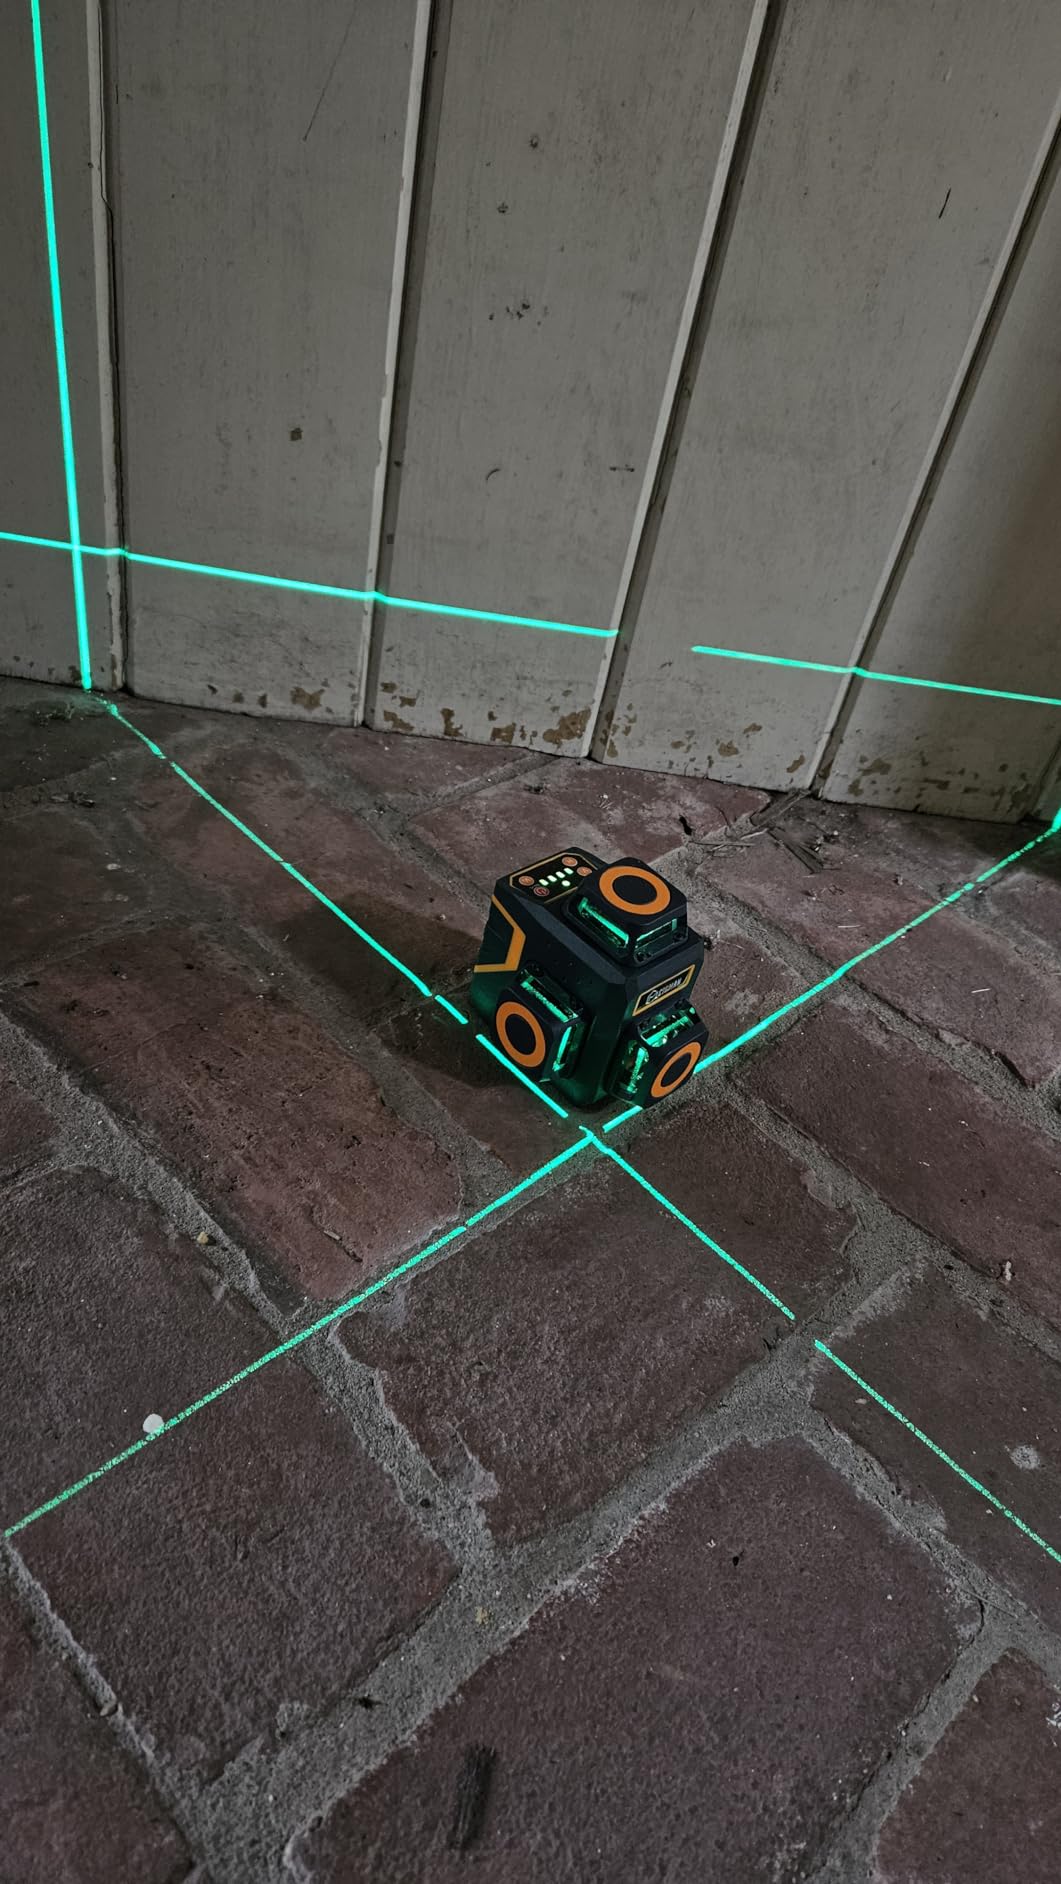
Users report the green line is sharp and very bright, and several have dropped the unit without losing calibration, which is not a claim I can make for every laser in this list.
Battery Life and Four Brightness Levels
Four brightness adjustment levels plus an external pulse mode extending range to 164 feet give you a workable answer for most indoor lighting conditions. Running at minimum intensity is what unlocks the long runtime.
Green is rated at roughly twice the brightness of red at equal power, so a lower brightness level is often still more readable than a red laser at full output.
The Mount Is the Weak Link
The most repeated complaint about this unit is the included magnetic wall mount. It is underpowered for the weight of the laser, can slip, and can trigger false out-of-level flashing when it shifts.
Buy a proper magnetic bracket or a screw-fixed platform rather than relying on the supplied one. The kit does include a magnetic L base with a 360-degree rotating base and 1/4-20 thread, so you have a starting point, just not a final one.
Accuracy Over Distance and App Learning Curve
Line accuracy drifts somewhat over long distances compared with premium brands, so for a 10-foot kitchen run it is fine, and for a large open plan space you would want to re-check mid-run.
Switching between laser planes takes a moment to learn. A few users also report power or charging faults and unsatisfying customer service response, so keep the purchase protected.
10. Motovera LL-T2 – Best Bundle When You Do Not Own a Tripod
Motovera Self Leveling Laser Level 100ft, Green Cross Line with Tripod, 4 Brightness Modes & Pulse Function, Manual & Self-Leveling Modes, IP54 Waterproof for Picture Hanging, Tile, DIY Construction
Green cross lines, plus or minus 1/9 inch at 33ft
Includes 15-46 inch aluminum tripod
Four brightness modes and pulse function
IP54, drop resistant to 30 inches
+ Pros
- Aluminum tripod dials the line to working height
- Green lines stay visible in well-lit rooms
- Multiple brightness settings and pulse mode
- Carry bag fits both level and tripod
- Cons
- No magnet on the back limits mounting options
- Claimed 100ft visibility is optimistic
- Emitter window covers about a 90 degree angle
Most two-line lasers ship with a magnetic bracket and leave you to solve height. This one ships with a premium aluminum tripod extending from 15 to 46 inches with a 3-way head, 360-degree swivel and 90-degree tilt, and that solves the problem on its own.
Getting the beam to cabinet height is the most common friction point in cabinet work. A tripod that extends past eye level means you are not crouching to read a mark, and the 90-degree tilt lets you reference a non-level line.
Accuracy is plus or minus 1/9 inch at 33 feet, self-leveling engages within 4 degrees, and manual mode projects angled lines for stairs and custom layouts.
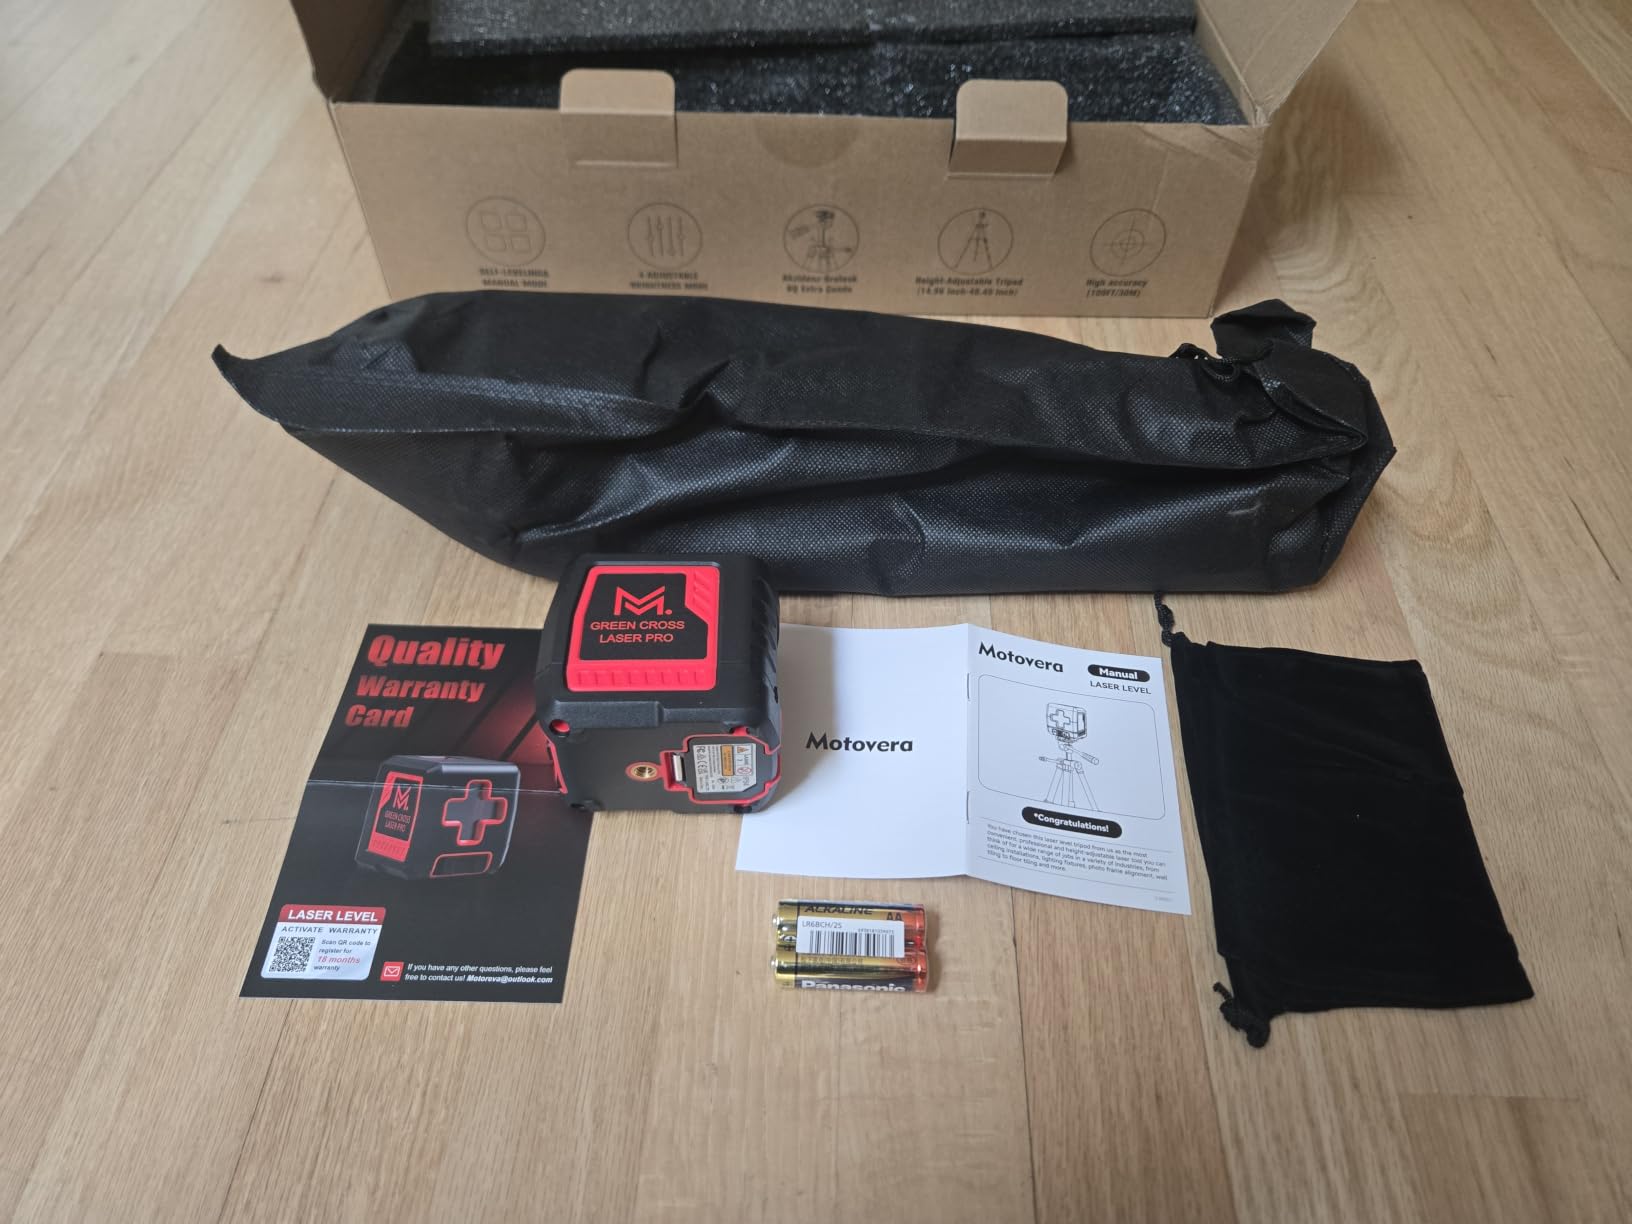
IP54 dust and water resistance and drop resistance to 30 inches are honest figures for indoor work, and the 24-month warranty with 24/7 online support is a reasonable commitment from the brand.
The Tripod Is the Real Feature
A tripod that extends to 46 inches puts the horizontal plane at working height for a standard wall cabinet rail, and the three-way head with 360-degree swivel lets you swing the vertical line to any wall in the room.
This is the rare budget package where the included accessory is the reason to buy rather than something you will replace within a month.
Visibility and the 100ft Claim
Reviewers say the claimed 100ft visibility is optimistic and that the line is only clearly visible at single-room distances. For cabinet work, single-room is the relevant number, and at that range the green line stays bright.
The laser emitter window is limited to roughly a 90 degree viewing angle, so you cannot walk behind the unit and still see the vertical line. Plan your working side.
Mounting Limits and the Two-Line Ceiling
There is no magnet on the back, so mounting height is limited to what the tripod gives you unless you add a bracket yourself. The protective acrylic window also creates tiny gaps or breaks in the projected lines.
As with any two-line cross reference, there are no vertical 360-degree planes for a full cabinet run, so this is a single-wall tool. Reviewers rate it as strong value for cabinet, chair rail and tile layout work.
11. Alloyman T2 – Tightest Published Precision for Fine Scribe Lines
Alloyman Laser Level with Tripod, 4 × 360° Self Leveling Laser Level, Nivel Laser Green Line Lazer Leveler Tool for Picture Hanging, Home Renovation, Indoor Project, 2*Battery&Carrying Bag Included
4x360 green coverage, plus or minus 0.2mm per 10m
Aluminum alloy emission window
Two 4.0V batteries, 12 hours
Three-position tripod included
+ Pros
- Published precision of plus or minus 0.2mm per 10m
- Aluminum alloy window is more durable than plastic
- Three-position tripod plus low tripod and platform
- Two batteries for up to 12 hours
- Cons
- Pulse mode needs a receiver that is not included
- Line thickness is not especially fine
- Build and finish sit below Huepar and Takamine
The stated precision of plus or minus 0.2mm over 10 meters is the tightest published figure in this roundup, and for a run of painted wall cabinets where every filler panel has to match, that is the number that matters.
Four 360-degree planes give complete room coverage for aligning multiple cabinet boxes against a single reference, and the aluminum alloy emission window is a genuine step up from the plastic windows used on cheaper units.
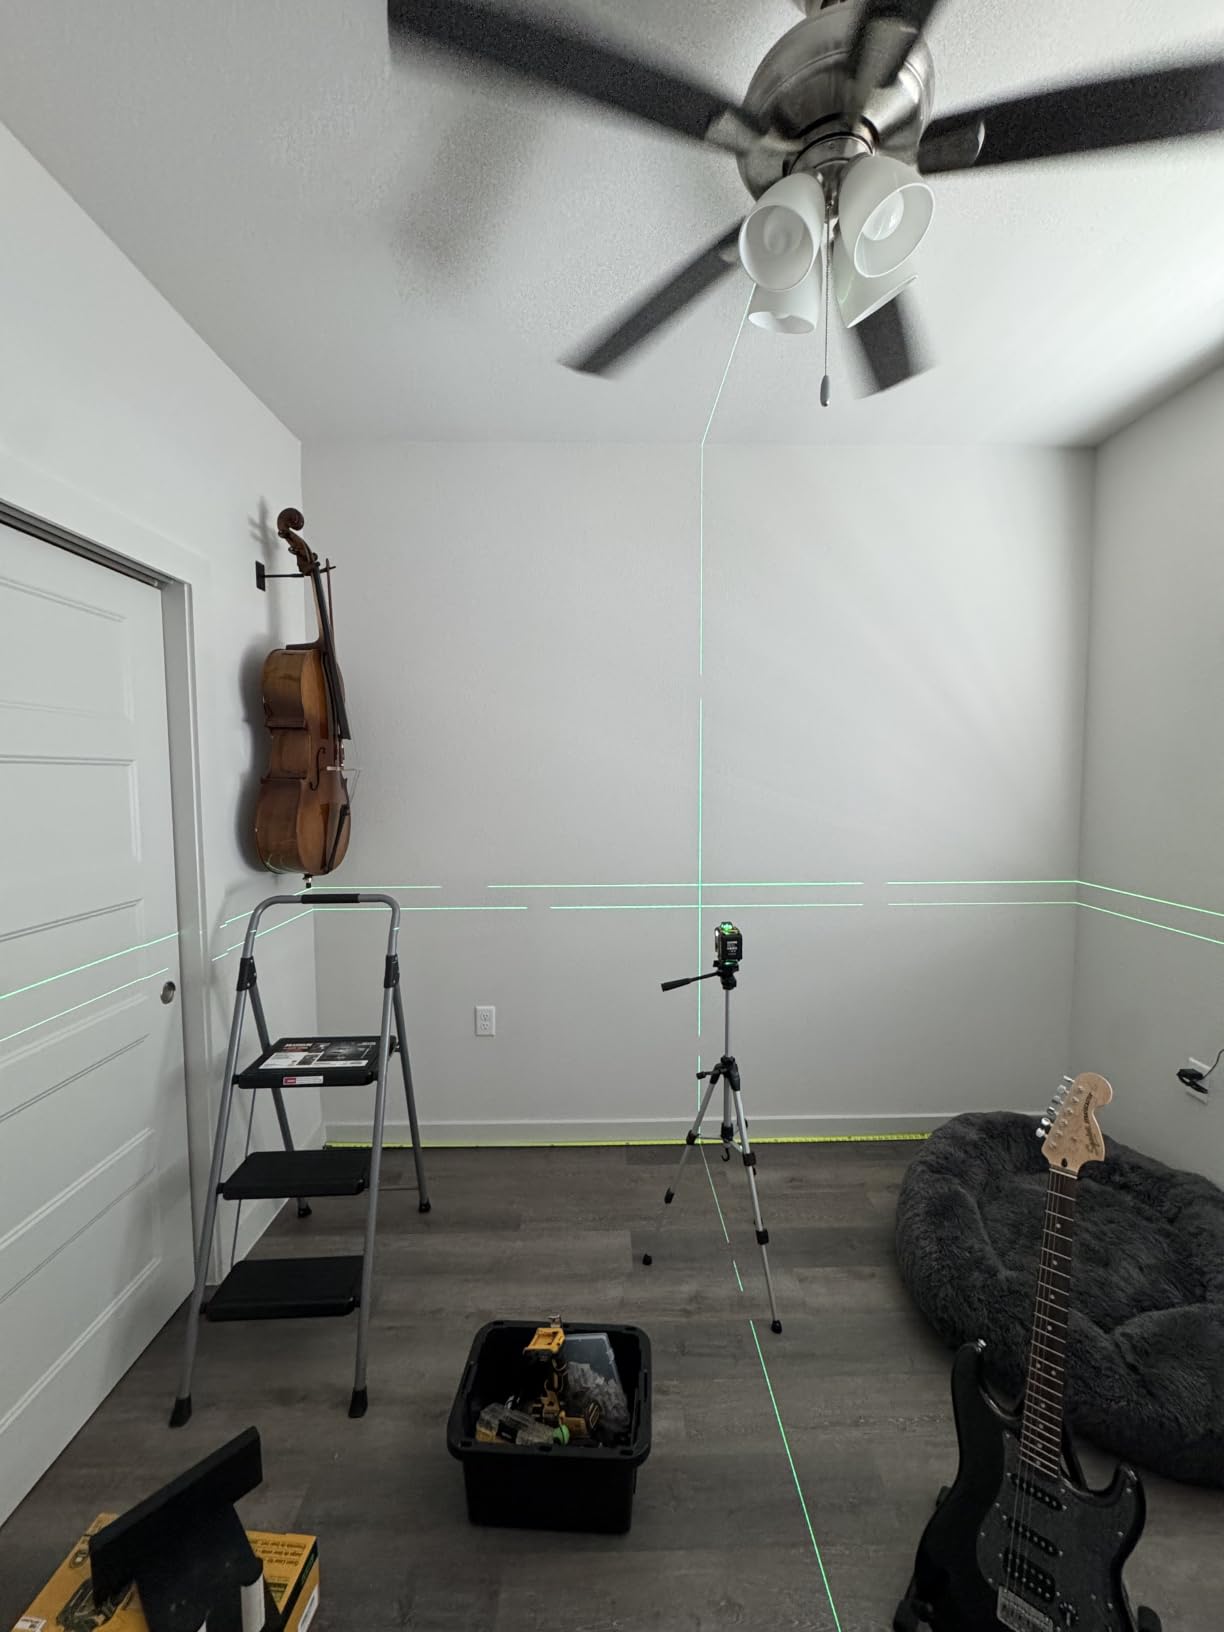
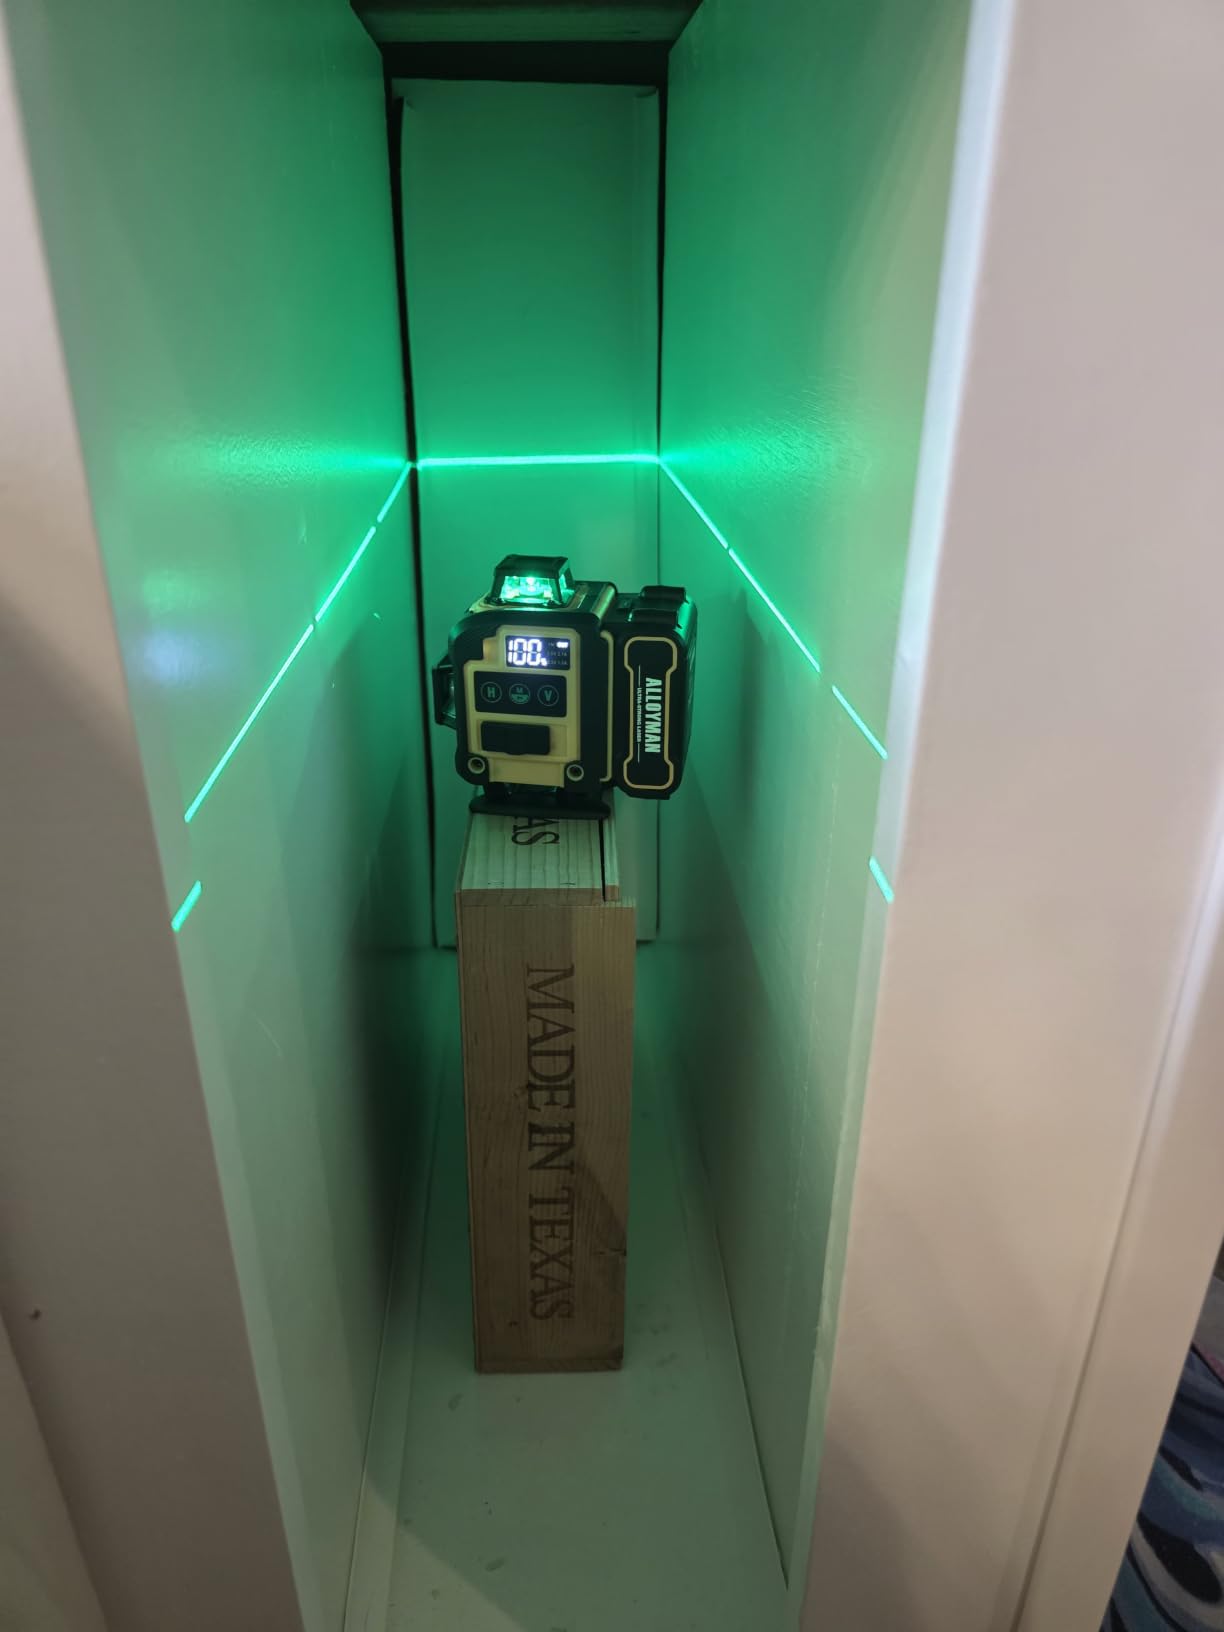
The mounting package is the best in this price range. A three-position adjustable tripod at 17, 24 and 37.5 inches, a low tripod, an elevating platform and a rotating magnetic bracket cover a wide span of working heights.
Two 4.0V lithium batteries deliver up to 12 hours of continuous use, and the remote control means you can adjust lines without walking back across the room.
What That Precision Number Means on a Wall
Plus or minus 0.2mm over 10m is roughly a twentieth of an inch across a long run, which is well inside what a shim or a scribe cut can correct. It does not mean the cabinets will fit themselves; it means the line you mark is the line you get.
That distinction is the whole argument for a laser over a hand level, and a tighter spec simply means less shimming and less filler.
Self-Leveling and the Silent Manual Mode
Self-leveling activates within a 3 degree tilt with a flashing warning beyond that, and manual mode stays stable past 3 degrees for angled layouts such as a diagonal backsplash.
The catch is that manual mode is quiet and gives no out-of-level warning, so angle errors can go unnoticed. If you use manual mode, verify with a hand level before you commit a row of cabinets to it.
What the Kit Leaves Out
Outdoor pulse mode extends measurement range up to 98 feet, but the receiver is not included. For indoor cabinet work that is not a problem, since pulse mode is an outdoor feature.
Line thickness is comparable to other green 3D lasers and not especially fine, and overall build and finish sit below the class-leading Huepar and Takamine units despite similar published specs. You are buying the spec sheet here more than the feel.
12. Lusweimi L16A – Full 16-Line Coverage on a 72-Inch Tripod
Lusweimi Laser Level with 72” Tripod, 16-Line 4×360° Self Leveling Green Laser Level with Remote, 2 Batteries and Carry Bag for Construction, Floor Tiling and Home Renovation
16 lines with 4x360 coverage
Includes 72-inch heavy duty tripod
Green lines for indoor visibility
Remote, two batteries and carry bag
+ Pros
- Full 16-line 4x360 coverage from one setup
- 72-inch tripod gives a stable working height
- Green lines clearly visible indoors
- Remote and two batteries reduce interruptions
- Cons
- Weak instructions for laser and tripod
- Only one bubble level included
- Tripod center of gravity hangs low and may sway
This is a 16-line 4×360 unit bundled with a 72-inch heavy duty tripod, and reviewers single out the tripod as the reason the package makes sense. A taller, more stable base is exactly what a high cabinet rail needs.
Sixteen lines across four 360-degree planes create reference lines for walls, floors and ceilings, which suits long cabinet and shelving runs where a three-plane unit runs out of references.
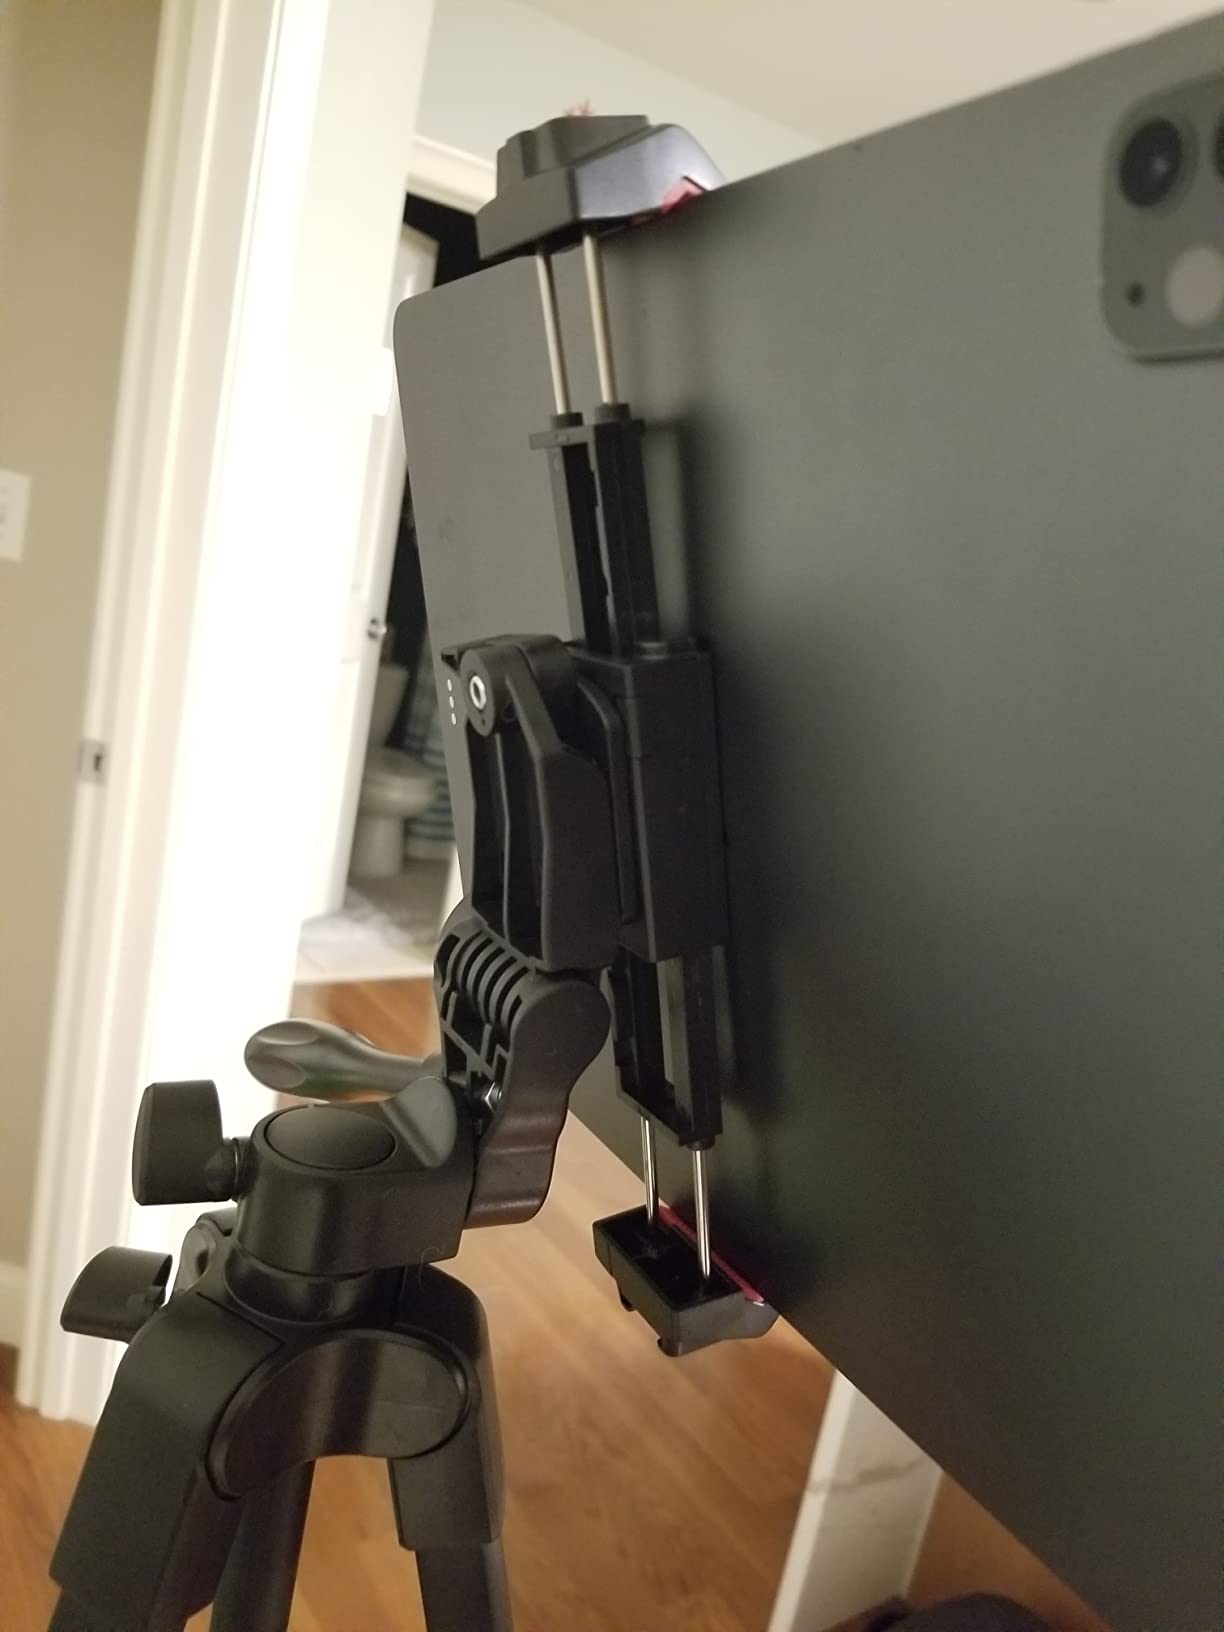
The designers clearly accounted for tripod stability, which is the thing that quietly ruins accuracy. Most mini bases in this category let the unit sway, and sway shows up as a line that moves while you are marking.
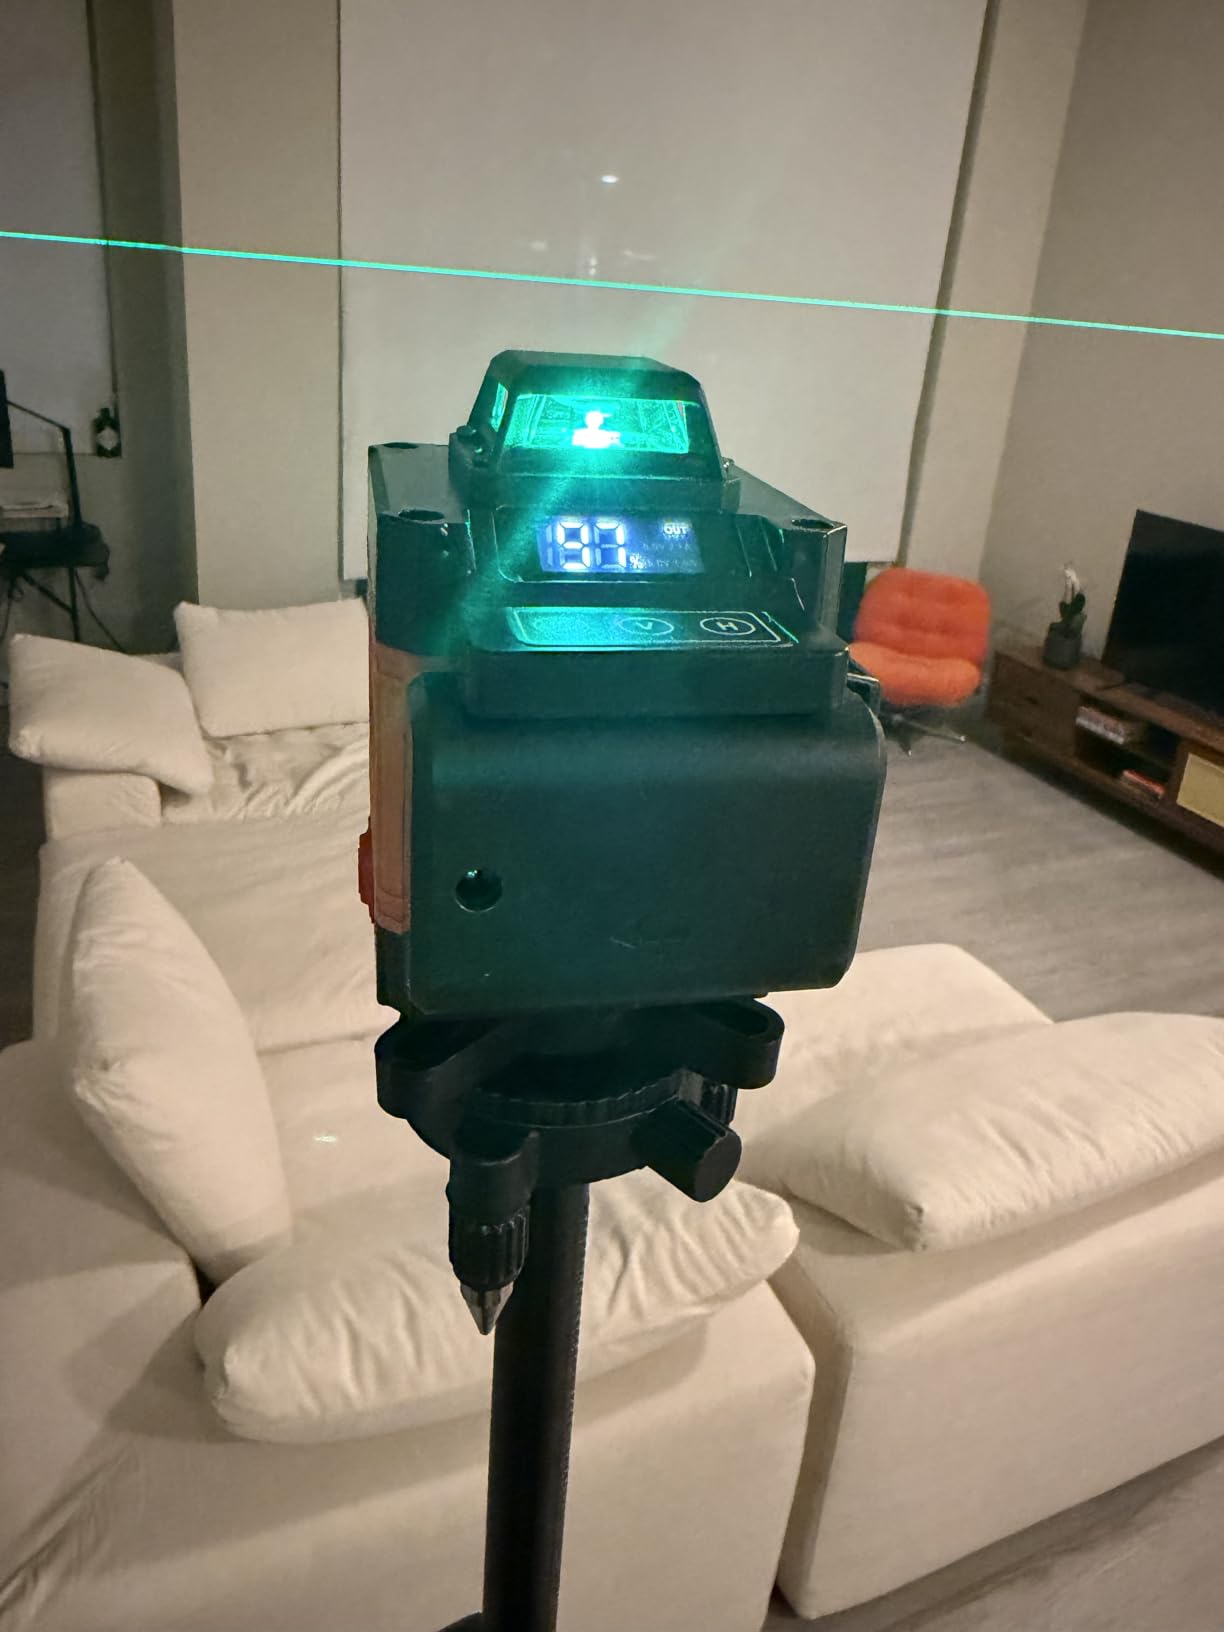
Two batteries and a remote reduce interruptions, and a carry bag for both the level and the tripod is a nice addition at this level of completeness.
When a 72-Inch Tripod Earns Its Place
Height is the deciding factor. If your upper cabinets sit at the top of a nine-foot wall, or you are matching a line to a tall ceiling, a tripod that tops out at 37 inches is not a support, it is a suggestion.
A 72-inch tripod gets the horizontal plane to the work without a stepladder under one leg, and it is wide enough at the head to resist a nudge from a cabinet being lifted into place.
Sway, Center of Gravity and Counterweights
The center of gravity hangs below the tripod head, so a counterweight may be needed to prevent sway. This is a real limitation on a 16-line unit, because the batteries and internals sit low.
Only one bubble level is included. A second one at 90 degrees would let you verify the head is square, and its absence is a small but telling gap in an otherwise careful package.
Instructions, Warranty and Review Depth
Instruction quality is weak for both the laser and the tripod, and setup takes trial and error. Budget ten minutes with the manual before you are standing on a ladder with the unit.
The warranty is 1 year, shorter than most competitors in this class, and the review pool is dominated by tripod feedback, so laser-specific long-term reliability data is thin. At 456 ratings it is the least proven unit here.
What Actually Matters When You Buy a Laser Level for Cabinets
Most buying guides talk about range and accuracy in the abstract. Those are the easy specs. The four decisions below are the ones that change how a cabinet day goes.
Green or Red Beam in a Daylit Kitchen
Green is rated at roughly twice the brightness of red at the same power output, and in practice that is the difference between reading a mark at noon and waiting until dusk. Every green unit in this roundup projects indoors up to 100 feet; every red unit is limited to about 65 feet in Skil’s case.
The forum view is that the red lasers are fine if you control the light, and that is true. A kitchen with a south-facing window over the sink is a controlled-light kitchen only in the evening.
Brightness is not the same as line fineness, though. None of these units project a hairline, so for scribe work mark the centre of the line and measure out from there.
Line Laser or Rotary Laser for Cabinet Work
A rotary laser sweeps a rotating head and is the right tool for plumbing up walls, setting out foundations and outdoor grading. A line laser projects fixed planes and is the right tool for door frames and cabinets, as installers on forum.canadianwoodworking have argued for years.
For cabinet work, a line laser wins on setup speed. You switch it on and the reference exists. A rotary laser needs a tripod, a receiver and a grade rod before it tells you anything useful.
That is why no rotary laser appears in this roundup. It is not a quality judgement, it is a category judgement.
How to Get the Beam to Cabinet-Top Height
This is the number-one friction point in every cabinet forum thread, and it has nothing to do with the laser. It is a mounting problem.
A magnetic L-bracket on a steel stud or a metal backing plate is the cleanest answer. A wall clip works on drywall but shakes when you bump it. A tripod works everywhere but needs a head high enough to reach the line, which is why the Motovera and Lusweimi bundles stand out.
Whatever you choose, test the height before you mark. Set the line, step back, and confirm you can see it clearly from both ends of the run.
What an Accuracy Rating Means on Your Wall
A rating of plus or minus 1/8 inch at 30 feet is a marketing-shaped number. The two-line units in this roundup sit at plus or minus 1/16 inch at 16.4 feet, and the multi-plane units at plus or minus 1/9 inch at 33 feet.
Converted to the span of a 10-foot kitchen, all of them land inside a few thousandths of an inch of drift. Any of them is far more accurate than re-measuring with a tape, and none of them will fix a wall that is out of plumb.
The laser guarantees the line. The line is only as true as the box you hang on it, and that is a shimming problem.
Self-Leveling Range, Manual Lock and the False Alarm Problem
Self-leveling ranges in this roundup run from plus or minus 3 degrees to plus or minus 4 degrees. That is a wide margin, and it means the unit will happily self-level on a surface you did not realise was tilted.
Manual mode, reached by locking the pendulum, projects lines at any angle for stair and scribe layouts. It is also where errors hide, because some units give no out-of-level warning at all in manual mode.
If you switch to manual, verify with a hand level before you hang anything.
Which Parts of a Combo Kit a Cabinet Installer Never Touches
Laser receivers and grade rods are outdoor and layout tools. Unless you are setting out a foundation or a grading a slab, you will not use them on a wall cabinet.
Several kits in this roundup bundle them anyway, which inflates the package without improving the install. The KEZERS set is the clearest example: a receiver and a 9ft grade rod sit in a bag meant for cabinet work.
Spend that budget on a solid magnetic bracket or a proper tripod instead, and check whether the unit is Class 2 rated at under 1mW, which most here are.
How to Hang Cabinets with a Laser Level
Owning the right laser is half the job. This is the sequence I use, and it removes the two errors that cause rehanging.
Forum advice on r/cabinetry is consistent on the support side: a cheap laser, a couple of C-clamps and a cabinet pole will carry most installs, and r/DIY recommends a cabinet jack for wall cabinets. The laser is for layout, not for holding weight.
Step 1: Set the Height Once from the Finished Floor
Measure up from the finished floor, not from the subfloor and not from a base cabinet. Mark the intended cabinet-top height on the wall in pencil at both ends of the run and check that it agrees.
This is the number the laser has to reproduce. Write it down, because you will re-check it after the first box is hung.
Step 2: Mount the Tool at That Height
Set the tripod or bracket so the horizontal plane lands exactly on your pencil mark. A magnetic L-bracket on a stud is the most repeatable method, since the height is fixed by the bracket rather than by a screw you tighten.
Let the unit self-level, then confirm the line sits on the pencil mark. Adjust the mount, not the wall.
Step 3: Mark the Rail Line and Snap It
Run the line across the full run and onto the return wall if cabinets continue. Mark along the beam, then snap a chalk line so the whole rail reference is straight rather than a series of hand-drawn segments.
Because the lines are thick, mark the centre of the beam consistently. Inconsistent edge marking is how a 1/8 inch drift sneaks into a run.
Step 4: Transfer Stud Centres onto the Same Line
Find the studs and mark each centre on the same horizontal line. The cabinet rail gets screwed into those marks, so their position matters as much as the height.
Do this before the first box goes up. After a cabinet is in the way, you are marking blind.
Step 5: Hang, Shim, and Re-check After Fastening
Lift the box to the line with the pole or cabinet jack, drive the rail screws, then check the top edge against the beam. Most out-of-level cabinets at this stage are a shim problem, not a layout problem.
Shim from the back at the high point until the front edge sits on the line. This is exactly what a 4 foot level and shims are for, which is why forum consensus says the expensive laser is optional.
Step 6: Handle Out-of-Plumb Walls and the Ledger Board Check
On an uneven wall, the laser line is still correct but the cabinet will not sit flat against it. Shimming from the back at the low point fixes most cases, and bottle jacks with jack posts are the remedy installers reach for on a badly out-of-plumb run.
Run a ledger board screwed into studs at the rail height as a laser-free sanity check. If your boxes are level to the ledger and not to the laser, the laser was mounted wrong. If they are level to both, you are done.
Frequently Asked Questions
Can I use a laser level to install cabinets?
Yes. A self-leveling line laser projects a perfectly horizontal reference line at cabinet-top height, so an entire run of upper cabinets references the same line without re-measuring each box. Use it for layout and marking the rail line and stud centres, then finish with a hand level and shims. Many installers on cabinet forums pair a budget green laser with C-clamps and a cabinet pole.
Which laser level is best for wall hanging?
A 360-degree green-beam line laser is the best choice for hanging cabinets, because the continuous horizontal plane reaches every box and the return wall from a single setup. The CIGMAN CM-701 and Huepar HM03CG are both 3×360 green units. A two-line green cross laser is sufficient if you are only working on one straight wall.
What is better, a green or red laser level?
Green is better for indoor cabinet work. Green lasers project at roughly twice the brightness of red at the same power, which matters in a kitchen with daylight from a window. Red is the right pick only if the room is dim and your run is short, and it is often the cheaper route. Both project a line thick enough that you should mark its centre rather than its edge.
Is there a laser level that sticks to the wall?
Most do not stick to drywall directly, but any unit with a magnetic base will lock to a steel stud, a metal backing plate or a magnetic L-bracket. Kits including a 1/4-20 thread can also be screwed to a fixed platform or a wall clip. The practical tip is to test the height before marking, because a vibrating mount produces a line that moves while you work.
Do I need a 360 degree laser level for cabinets?
No, not for a single straight wall. A two-line green cross laser will lay out a straight run of upper cabinets accurately. You want 3×360 or 4×360 coverage when cabinets continue around a corner, when you need vertical planes to check plumb without walking the run, or when uppers sit under a low ceiling with a tight soffit that needs a line close to the top surface.
Which Laser Level to Buy for Your Cabinet Run
If you want the shortest path on a full wall of uppers plus a return, take the CIGMAN CM-701. Twelve green lines, a remote control and a battery that lasts a working day, and it was the most accurate unit on my test wall.
If your cabinets continue onto a second wall and matching height matters, the Huepar HM03CG is the one. Three 360-degree planes plus a strong magnetic bracket mean the line does not move while you fasten.
If you are working on a single straight wall, the Huepar 9011G does the job at the tightest accuracy figure among the two-line units, and the BLACK+DECKER BDL220S will handle two boxes and a shelf in an afternoon if you would rather not chase a charging cable.
For a high run or a low ceiling with a deep soffit, the Takamine GM160 is the only unit here with a horizontal plane that projects as low as half an inch. For a two-day install away from an outlet, the IKOVWUK B1-12 battery is the deepest reserve.
One honest note before you buy. On r/cabinetry, the most common advice is that you do not need an expensive laser, and that is largely correct. What a laser fixes is the layout error you cannot shim out, because the line was wrong to begin with. Pick the tier that matches how many walls you are covering, mount it properly, and finish the job with shims and a hand level as always.
Whichever you choose in 2026, set the height once, mark the rail line and stud centres before the first box goes up, and check every box against the beam after fastening. That sequence, more than the model, is what makes a run look straight.