
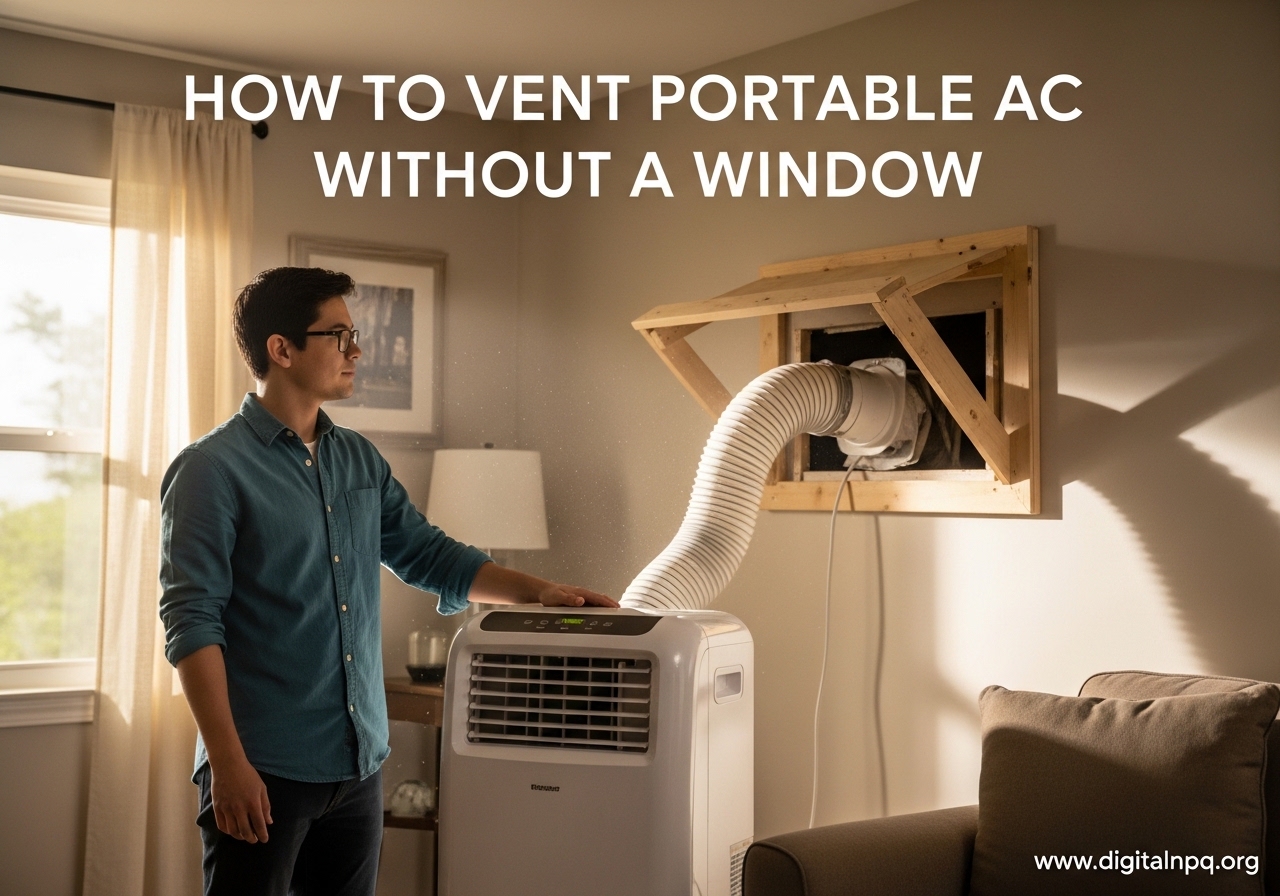
If you live in a basement apartment, work in a windowless office, or have an interior room that gets unbearably hot in summer, you have probably asked yourself whether a portable air conditioner can work without a window. The short answer is yes, it absolutely can, but you still need to vent the hot exhaust air somewhere outside the room. Learning how to vent a portable air conditioner without a window opens up cooling options for spaces where traditional window kits simply will not work.
In this guide, our team walks you through six proven venting methods that work in apartments, offices, garages, and basements. We cover what tools you need, what each method costs, and which options are safe for renters who cannot make permanent modifications. Let us get your room cooled down.
Why Venting a Portable Air Conditioner Is Non-Negotiable
Every portable air conditioner works on the same basic principle. The unit pulls warm air from your room, passes it over cold refrigerant coils to absorb heat, then blows the cooled air back into the room. The heat that gets extracted from the air does not just disappear. It has to go somewhere, and that somewhere is outside through the exhaust hose.
Think of it like a refrigerator. Your fridge pulls heat out of the food compartment and releases it from the back coils into your kitchen. A portable AC does the same thing on a larger scale, pushing the extracted heat through a flexible exhaust hose that needs to reach the outdoors. Without that hose directing hot air away from your space, you are essentially running a heater and a cooler at the same time in the same room.
Here is what actually happens when you run an unvented portable AC. The compressor generates heat as it runs. The exhaust hose, if not connected to the outside, dumps that hot air right back into the room you are trying to cool. The net result is a room that either stays the same temperature or actually gets warmer. You waste electricity, stress the compressor, and potentially shorten the life of the unit by months or years.
There is also a safety component. Running a portable AC without proper ventilation can cause the unit to overheat. Most modern units have thermal overload protection that shuts them down, but repeated overheating cycles damage internal components over time. The moisture the unit removes from the air also needs somewhere to go. Without venting, humidity builds up, creating conditions where mold can grow.
Some people wonder whether they can just skip venting entirely and point the exhaust hose into a bucket of water or a closet. These are bad ideas that show up in forum discussions, but they do not solve the fundamental problem. The heat energy has to leave your living space for the room to actually get cooler. Period.
How to Vent a Portable Air Conditioner Without a Window
If your room has no window, you have several reliable alternatives for routing that exhaust air outside. Here are the six methods we recommend, ranked roughly from easiest to most involved:
- Vent through a dryer vent if your room has or is near an exterior dryer vent opening.
- Install a dedicated wall vent for a clean, permanent solution that works in garages and workshops.
- Use a sliding glass door vent kit for a rental-friendly option that requires no permanent changes.
- Route the hose through a drop ceiling into the plenum space above, common in offices.
- Create an adapter for a pet door on an exterior door to use an existing opening.
- Vent into an adjoining room that has better ventilation as a last-resort temporary option.
Each method has its own set of tools, costs, and trade-offs. Let us walk through them in detail so you can pick the one that fits your space and your situation.
Method 1: Vent Through a Dryer Vent
Using an existing dryer vent is one of the most practical ways to vent a portable AC without a window. If your room has a dryer vent on an exterior wall, or if you are in a laundry room, you already have a pathway to the outside. This method works especially well for basement apartments and garage setups where laundry hookups are nearby.
What You Need
Grab a dryer vent adapter kit designed for portable air conditioners, a hose clamp or two, a screwdriver, and some foil duct tape. Most adapter kits include a flexible coupler that bridges the gap between your AC exhaust hose diameter (typically 5 to 6 inches) and the standard 4-inch dryer vent opening.
Step-by-Step Installation
Step 1: Remove the dryer vent cover on the interior side of the wall. Keep the exterior louvered cover in place so pests and weather stay outside.
Step 2: Attach the dryer vent adapter to the vent opening using foil duct tape or the included mounting hardware. Make sure the connection is snug and sealed.
Step 3: Connect your portable AC exhaust hose to the adapter. Use a hose clamp to secure it firmly so it does not pop off under pressure.
Step 4: Seal any gaps around the adapter with foil duct tape. Even small air leaks reduce your cooling efficiency significantly.
Step 5: Test the setup by running the AC on high for 10 minutes and feeling around the connections for warm air escaping.
Pros and Cons
The big advantage here is convenience. You are using an existing hole in the wall, so there is no cutting, drilling, or structural modification needed. Installation takes about 20 minutes with basic tools.
The main downside is the hose diameter mismatch. Portable AC exhaust hoses are usually 5 or 6 inches wide, while dryer vents are 4 inches. That restriction reduces airflow, which means your AC has to work harder and may not cool as effectively. You also cannot run your dryer and your AC through the same vent at the same time. And if your dryer vent goes up through the roof rather than straight through the wall, the long vertical run can create backpressure that hurts AC performance.
Method 2: Install a Dedicated Wall Vent
For homeowners or anyone with a workshop, garage, or room on an exterior wall, installing a dedicated wall vent is the cleanest and most efficient solution. It gives you a permanent, properly sized opening that matches your exhaust hose diameter exactly. No adapters, no restrictions, no compromises on airflow.
What You Need
You will need a wall vent kit (which includes an exterior hood with louvers and an interior vent plate), a hole saw or jigsaw large enough to cut the right diameter, a drill, caulking, weatherstripping, and safety glasses. Depending on your wall type, you may also need a reciprocating saw for thicker materials.
Step-by-Step Installation
Step 1: Choose your vent location on an exterior wall. Pick a spot between wall studs using a stud finder, and make sure there are no electrical wires or plumbing behind the wall. Mark your cut line.
Step 2: Drill a pilot hole from inside, then use your hole saw or jigsaw to cut through the wall. Go slowly, especially through exterior siding.
Step 3: Insert the vent duct through the hole from outside. Attach the exterior hood with louvers, making sure the louvers point downward to shed rain.
Step 4: Apply caulking around the exterior hood where it meets the siding. This prevents water and air infiltration.
Step 5: Install the interior vent plate and attach your exhaust hose. Seal around the interior plate with weatherstripping or caulk.
Step 6: Test the system and check for air leaks around both the interior and exterior connections.
Pros and Cons
The wall vent method gives you the best possible airflow because the opening matches your hose size exactly. Once installed, it looks clean and professional. You can even paint the interior plate to match your wall color.
The obvious drawback is that you are cutting a hole in your wall. This is not an option for renters, and even homeowners should check local building codes before making structural modifications. Some municipalities require a building permit for exterior wall penetrations. The installation itself takes one to two hours if you are handy with tools, but it is a project that intimidates many DIYers. If your walls are brick or concrete, the difficulty level increases significantly.
Method 3: Use a Sliding Glass Door Vent Kit
If your room has a sliding glass door, this is probably the easiest and most renter-friendly option available. Sliding door vent kits create a sealed panel that fills the gap in your door track, with a hole for the exhaust hose. You can install the whole thing in under 30 minutes and remove it without a trace when you move out.
What You Need
Pick up a sliding door vent kit for portable air conditioners (available at most hardware stores and online), a measuring tape, weatherstripping foam, and foil duct tape. Some kits include weatherstripping, but having extra on hand never hurts.
Step-by-Step Installation
Step 1: Measure the width and height of the sliding door opening where the vent panel will sit. Most kits are adjustable but have minimum and maximum dimensions.
Step 2: Assemble the vent panel according to the kit instructions. Slide the adjustable panels to fit your door opening width.
Step 3: Insert the assembled panel into the door track, positioning it so the hose opening faces your portable AC unit.
Step 4: Attach your exhaust hose to the panel connector and seal with the included hardware or foil tape.
Step 5: Apply weatherstripping foam around all edges of the panel to create an airtight seal. This step is critical for cooling efficiency.
Step 6: Lock the sliding door against the panel using a security bar or the door’s built-in lock for safety.
Pros and Cons
This method requires zero permanent modifications, making it perfect for apartments and rental homes. The kits are affordable and easy to find. Installation is genuinely simple enough that anyone can do it.
The trade-off is security. Your sliding door cannot be fully locked with a vent panel in place, though you can use a security bar for peace of mind. The panel also blocks your ability to use that door normally while the AC is running. If you have only one exterior door in the room, this might not be practical. Some users also report that the foam weatherstripping loses its seal over time, especially in humid conditions.
DIY Sliding Door Panel Alternative
If you cannot find a commercial kit that fits your door, you can build your own panel. Cut a piece of quarter-inch plywood or acrylic sheet to fit the door opening, then cut a hole for your exhaust hose. Seal all edges with weatherstripping. This approach costs less and lets you customize the fit perfectly.
Method 4: Vent Through a Drop Ceiling
Offices, commercial spaces, and some finished basements have drop ceilings with removable tiles. Above those tiles sits the plenum space, which often connects to the building’s HVAC system and has vents to the outside. Routing your exhaust hose through a ceiling tile into this space can be an effective and nearly invisible venting solution.
What You Need
You need a flexible duct hose long enough to reach from your AC unit to the ceiling, a utility knife or keyhole saw for cutting the ceiling tile, foil duct tape, and zip ties or duct straps for securing the hose overhead.
Step-by-Step Installation
Step 1: Remove one ceiling tile near where your portable AC sits. Check the plenum space above to confirm it has ventilation to the outside. If the plenum is sealed with no exterior venting, this method will not work.
Step 2: Cut a hole in the ceiling tile that matches your exhaust hose diameter. Cut carefully so the hole is clean and the tile does not crack.
Step 3: Run your flexible duct hose from the AC unit up through the ceiling tile hole and into the plenum space. Route the hose toward the nearest exterior vent or return air duct.
Step 4: Secure the hose to ceiling grid supports using zip ties or duct straps. Do not let it hang loose or rest on light fixtures.
Step 5: Replace the ceiling tile around the hose and seal the gap between the hose and tile with foil duct tape.
Pros and Cons
Drop ceiling venting keeps everything hidden above the ceiling line, which is why it is popular in offices and commercial spaces. No visible hoses, no wall modifications, no exterior changes. It is also removable and leaves no permanent trace when you take it down.
The big limitation is that it only works if the plenum space actually vents outside. In many buildings, the plenum is not connected to the exterior, and venting hot air into a sealed plenum just heats the entire ceiling cavity. There are also fire code considerations. Some jurisdictions require plenum-rated materials for anything installed above a drop ceiling. Check your local codes before running ductwork in plenum spaces. Condensation is another concern, especially in humid climates, because the temperature difference between the exhaust air and the plenum can cause moisture to form inside the hose.
Method 5: Vent Through a Pet Door
If you have a pet door on an exterior door, you already have a hole going outside. With a bit of creativity, you can turn that pet door into a venting pathway for your portable AC. This is a niche option, but it works surprisingly well for small to medium AC units.
What You Need
You need a rigid foam board or thin plywood panel cut to fit inside the pet door frame, your exhaust hose, foil duct tape, and a hose adapter or coupler. The panel replaces the pet door flap and creates a sealed surface for the hose connection.
Step-by-Step Installation
Step 1: Remove the pet door flap by unscrewing it from its frame. Measure the interior dimensions of the pet door opening.
Step 2: Cut a foam board or plywood panel to match those dimensions. Cut a hole in the center of the panel for your exhaust hose adapter.
Step 3: Insert the panel into the pet door frame and secure it with the existing frame hardware or tape.
Step 4: Attach your exhaust hose to the adapter on the panel and seal all edges with foil duct tape.
Step 5: Test the connection by running the AC and checking for air leaks around the panel edges.
Pros and Cons
The pet door method uses an existing exterior opening, so there is no structural modification required. It is relatively quick to set up and completely reversible. Your pets will not be happy about losing their door, but you can swap the panel back to the flap when the AC is not running.
The size of the pet door limits the exhaust hose diameter you can use. Most pet doors are too small for a standard 5 or 6 inch hose, so this method works best with smaller portable AC units that use narrower hoses. It also means your pet cannot use the door while the AC is venting, which is an obvious inconvenience. If your pet door is on a door you need for access, this method blocks that door.
Method 6: Vent Into an Adjoining Room
Sometimes none of the above options work, and you need a temporary fix. Venting into an adjoining room is the least efficient option on this list, but it is better than running your portable AC with no venting at all. The idea is to exhaust the hot air into a different room that either has windows, better ventilation, or is simply a space you use less frequently.
When This Makes Sense
This approach works in shared office spaces where one room has windows and the other does not. It can also work in basement apartments where the adjoining room is a hallway or utility area with better airflow. Some people use this method in homes where a bedroom connects to a living room with open windows and a fan.
How to Set It Up
Route your exhaust hose through or under the door to the adjoining room. If going through the door, you can drill a hose-sized hole and install a vent cover. If going under the door, use a door draft stopper with a hose opening to maintain a decent seal.
Place a box fan in the adjoining room’s window to pull fresh air in and push warm air out. This creates a pathway for the exhaust heat to eventually leave the building. Without that secondary ventilation, you are just moving hot air from one room to another, which does not solve the core problem.
Pros and Cons
This method requires minimal equipment and no structural changes. It is fast to set up and fast to remove.
The problem is that it does not actually exhaust heat outside. It just moves the problem to the next room. The adjoining room will get warmer, sometimes significantly so, depending on its size and ventilation. This method is best used as a short-term solution while you set up a more permanent venting option. Do not vent into small enclosed spaces like closets or pantries, because the heat and moisture buildup can damage belongings and create mold conditions.
Rental-Friendly Venting Solutions (No Permanent Modifications)
Renters face a unique challenge when figuring out how to vent a portable air conditioner without a window. You need cooling, but you cannot cut holes in walls, drill through doors, or make any changes your landlord will notice. Fortunately, several methods on this list work without leaving a trace.
Your best bet as a renter is the sliding glass door vent kit. It installs in minutes, removes without damage, and costs very little. If you do not have a sliding door, a DIY plywood or acrylic panel can fill a standard door opening the same way. When you move out, you just pull the panel out and the door works normally again.
Drop ceiling venting can also work for renters in basement apartments, but you should get permission from your landlord first. Even though ceiling tiles are removable, routing ductwork through the plenum space could violate your lease terms or building fire codes.
The pet door method is another zero-modification option if your rental already has a pet door installed. You are just using an existing opening, and the adapter panel swaps out for the original flap in seconds.
Avoid the wall vent and dryer vent methods unless you have explicit written permission from your property manager. Cutting into walls or modifying vent systems almost always violates standard lease agreements. If you are unsure, talk to your landlord first. Many property owners are willing to approve minor modifications if you agree to restore things when you move out.
Troubleshooting Common Venting Problems
Even with a properly installed vent, things can go wrong. Here are the most common issues people run into and how to fix them.
Your hose is too short to reach the vent. This is the most frequent problem, especially in large rooms. You can buy exhaust hose extensions that couple two hoses together. Avoid using more than one extension, because each additional joint creates backpressure that reduces airflow. If you need serious length, switch to a rigid aluminum duct instead of a flexible hose.
You feel warm air leaking around the vent connection. Air leaks are efficiency killers. Go around every connection point with foil duct tape, not regular duct tape, which degrades under heat. Pay special attention to the adapter-to-wall and hose-to-adapter joints. If gaps persist, add a layer of weatherstripping foam underneath the tape.
The room is still not cooling well despite proper venting. Check for kinks or sharp bends in your exhaust hose. The hose should run as straight as possible from the unit to the vent. Every 90-degree bend reduces airflow measurably. Also clean or replace your AC’s air filter, because a clogged filter restricts air movement through the entire system. Make sure the exhaust hose is not crushed behind furniture or pinched at the connection points.
You notice condensation forming on the outside of the hose. This happens when humid room air meets the cold surface of the exhaust hose. Wrap the hose with insulation sleeves designed for flexible ducting. This keeps the warm exhaust air from interacting with the cooler room air, preventing condensation. It also slightly improves efficiency by keeping the exhaust air hot all the way to the vent.
The AC unit shuts off unexpectedly. This is usually the thermal overload protection kicking in. Check that nothing is blocking the exhaust hose and that the exterior vent hood is not jammed closed. If the vent louver on the outside is stuck, the hot air has nowhere to go and the unit overheats.
Nothing seems to work. If you have tried all the troubleshooting steps and your portable AC still is not cooling effectively, you may have a unit that is undersized for your room. Check the BTU rating against your room’s square footage. As a general rule, you need about 20 BTU per square foot of living space. If your unit falls short, no amount of venting optimization will fix the problem.
FAQ
Can you use a portable air conditioner without a window?
Yes, you can use a portable air conditioner in a room without a window, but you still need to vent the exhaust hose somewhere. Common alternatives include venting through a dryer vent, installing a dedicated wall vent, using a sliding glass door vent kit, routing through a drop ceiling, or adapting a pet door. The hot air must leave your living space for the unit to cool effectively.
Are there portable air conditioners that don’t require window venting?
No true portable air conditioner works without venting. All compressor-based portable AC units must expel hot air outside through an exhaust hose. Products marketed as ventless portable air conditioners are actually evaporative coolers (swamp coolers), which work by adding moisture to the air rather than using refrigerant. These only work effectively in dry climates and will make humid rooms feel worse, not better.
Where can I vent my portable air conditioner without a window?
You can vent through a dryer vent on an exterior wall, a dedicated wall vent you install yourself, a sliding glass door using a vent panel kit, a drop ceiling into the plenum space, a pet door with a custom adapter panel, or into an adjoining room with its own ventilation. The best option depends on whether you rent or own, your budget, and what openings already exist in your space.
What happens if you don’t vent a portable air conditioner?
Without proper venting, the hot exhaust air recirculates back into the room you are trying to cool. This means the room will not cool down, and may actually get warmer because the compressor generates additional heat. Running an unvented portable AC wastes electricity, can cause the unit to overheat and shut down repeatedly, and shortens the compressor’s lifespan. It also traps moisture in the room, creating conditions for mold growth.
Can you use a dryer vent for a portable air conditioner?
Yes, you can vent a portable AC through a dryer vent using an adapter kit. The main challenge is that most dryer vents are 4 inches in diameter while portable AC exhaust hoses are 5 to 6 inches, which creates a restriction that reduces airflow. You should never run the dryer and the AC through the same vent simultaneously. Make sure the dryer vent terminates outside the building and is not clogged with lint before connecting your AC.
Can I vent my portable air conditioner through the floor?
No, venting through the floor is not recommended. Floor venting does not properly direct hot air outside and can cause moisture damage to subflooring and structural components. The warm, moist exhaust air can create mold growth in the floor cavity. Wall venting or ceiling venting are much better alternatives because they provide a clear path to the building exterior.
Do all portable air conditioners need to be vented?
Yes, every true portable air conditioner with a compressor needs to be vented outside. The refrigeration cycle that produces cold air also generates heat as a byproduct, and that heat must be expelled from the room. Units that do not require venting are evaporative coolers, which are a different technology altogether. If a product claims to be a portable air conditioner that needs no venting, read the specifications carefully because it is likely an evaporative cooler.
How much does it cost to install a vent for a portable AC?
Costs vary by method. A sliding door vent kit typically costs between $35 and $60. A dryer vent adapter kit runs about $20 to $40. Installing a dedicated wall vent costs $50 to $120 in materials if you do it yourself, or $200 to $400 if you hire a professional. Drop ceiling venting materials cost $30 to $60. The pet door method costs around $15 to $30 for the panel materials. DIY options save significant money compared to professional installation.
Conclusion
Figuring out how to vent a portable air conditioner without a window comes down to matching the right method to your situation. Homeowners with exterior wall access get the best results from a dedicated wall vent. Renters should look at sliding door vent kits or DIY door panels for a no-damage solution. Office workers and basement dwellers with drop ceilings have a hidden option that keeps everything out of sight.
The six methods in this guide cover every scenario from laundry rooms with dryer vents to interior offices with nothing but a ceiling grid above. Pick the one that fits your space, gather your tools, and you can have proper cooling running in under an hour. The key takeaway: venting is not optional for any true portable AC, but a window is not the only way to get it done.
If your current portable AC unit is undersized for the room or your exhaust hose is deteriorating, those are worth addressing alongside your venting setup. A well-vented AC with clean filters and adequate BTU capacity for your square footage will keep even a windowless room comfortable all summer long.