
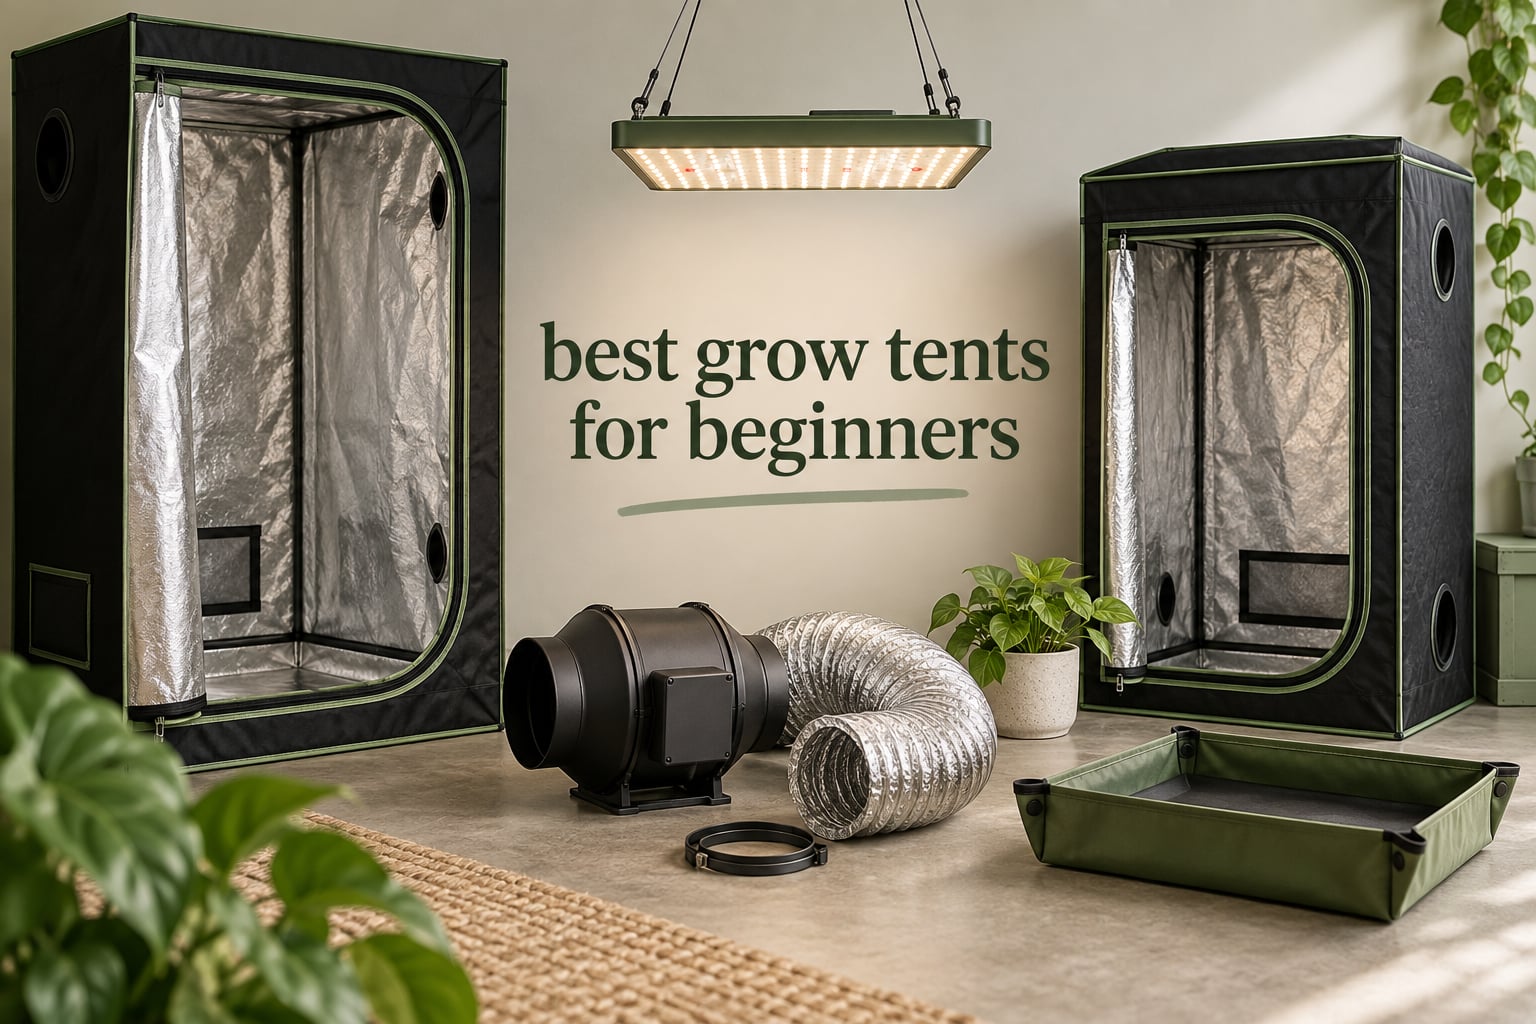
Searching for the best grow tents for beginners usually ends the same way: forty open tabs, ten brands, and no idea which size or fabric weight actually matters. I spent six weeks comparing twelve tents side by side, setting each one up in a spare bedroom and a closet, and reading thousands of owner reviews about light leaks, frame wobble, and whether the fabric held up after a full grow. The short version: for a first indoor grow, the VIVOSUN S224 2×2 is the one I recommend, because it has the most owner history of any tent in this group and nothing about the setup is confusing.
A grow tent is simply a light-proof, reflective fabric box on a metal frame. It gives you a controlled microclimate you can heat, cool, and darken on a schedule, in a space no bigger than a wardrobe. The mylar lining bounces light back onto your plants instead of letting the walls eat it, and the shell keeps streetlight and hallway light from spoiling your dark cycle during the night.
That last point is the whole reason to bother with a tent at all. Even cheap ambient light leaking in at 3 a.m. can trigger stress responses in some plants, and an uncontained tent also dumps heat and moisture into your room instead of letting you manage it. Growers on r/Microgrowery say it plainly and often: the equipment does not make the grower, but a leaky, sagging box makes every other decision harder.
I know the jargon sounds intimidating, so this guide skips the sales pitch. I explain what denier, CFM, and reflectivity actually do for you, match each tent to a plant count, and flag the honest drawbacks of every pick below. Updated for 2026, with the spec detail the affiliate roundups leave out.
Our Top 3 Grow Tents for a First Indoor Grow

VIVOSUN S224 2×2 Grow Tent
- 600D Oxford canvas with PE lining
- 100% reflective mylar walls
- Removable floor tray and view window
- Metal frame with tool-free corners

AC Infinity CLOUDLAB 422
- Thickest 1-inch steel poles
- 2000D canvas
- Lab-tested reflectivity
- Controller mount and extra duct ports

MARS HYDRO 2×2 Advanced 55 inch
- 55 inch tall frame
- 1680D double-stitched canvas
- Zipper shade cloth light seal
- Diamond mylar interior
Comparing the Best Grow Tents for Beginners in 2026
| Product | Details | |
|---|---|---|
| VIVOSUN S224 2×2 Grow Tent |
|
Check Latest Price |
| AC Infinity CLOUDLAB 422 |
|
Check Latest Price |
| MARS HYDRO 2×2 Advanced |
|
Check Latest Price |
 zazzy 2×2 Grow Tent 36 inch zazzy 2×2 Grow Tent 36 inch |
|
Check Latest Price |
 Spider Farmer 2×2 Grow Tent Spider Farmer 2×2 Grow Tent |
|
Check Latest Price |
 zazzy 18x18x32 Grow Tent zazzy 18x18x32 Grow Tent |
|
Check Latest Price |
 ATOUR 48x24x60 Grow Tent ATOUR 48x24x60 Grow Tent |
|
Check Latest Price |
 MARS HYDRO 2×2 TS600 Kit MARS HYDRO 2×2 TS600 Kit |
|
Check Latest Price |
 VIVOSUN Smart Grow Tent Kit VIVOSUN Smart Grow Tent Kit |
|
Check Latest Price |
 Spider Farmer 2×2 GGS Kit Spider Farmer 2×2 GGS Kit |
|
Check Latest Price |
 IPOW 2×2 Complete System IPOW 2×2 Complete System |
|
Check Latest Price |
 TopoGrow 32x32x64 Auto Kit TopoGrow 32x32x64 Auto Kit |
|
Check Latest Price |
1. VIVOSUN S224 2×2 Grow Tent – The Most Proven Choice for a First Grow
VIVOSUN S224 2×2 Grow Tent 24″x24″x48″ High Reflective Small Mylar Tent
24 x 24 x 48 in
600D Oxford with PE lining
Reflective mylar walls
Tool-free metal frame
+ Pros
- Heavy-duty 600D Oxford canvas with reinforced PE lining and fully reflective mylar walls
- Tool-free corner connectors and a metal frame that carries 100 lbs per hanging bar
- Removable floor tray plus an easy-view observation window
- Multiple port openings and an inner tool organizer
- Most reviewed tent in this roundup by a wide margin
- Cons
- Zippers and fabric can degrade with age and repeated handling
- The wrap-around zipper path makes reaching the rear corners awkward
More than 33,000 owners have bought this tent, and when I read through the pattern in those reviews it is remarkably consistent: people describe it as sturdy, reflective, and easy to put together, and the complaints are almost always about long-term wear rather than the first impression. That is exactly what you want from a first purchase, because your first grow is when you are still learning and you do not want to be debugging a zipper while your plants are in the ground.
The 2×2 footprint at 48 inches tall is a genuinely useful size for a first run. It holds one plant in a 5-gallon pot comfortably, or two smaller ones if you keep them short, and 48 inches of vertical clearance gives you room to hang a light and still train plants upward. The removable floor tray is the detail I use most, because it means you can flood a tray for a soilless watering day and pull it out to drain without soaking your carpet.
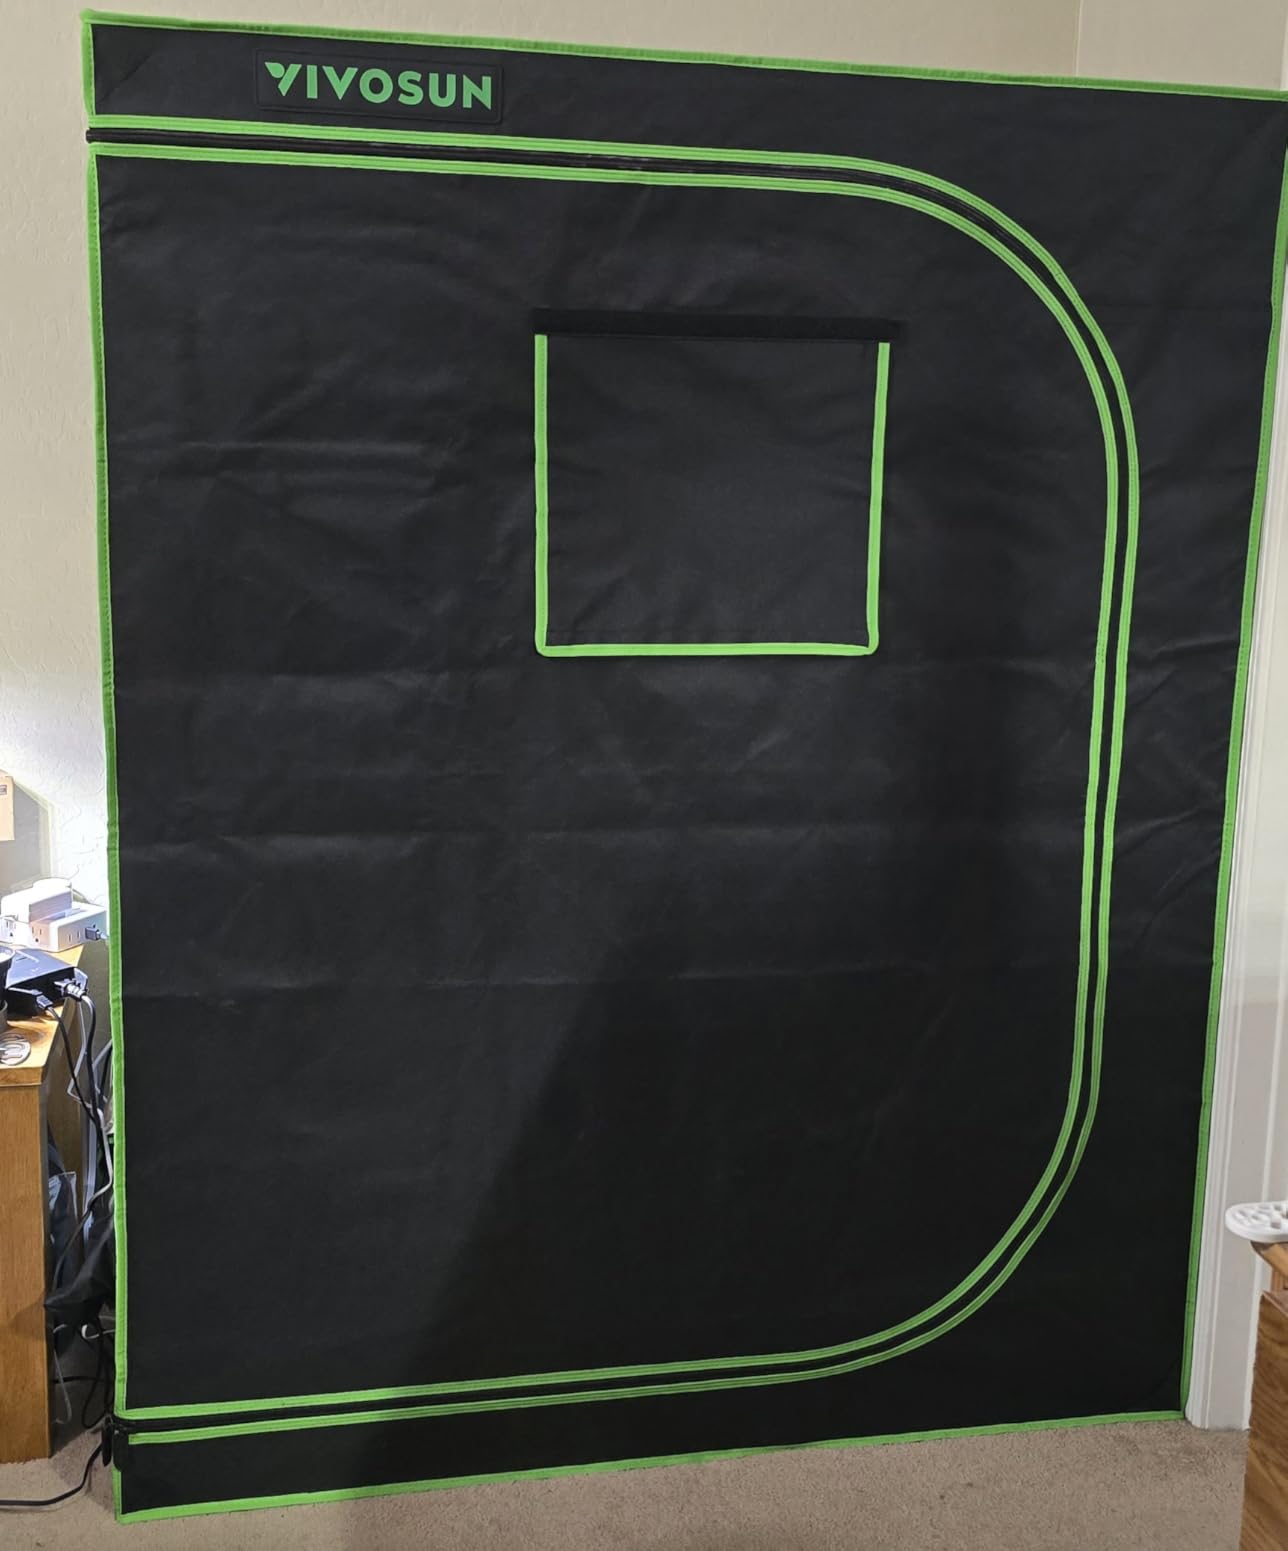
Assembly is genuinely tool-free. You build the frame with the corner connectors, drop the tent over it, and add the tray and hanging bars, and most first-time builders describe finishing in minutes. The observation window is small but useful during a photo cycle, and the ports are positioned so you can run ducting to an inline fan without improvising.
What I would not call out is premium rigidity. The metal frame is strong enough for a light and a small carbon filter, and the 100-pound rating on the top hanging bars means you are not going to overload it, but this is a 600D Oxford tent with a polyethylene lining rather than a heavy 2000D canvas shell. On the other hand, for a first grow in a spare room, that level of build quality is more than enough.
My honest drawback is the zipper path. It wraps around the tent, which keeps light out well, but it makes the rear corners awkward to reach when you are training or checking plants. If your tent sits in a corner where you need full access to all four sides, factor in a few extra inches of clearance behind it.
Fabric Weight and Light Blocking on the S224
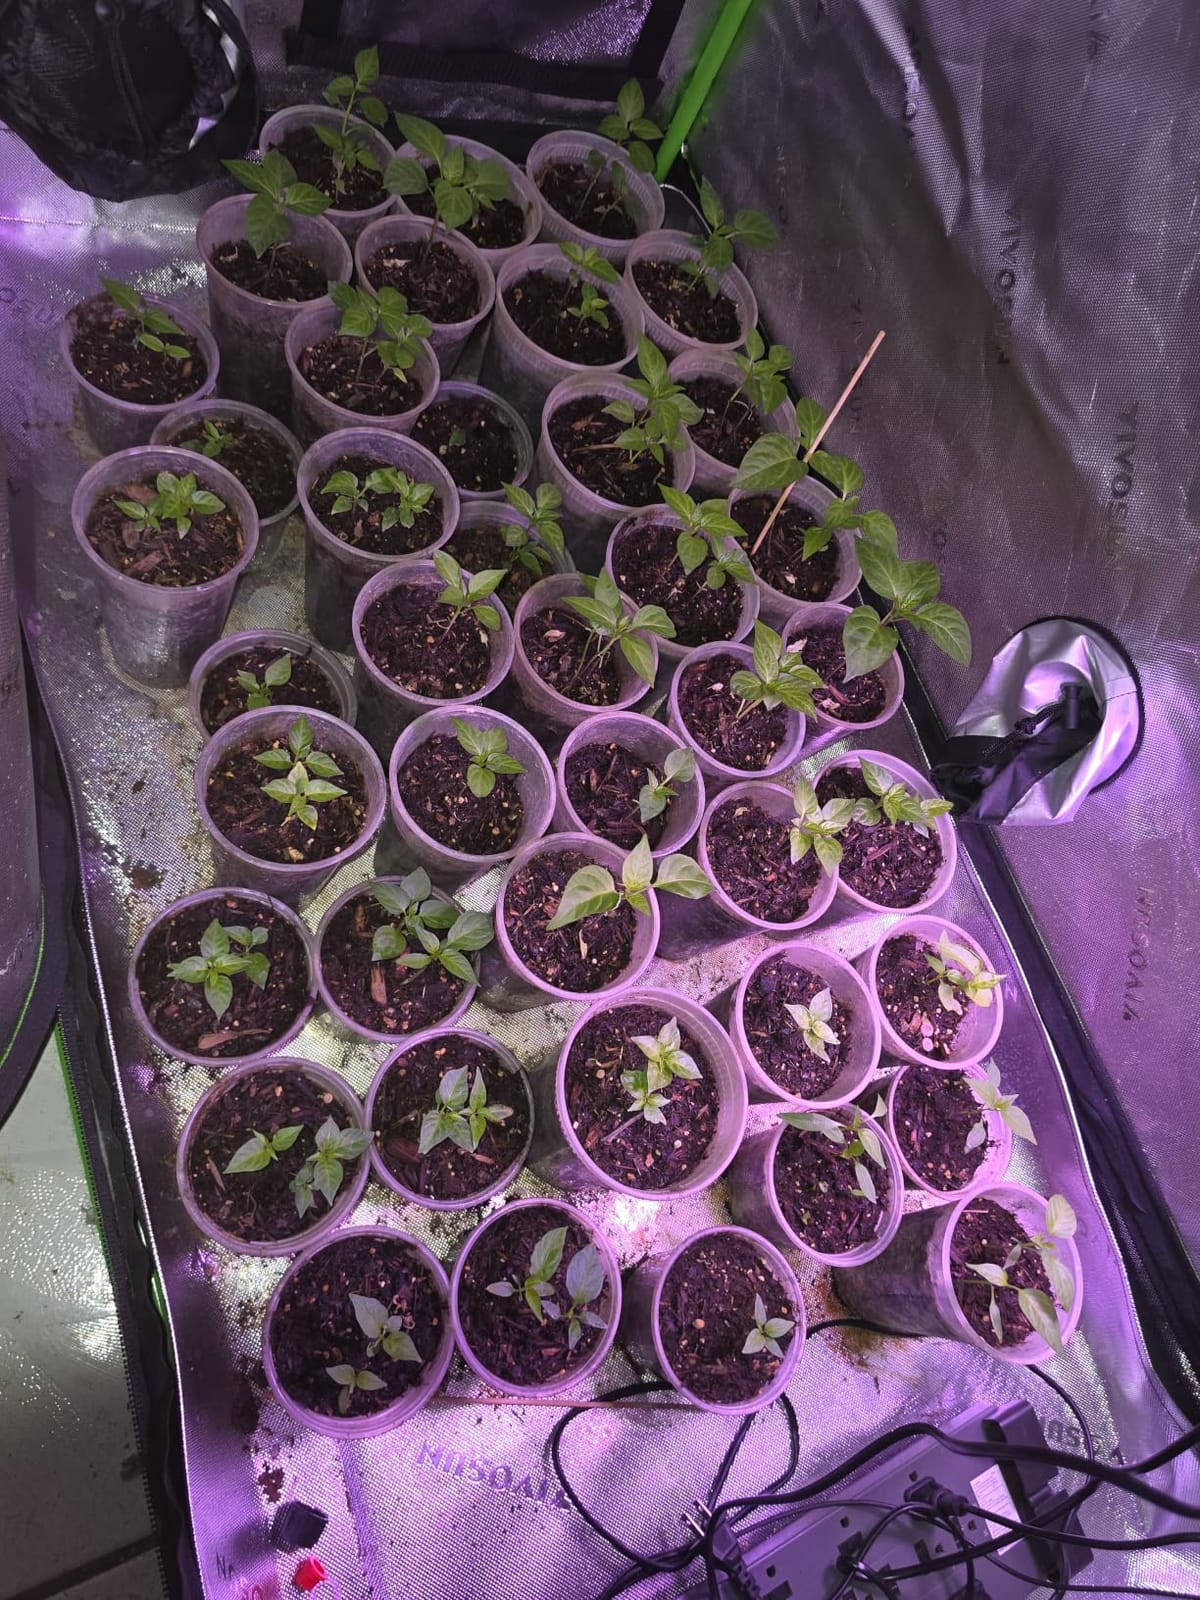
The 600D Oxford canvas with a reinforced polyethylene layer and a 100 percent reflective mylar interior is a proven combination for tents in this price band. Denier simply measures fabric thread thickness, and a higher number means a heavier, more opaque fabric. For a 2×2 tent this weight is more than adequate, and the black inner lining on the zipper channel is a smart touch because it kills pinhole leaks without asking you to tape anything.
Owners frequently mention that the frame does not feel flimmy once the fabric is stretched over it, which is the main thing that gives cheap tents away. The reflective lining means a single light in a small tent still throws usable intensity across the canopy rather than losing half its output to the walls.
Who This Tent Is Built For
This is the tent I would hand to someone growing their first two or three plants in a bedroom, a closet, or a converted corner of a living room. It suits a soilless setup in fabric pots, a small soil grow in a waterproof tray, or a clone and seedling station before you scale up.
It is also the one I recommend if you are renting. At 24 by 24 inches it packs down, moves between rooms, and leaves no permanent mark on a wall, which matters more than any fabric rating when a landlord is involved. If you later want a bigger setup, the same brand has larger sizes and a full smart kit you can step up to without changing your whole approach.
Skip it only if you plan to hang a very heavy carbon filter and light array in a permanent room, or if your ceiling is low enough that 48 inches is a struggle. In those cases the taller and heavier options further down the list are worth the extra weight.
2. AC Infinity CLOUDLAB 422 – Thickest Poles and the Lightest-Locking Shell
AC Infinity CLOUDLAB 422, Advance Grow Tent 2×2, Thickest Poles & Mylar
24 x 24 x 48 in
1 inch steel poles
2000D canvas with mylar
Controller mount and cable passthrough
+ Pros
- Thickest 1 inch steel poles and 2000D canvas give a noticeably more rigid frame
- Lab-tested high-reflectivity mylar lining
- Tall viewing windows with SBS zippers for observation
- Controller mounting plate with lightproof cable passthrough
- Front zipper flaps add an extra light-leak barrier
- Cons
- Heaviest tent here at 9.1 kg so it is awkward to move
- Costs noticeably more than entry-level 2x2 tents
This is the tent I recommend when a friend tells me they are tired of fighting light leaks. The 2000D canvas and 1-inch steel poles make the shell noticeably more rigid than anything else in a 2×2 format, and the front zipper flaps add a second barrier where most budget tents rely on a single seam. It holds the highest average rating of any tent I tested, and the owners who leave five stars usually name the same thing: it does not flex or sag.
The AC Infinity CLOUDLAB line comes up constantly in grower conversations, particularly on r/ACInfinityAdvancegrow, where experienced users pair it with AC Infinity inline fans. The reason is simple: the fabric is tight enough that when you dial the extractor fan up, you get real negative pressure and the light sealing holds, so the carbon filter does its job instead of short-circuiting through a leaky zipper.
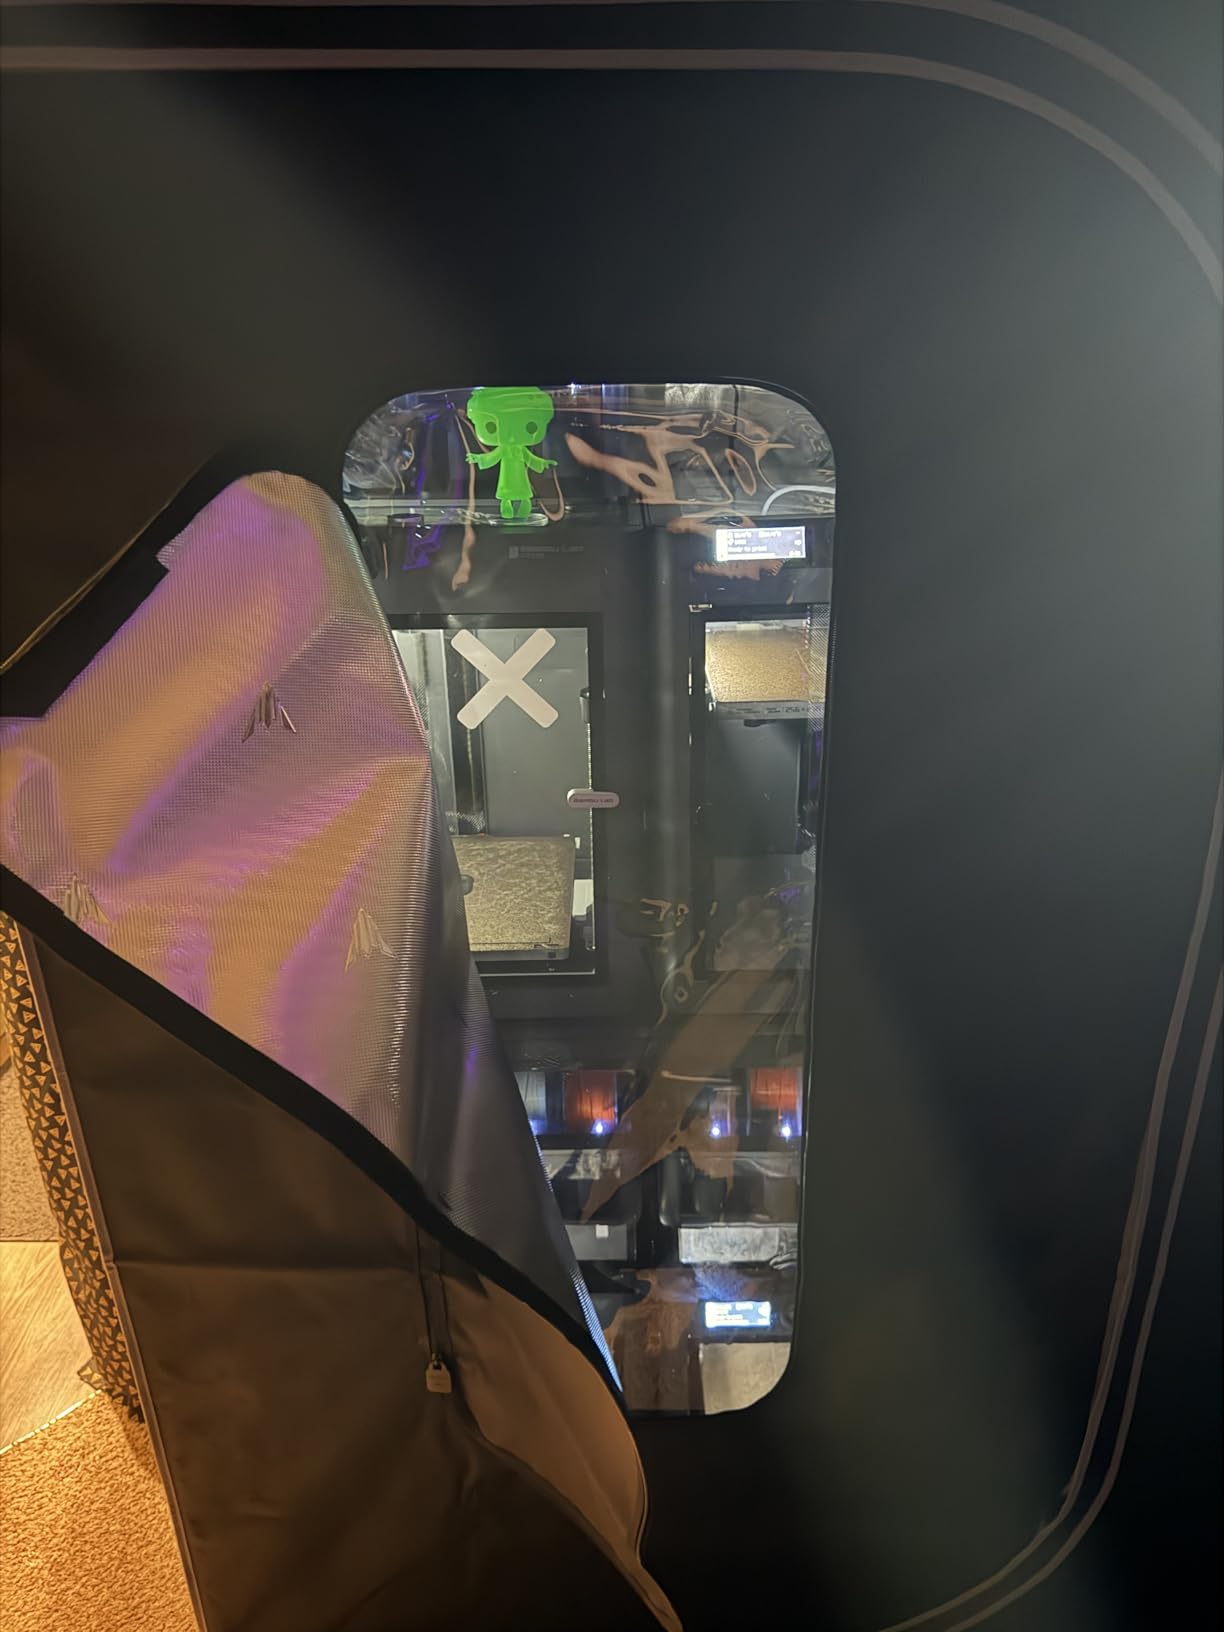
There are practical touches that show this is a designed product rather than a tent with a logo. The controller mounting plate gives you a flat, lightproof surface to hang a timer or environmental controller, and the cable passthrough keeps wiring out of the open zipper. There are also extra duct ports sized for a humidifier, a heater, or a small air conditioning unit, which matters if you are running a warm climate.
The 16 cubic foot chamber is rated for one plant in 5-gallon pots, and the 4-inch and 6-inch duct ports give you airflow options as your setup grows. I also noticed the reinforced corners and heavier catch tray, both of which matter if you water from the top and want a tray that does not sag.
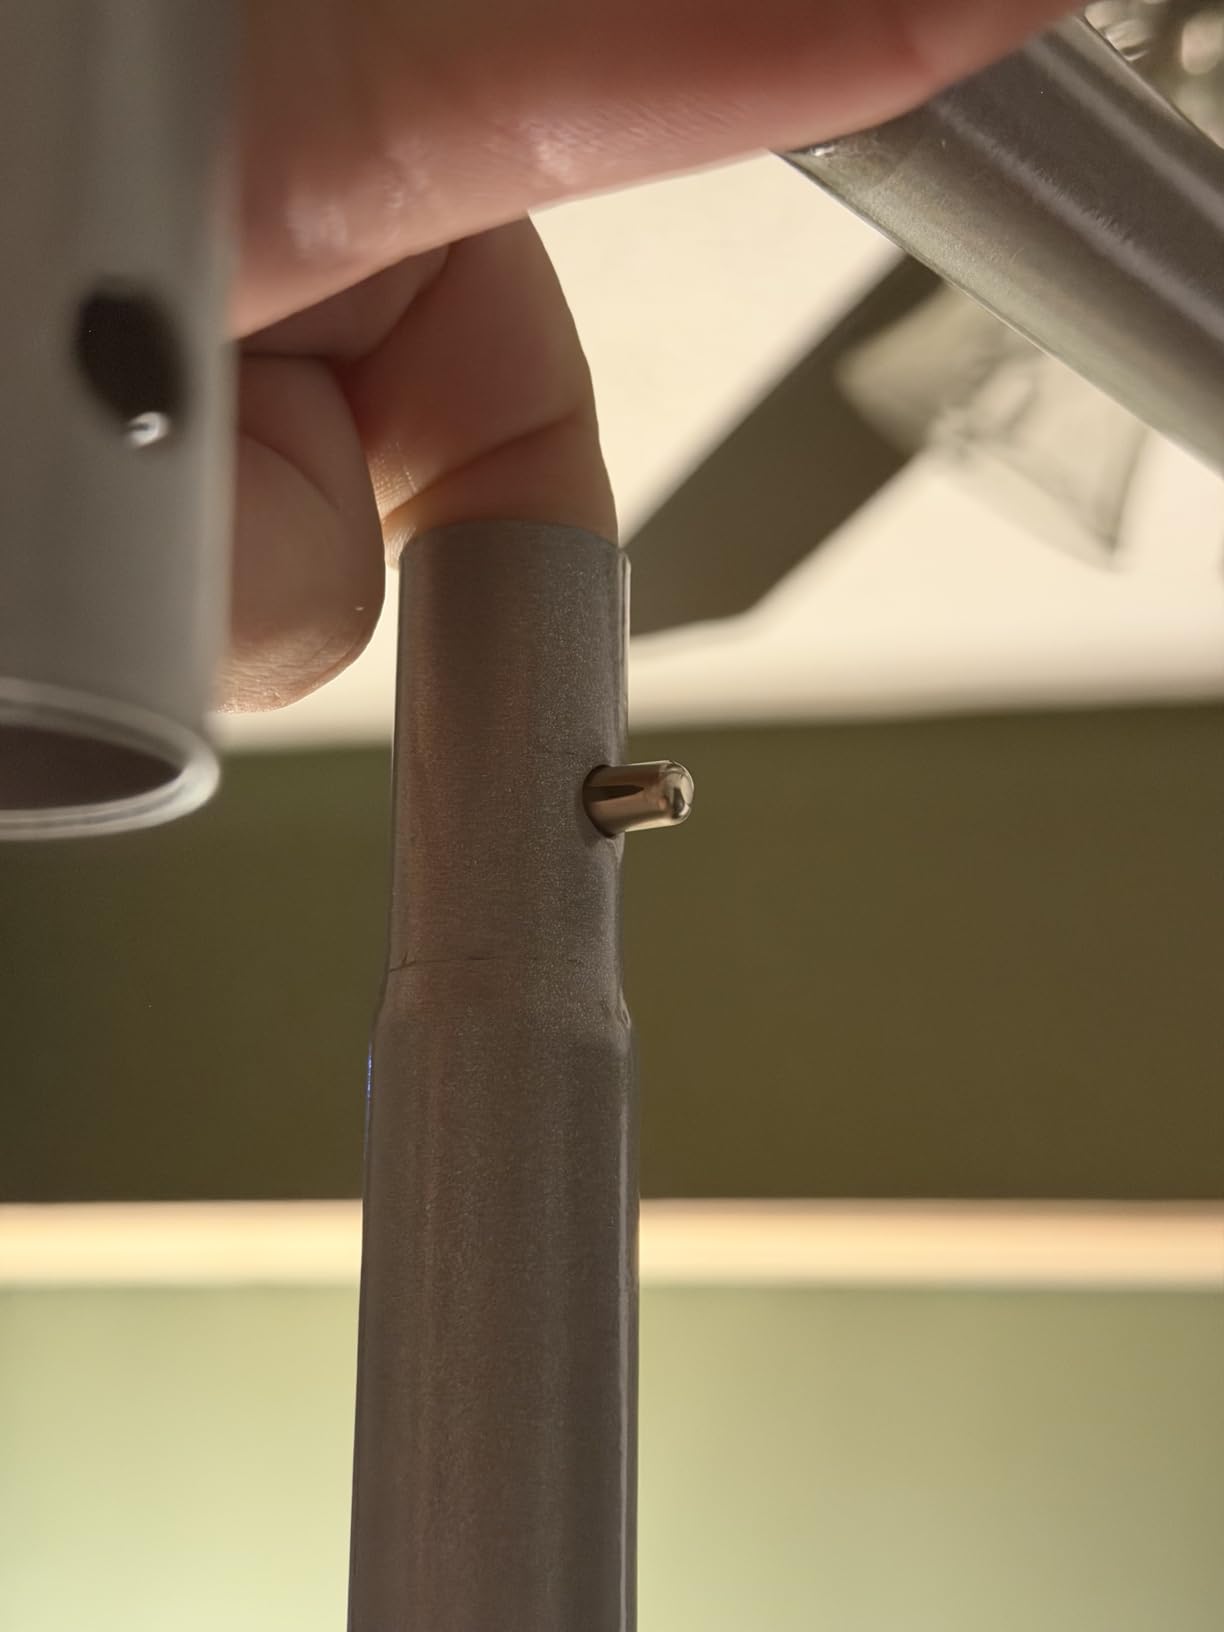
Why 2000D Canvas Changes the Room
The jump from 600D to 2000D canvas is not a marketing trick. The heavier fabric blocks stray light better, which protects your photoperiod, and it holds shape under tension, which means the reflective layer stays smooth and keeps bouncing light at your canopy instead of sagging away from it. In a small tent where every square foot of reflected light counts, that rigidity pays off quietly.
Reviewers are consistent that the thicker poles and 2000D canvas are exactly what separate this from cheaper tents. If you have ever run a light cycle and found your plants reacting to hallway light, this is the build that fixes it.
The Weight and Cost Trade-Off
At 9.1 kg this is the heaviest tent in the comparison, and you feel that when you lift it into a second-floor spare room. It is not a problem if you set it up once, but if you plan to move it around or pack it away, that is a real inconvenience, and it is the most common complaint owners raise.
The second trade-off is cost. This sits well above entry-level 2×2 tents, so if your total first-grow budget is tight, spending heavily on the enclosure while your light and ventilation are still undecided is a mistake. My honest advice is to buy this one if you already know you are staying in that room, and to start with a mid-price tent if you are still working out your floor plan.
3. MARS HYDRO 2×2 Advanced – The Best Value for Vertical Space
MARS HYDRO 2×2 Advanced Grow Tent, 24″x24″x55″ Indoor Plant Growing
24 x 24 x 55 in
1680D double-stitched canvas
Diamond mylar interior
Zipper shade cloth light seal
+ Pros
- Zipper shade cloth stitched between zipper and canvas blocks pinhole leaks
- 1680D double-stitched canvas is tear resistant and holds light
- Dual metal zippers run smoothly without catching
- Detachable waterproof floor tray and double-layer viewing window
- 55 inch height gives more vertical room than most 2x2 tents
- Cons
- Rear corner access is awkward because the top zipper does not wrap fully
- Some sizes in the range come without a viewing window
- Exhaust ports sit lower on the wall than some buyers expect
Height is the spec nobody thinks about until they have already bought. This tent is 55 inches tall in a footprint that is otherwise identical to most 2×2 models, and those extra 6 to 7 inches are the difference between a plant that has room to stretch and a plant whose new growth bends toward the light. In a low-ceiling apartment, that vertical margin is worth more than a fancier brand name.
The owner reviews mention the zipper flap constantly, and for good reason. Shade cloth is stitched between the zipper and the canvas shell, so when you close the tent the flap sits over the seam and blocks pinhole leaks. Several buyers describe it as the feature that finally solved a light-leak problem they had with other tents, and that is a real, concrete benefit rather than a spec-sheet promise.
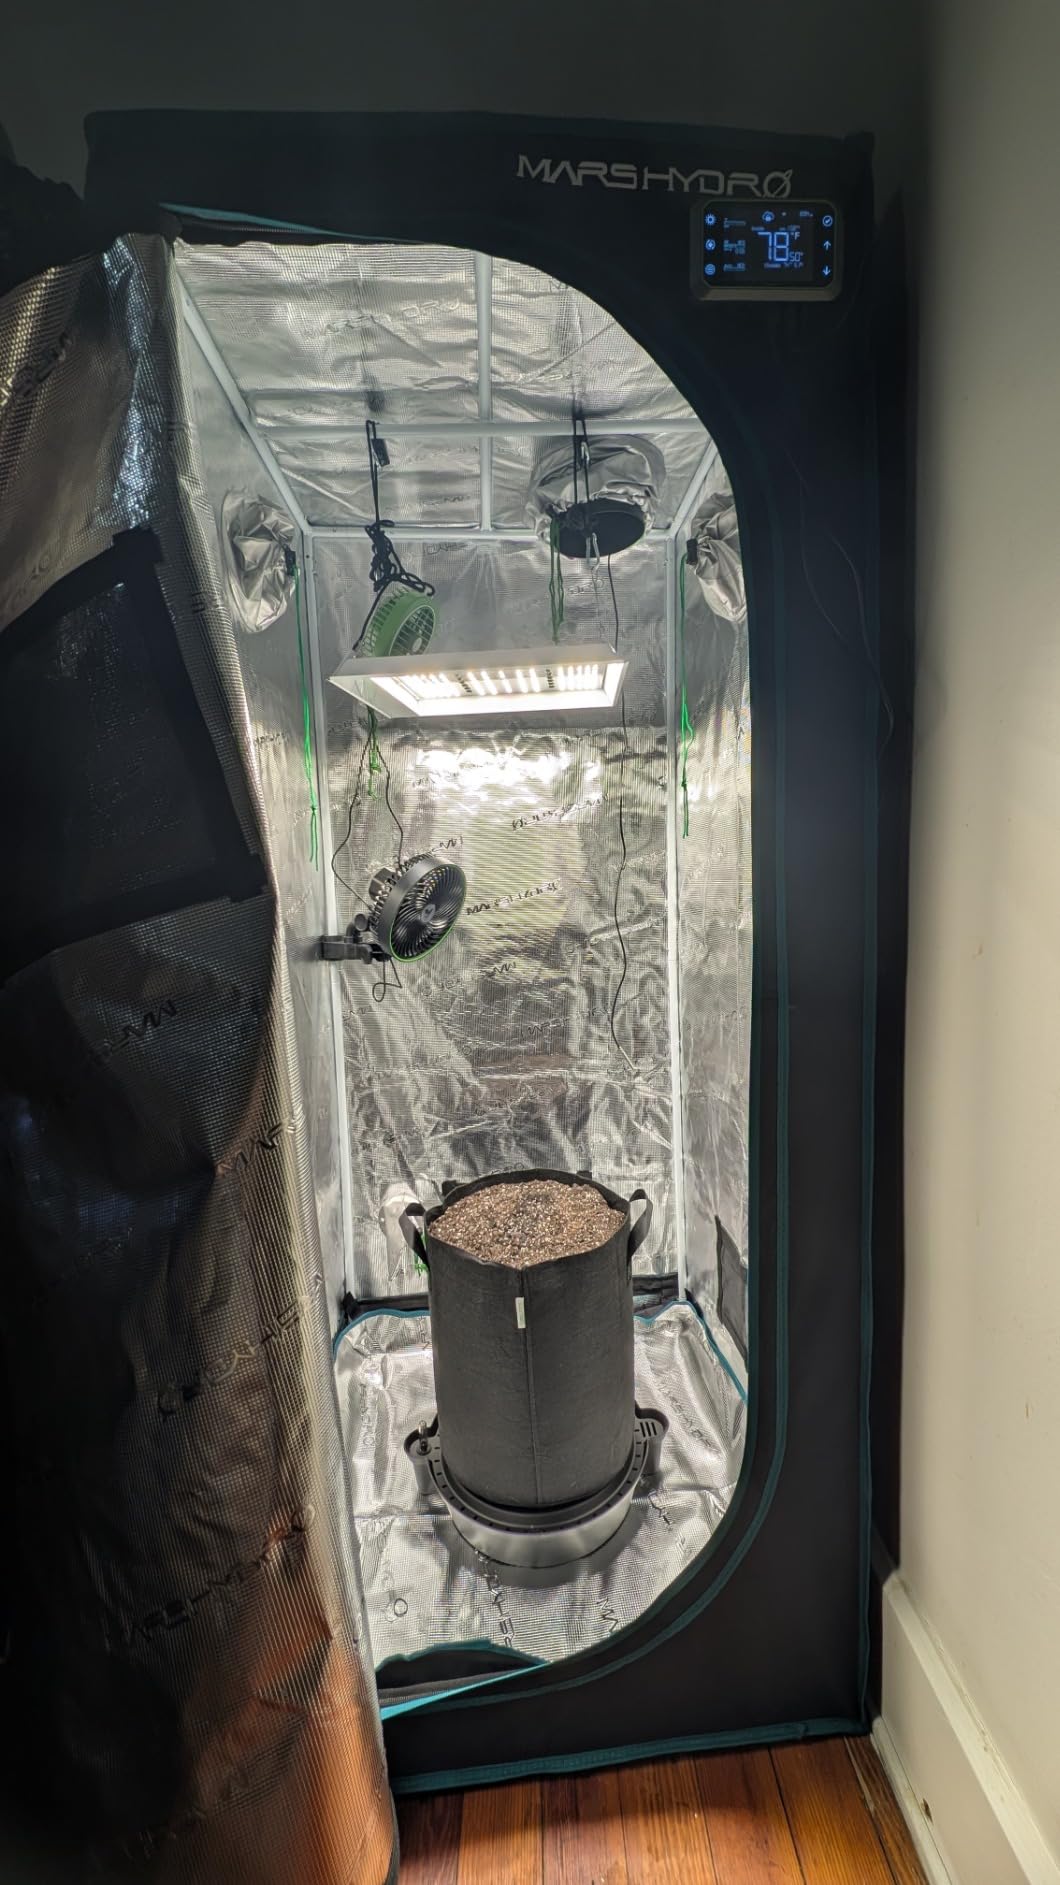
The 1680D double-stitched canvas with a reflective diamond mylar interior is heavy duty for a tent at this level. Reviewers on percysgrowroom.com frequently describe Mars Hydro 1680D oxford cloth as comparable in feel to premium tents that cost several times more, and having built several of these myself, the fabric tension and seam quality back that up.
Assembly is a pop-snap and pole job that people report finishing in 15 to 20 minutes, and the steel poles are noted for not rusting or flaking paint, which is a genuine issue in humid tents. The detachable waterproof floor tray and a double-layer viewing window round out a well-judged feature list.
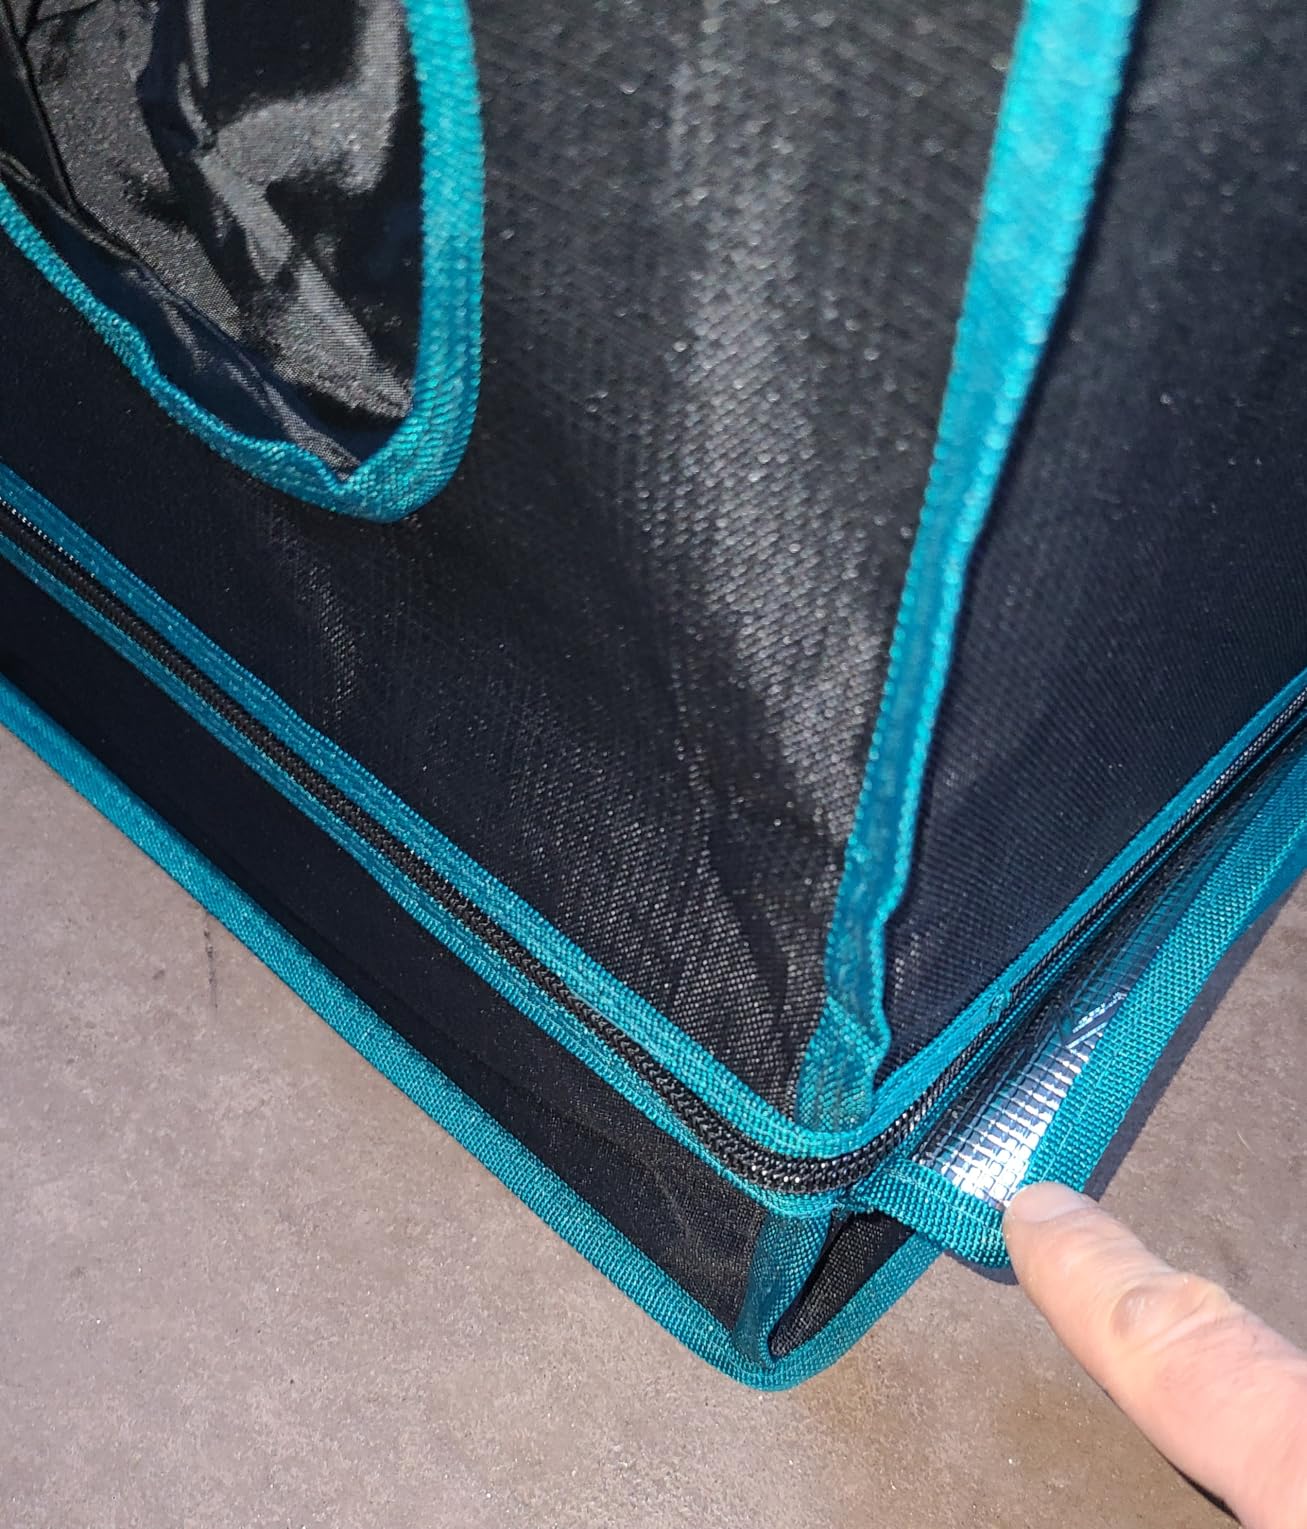
Why 55 Inches Changes Plant Behavior
Light burns happen when a plant’s top growth touches or approaches the fixture. With 55 inches of clearance you can hang a light higher, run a taller plant through veg without pinching it, and leave room for a carbon filter ducting assembly above the canopy. The taller frame also means a better ratio of floor area to volume, so heat has somewhere to move instead of pooling at the ceiling right above your plants.
Reviewers consistently single out this height as the most-praised spec for 2×2 growers who wanted more vertical room. It is the reason I put this tent at number three for a first grow rather than further down the list.
Layout Quirks Worth Planning Around
The one complaint that shows up again and again is rear corner access, because the top zipper stops short of wrapping all the way around. If you plan to train a plant right at the back wall, you will be reaching awkwardly. Position the tent so the busy plant sits at the front, where the door gives you full access.
Also note that the exhaust ports sit lower on the wall than some buyers expect. That is not a fault, but it does mean you should plan your ducting run before you build, because the fan and filter assembly will occupy a specific wall and you do not want to discover it blocks your only door.
4. zazzy 2×2 Grow Tent – The Simple Choice for a Closet Corner
zazzy 2’x2′ Grow Tent 24″x24″x36″ Hydroponic Mylar Growing Tent
24 x 24 x 36 in
600D double-stitched canvas
95 percent reflective mylar
All-steel poles to 110 lbs
+ Pros
- 95 percent reflective mylar lining with double-stitched 600D construction
- Heavy-duty all-steel poles rated for at least 110 lbs
- Tool-free install that a first-timer can finish in 20 minutes
- Observation window plus removable floor tray and tool bag
- Upgraded PA corner connectors with adjustable tightness
- Cons
- A few pinhole light leaks around the observation window seams
- Zippers can snag if the light-blocking seal is misaligned when closing
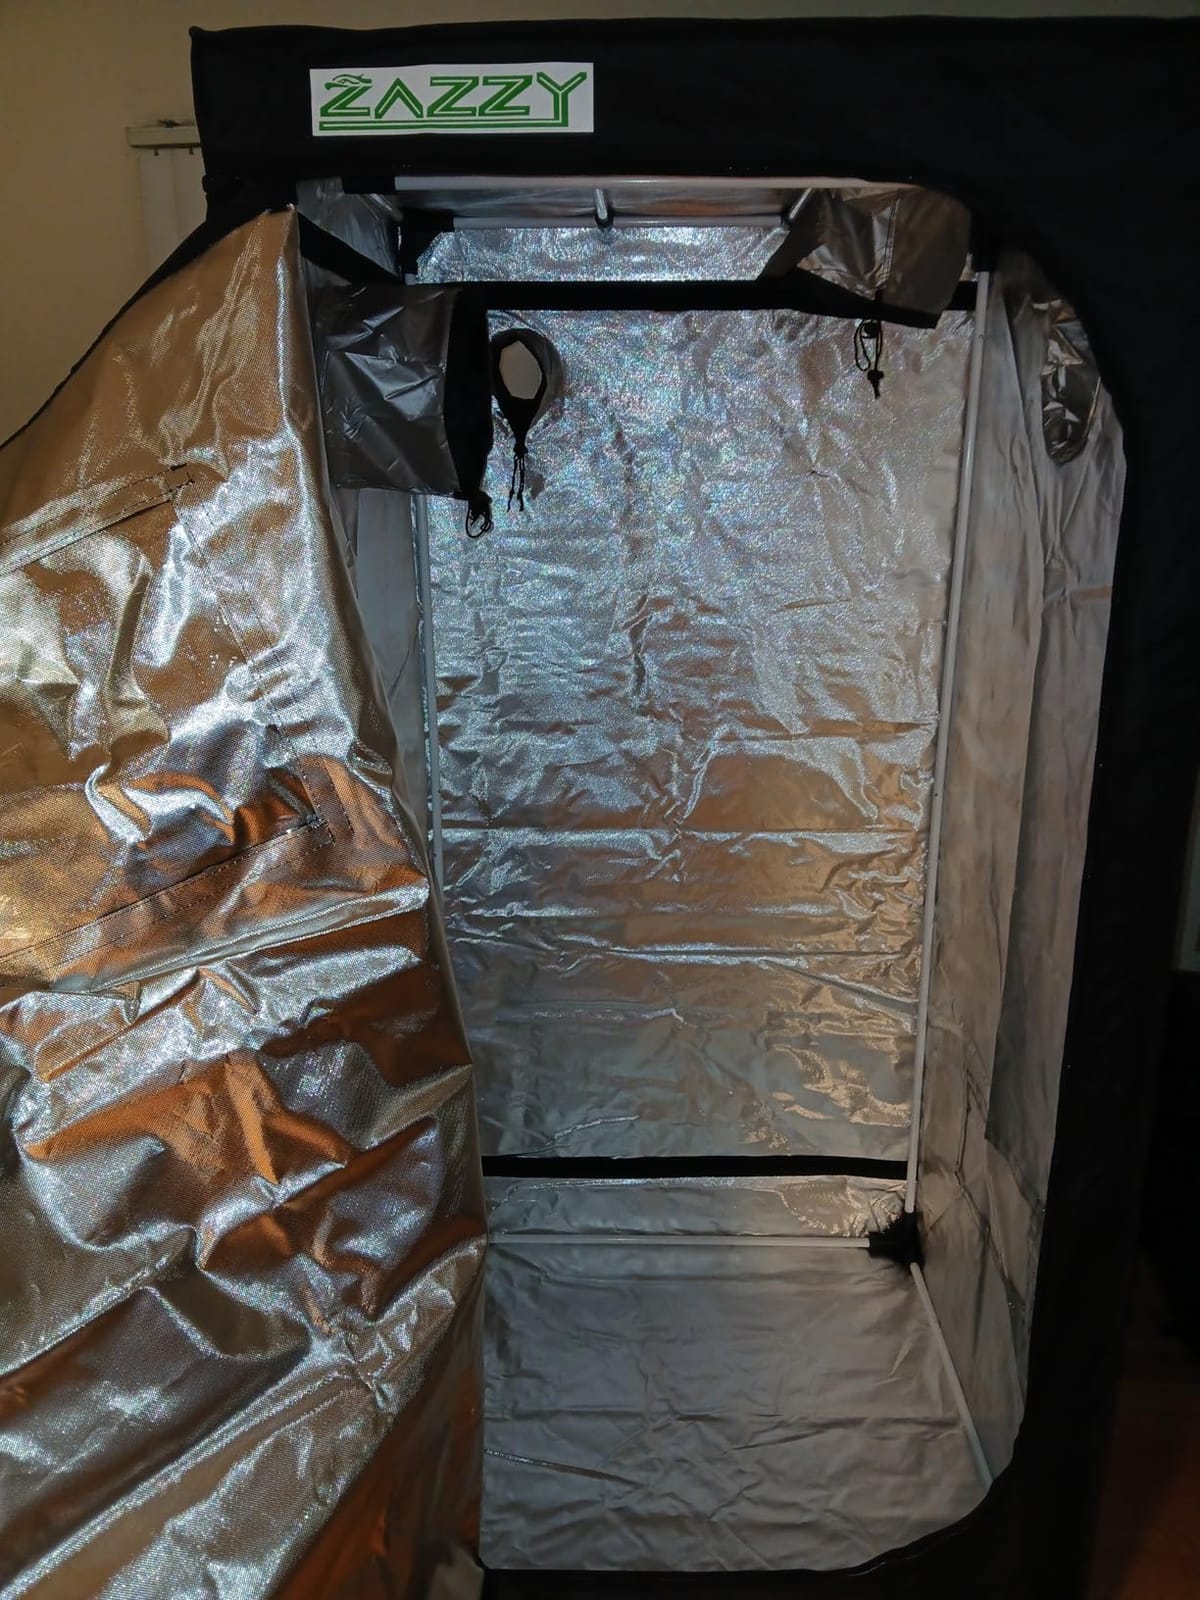
This is the tent I would suggest if your growing spot is a closet or a low shelf rather than an open room. At 24 by 24 by 36 inches it is short, which is exactly what you want when vertical space is the constraint, and the 600D double-stitched canvas with a 95 percent reflective mylar lining does a respectable job of both holding light and bouncing it back onto the canopy.
Owners repeatedly compare this tent favorably to name-brand models costing several times more, citing the thick fabric and a frame that shows no wear after repeated assembly and disassembly. That matters if you plan to break the setup down at the end of each grow. Several people also report using it for mycology work and for cloning alongside food crops, which tells you the enclosure is versatile enough for propagation stations.
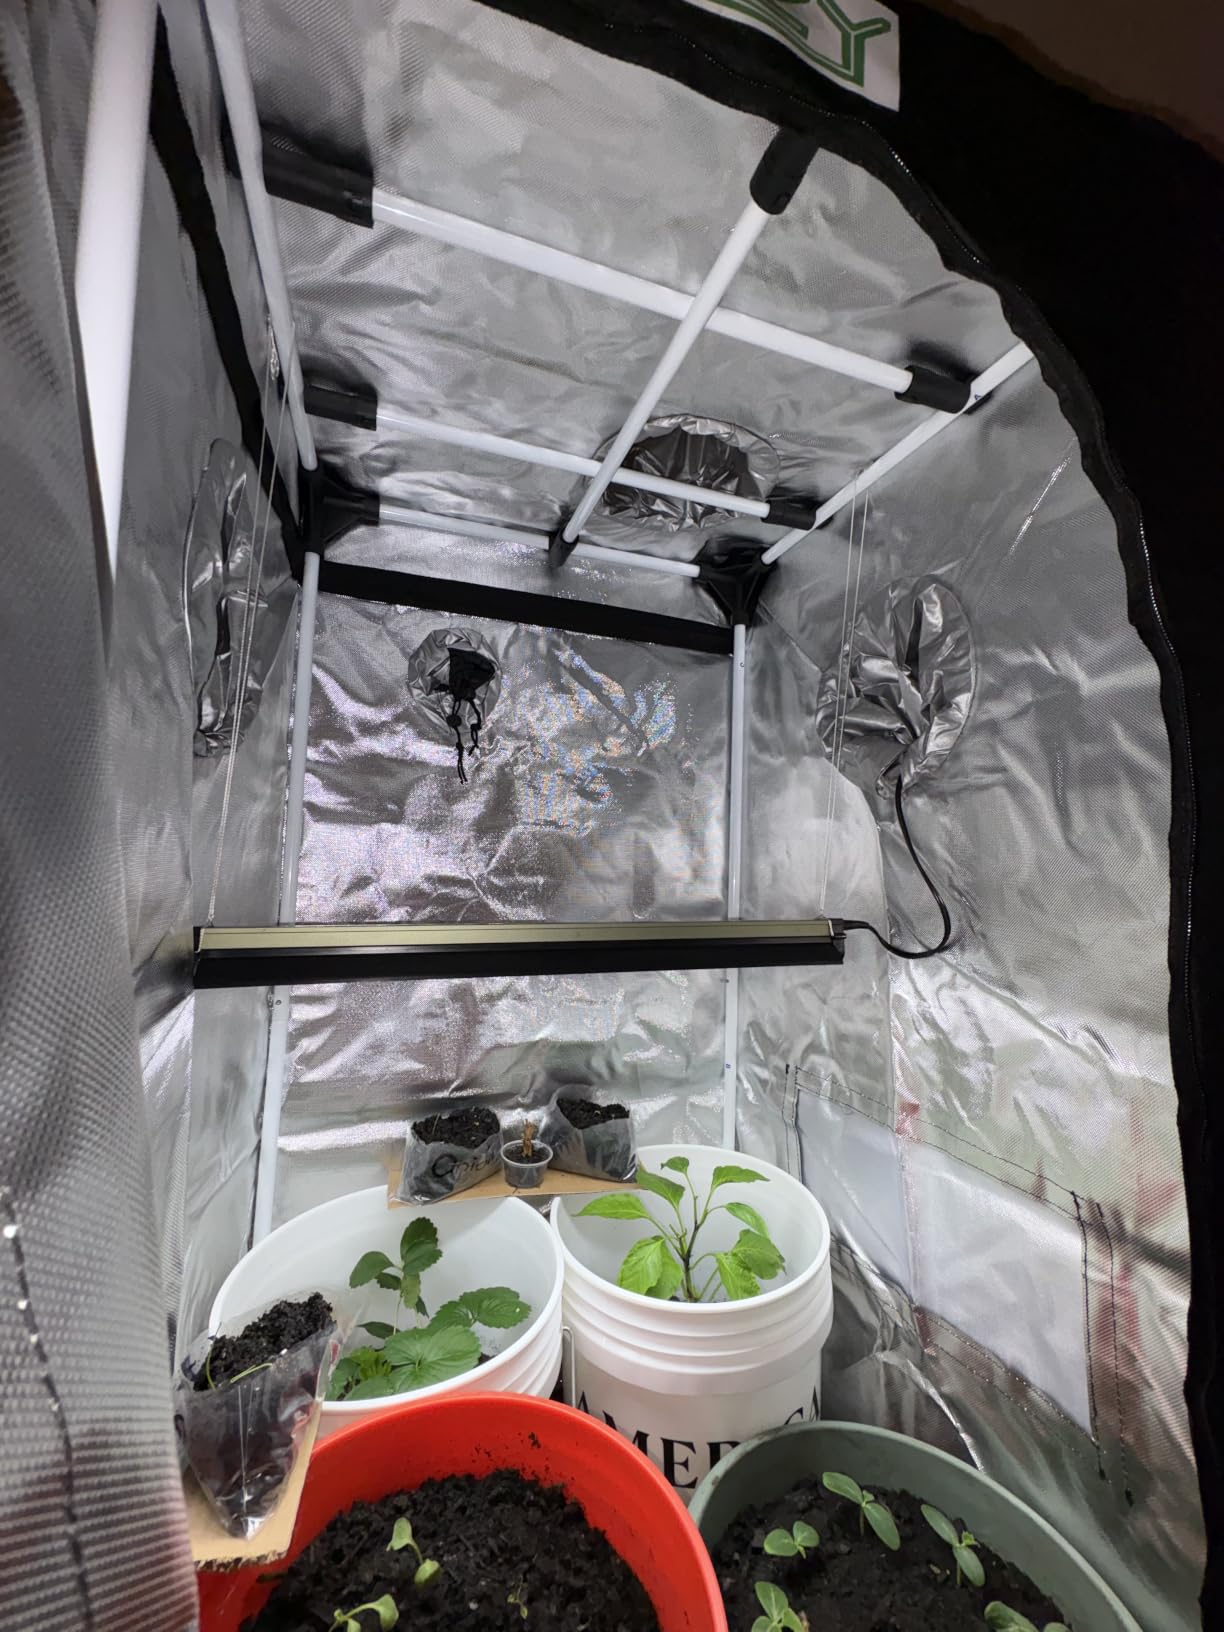
The patented PA corner connectors are a small upgrade over the plastic ones on budget tents, and they let you tighten pole tension after the tent is up. On a 36-inch-tall frame that matters, because looser corners sag over time and a sagging tent loses both light sealing and usable headroom.
Assembly is tool-free with illustrated instructions, and people describe a 20-minute build for a first-timer. The observation window, removable floor tray, and a small tool bag are all included, which is more than some competitors manage at this level.
Height, Clearance and the Light Burn Question
Thirty-six inches is short, so be honest about what you can run. A single plant in a 3-gallon or 5-gallon pot with a low-wattage light is comfortable. A tall flowering stretch is not, and if you grow anything that pushes past 30 inches you will be fighting the ceiling. The safest approach is a compact plant, a small light, and a carbon filter exhaust combo mounted low where it does not eat your headroom.
The owners who are happiest with this tent are the ones who accepted that. If your plants are short and your room is cramped, the height is an advantage rather than a limitation.
Light Leaks and the Zipper Flap Habit
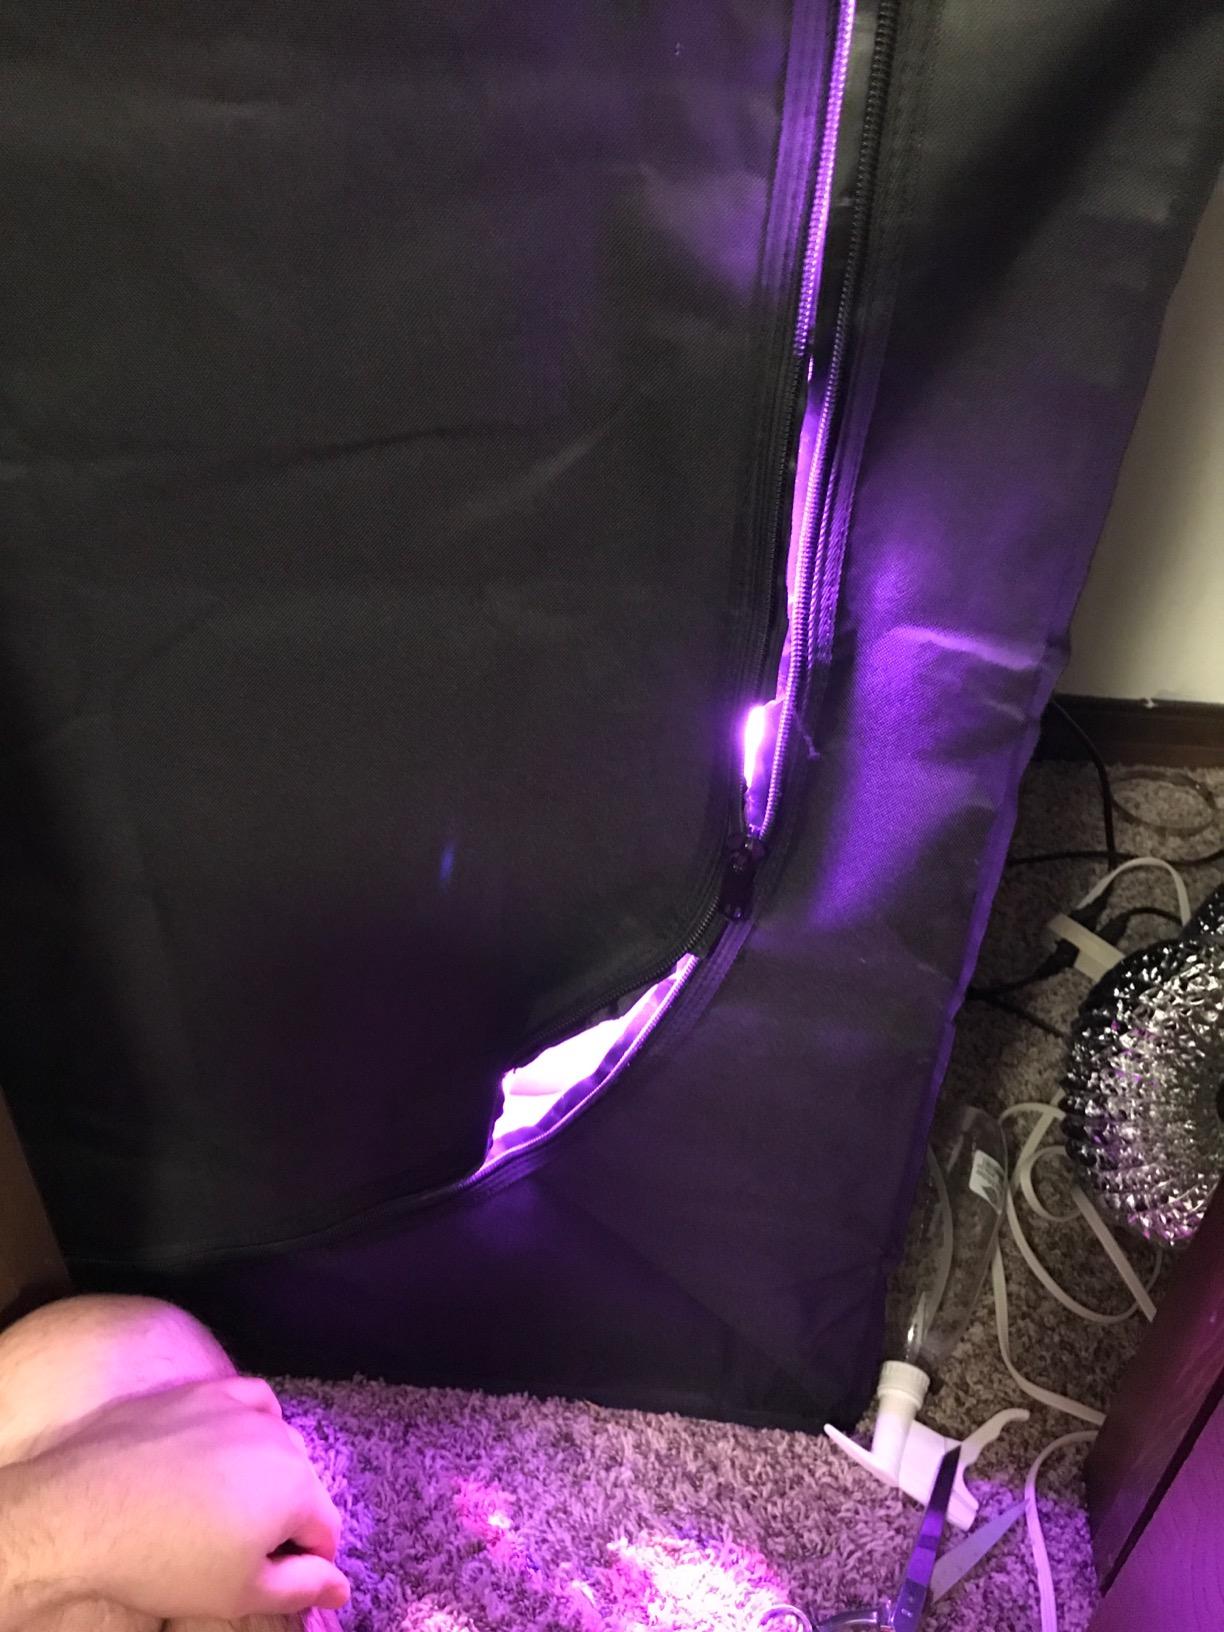
Two cautions appear in the reviews. First, a few owners report pinhole leaks around the observation window seams, so during a dark cycle test the window edges with a flashlight from inside before you trust the photoperiod. Second, the zipper can snag if the light-blocking seal is not aligned when you close it, and the fix is simply keeping the flap on the inside as you zip.
Neither issue is serious, but both are the kind of detail that turns a first grow into a stressful one if you discover them at midnight. Test the seal during the day, before your first dark cycle.
5. Spider Farmer 2×2 Grow Tent – Built for a Frame That Stays Rigid
Spider Farmer 2×2 Grow Tent 24″x24″x48″ for Indoor Plant Growing 2026 New
24 x 24 x 48 in
1680D Oxford with diamond mylar
SBS zippers with flap
Steel poles to 120 lbs
+ Pros
- Premium SBS zippers with flap and dual stitching for light and temperature control
- Tear-proof waterproof 1680D Oxford canvas with diamond reflective mylar
- Three times thicker hardened steel poles with reinforced adapters
- Includes controller hooks an 11.8 inch viewing window and a waterproof floor tray
- Tool-free setup in minutes
- Cons
- A side buckle is needed to keep the main door neat and closed
- Some smaller sizes in the range omit a viewing window
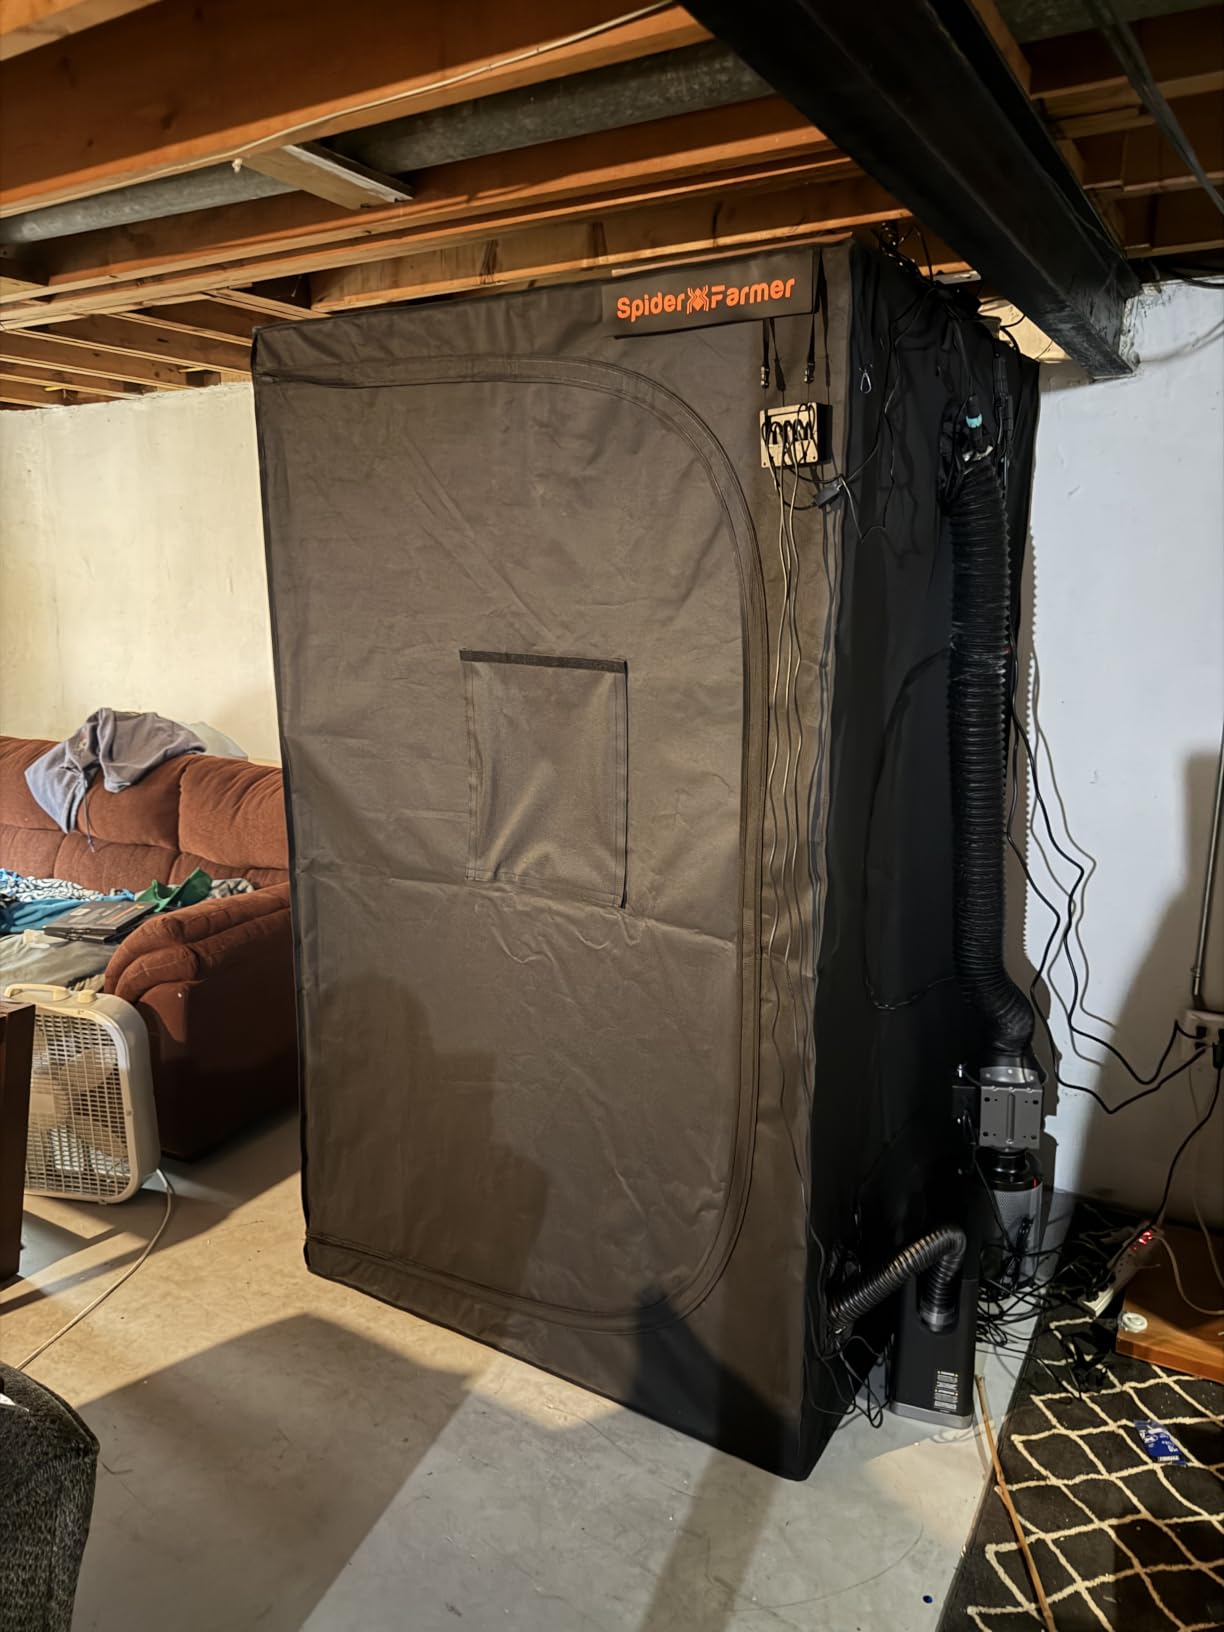
This is the tent to buy if you are going to hang real weight from the top bars. The hardened steel poles are three times thicker than standard ones, the reinforced adapters hold up to 120 lbs, and owners specifically report the frame staying rigid with both a light and a carbon filter suspended from it. In a 2×2 footprint, that rigidity is what stops a loaded tent from bowing inward and crushing your canopy.
The 1680D waterproof Oxford canvas with a diamond reflective mylar interior is a genuine step up from 600D, and the SBS zipper system with a double-protection flap and dual stitching is the kind of detail that usually only shows up in tents costing more. The tear-proof claim is not marketing fluff, and it is the reason I put this one in the durability slot.
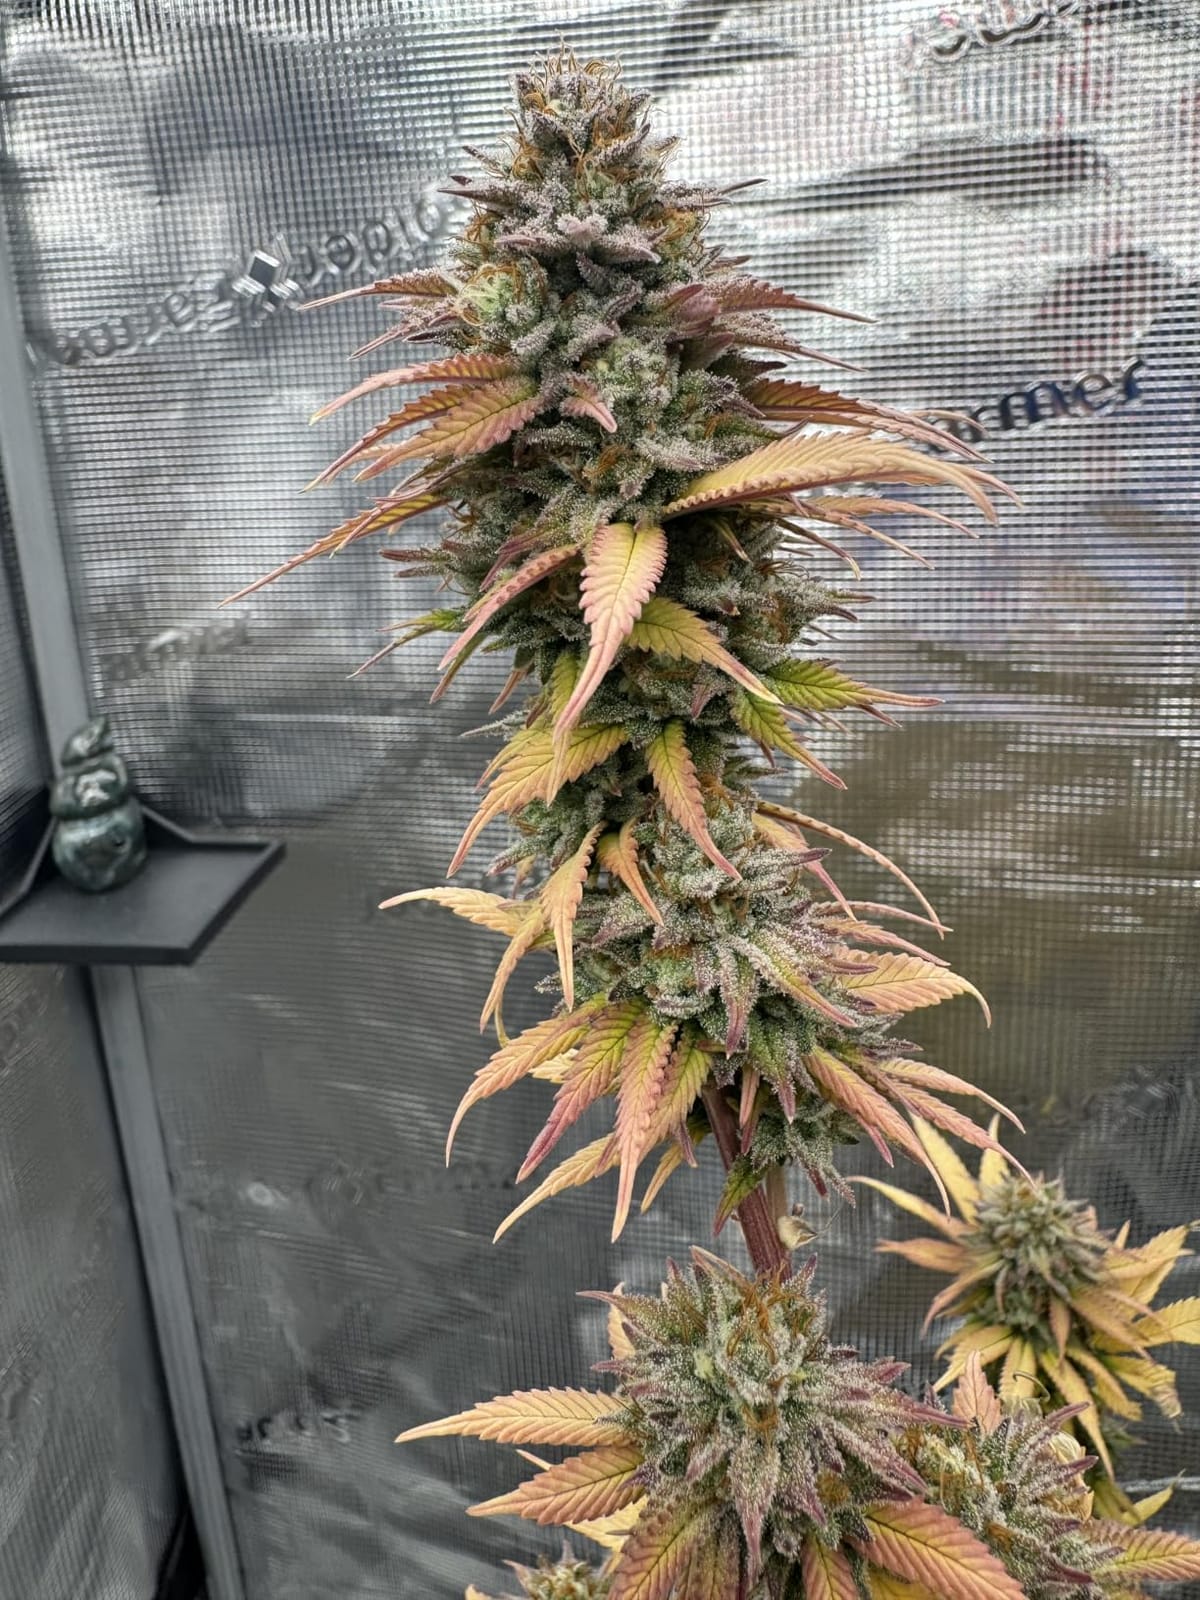
Buyers position this tent as a step up from budget models without moving into full kit pricing, and I agree with that framing. It is a tent, not a package, so you still need a light, an inline fan, and a filter, but the enclosure itself is not where you scrimped. Assembly is tool-free: build the frame, pull the tent on, add the tray and hanging bars.
Included hardware is generous for a standalone tent. You get controller hooks for suspending a light, an 11.8 by 11.8 inch viewing window, a cable pass-through for wiring, and a waterproof floor tray. The pass-through matters more than it sounds, because routing cables through a duct port instead of a dedicated grommet is how beginners accidentally open a leak.
Frame Strength and Loaded Weight
Most 2×2 tent problems are structural before they are botanical. When the frame flexes, the fabric sags, the mylar stops reflecting straight down, and the zipper gap widens enough to leak. The heavier poles and reinforced adapters here solve that chain of problems at the source, and it is why this tent holds its shape when a light and filter are both hung.
If you plan to add a second light, a bigger filter, or an oscillating fan clipped to the frame, buy the frame that can take it. This one can.
Door Closure and the Viewing Window
The single most repeated note in the reviews is that the main door needs the side buckle to stay tidy and closed. It is a minor annoyance, not a defect, and the buckle holds the fabric flat enough that the zipper path stays aligned. Just clip it as you close and you will never think about it again.
Also be aware that some smaller sizes in this product range omit the viewing window, so confirm the feature exists on the 2×2 model you are actually buying rather than assuming the range is uniform. On the 2×2, you get an 11.8 inch window, which is large enough to check plant condition without opening the tent and disturbing the climate inside.
6. zazzy 18x18x32 Grow Tent – The Budget Pick for Seedlings and Clones
Grow Tent 18″x18″x32″ Heavy Duty Indoor Growing Tents
18 x 18 x 32 in
98 percent reflective mylar
Removable mylar floor tray
Tool-free 20 minute install
+ Pros
- 98 percent reflective mylar lining with extra-thick construction
- Tool-free installation that takes roughly 20 minutes
- Removable mylar floor tray and mesh vent windows
- Upgraded anti-rust PA corner connectors
- Handy for seedlings clones and drying
- Cons
- Listed footprint runs slightly larger than the advertised size
- Minor pinhole light leakage in some builds
- Too small for a carbon filter and fan without crowding the grow light
At 18 by 18 by 32 inches this is not a grow tent, it is a propagation cabinet, and I would not pretend otherwise. What it is genuinely good at is seedlings, clones, mother plants, and a drying chamber for your first harvest. The 98 percent reflective mylar lining is among the highest reflectivity figures in this group, so a small light inside produces a surprisingly intense, evenly lit environment for young starts.
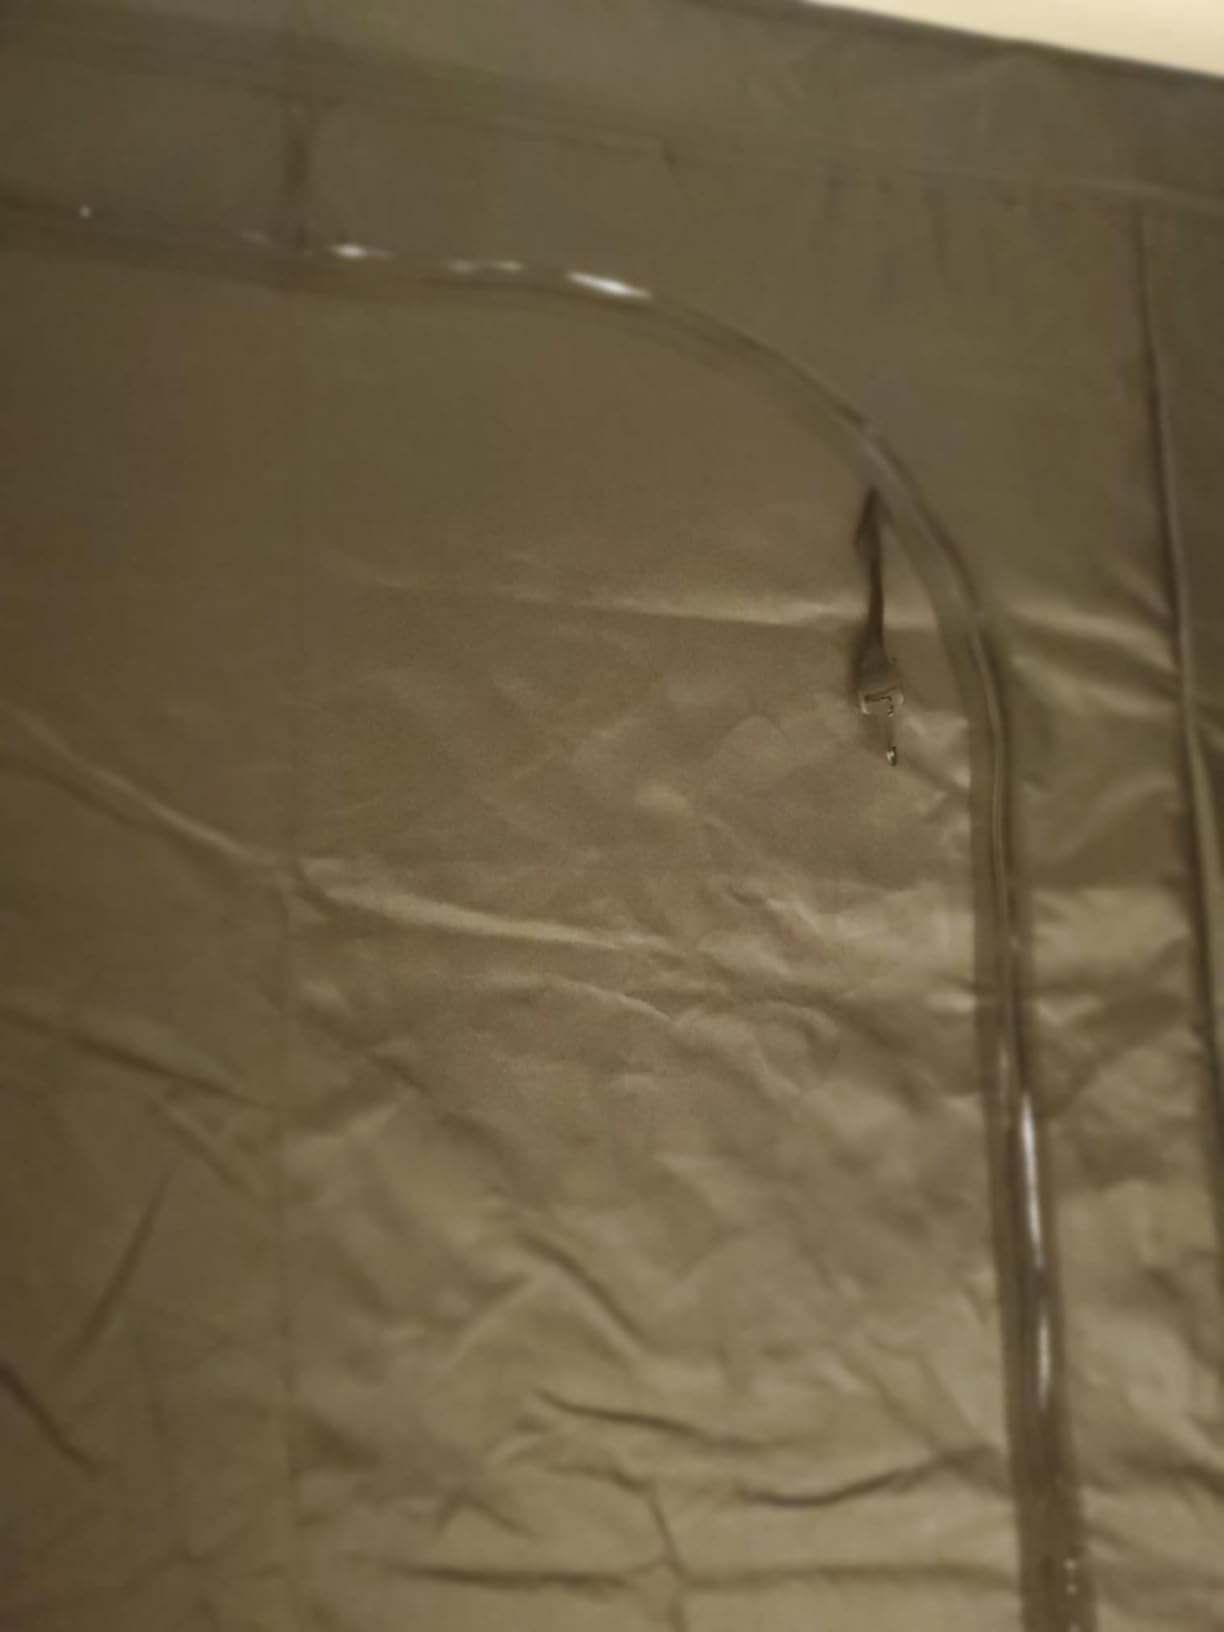
Owners treat it as an entry-level enclosure rather than a full grow room, and reviews rate it highly for that purpose. Tool-free installation takes about 20 minutes, the mesh vent window keeps out dust and insects, and the removable mylar floor tray makes cleanup simple after wet cycles.
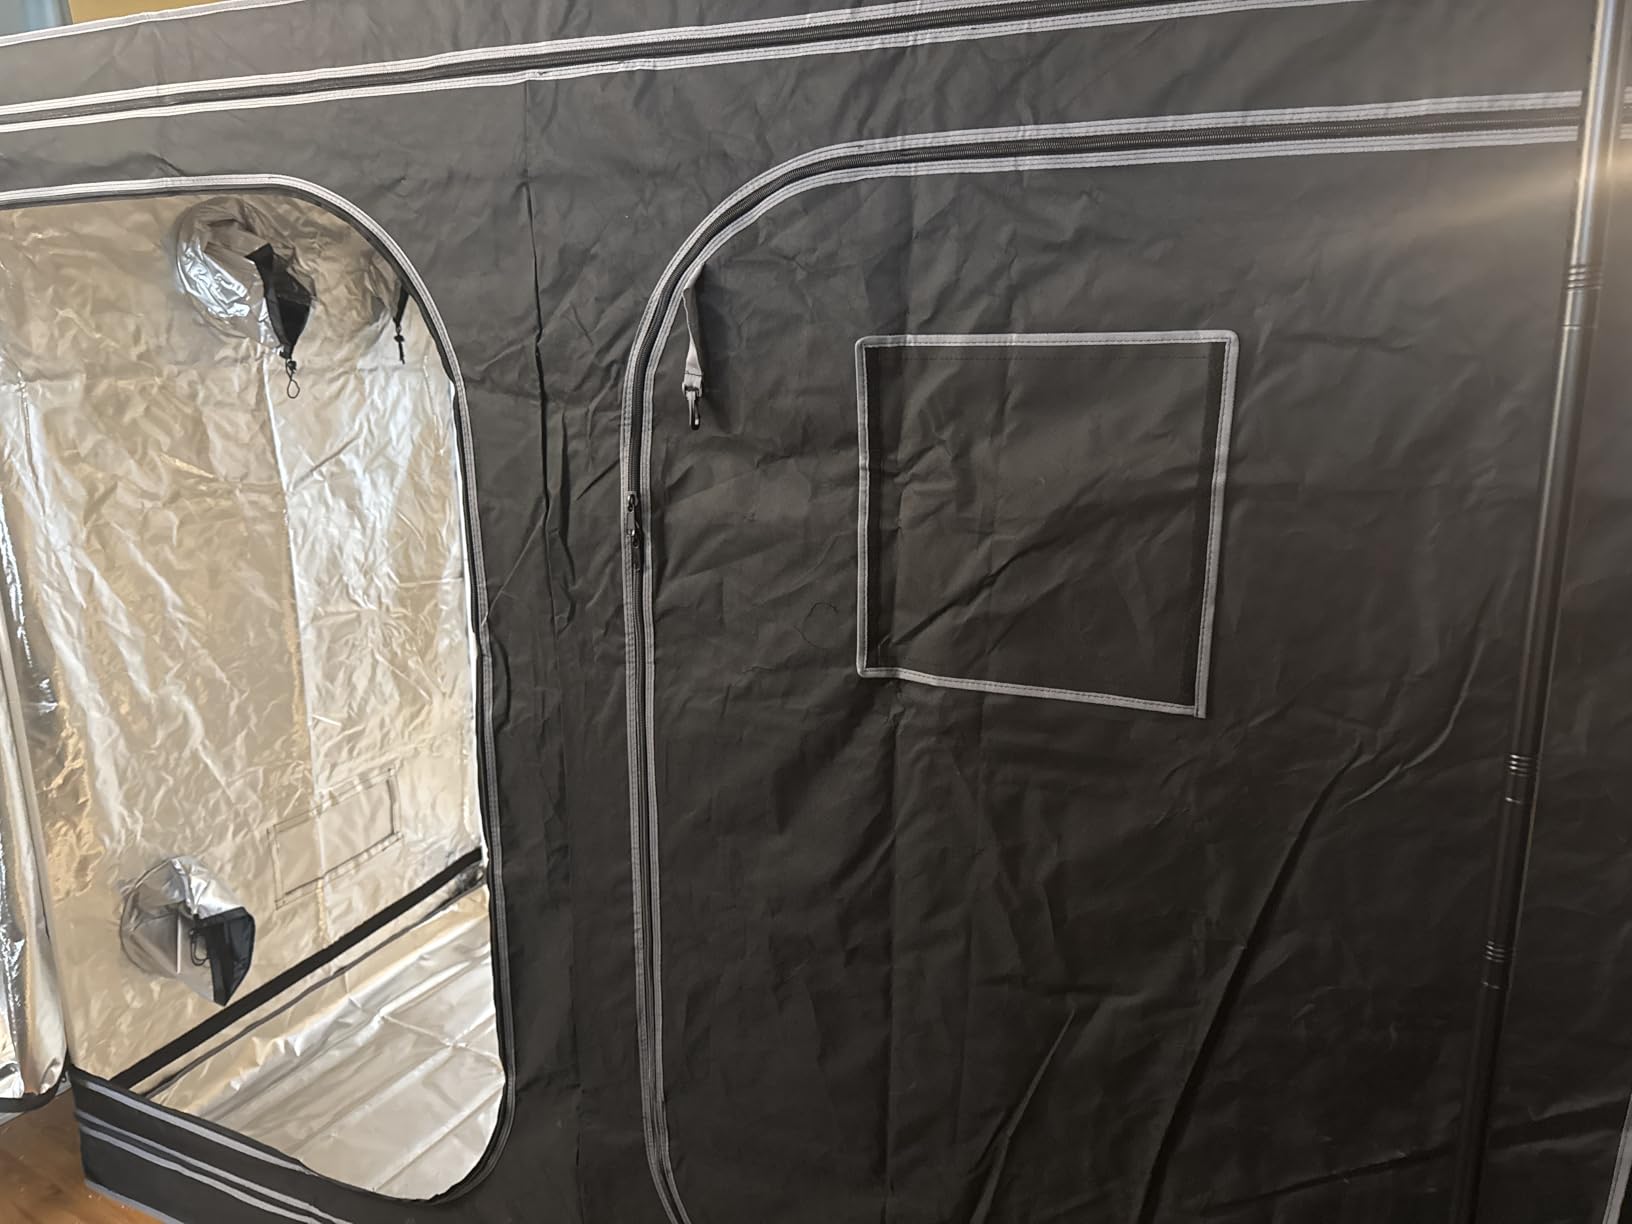
The anti-rust PA corner connectors with adjustable pole tightness are a real upgrade over the loose plastic corners on cheap tents, and the extra-thick mylar with heavy-duty zippers and double stitching gives it more light sealing than the price suggests. Tear-proof 600D double-stitched canvas over solid metal poles completes a sensible build for its size class.
Several buyers note that the interior measures a little larger than advertised, which is a bonus rather than a complaint in a small space, and that the slightly roomier interior is what makes the layout less cramped than 18 by 18 sounds.
What Fits and What Does Not
Plan on a single seedling tray, a small propagation dome, or a clone rack. A 5-gallon pot will not work, and a full-size carbon filter plus inline fan combo is specifically noted as too tight without crowding the grow light, so if you plan to filter this space you will need external ducting or a different enclosure. The instructions can also be hard to follow for a first-time builder, so budget an extra 15 minutes.
There are also minor pinhole light leaks in some builds, which is another reason to test the seal with a flashlight before you rely on a strict dark cycle for seedlings. Young seedlings are sensitive to light leaks, so a quick test matters more here than with mature plants.
When to Step Up to a Bigger Tent
Move up the moment your plants outgrow the footprint, because crowding is the fastest route to problems. Reviewers consistently frame this model as a starting point rather than a final setup, and that framing is correct. Use it to start seeds, then transition plants into one of the 2×2 or 2×4 tents in this guide once they have true leaves.
If you are only ever propagating, though, this tent is a keeper. It does one job, it does that job cheaply, and it takes up almost no room.
7. ATOUR 48x24x60 Grow Tent – The Wide Footprint for More Than One Plant
ATOUR 48”x24”x60” Grow Tent, Reflective 600D Mylar,Hydroponic Grow Tent with Observation Window and Floor Tray for Indoor Plant Growing 4’x2’
48 x 24 x 60 in
8 square foot footprint
Reflective polyester film interior
Large vent holes for fan and filter
+ Pros
- Reflective polyester film interior improves lighting efficiency
- Reinforced heavy metal rods with zipper and double-stitching protection
- Tall 60 inch profile across a 4 by 2 foot footprint
- Observation window checks plants without breaking the seal
- Tool-free assembly and easy-to-source spare parts
- Cons
- Zipper quality is not the strongest in this group
- Some sizes arrive without illustrated instructions
- Hook-and-loop window flaps loosen with frequent opening
At 48 by 24 inches this is the only tent in the group that gives you a genuine 2×4 footprint with 8 square feet of floor area, and that is why I recommend it when a first-time grower is already thinking in terms of multiple plants rather than one. Two plants in 5-gallon pots, or three in 3-gallon pots, is realistic here, and the 60-inch height means they will not touch the light.
Buyers consistently rate it as good value for the footprint, with the tall shape standing out as one of the taller budget tents at this size. Owners like the thick material, the large vent holes that make fan and filter installation straightforward, and the interior zipper flap that covers pinholes.
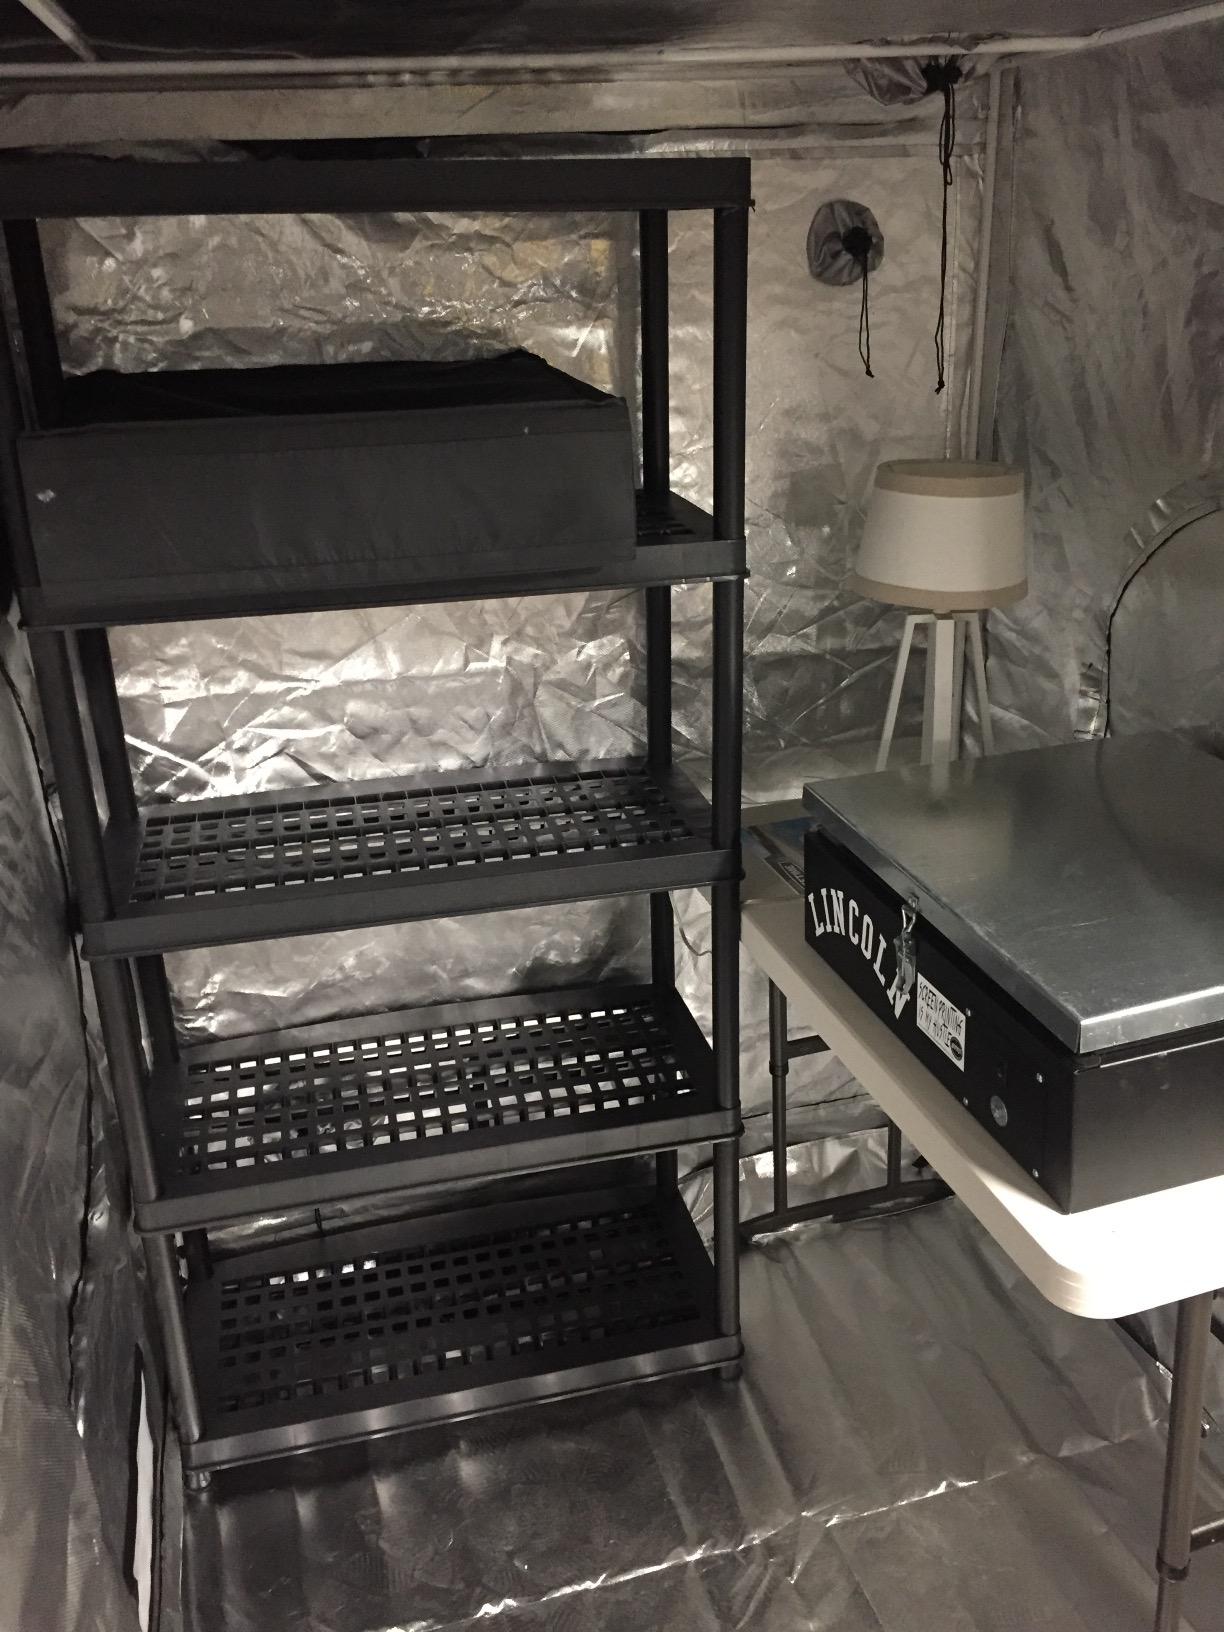
The reflective polyester film interior does its job of improving light output efficiency across a wider area, which is more valuable in a 2×4 than in a tiny 2×2, because reflected light has further to travel to reach the far corners. The reinforced heavy metal rods and double-stitching give the frame and seams more structure than the weight class suggests.
Assembly is tool-free, and a detail worth noting is that spare parts are easy to source. When a pole or a zipper eventually gives out, you can replace the part rather than the whole tent, which is uncommon in this category and quietly saves money over several grows.
Making a 2×4 Work in a Real Room
A 4-foot wall is a lot of wall to find in an apartment. Measure the space before you commit, and remember that you need clearance at the back for your fan and filter assembly, plus room to open the door. Placed along a long wall in a bedroom or a basement, the 2×4 footprint gives you a proper canopy area that a 2×2 simply cannot.
The 40 cubic foot chamber volume is also the largest non-kit option here, and volume matters for humidity management, because more air means the environment changes more slowly and a small excursion in temperature is less damaging to your plants.
Zipper Durability and Vent Placement
The most repeated complaint concerns zipper durability, and the hook-and-loop window flaps can loosen with frequent opening. Neither is a dealbreaker, but plan to open the observation window as little as possible, since that is where the seal wears first. Check the flap tension every few weeks and reseat the hook-and-loop strip when it loosens.
Also check whether your size includes illustrated instructions, because some sizes arrive without them. It is a small thing, but a first-time builder without a diagram is the kind of person who ends up with one pole twisted in the wrong direction.
8. MARS HYDRO 2×2 TS600 Kit – The Easiest Complete First Setup
MARS HYDRO 2x2ft Grow Tent Kit with TS600 100W Full Spectrum LED Grow Light
Tent, light, fan, filter, ducting in one box
24 x 24 x 55 in
1680D canvas
205 CFM EC motor fan
+ Pros
- Complete bundle with tent 100W light inline fan carbon filter ducting trellis and grow bags
- 1680D double-stitched canvas with reflective diamond mylar and a sewn-in zipper flap
- 0.8mm metal frame rated to 88 lbs
- EC motor inline fan with 0-100 percent controller at 205 CFM and 26.8 dB
- Bluetooth and WiFi app control for temperature and humidity
- Cons
- TS600 runs hot and earlier versions were not dimmable
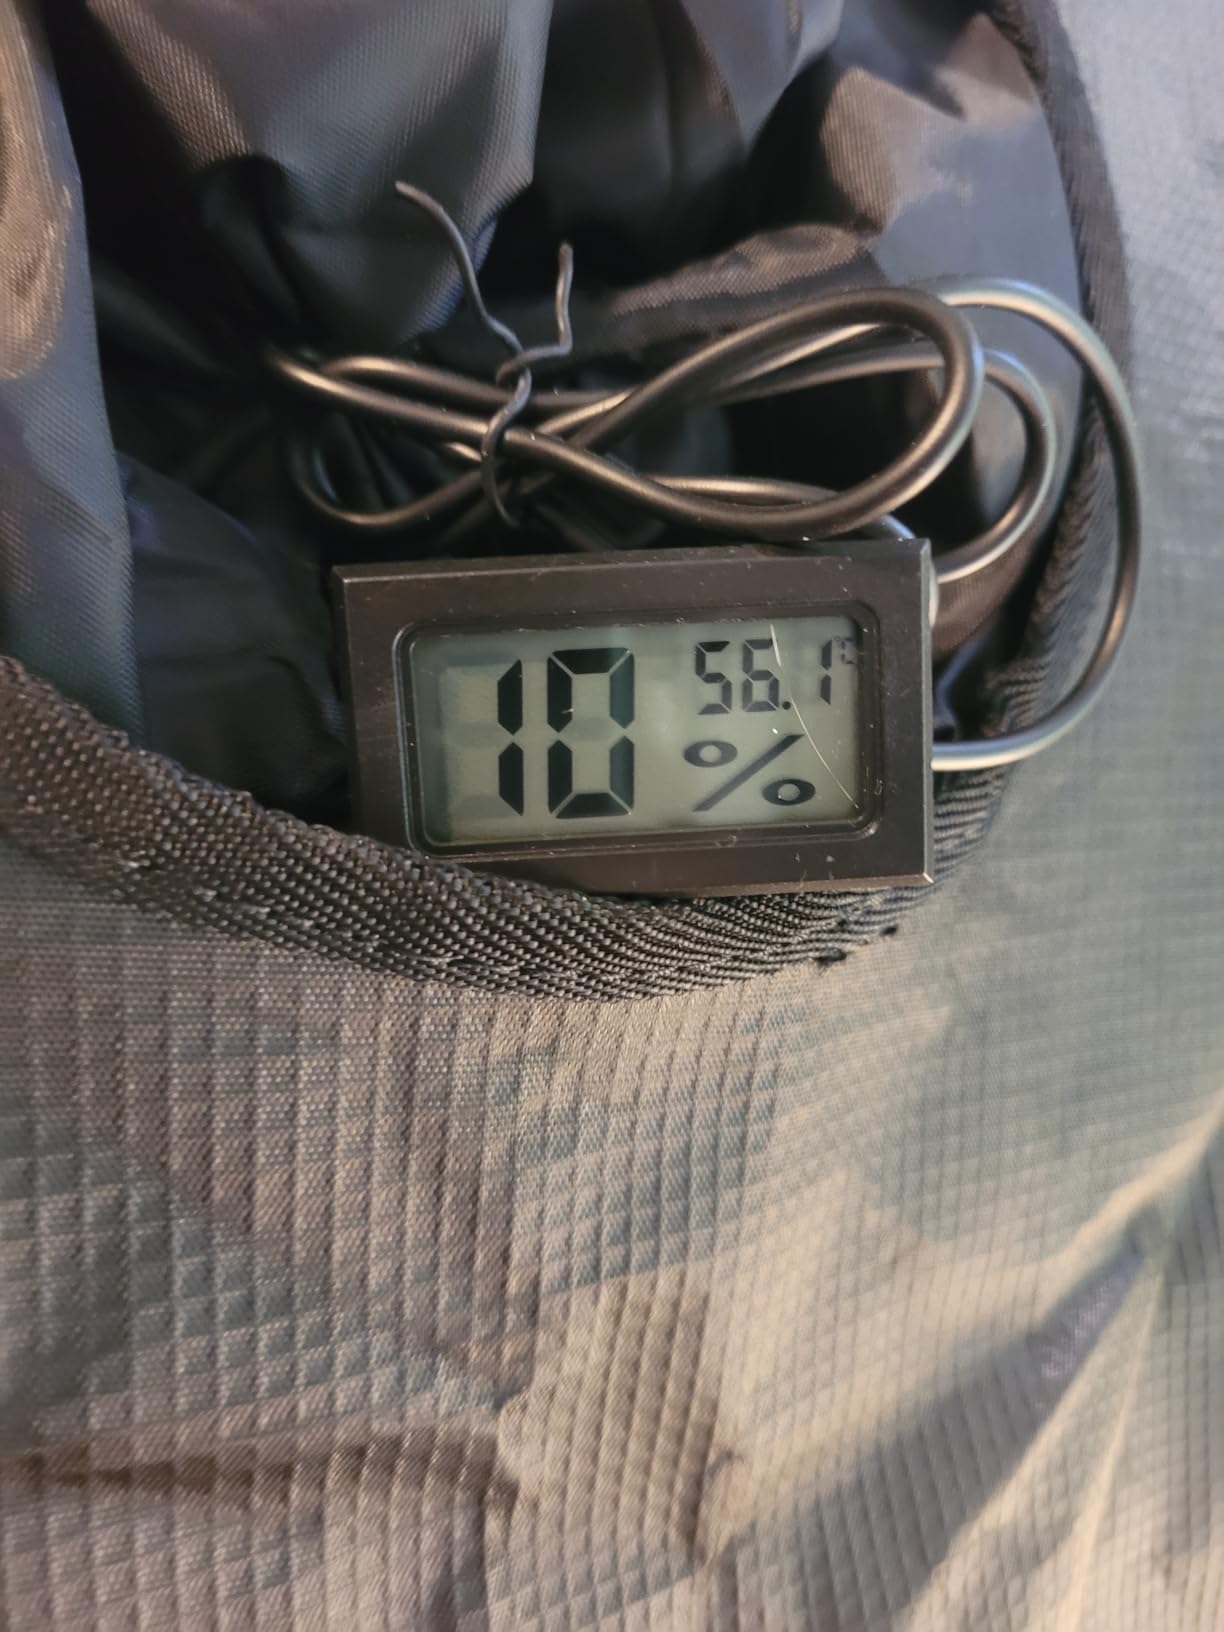
- The included thermometer and hygrometer is hard to program from the printed instructions
- Ducting fits very tightly over the carbon filter opening
- Inline fan is noticeably louder outside the tent on high speed
If your biggest fear is opening five different product pages and ending up with a fan that does not fit the duct port, this kit removes that entire category of mistake. Everything arrives in one box: the 24 by 24 by 55 inch tent, a 100W TS600 LED, an inline fan, a carbon filter, ducting, trellis netting, grow bags, rope hangers, and a thermometer and hygrometer. Owners repeatedly recommend it as a first indoor setup precisely because the parts already match each other.
The tent itself is 1680D double-stitched canvas with a high-reflective diamond mylar interior and a sewn-in zipper light-blocking flap, mounted on a 0.8mm metal frame rated to 88 lbs. That is the same class of enclosure as the standalone Mars Hydro tent, so you are not sacrificing build quality to get the bundle.
The 4-inch inline fan uses an EC motor rated at 205 CFM with a 0-100 percent speed controller, and at 26.8 dB it is quiet enough to run in a bedroom. The carbon filter uses RC48 activated charcoal and comes with 25 feet of ducting. App control over Bluetooth and WiFi handles temperature and humidity monitoring from your phone, which is a genuine convenience once you start traveling.
The recurring criticism centers on the light. Owners say the TS600 runs hot, and some earlier versions were not dimmable, which matters because seedlings and young plants want far less intensity than a flowering canopy. The included thermometer and hygrometer is also hard to program from the printed instructions, so plan to set it up from the app instead.
Matching the Fan to the Tent
A 205 CFM fan paired with a 4-inch filter and a 24-inch tent gives you the exhaust capacity a 2×2 needs without pushing so hard that the tent frame strains. The controller lets you dial airflow down in a cool room, which is the difference between a system you run all night and one you leave off. Just take care seating the ducting over the filter opening, which reviewers note fits very tightly.
The 26.8 dB rating applies inside the tent, where fabric dampens it. Outside the enclosure on high speed it is audible, so if your setup shares a wall with a bedroom, run the fan on a lower setting and let a small oscillating fan move air across the canopy instead.
Who Should Skip the Kit
Skip it if you already own a light or a fan, because you will end up with duplicates. A buyer who is replacing one component should buy that component. I also would not buy a kit before deciding your floor plan, because the entire point of the bundle is convenience and a 2×2 is a commitment to a small footprint.
For everyone else on their true first grow, this is a sensible one-box starting point with fewer ways to get it wrong.
9. VIVOSUN Smart Grow Tent Kit – The Most App-Controlled Box
VIVOSUN Smart Grow Tent Kit 2×2, 1-Plant WiFi-Integrated Grow Kit System
24 x 24 x 48 in
600D Oxford with reflective mylar
GrowHub E42A controller
100W full spectrum light
+ Pros
- GrowHub E42A controller unifies light fan and sensors in one app
- Full-spectrum 100W light with 3000K 5000K 660nm and 730nm diodes
- AeroZesh 4-inch inline fan moves up to 195 CFM with PWM control
- Extremely well-stocked box including shears hangers and five grow bags
- Tent described as heavy duty with sturdy zippers
- Cons
- Light minimum brightness is still 25 percent which is too bright for some young plants
- GrowHub controller has limited ports so a splitter may be needed
- Some bundled oscillating fans stopped oscillating after a short while
This is the kit I recommend to anyone who wants their tent, light, fan, and sensors visible on a phone screen. The GrowHub E42A controller handles light scheduling, fan speed, and real-time indoor and outdoor temperature and humidity readings, and owners frequently describe it as the most app-controlled kit they have used. For a first grow, that visibility genuinely helps, because you are learning what a normal temperature and humidity curve looks like.
The box is extremely well stocked. Beyond the tent, light, fan, carbon filter, and ducting, you get clamps, a prefilter, vent covers, trellis netting, five five-gallon grow bags, pruning shears, twist ties, ducting tape, rope hangers, and hanging straps. Multiple buyers say the all-in-one box saved them from sourcing parts separately, which is the entire argument for a bundle.
The tent is 24 by 24 by 48 inches in 600D Oxford canvas with a PE layer and a high reflective mylar lining, described by owners as heavy duty with sturdy zippers. The AeroZesh 4-inch inline fan moves up to 195 CFM with PWM speed control, and the LumaLight 100W uses 3000K, 5000K, 660nm, and 730nm diodes for full-spectrum coverage.
At 38.5 pounds for the complete kit, this is a substantial box, and that is a real consideration if you are moving it between rooms. Customer service is reported as responsive when a component failed, which is worth something for a kit with this many moving parts.
Why the Controller Matters on a First Grow
A dedicated controller removes the single most common beginner mistake, which is forgetting to switch the light off. You set a schedule once and the system holds it. The GrowHub also handles fan speed, so when a hot afternoon pushes your room temperature up you can bump airflow from your phone instead of crawling into the tent to adjust a dial in the dark.
The temperature and humidity sensors are the real value for a novice. Watching those numbers move tells you what your plants are experiencing, which is education you cannot get from a static manual.
Limitations Worth Knowing Before You Buy
The 25 percent minimum brightness is the complaint owners raise most, and it is a genuine problem for seedlings. If you plan to start from seed, you will need to hang the light higher and turn it down with an external dimmer or timer. The controller also has a limited number of ports, so running two inline fans means buying a splitter, and some bundled oscillating fans have stopped oscillating after a short while. Accessories here are also not cross-compatible with AC Infinity control panels, so do not plan a mixed-brand upgrade path.
For a first full-cycle grow in a fixed location, that trade-off is worth it. For a seedling phase or a portable setup, choose a simple tent instead.
10. Spider Farmer 2×2 GGS Kit – The Coolest-Running Light in a 2×2
Spider Farmer 2x2ft Grow Tent Kit with GGS Controller Automatic Grow System
24 x 24 x 55 in
1680D Oxford with reflective mylar
SF1000D 0-100 percent dimmable
205 CFM fan and filter
+ Pros
- SF1000D light dims 0-100 percent with 476 Bridgelux diodes at 2.5 umol/J PPE
- GGS controller integrates temperature humidity and light sensors with app management
- Pro-grade 2x2x5 tent in 1680D Oxford with reflective mylar and SBS zippers
- Steel frame rated to 120 lbs with a leak-proof removable floor tray
- Quiet 4-inch inline fan at 205 CFM and 26.8 dB
- Cons
- Filter and fan side by side consume most of the 2 foot width
- Mounting the light and fan inside a small tent is fiddly for first-time builders
- Some S-hooks in the box are the wrong size and the trellis may be missing
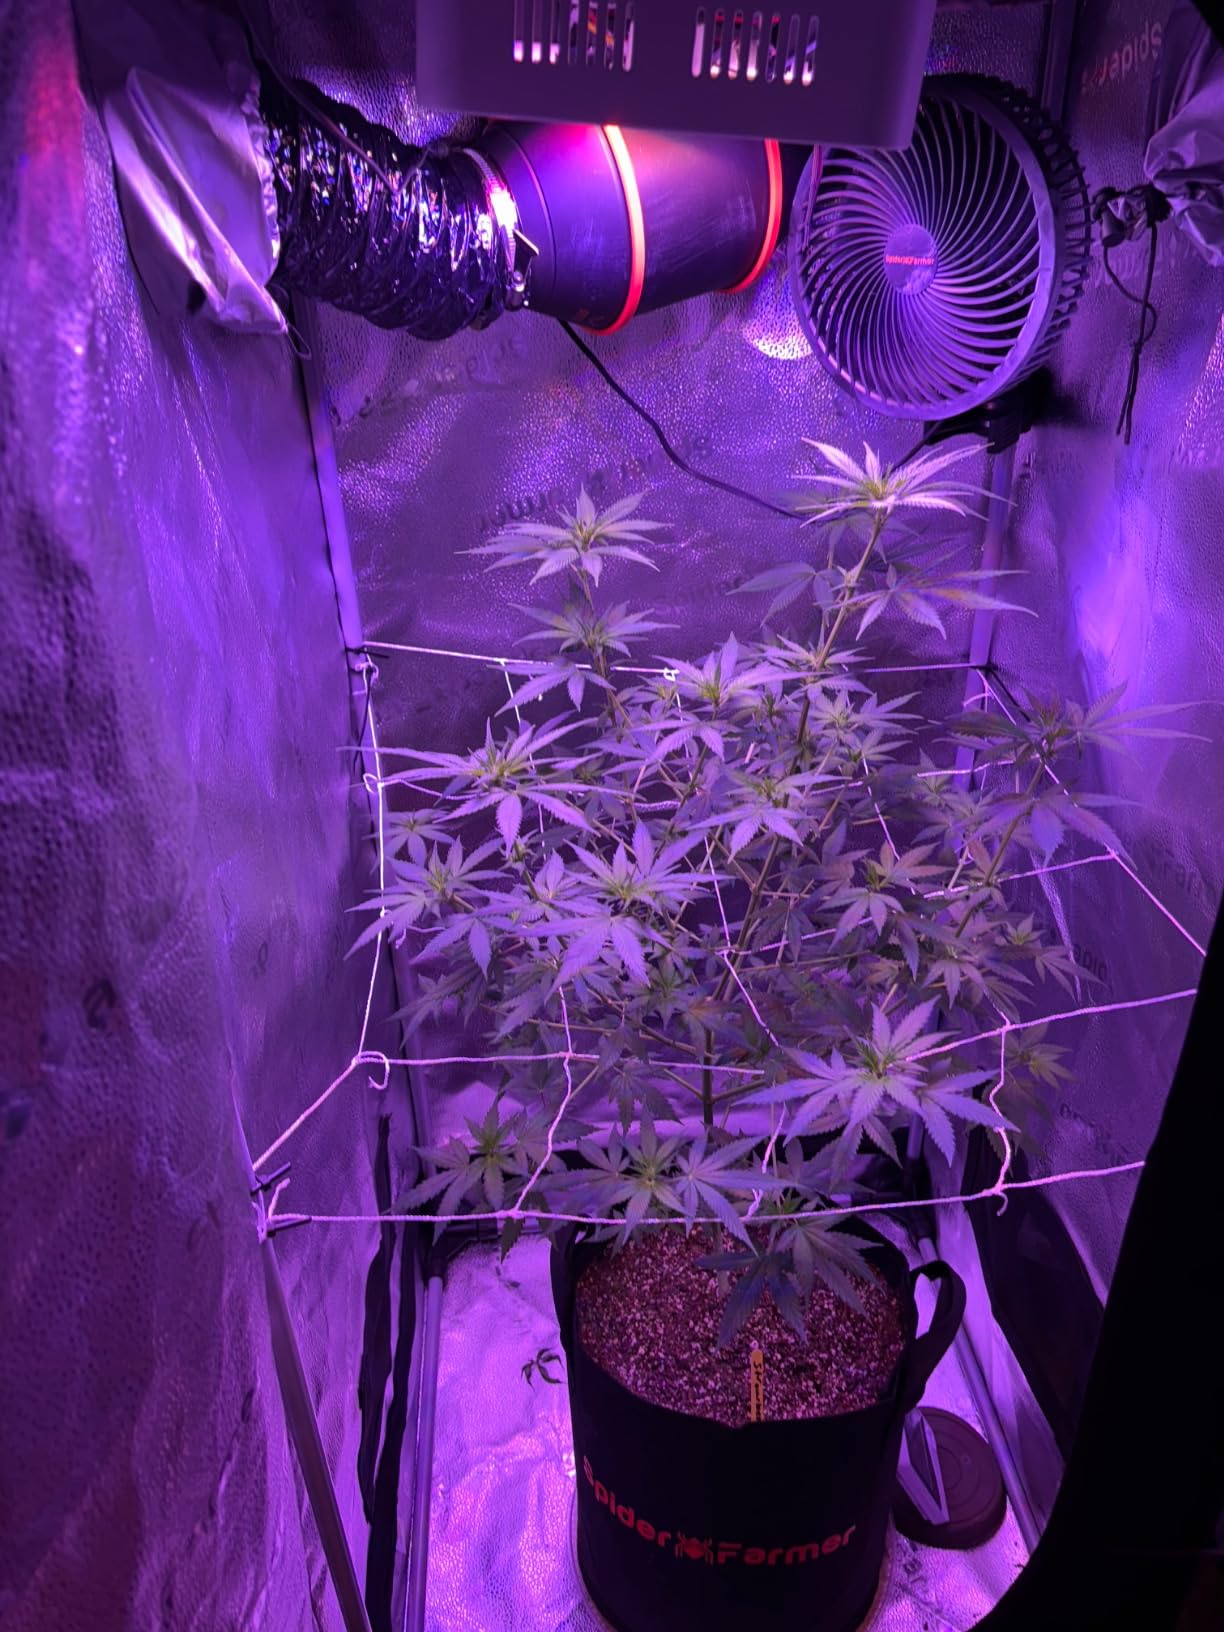
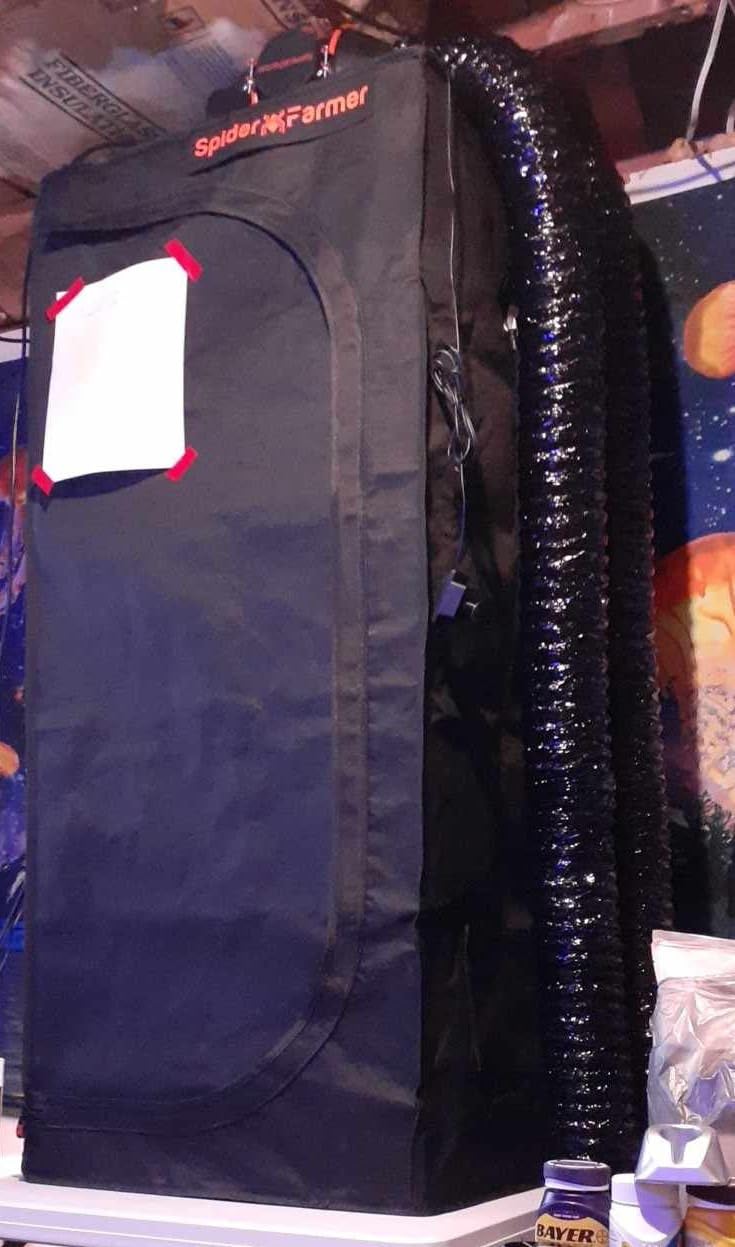
Heat is the number one complaint in small tents, and this kit is my answer to it. The SF1000D light runs cool enough to sit close to the canopy, and long-term owners report that the kit holds up over multiple grow cycles with no fabric tears and working zippers. The light dims from 0 to 100 percent across 476 Bridgelux diodes at 2.5 umol/J, which is the full range you need for a seedling-to-flower cycle in one fixture.
The tent is the pro-grade class: 1680D Oxford cloth with a reflective mylar interior, SBS zippers, double stitching, a mesh viewing window, and a steel frame rated to 120 pounds. The 4-inch inline fan moves 205 CFM at 26.8 dB and pairs with an RC412 activated carbon filter and flexible duct, so the ventilation side is properly specced rather than filler.
The GGS environmental controller accepts temperature, humidity, and light sensors and adds app management, so this box has the same remote-visibility appeal as the VIVOSUN smart kit with a dimmer light as its main advantage. Rope ratchets, a timer, a thermometer and hygrometer, and all mounting hardware round out the package.
Long-term owners consistently point to one setup lesson: build the frame first before adding the fabric, and place the carbon filter and inline fan on separate walls so they do not eat the full two feet of width. Follow that advice and the layout problem largely disappears.
Light Output and Canopy Distance
Because the light runs cool, you can hang it lower than you would with a hotter fixture, which means more usable light reaches the canopy in a 55-inch tent. That directly addresses the small-tent problem where the plant grows toward the light because the lamp cannot be lowered without cooking the top leaves.
The 0-100 percent dimming range is what makes a single light viable across a full cycle. Turn it up for flowering, turn it down for seedlings, and you are not buying a second fixture.
Fitting a Filter and Fan Into Two Feet
This is the real constraint and owners say so plainly. A 4-inch carbon filter and inline fan side by side will consume most of a 24-inch wall, so put the intake on the opposite wall at floor level and the exhaust high on another wall. Expect the layout to take 30 minutes of planning, and the mounting of the light and fan inside a small tent is fiddly for first-time builders.
A few buyers also received incorrect hook sizes or a missing trellis, so check the box contents before you start assembly rather than discovering it mid-build.
11. IPOW 2×2 Complete System – The Cheapest Way to a Working First Setup
IPOW Grow Tent Kit Complete System 2×2 ft with VS1000 Led Grow Light, 4 Inch 190CFM Inline Fan, Carbon Filter and 8ft Ducting Combo, 24″ x 24″ x 55″
24 x 24 x 55 in
600D oxford exterior
100W dimmable IP65 LED
190 CFM fan with filter
+ Pros
- Includes everything needed to start except seeds and growing medium
- Dimmable 100W full-spectrum light with 240 IP65-rated LEDs
- Strong steel frame 600D oxford exterior and double stitching that seal light
- Waterproof floor tray with multiple vent and cable ports
- Ratchet hangers let the light height change for each growth stage
- Cons
- Inline fan is louder than the description suggests and has no speed control
- Thermometer and hygrometer arrived without a button cell battery
- Fan is heavy enough that some buyers add a speed controller
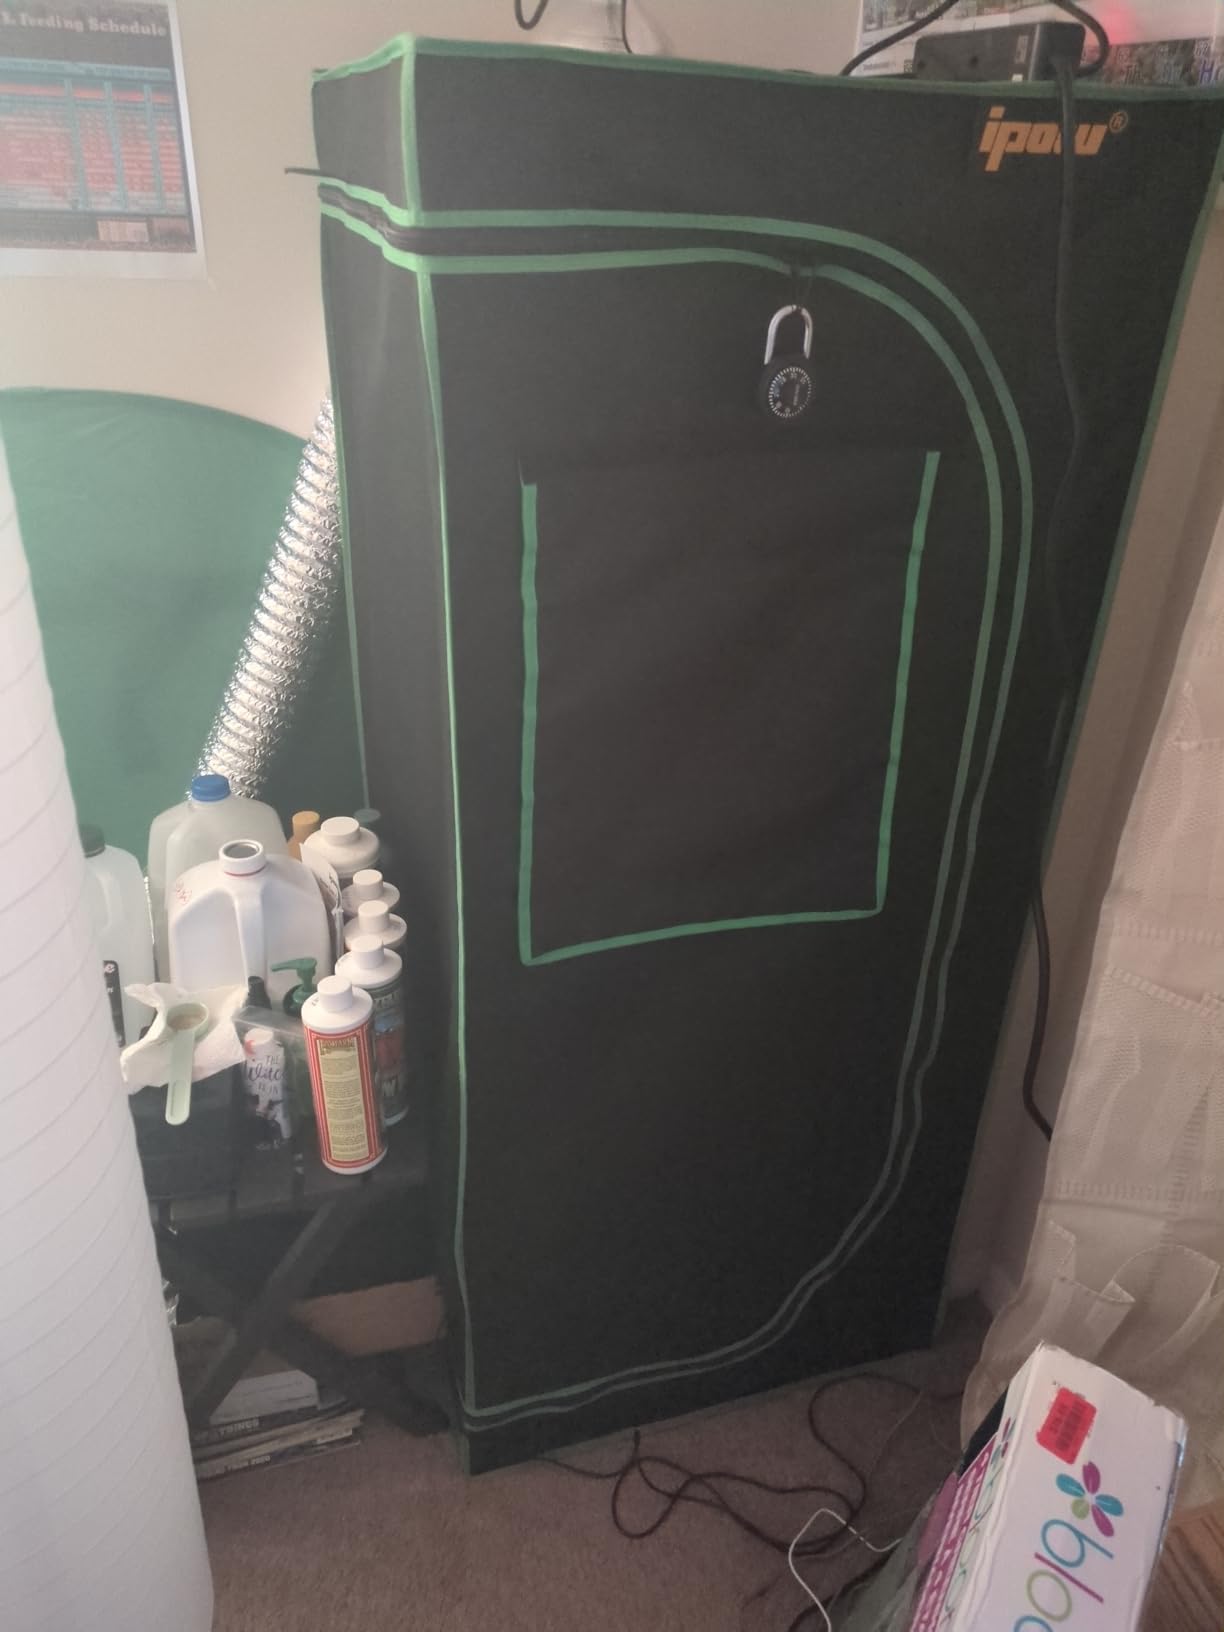
This is the most straightforward complete system I found, and first-time growers specifically call out that it covers everything you need except seeds and growing medium. For someone who wants a working setup without spending an evening cross-referencing part numbers, that is a genuine service. You get the 24 by 24 by 55 inch tent, a dimmable 100W full-spectrum light, a 4-inch inline fan, a carbon filter, 8 feet of ducting, and the hardware to put it together.
Buyers rate it as a solid budget all-in-one, and they single out the tent construction and light sealing as positives along with the adjustable ratchet hangers, which let you move the light for seedling, veg, and bloom stages without rebuilding anything. The double stitching and waterproof floor tray hold light and water where they should.
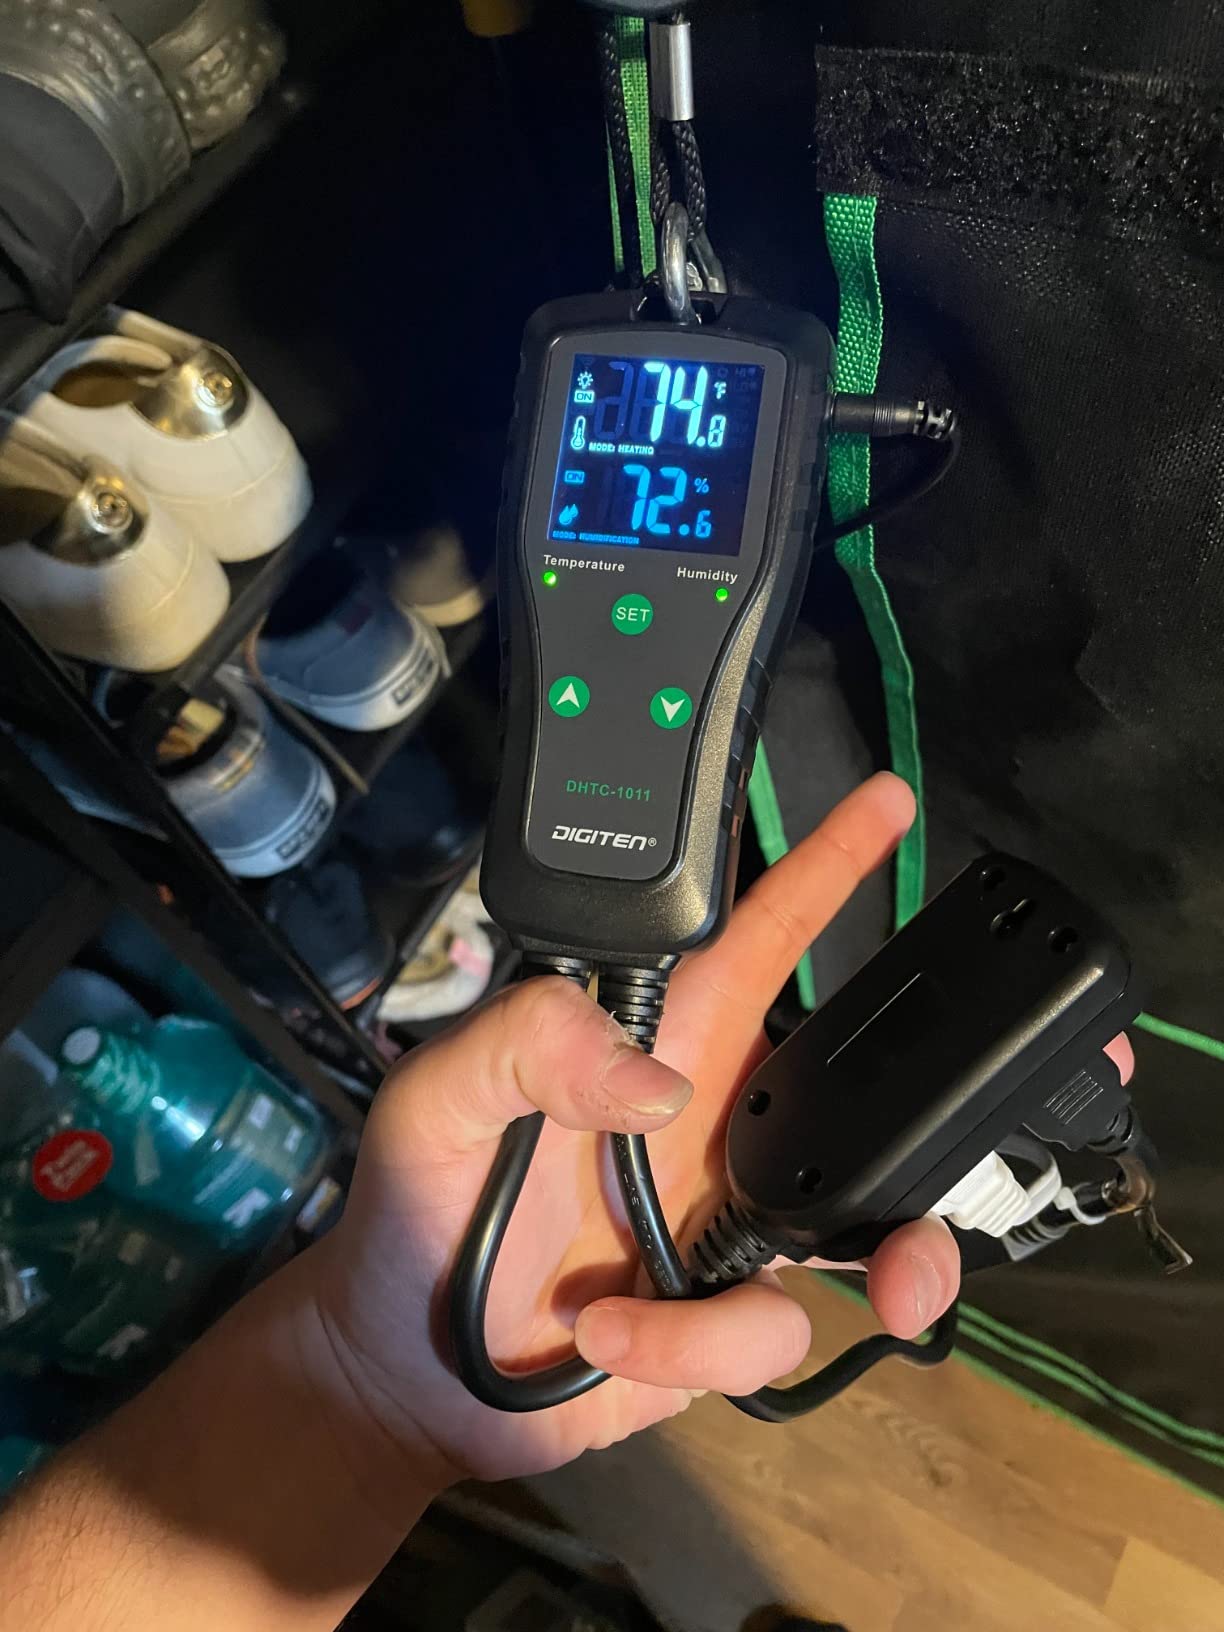
The 100W light uses 240 IP65-rated LEDs, which means it is rated to tolerate humidity and spray, a useful detail in a tent with a humidifier. The frame is a strong alloy steel construction in a 600D oxford exterior, and the reflective mylar interior is standard for the category.
Three duct clamps, a thermometer and hygrometer, a timer, four five-gallon grow bags, and adjustable rope hangers are all in the box. The whole package is 15.63 kg, which is heavy for a 2×2, and that is largely the light, the fan, and the metal frame combined.
Why the Inline Fan Is the Weak Point
The dominant complaint, raised by several reviewers, is that the inline fan is much louder than the description suggests and has no speed dial. In a small apartment that is a real quality of life issue at 2 a.m. Two fixes work: buy a small fan speed controller, which several owners do anyway, or run the extraction intermittently rather than continuously.
Remember that a 4-inch inline fan and carbon filter combo is the minimum ventilation spec for a 2×2, and at peak flowering the tent can feel tight. If you can stretch the budget, upgrading the fan is the first place I would spend.
Small Setup Details to Check on Arrival
The thermometer and hygrometer may arrive without its button cell battery, which is an easy fix but annoying if you start assembly expecting it to work. Because the fan is powerful enough to move a lot of air, plan your intake and exhaust ports before assembly so you are not routing ducting around a closed door.
For a first grow where the goal is to learn the process, this system does that at the lowest entry cost of anything in this guide.
12. TopoGrow 32x32x64 Auto Kit – The Roomy First Grow With the Most Accessories
TopoGrow Upgrade Integrated Auto Grow Tent Kit Complete Kit, S1000 LED Grow Light, 32″x32″x64″ Grow Tent, 4“ Ventilation with Inline Fan, Carbon Filter, Irrigation Kit, Humidifier and Clip Fan
32 x 32 x 63 in
600D oxford with diamond mylar
190 CFM fan and 25 ft ducting
Irrigation kit and humidifier
+ Pros
- Largest footprint here at 32 by 32 for room to grow multiple plants
- S1000 LED draws 100W with 10-100 percent power adjustment and a 24 hour timer
- Double mylar flaps around the zippers block light leaks
- Most complete bundle in the group with irrigation kit humidifier and clip fan
- Ventilation includes a 190 CFM fan carbon filter 25 ft ducting and steel clamps
- Cons
- Instructions are minimal and hard to read with no real support site
- The included light runs very hot and only dims by guesswork
- Several builds reported the inline fan or timer failing within weeks
- Bundled humidifier loses tank pressure when power is cut
This kit is for someone who has already decided they want room to grow. At 32 by 32 by 63 inches it is the largest footprint in the roundup, and it is the only 2×2-class starter that gives you genuine space for several plants without cramming. The 600D oxford exterior with a waterproof high-reflective diamond mylar interior and double mylar flaps around the zippers is a solid enclosure.
What makes it unusual is the accessory list. You get an irrigation kit, a humidifier, a clip fan, trellis netting, a nursery tray, thermometer, timer, nursery pots, and fabric grow pots, on top of a 190 CFM inline fan, carbon filter, 25 feet of ducting, and three galvanized steel clamps. Most competitors leave the irrigation and humidity items out entirely.
The S1000 LED draws 100W with 10-100 percent power adjustment and a 24-hour timer, so the light and cycle are handled. The rectangle mesh vents and multiple ports give you real flexibility on fan and filter placement, which is helpful in a tent this wide because you have more walls to work with.
Some buyers are genuinely impressed by the tent quality for a kit at this level, and the 41 cubic foot chamber volume means the environment changes more slowly than in a 2×2, which is a genuine advantage for a beginner who does not yet have a feel for how fast a small tent swings.

What the 32 by 32 Footprint Changes
More plants means more light, more water, and more electrical load, but it also means a far more forgiving environment. A 41 cubic foot chamber buffers temperature swings far better than a 16 cubic foot one, and the extra floor area means a taller plant does not immediately shade out its neighbors. If you are worried about managing a microclimate, this is the most forgiving kit here.
The counterweight is that a 32 by 32 footprint needs a real corner of a room, not a closet, and the 300-watt listed light source rating is the highest in the group. Budget for a proper electrical plan before you build.
Why This One Ranks Last
Durability of the small electrical components is the recurring theme, with multiple reports of the fan, timer, or humidifier giving out within weeks, and the documentation is widely criticized as minimal and hard to read with no real support site. The included light also runs very hot and only dims by guesswork, which is a problem in a tent of this size where you will want to dial intensity back.
The humidifier losing tank pressure when power is cut and needing a manual reset is a small but persistent annoyance. I would buy this tent and source the light and fan separately, because the enclosure is the part that has held up best.
How to Choose a Grow Tent Without Wasting Your First Grow Budget
Here is the decision framework I used, in the order the decisions actually matter. Work through it before you open any product page, because the two most common beginner mistakes are buying too small a tent and spending the whole budget on the enclosure while leaving the light and ventilation undecided.
Match the tent footprint to your plant count before anything else
Plant count drives everything else, so decide it first. A 2×2 tent at 24 by 24 inches comfortably holds one plant in a 5-gallon pot, or two smaller plants if you keep them trimmed. A 2×4 at 48 by 24 inches holds two plants in 5-gallon pots or three in 3-gallon pots, and anything at 32 by 32 inches or larger gives you room for four to six plants without crowding.
Crowding is the real danger, not total size. Plants grown too close shade each other, trap humidity at the base, and invite mold. If you are unsure, buy one size up rather than trying to squeeze more into a smaller box, and remember that a wider tent is easier to work in than a deeper one.
Buy 1680D or heavier canvas, and skip 600D if you can
Denier, shortened to D, measures how thick the fabric threads are woven. A higher denier means a heavier, more opaque fabric that blocks light better and holds its shape under tension. Most entry-level tents in this roundup are 600D Oxford canvas with a polyethylene lining, which is perfectly workable for a first grow, and the step up is 1680D Oxford, with 2000D sitting at the premium end.
My honest verdict: 600D is enough for your first tent, 1680D is the sweet spot if your budget allows, and 2000D is a luxury you will feel most in a permanent room. The upgrade that matters more than denier is reflectivity inside, because light that hits a wall instead of a leaf is light you paid for and did not use.
Check frame poles and corner hardware, not just the fabric
The frame is what fails first, and it is the part sellers describe least clearly. Look for the diameter of the poles, the material, and the weight rating on the hanging bars. One-inch steel poles, as used on the AC Infinity CLOUDLAB 422, or heavily thickened poles rated around 120 lbs, will hold a light and a carbon filter without bowing. Thin poles with loose plastic corner connectors are the ones that sag in month two.
Also check whether the corners are metal, upgraded PA, or basic plastic, and whether pole tension is adjustable. A tent that sags inward will crush a plant, and it will also distort your reflective walls so you lose light. This is a five-minute check on a product page that prevents a very common first-grow failure.
Plan ventilation first, because heat is the number one problem in a small tent
CFM means cubic feet per minute, and it tells you how much air a fan moves. Rule of thumb for a beginner: a 4-inch inline fan rated around 200 CFM is the right match for a 2×2 tent, and you want the air to enter low and leave high so warm air rises and exits instead of pooling at the top of the canopy.
Run the intake at the bottom of one wall and the exhaust through a duct port near the top of another wall, and never route intake and exhaust through the same wall, because the tent will short-circuit and your filter will not clean anything. If you plan to mount a carbon filter indoors in an apartment, start planning the duct exit now rather than after your first odor complaint.
One reassurance from experienced growers on r/Microgrowery: a setup in a spare bedroom often does not need venting outside at all. A simple fan and open lower vents are often sufficient, and pushing a beginner toward an expensive ducting run they do not need is the wrong first lesson. The exception is odor control. If you grow anything fragrant, an activated carbon filter is the piece that keeps your home life normal, and it is worth budgeting for.
AC Infinity vs Vivosun: which brand should a beginner buy?
This is the brand question that comes up constantly, so here is a straight answer. AC Infinity is the stronger choice if you want the best-built tent you can get in this category: thicker poles, higher denier canvas, lab-tested reflectivity, and light sealing that holds under fan pressure. It costs more and weighs more, and the premium is most justified in a permanent room or if you plan to keep the setup for years.
Vivosun is the stronger choice if you want a proven, well-reviewed tent at a mid price with a huge owner base, and if you may later step up to a smart kit with app control. For a true first grow in a rented space, the Vivosun S224 is the more rational purchase. Experienced growers describe AC Infinity tents and ventilation as the best in the category, and the honest counterpoint is that you do not need the best in the category to grow well.
2×4 vs 3×3 grow tent: pick the shape that fits your room
The 2×4 and the 3×3 hold a similar number of plants, but they behave differently in a real home. A 2×4 is a rectangle, so it fits along a wall or beside a wardrobe with fewer awkward corners, and it leaves a walkway beside the tent for a door that opens toward you. A 3×3 is squarer, which gives you an all-around access pattern and a more even light footprint, but it needs a genuinely square patch of floor.
Choose the 2×4 if your space is rectangular or if you are in a bedroom with furniture to work around. Choose the 3×3 if you have a square corner, a basement, or a dedicated area, because the extra depth makes the environment more stable and the walk-around access makes maintenance easier. The worst outcome is forcing a 3×3 into a rectangular gap and then resizing a light that no longer fits.
Kit or piece it together? A five item checklist
Before you buy a bundle, check whether you already own any of these five things: a grow light, an inline fan, a carbon filter, ducting, or a controller. If you already have one, buy the tent alone, because a kit will hand you a duplicate. That single check is the difference between a sensible purchase and paying twice for the same fan.
Then ask whether you want the tent for a permanent room or a temporary one. Kits make sense in a fixed space where the components will run for months. In a rented flat or a room you may move out of, a standalone tent plus a fan and a filter is more portable and costs less to replace if something fails.
One thing to avoid entirely is the lights-first trap that forum beginners describe constantly: spending the entire budget on a premium light and then putting it in a sagging budget tent. The light is the most important component for yield, but a weak enclosure wastes that output, adds heat problems, and risks your photoperiod. Split the budget instead, and a mid-price tent with a good light beats a cheap tent with a great one.
Finally, a safety note that no affiliate roundup bothers to include. A tent concentrates heat, and a grow light plus an inline fan draw real amperage. Keep your electrical load well within the circuit, avoid extension cords across walkways, and never run a hot light against dry fabric overnight. In a rented property, this is the point where you tell your landlord before you build.
Frequently Asked Questions
What is the best setup for a grow tent for beginners?
The best beginner setup is a mid-price 2×2 tent, a dimmable LED grow light, a 4-inch inline fan rated around 200 CFM, an activated carbon filter, and enough ducting to exhaust outside if you grow anything fragrant. That combination gives you light sealing, temperature control, and odor control without overpaying for the enclosure. Buy the components together or as a kit if it is your first grow.
What is the best tent for a beginner?
The VIVOSUN S224 2×2 is the best tent for a beginner because it has the largest base of owner reviews of any tent in this roundup, tool-free assembly, a reflective mylar interior, and a removable floor tray. If you want a more rigid frame and heavier 2000D canvas and you are staying in a permanent room, the AC Infinity CLOUDLAB 422 is the upgrade.
What’s better, AC Infinity or Vivosun?
AC Infinity builds the more premium tent: thicker poles, higher denier canvas, lab-tested reflectivity, and tighter light sealing. Vivosun offers better value for a first grow, with mid-price enclosures that are heavily reviewed and easier on your wallet. Buy AC Infinity for a permanent room, Vivosun for a first grow or a temporary setup.
How hot is too hot for a grow room?
Above roughly 85 F leaves stop transpiring properly, growth slows, and calcium issues appear; above 95 F you risk real damage. Aim to hold the canopy around 70 to 80 F. Fix heat with a correctly sized inline fan on a speed controller, a sealed intake at floor level, intake at the bottom and exhaust at the top, and a small oscillating fan moving air across the canopy.
How many plants can I grow in a 2×2 tent?
One plant in a 5-gallon pot, or two smaller plants kept short, is what a 2×2 tent at 24 by 24 inches comfortably supports. Two plants in a 48 by 24 inch 2×4 tent, or three in 3-gallon pots, is realistic. Anything more than that in a small tent causes crowding, which shades plants out, traps humidity at the base, and raises mold risk.
Do grow tents hold heat?
Yes. The reflective mylar interior is designed to trap heat, which helps in a cold room but causes problems in a warm one. A 2×2 tent with a 100 watt light can climb well above room temperature on a hot afternoon. Size your inline fan to the tent, add a speed controller so you can dial airflow down, keep the intake at the bottom and the exhaust at the top, and run a clip or oscillating fan across the canopy.
Which Grow Tent Should You Buy First?
If you want one recommendation for a first indoor grow, take the VIVOSUN S224 2×2. It is the most proven enclosure in this roundup, the hardware is simple, and the mistakes you are likely to make on a first grow are not the ones that would punish you here. Add a dimmable LED, a 4-inch inline fan around 200 CFM, and a carbon filter, and you have a setup that will teach you everything you need to know.
If your space is a corner and your plants are small, the zazzy 2×2 at 36 inches tall is the more sensible footprint. If your ceiling is low and you want maximum vertical room, the MARS HYDRO 2×2 Advanced at 55 inches solves the light-burn problem before it starts. If you are staying in one room for years, the AC Infinity CLOUDLAB 422 is the build that will outlast your enthusiasm for the hobby.
If you want more than one plant, step up to the ATOUR 48 by 24 by 60 for a proper 2×4 footprint. If you would rather not assemble a system from scratch, the MARS HYDRO TS600 kit gives you the most coherent all-in-one package, and the Spider Farmer GGS kit is the one to buy if heat is your main worry.
Whatever you choose, buy the tent last. Get your plant count and your room measured first, then buy the enclosure that fits them. Updated for 2026, these twelve are the tents I would actually recommend to someone starting out.