
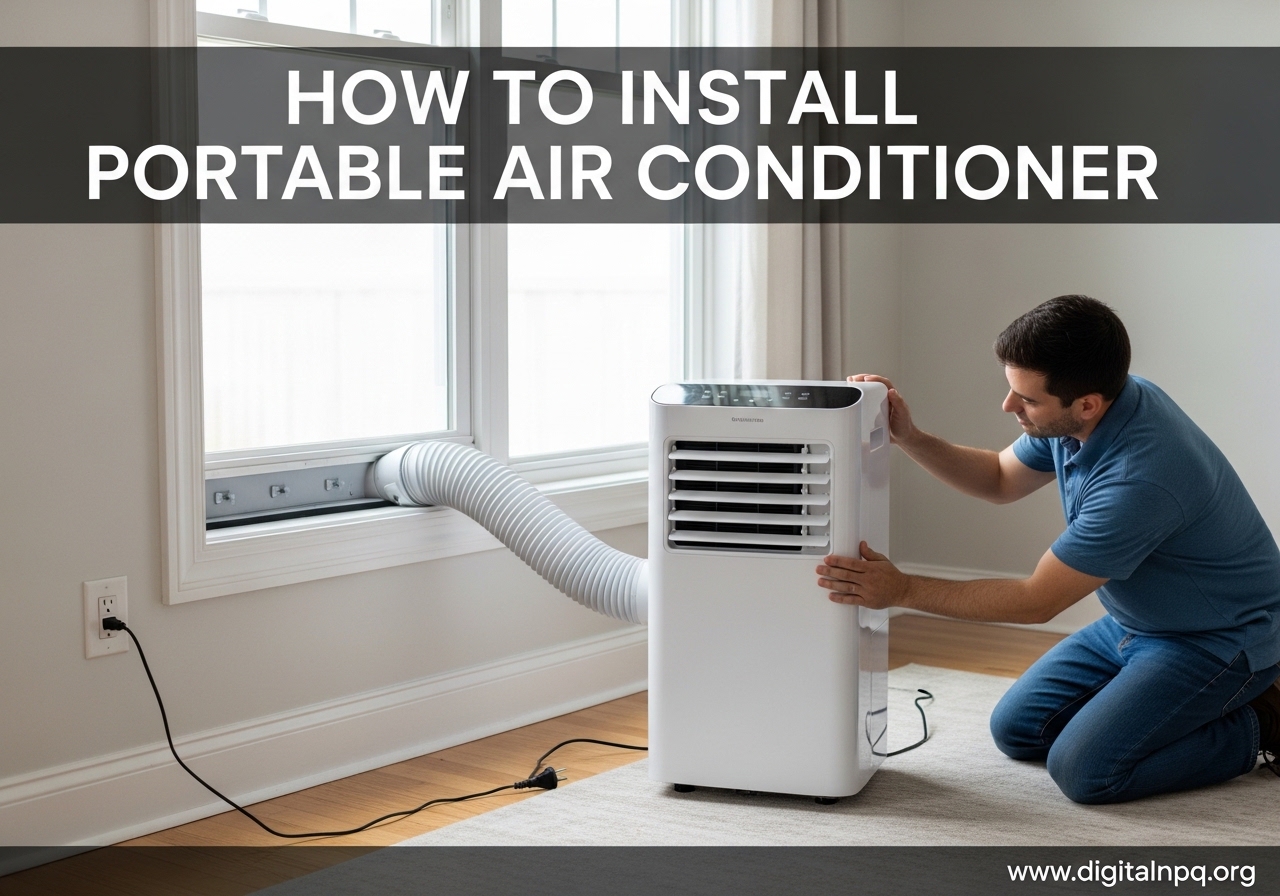
If you just bought a portable air conditioner and the box is sitting in your living room, you are in the right place. Learning how to install portable air conditioner units is simpler than most people expect, and I have set up more of these than I can count over the past few years. The entire process takes about 30 to 60 minutes from unboxing to cool air, even if you have never done it before.
A portable AC gives you spot cooling without the permanent commitment of a window unit or central air system. You can roll it from room to room, store it during winter, and set it up again when summer hits. But here is the catch: a poorly installed portable air conditioner will struggle to cool your space, waste energy, and might even blow warm air back into the room.
In this guide, I will walk you through every step of portable AC installation, from choosing the right spot and assembling the window kit to connecting the exhaust hose and testing for leaks. I will also cover different window types, renter-friendly tips, and common troubleshooting problems so you can get the best possible cooling performance from your unit.
How Does a Portable Air Conditioner Work?
Before you start installing anything, it helps to understand what is happening inside the machine. A portable air conditioner draws warm air from your room through an intake vent, passes that air over refrigerant-cooled coils to absorb the heat, and then recirculates the cooled air back into the room. At the same time, moisture is pulled from the air as condensation, which dehumidifies your space.
The heat that the refrigerant absorbs does not just disappear. It has to go somewhere, and that is where the exhaust hose comes in. The unit expels the hot air through the exhaust hose and out your window. This is why every portable AC needs some kind of venting to the outside. Without proper venting, the hot air simply cycles back into the room, and the unit works against itself.
There are two main types of portable air conditioners. Single-hose units use one hose to expel hot air, which can create negative pressure in the room and pull warm air from adjacent spaces. Dual-hose units have a second hose that draws outside air to cool the compressor, making them more efficient overall. If you have a choice, dual-hose models tend to cool larger spaces faster and use less energy doing it.
Choosing the Right BTU for Your Room
One thing many installation guides skip entirely is making sure your portable AC is actually powerful enough for the space. BTU stands for British Thermal Units, and it measures how much heat the unit can remove per hour. If your AC is too small for the room, it will run constantly and never reach your target temperature.
The general rule is about 20 BTU per square foot of space. Here is a quick reference to help you match your unit to your room. A 150-square-foot room needs roughly 5,000 BTU. A 250-square-foot room calls for about 6,000 to 7,000 BTU. A 350-square-foot room works best with 8,000 to 9,000 BTU. A 450-square-foot room or larger needs 10,000 to 12,000 BTU or more.
These numbers shift based on a few factors. Rooms that get direct sunlight for most of the day need about 10 percent more BTU. Kitchens generate extra heat from appliances, so add another 4,000 BTU if you are cooling one. High ceilings above 8 feet also bump up your BTU requirements since you are cooling more air volume. Measure your room and check your unit before installing to avoid wasting time on an undersized AC.
Tools and Materials You Will Need
Most portable air conditioners come with the essentials in the box. You should find an exhaust hose, a window slider kit with adjustable panels, adhesive foam seals, a window adapter that connects the hose to the panel, and a drainage plug or hose. Some models also include a remote control and a washable air filter already installed in the unit.
Beyond what comes in the box, I recommend gathering a few tools before you start. You will want a measuring tape to check your window opening, a Phillips screwdriver if your window kit uses screws, scissors or a utility knife for trimming foam seals, and a level to make sure the unit sits flat on the floor. None of these are strictly required for every installation, but they make the process much smoother.
If you want a tighter seal than the included foam provides, pick up some adhesive weather stripping from any hardware store. Foam board insulation cut to size is another upgrade that users on DIY forums swear by for blocking hot air leaks. These optional add-ons are especially useful if you have an older window with gaps or warping.
How to Install a Portable Air Conditioner: Step-by-Step
This is the part you came here for. Follow these seven steps in order and you will have your portable AC installation complete in under an hour. I have used this exact process on units from multiple brands including Dreo, TCL, Hisense, and Black+Decker, and the steps are consistent across all of them.
Step 1: Choose the Right Location
Pick a spot near a window that the exhaust hose can reach easily. Most exhaust hoses are about 5 feet long when fully extended, so measure the distance from the window to your desired placement. The unit should sit on a flat, hard surface. Avoid carpet if possible because carpet restricts airflow underneath the unit and can trap heat.
Leave at least 20 inches of clearance on all sides of the unit. The intake vents, which are usually on the back or sides, need unrestricted airflow to pull in warm air efficiently. Do not shove the unit into a tight corner or against a wall. Also, make sure the unit is close enough to a grounded electrical outlet because you should not use an extension cord or power strip with a portable AC.
Step 2: Prepare the Window Kit
Open your window kit and take inventory of the pieces. Most kits include one or two sliding panels that adjust to fit your window width, a hose adapter that snaps or screws into the panel, and foam sealing strips. Start by measuring your window opening from side to side for horizontal sliding windows, or from top to bottom for vertical sliding windows.
Slide the panels together and adjust them to match your window measurement. Some kits use a butterfly bolt or thumbscrew to lock the panels at the right length. If your window opening is wider than the panels can stretch, you can order extension panels from the manufacturer or cut a piece of foam board insulation to fill the gap. If the opening is narrower, trim the panel with a hacksaw or utility knife according to the manual instructions.
Step 3: Install the Window Kit
Clean the window frame and sill so the adhesive foam seals stick properly. Apply the adhesive foam strips along the edges where the window panel will contact the frame. This creates an airtight barrier that prevents hot outside air from leaking back into the room around the panel.
Place the assembled panel into the window opening. For single-hung or double-hung windows, the panel sits vertically in the window track and the window closes down onto it. For horizontal sliding windows, the panel sits horizontally and the window slides closed against it. Use the included locking brackets or screws to secure the panel in place so it cannot shift or fall out. Close and lock the window tightly against the panel.
Now apply the non-adhesive foam seals. These are the soft foam pieces that press into any remaining gaps between the window glass, the window frame, and the panel. They are reusable and removable, which makes them perfect for seasonal setups. Check all the way around the panel for any visible light coming through. If you see light, hot air will find its way in.
Step 4: Connect the Exhaust Hose
Start by attaching the exhaust hose to the portable AC unit. One end of the hose has a connector that twists or snaps onto the back of the unit. Make sure it is seated firmly and locked in place. A loose hose connection is one of the most common causes of poor cooling performance because hot air escapes at the joint.
Next, attach the other end of the hose to the window adapter on the panel you just installed. This usually involves pushing the hose connector into the round opening on the panel and twisting to lock it. Keep the hose as straight as possible between the unit and the window. Sharp bends and kinks restrict airflow and force the compressor to work harder, which shortens the life of the unit.
If the hose is too short to reach from your chosen spot to the window, you have two options. Move the unit closer to the window, or buy an extended exhaust hose online. Forum users frequently recommend 10-foot replacement hoses that are compatible with most units. Just make sure the diameter matches your unit, which is usually 5 or 6 inches.
Step 5: Set Up Drainage
Portable air conditioners remove moisture from the air as they cool, and that water has to go somewhere. There are three drainage options, and which one you use depends on your unit and your setup. The simplest is auto-evaporation, where the unit evaporates the condensation and expels it through the exhaust hose along with the hot air. Many modern units handle this automatically.
If your unit has a water reservoir, you will need to empty it manually when it fills up. The unit usually beeps or displays a warning light when the tank is full. This is the least convenient option because it requires periodic attention, especially in humid climates where the unit pulls gallons of water from the air each day.
The best option for hands-off operation is continuous drainage. Attach a drainage hose to the drain port on the back of the unit and run it to a floor drain, a bucket, or out the window. This eliminates the need to empty the reservoir entirely. If your unit supports continuous drainage and you have a drain nearby, use it.
Step 6: Power On and Test
Plug the portable AC directly into a grounded wall outlet. Do not use an extension cord, power strip, or surge protector. Portable air conditioners draw significant power, often 800 to 1,500 watts, and undersized extension cords can overheat and become a fire hazard. The outlet should be a three-prong grounded socket.
Turn the unit on and set it to your desired temperature. Let it run for about 15 minutes. You should feel cool air coming from the front vents. Check the exhaust hose connections at both ends for any warm air escaping. Run your hand along the length of the hose to feel for leaks. Feel around the window panel for any drafts or warm spots that indicate gaps in the seal.
If everything feels solid and the air is cooling, your installation is complete. If you notice warm air leaking from hose connections, push the connectors tighter or wrap the joints with foil tape. If hot air is coming in around the window panel, add more foam sealing strips or weather stripping to close the gaps.
Step 7: Seal Any Remaining Gaps
Even with careful installation, small gaps can remain that let warm outside air into your room. These gaps are the enemy of efficient cooling. Walk around the window panel one more time and feel for any air movement. Look for daylight peeking through anywhere around the panel edges.
For small gaps, adhesive weather stripping from the hardware store works well. Cut it to length and press it into place. For larger gaps, especially on older or uneven windows, foam board insulation cut to size and wedged into the opening does an excellent job. Multiple Reddit users in DIY and HVAC forums have confirmed that foam board outperforms the standard included panels for insulation value.
Some people also use reflective insulation or bubble wrap style window film over the entire window opening to block solar heat gain. This is optional but can make a noticeable difference in rooms with intense sun exposure. The less heat that enters the room, the less work your portable AC has to do.
Installation for Different Window Types
Not all windows are created equal, and the standard window kit that comes with your portable AC may not fit every style. Here is how to handle the most common window types you might encounter.
Single-Hung and Double-Hung Windows
These are the most common window types in homes, and the included window kit is designed for them. The panel slides vertically into the window track, and the bottom window sash closes down onto the panel. Installation is straightforward and takes about 10 minutes once you have measured the opening.
Horizontal Sliding Windows
For horizontal sliders, the same panel setup works but is oriented differently. The panel sits horizontally in the window track, and the sliding window panel closes against it. Some kits include a bracket that screws into the window frame to hold everything in place. This is equally easy and uses the same foam sealing process.
Casement and Crank-Out Windows
Casement windows that crank outward are the toughest challenge for portable AC installation because there is no track to slide a panel into. The standard window kit will not work. Instead, you need to create a custom panel from plywood or plexiglass that fits the entire window opening. Cut the panel to match the window dimensions, drill a hole for the exhaust hose adapter, and clamp or screw the panel into the window frame.
This is where renter-friendly solutions get creative. Multiple forum users report success using a rigid foam insulation board instead of plywood because it is lighter, easier to cut with a utility knife, and provides better insulation. You can secure it with clamps or tension rods that leave no permanent marks on the window frame.
Jalousie and Louvered Windows
Jalousie windows with their horizontal glass slats are notoriously difficult to seal because air passes between every slat. The best approach is to remove the glass slats from the window frame if possible, then install a solid panel in their place. If removing the slats is not an option, cover the entire window opening with a large piece of foam board and seal the edges with heavy-duty weather stripping.
Several DIY forum members recommend using clear acrylic sheets cut to size for a cleaner look that still lets some light through. The key is creating a flat, solid surface that the exhaust hose adapter can mount to, and then sealing every edge thoroughly.
Renter-Friendly Installation Tips
If you are renting your home or apartment, you probably cannot make permanent modifications to the windows. The good news is that portable air conditioner installation is one of the most renter-friendly cooling solutions available, and most setups leave zero damage when you take them down.
Standard window kits do not require any screws, nails, or permanent fasteners. The panel sits in the window track and is held in place by the window closing against it. The foam seals are either adhesive-free press-in strips or low-tack adhesive that peels off cleanly. When you move out, you remove the panel, peel off any foam residue, and the window looks exactly like it did before.
If you need a custom panel for casement or jalousie windows, use tension rods, spring-loaded curtain rods, or removable clamps to hold the panel in place. Take photos of the window before you start so you have documentation of the original condition. Avoid using any permanent adhesives like silicone caulk or construction adhesive. Removable putty and painter’s tape are good alternatives that hold well but release cleanly.
Troubleshooting Common Installation Problems
Even with a perfect installation, things can go wrong. Here are the most common issues people run into and how to fix each one.
The Unit Is Not Cooling the Room
If your portable AC is running but the room is not getting cooler, check three things first. Make sure the exhaust hose is connected at both ends and is not kinked or bent sharply. Check that the window panel is sealed tight with no gaps letting hot air back in. Clean or replace the air filter because a clogged filter blocks airflow and reduces cooling capacity dramatically.
Also verify that your BTU rating matches the room size. A 5,000 BTU unit in a 400-square-foot room will run nonstop and never reach the set temperature. You cannot fix this with installation changes. You need a bigger unit.
Hot Air Is Leaking Into the Room
Feel around the window panel and hose connections for warm air. Gaps around the panel are the most common culprit. Add more foam sealing strips or weather stripping to close any openings. If the panel itself is too thin and transferring heat, add a layer of foam board insulation on the inside face of the panel.
Water Is Pooling Around the Unit
Water leaking from a portable AC usually means the drainage system is not set up correctly. Check that the drain cap is tight if you are not using continuous drainage. If the reservoir is overflowing, switch to continuous drainage with a hose routed to a drain or bucket. Make sure the unit is sitting level or tilted very slightly toward the back so condensation flows toward the drain port.
The Exhaust Hose Is Too Short
This is a common frustration, especially in rooms where the only window is far from the ideal placement spot. Your options are to reposition the unit closer to the window, buy a longer replacement exhaust hose that is compatible with your unit’s diameter, or use an extension coupling to connect two hoses together. Forum users consistently recommend 10-foot universal exhaust hoses available online for under $25.
The Unit Makes Strange Noises
Portable ACs are not silent, but loud rattling or grinding sounds indicate a problem. Check that the unit is sitting flat on the floor and is not vibrating against furniture or walls. Inspect the exhaust hose for sharp bends that can create whistling sounds. If the compressor is making a grinding noise, the unit may have suffered shipping damage and should be returned or serviced under warranty.
Portable Air Conditioner Maintenance Tips
Once your portable AC is installed and running, a little ongoing maintenance keeps it performing well all summer long. The most important task is cleaning the air filter. Most units have a removable mesh filter behind the front grille. Pop it out, rinse it under running water, let it dry completely, and slide it back in. Do this every two to four weeks depending on how often you run the unit and how dusty your environment is.
Check the exhaust hose periodically for dust buildup, especially at the connection points. A clogged hose restricts airflow and makes the compressor work harder. Wipe the outside of the hose with a damp cloth and make sure the connectors are still tight.
If you are using the water reservoir instead of continuous drainage, empty it before it gets completely full. Letting it overflow can damage the unit and create a mess on your floor. Check the reservoir level every few days during heavy use, or set a reminder on your phone.
At the end of the cooling season, run the unit on fan-only mode for about 30 minutes to dry out the internal components. Drain any remaining water from the reservoir and drain port. Remove and clean the filter one last time. Store the unit upright in a dry location, and coil the exhaust hose loosely to prevent permanent kinks. When you set it up again next year, inspect all the foam seals on the window panel and replace any that have deteriorated.
Energy Efficiency Tips for Portable ACs
Portable air conditioners use a significant amount of electricity, but you can reduce the impact on your power bill with a few smart habits. Close all doors and windows in the room you are cooling so the unit does not waste energy fighting hot air from other parts of the house. Close curtains or blinds on windows that receive direct sunlight because solar heat gain is a major source of warmth in most rooms.
Set the thermostat to 78 degrees Fahrenheit for the best balance of comfort and efficiency. Every degree lower than that increases energy consumption by about 6 to 8 percent. Use the programmable timer to turn the unit off when you leave the room or go to sleep rather than running it around the clock.
If you are in the market for a new unit, look for models with an Energy Efficiency Ratio above 10. Dual-hose models are inherently more efficient because they do not create negative pressure that pulls warm air from adjacent rooms. Some newer portable ACs also have inverter compressors that adjust speed gradually instead of cycling on and off, which saves energy and reduces noise.
FAQ
Do portable air conditioners have to be connected to a window?
Yes, portable air conditioners must vent hot air outside to work properly. The exhaust hose carries heat from the room to the outside, and without venting through a window, wall, or ceiling, the hot air stays in the room and the unit cannot cool effectively. Window venting is the most common method, but wall venting and ceiling venting are alternatives.
Can I install a portable AC myself?
Yes, you can absolutely install a portable air conditioner yourself. The process requires no special tools or professional skills and typically takes 30 to 60 minutes. You assemble the window kit, connect the exhaust hose, set up drainage, and plug it in. Most units come with everything you need in the box, and the instructions are straightforward enough for any DIY beginner.
Why is my portable AC not cooling?
Common reasons include a disconnected or kinked exhaust hose, gaps around the window panel letting hot air back in, a dirty air filter blocking airflow, or an undersized unit for the room. Check hose connections first, then inspect the window seal, clean the filter, and verify that your BTU rating matches your room size. A unit that is too small for the space will run continuously without reaching the target temperature.
Does portable AC need to be plugged directly into the wall?
Yes, portable air conditioners should be plugged directly into a grounded three-prong wall outlet. They draw between 800 and 1,500 watts, which exceeds the rating of most extension cords and power strips. Using an extension cord can cause overheating and creates a fire hazard. If your outlet is too far away, have an electrician install a new one closer to the unit rather than using an extension cord.
How long does it take to install a portable air conditioner?
A typical portable air conditioner installation takes 30 to 60 minutes from unboxing to running cool air. If your window is a standard single-hung, double-hung, or sliding type and the included kit fits, expect closer to 30 minutes. Custom installations for casement windows or unusual openings may take up to two hours if you need to cut a custom panel.
Can you run a portable air conditioner without an exhaust hose?
No, you should never run a portable air conditioner without the exhaust hose connected. Without the hose, the heat removed from the air is expelled right back into the same room. The unit will run continuously, consume electricity, and actually make the room warmer because the compressor generates additional heat that has nowhere to go. Always connect and properly seal the exhaust hose before turning on the unit.
Final Thoughts
Knowing how to install portable air conditioner units properly makes the difference between a cool, comfortable room and a frustrating summer. The seven steps I covered here, from choosing the right location and preparing the window kit to connecting the exhaust hose, setting up drainage, testing, and sealing gaps, apply to virtually every portable AC on the market.
Take your time with the window seal because that is where most installations fall short. Even small gaps around the panel let hot air stream back into the room and force the unit to work overtime. Match your BTU to the room size, keep the exhaust hose straight, and use continuous drainage if your unit supports it. These small details add up to noticeably better cooling performance and lower energy bills.
Whether you are dealing with standard double-hung windows, tricky casement windows, or you need a renter-friendly setup that leaves no marks, the principles are the same. Create a solid seal, connect the hose securely, drain the water, and test everything before you call it done. Your portable AC will reward you with reliable cooling all season long.