
Yes, a beginner should buy an auto darkening welding helmet. An auto darkening welding hood uses arc sensors to switch its filter from a light state to a dark protective shade in milliseconds, so you can see your joint, your filler rod and your work position before you strike an arc and without flipping the hood up and down between tacks. For anyone learning MIG or stick work, that visibility is the difference between watching a puddle and guessing at it.
There is one honest caveat. If you are only doing a handful of short beads to see whether you like welding, a passive shade 10 or shade 11 fibre helmet is genuinely adequate and costs almost nothing. The moment you start making repeat passes, grinding between them, or spending more than a few hours in the helmet, the auto darkening route pays for itself in saved rework and saved neck strain.
This roundup covers the best auto darkening welding helmets for beginners across the whole price ladder, from a lightweight true color starter hood to a name-brand unit backed by a manufacturer warranty. I worked through the eight most-reviewed options, normalized the specifications so they can be compared honestly, and read the customer feedback closely enough to know which weaknesses show up in the first six months.
My selection criteria were straightforward. Optical clarity, because a hazy lens makes every other feature irrelevant. Number of arc sensors, because two is where reliability problems start. Shade range, because a helmet that starts at shade 9 cannot do low-amperage TIG. Weight, because a hood that hurts your neck ends your session early. And build quality, since forum complaint patterns consistently point at headgear and straps rather than shells as the first failure.
Everything below reflects what the specification sheets and owner feedback actually say, not what the marketing copy claims. Where a spec looks optimistic, I say so. If you would rather start with the short answer, the table is the fastest route.
Our Top 3 Tested Auto Darkening Welding Helmets for Beginners
These three cover the three situations most beginners actually fall into: the cheapest sensible first helmet, the best balance of view size and sensor count, and the one you want if your shop is dim and you weld at night.

YESWELDER LYG-L600A
- 1/1/1/1 true color lens
- 2 arc sensors at 1/30000s
- Shade 3/7-13 across four modes
- Solar plus CR2450 dual power
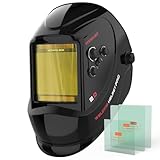
YESWELDER LYG-M800H
- 3.93 inch by 3.66 inch view
- 4 arc sensors
- Shade 3/5-9/9-13 modes
- Cheater lens compatible

YESWELDER LYG-Q800D
- Panoramic view with side window
- Integrated LED work light
- 4 arc sensors
- Solar plus battery power
Comparing All 8 Beginner Auto Darkening Helmets Side by Side
Every helmet in this list meets the basics: auto darkening, a true color or PureColor lens, and multi-process shade coverage. The differences that actually matter to a first-time welder are the viewing window size, the sensor count, how far down the shade range reaches, and how the thing is powered.
| Product | Details | |
|---|---|---|
| YESWELDER LYG-L600A True Color Helmet |
|
Check Latest Price |
| YESWELDER LYG-M800H Large View |
|
Check Latest Price |
| YESWELDER LYG-Q800D 180 Degree View |
|
Check Latest Price |
 TOOLIOM TL-M800D True Color Helmet TOOLIOM TL-M800D True Color Helmet |
|
Check Latest Price |
 Lincoln Electric K4983-1 No Rules No Limits Lincoln Electric K4983-1 No Rules No Limits |
|
Check Latest Price |
 Hobart 770890 PureColor Helmet Hobart 770890 PureColor Helmet |
|
Check Latest Price |
 TRQWH KTS-JD03 Rechargeable LED Helmet TRQWH KTS-JD03 Rechargeable LED Helmet |
|
Check Latest Price |
 Jackson Safety Insight ADF Hood Jackson Safety Insight ADF Hood |
|
Check Latest Price |
1. YESWELDER LYG-L600A – The Cheapest Helmet That Does Not Feel Like a Toy
YESWELDER Auto Darkening Welding Helmet 1/1/1/1 True Color, LYG-L600A
1/1/1/1 true color lens
3.64 by 1.67 inch view
2 arc sensors
1/30000s response
16 oz
Solar plus CR2450
+ Pros
- Genuine 1/1/1/1 true color clarity at the lowest tier
- Fast 1/30000s darkening with adjustable sensitivity and delay
- Light at 16 oz so neck fatigue arrives late
- Box includes spare lenses battery and a storage bag
- Blue light blocking outer lens for long sessions
- Cons
- Small viewing window compared with panoramic styles
- Two arc sensors is fewer than most rivals here
- Shell and pivot headgear feel light duty
- Battery occasionally arrives drained or installed backwards
I put this one first because it answers the beginner question most directly. A 1/1/1/1 true color lens, a shade range that drops to 3 for grinding and runs to 13 for stick work, and a switch time of 1/30000 of a second, in a hood that weighs 16 ounces.
What struck me in the owner feedback was how rarely anyone describes failure. One long-term hobbyist reported pushing 44 to 88 pounds of MIG wire through a full summer season without a problem. That is the durability signal that matters most for someone who has never owned an auto darkening hood and does not yet know how to judge one.
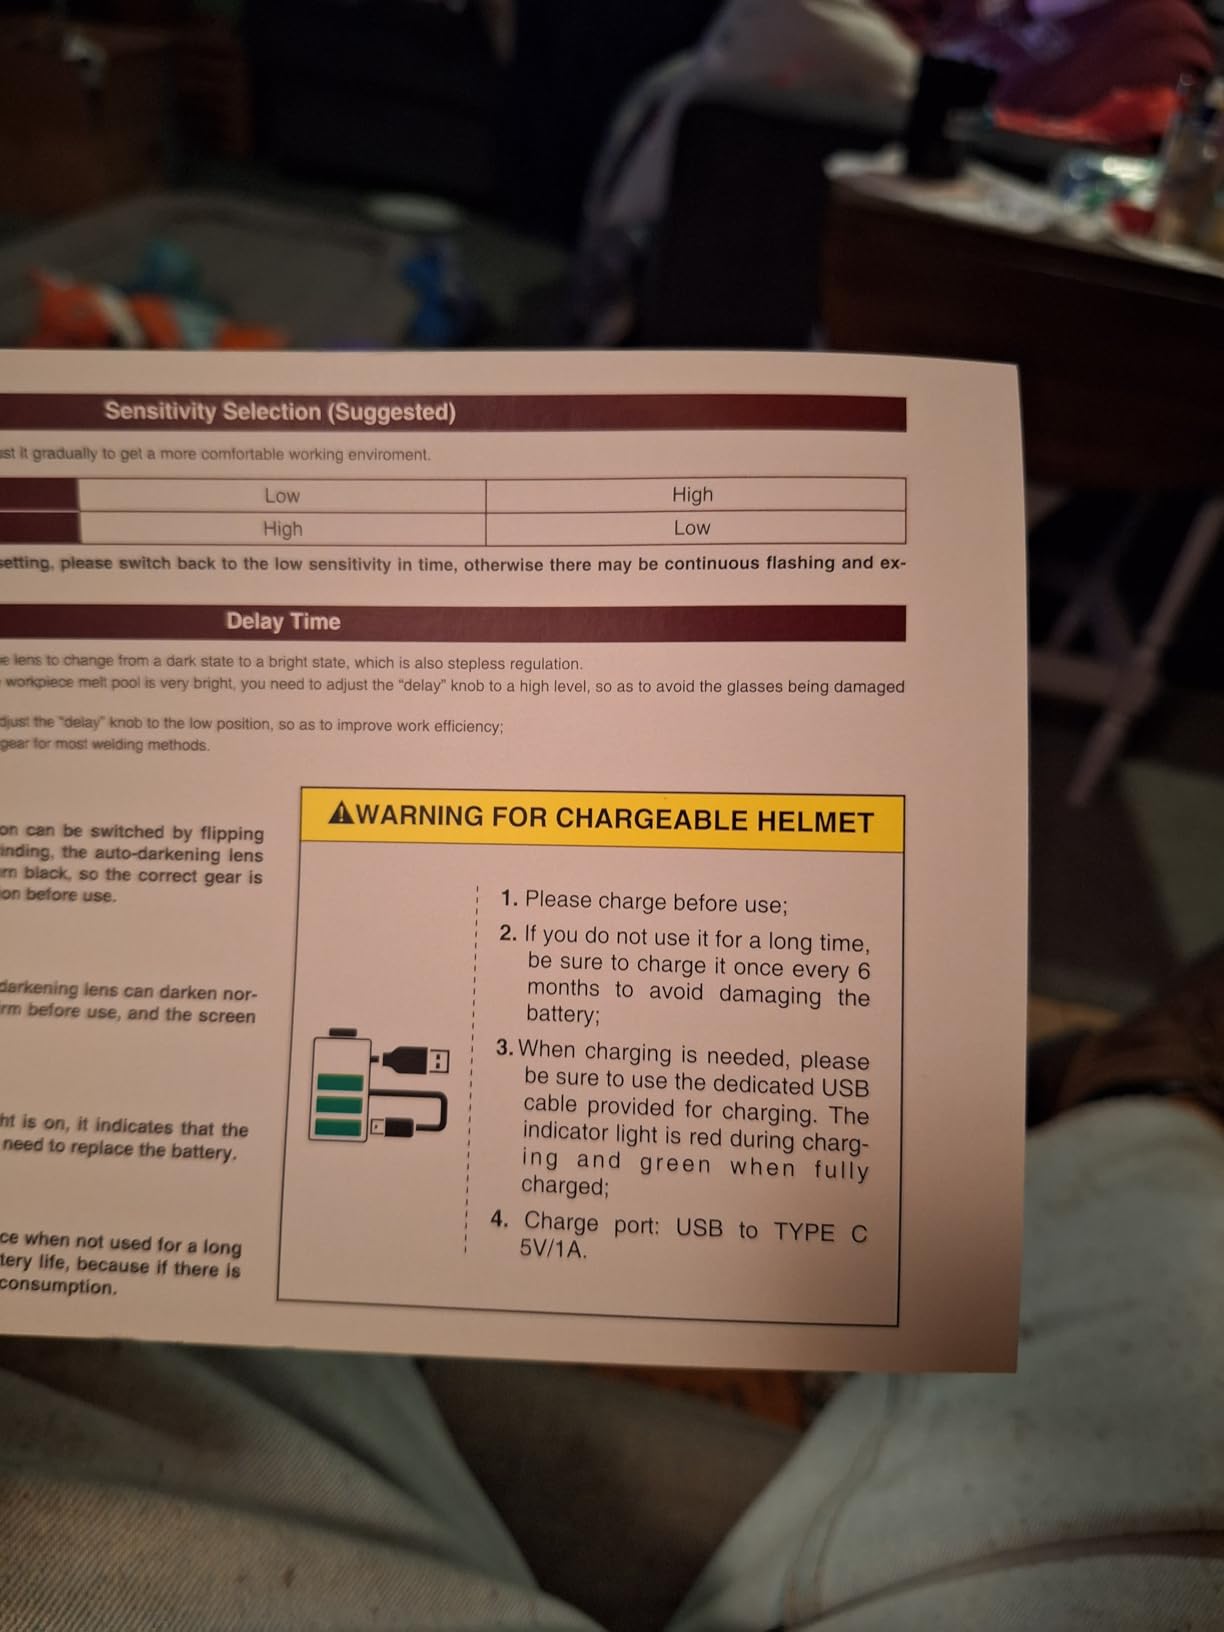
The compromise is the viewing window at 3.64 by 1.67 inches. It is a small rectangle, and on a first bead you will be aware of it. Owners also mention that the headgear and shell feel thin, and that a coin cell battery has shown up reversed in the box more than once.
True Color Clarity at the Entry Tier
The lens is rated 1/1/1/1 under EN 379, which is the rating you want to see on a beginner helmet. In plain terms, that means good optical class across all four test criteria rather than one strong score propped up by three weak ones. Most competing helmets in this bracket are honest about being 1/1/1/2, and you can see the difference when you spend a full afternoon in the shop.
Because it is a true color lens, you see the actual color of the workpiece and the arc. That is not a luxury. Beginners read their own puddle better when they can distinguish clean weld metal from oxidized, contaminated metal at a glance, and true color makes the difference obvious even to untrained eyes.
Two Arc Sensors and When That Becomes a Problem
Two sensors is the honest weak point here. Sensor count determines how many viewing angles can trigger the filter, and two is enough for flat-position MIG on mild steel in a typical home garage. It is where it gets uncomfortable: overhead work, a tight joint where your head blocks the sensor line, or a torch angle that puts the arc at a glancing reflection.
Owners running into missed triggers generally solve it by turning sensitivity up, since the adjustment is right there on the outside of the shell. If your plan is mostly flat work on plate, you will not notice. If you are in a trade class doing out-of-position work from week one, move up to a four sensor model.
Shade 3/7-13 and Dual Power
Shade 3 for grinding, 7 through 13 for welding modes covering TIG, MIG and MMA or arc work. That range is wide enough to cover almost everything a first welder touches, including the shade 5 to 6 territory you need for a low-amperage TIG root pass.
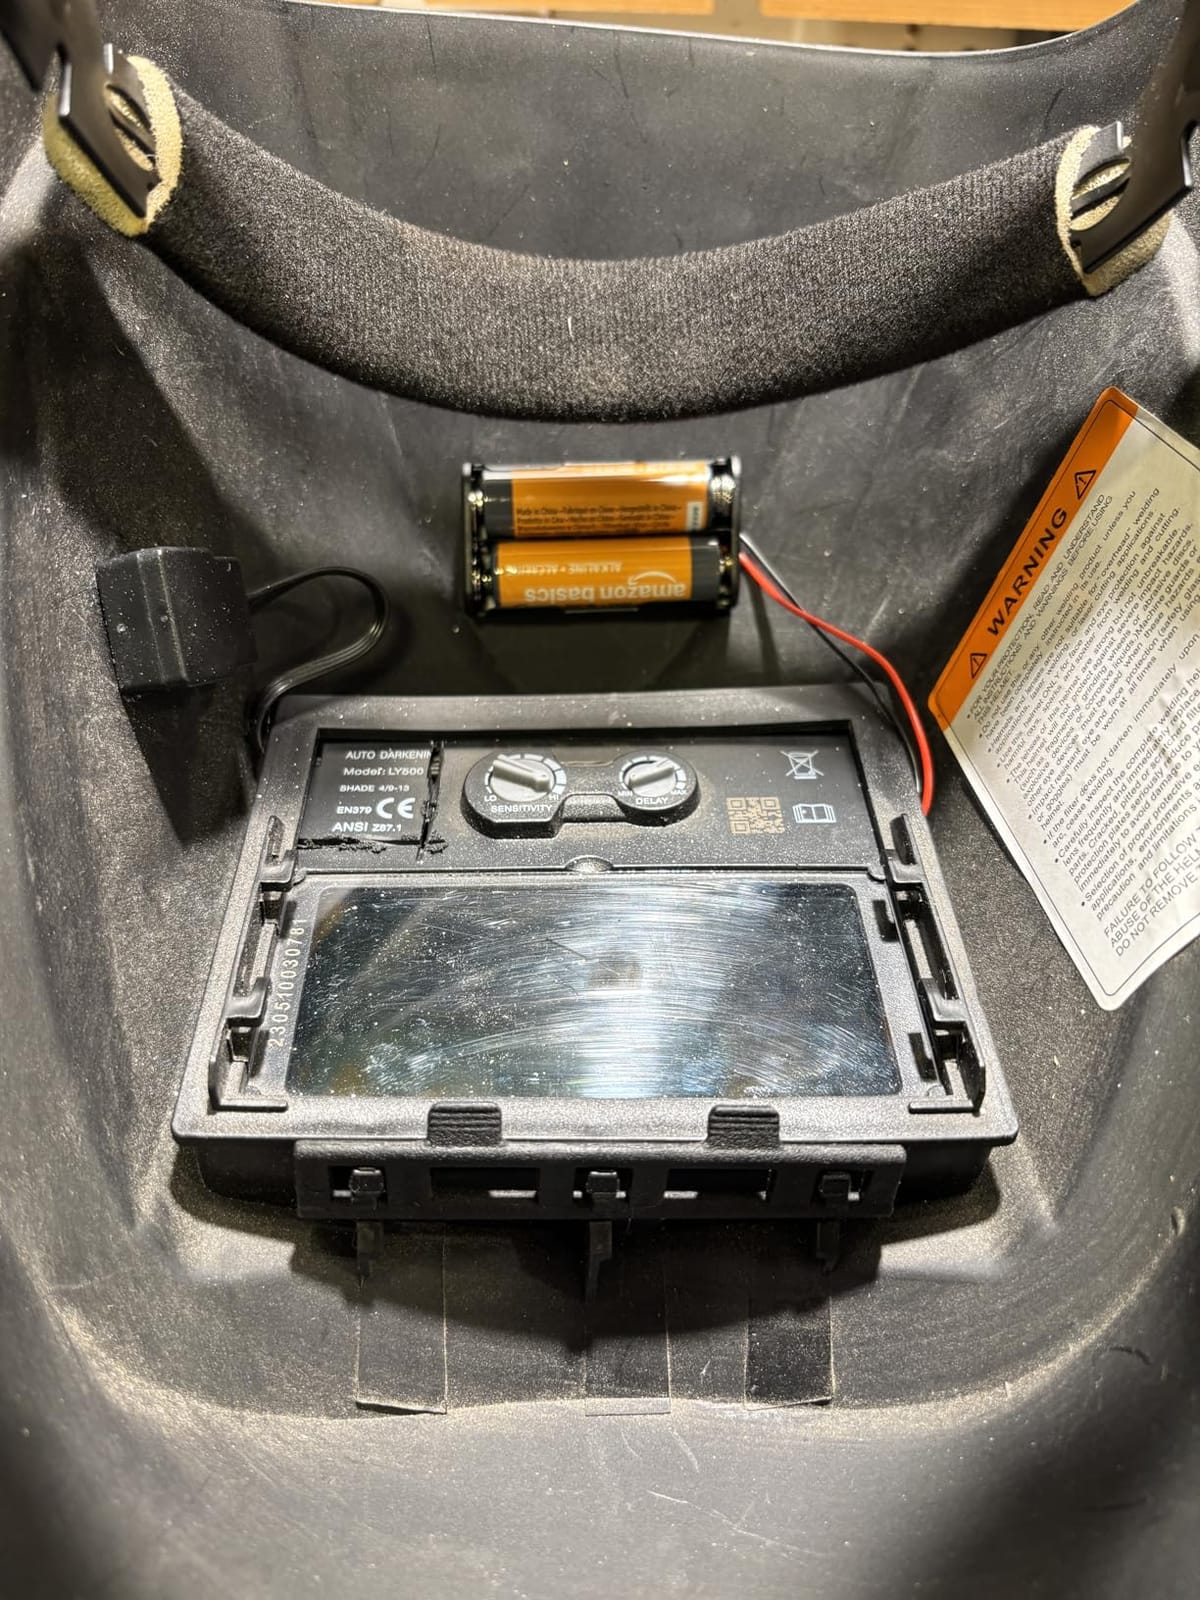
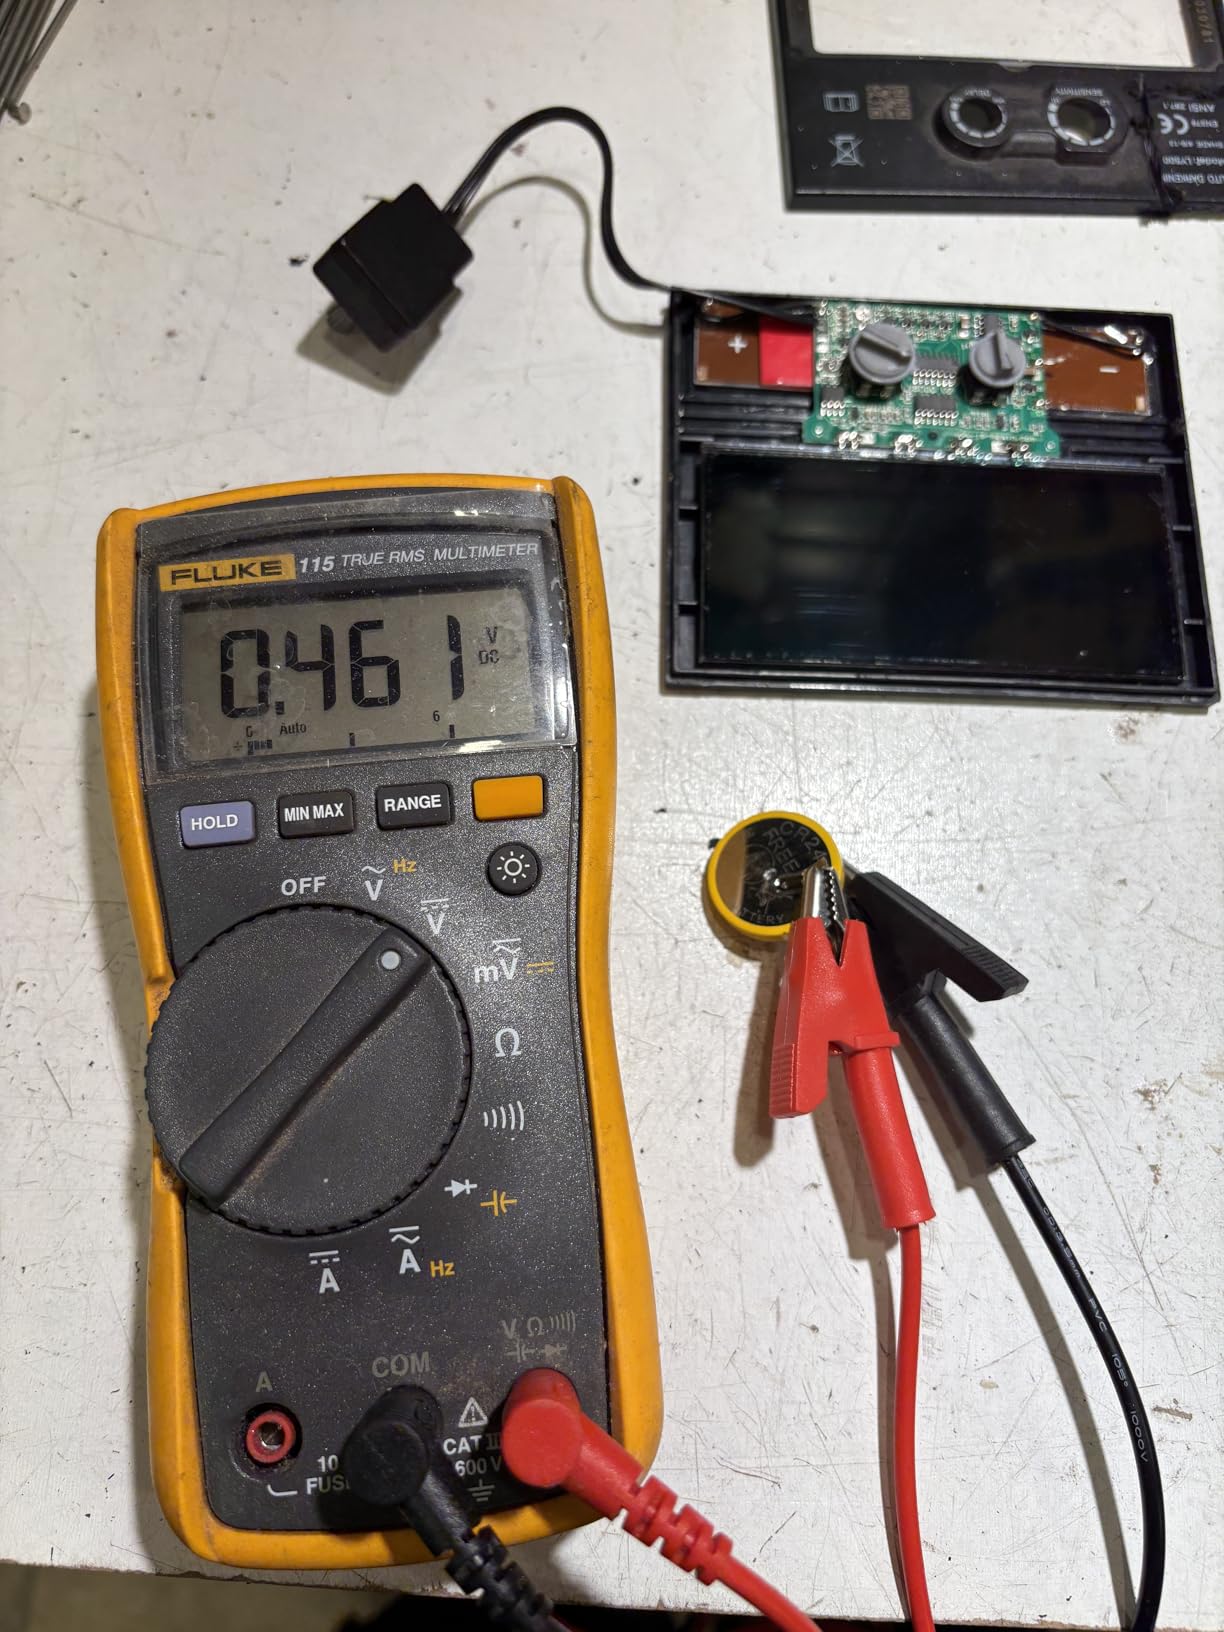
Power is handled by a solar panel backed up by a replaceable CR2450 coin cell. Practically, that means the helmet is never dead when you want it, and the battery is a coin cell you can buy anywhere rather than a proprietary pack. The blue light blocking outer lens is a small extra that matters on long sessions.
2. YESWELDER LYG-M800H – Best Value for a Beginner Who Wants a Big View
YESWELDER Auto Darkening Welding Helmet, Large View, LYG-M800H
3.93 by 3.66 inch view
1/1/1/1 true color
4 arc sensors
Shade 3/5-9 and 9-13
1.32 lb
CR2450 power
+ Pros
- Large viewing window that makes joint tracking far easier
- Four arc sensors detect reliably across TIG MIG stick cut and grind
- True color lens removes the old green tint
- All controls on the outside so gloves stay on
- Light enough for multi-hour sessions
- Cons
- Side tension knobs that hold the helmet flipped up are flimsy
- Headgear tension can slip forward if not set very tight
- Thin plastic shell and strap
- Inner lens and battery are fiddly to swap
If the first helmet on this list frustrates you with tunnel vision, this is the step up. The viewing area is 3.93 by 3.66 inches, roughly double the usable space of the L600A, and the sensor count doubles to four.
Beginner reviewers describe this model as the one that fixed their visibility problems, with several reporting a noticeable improvement in bead quality once they could actually see the joint edges and puddle position. The true color lens removes the green tint that makes cheap helmets tiring over a long afternoon.
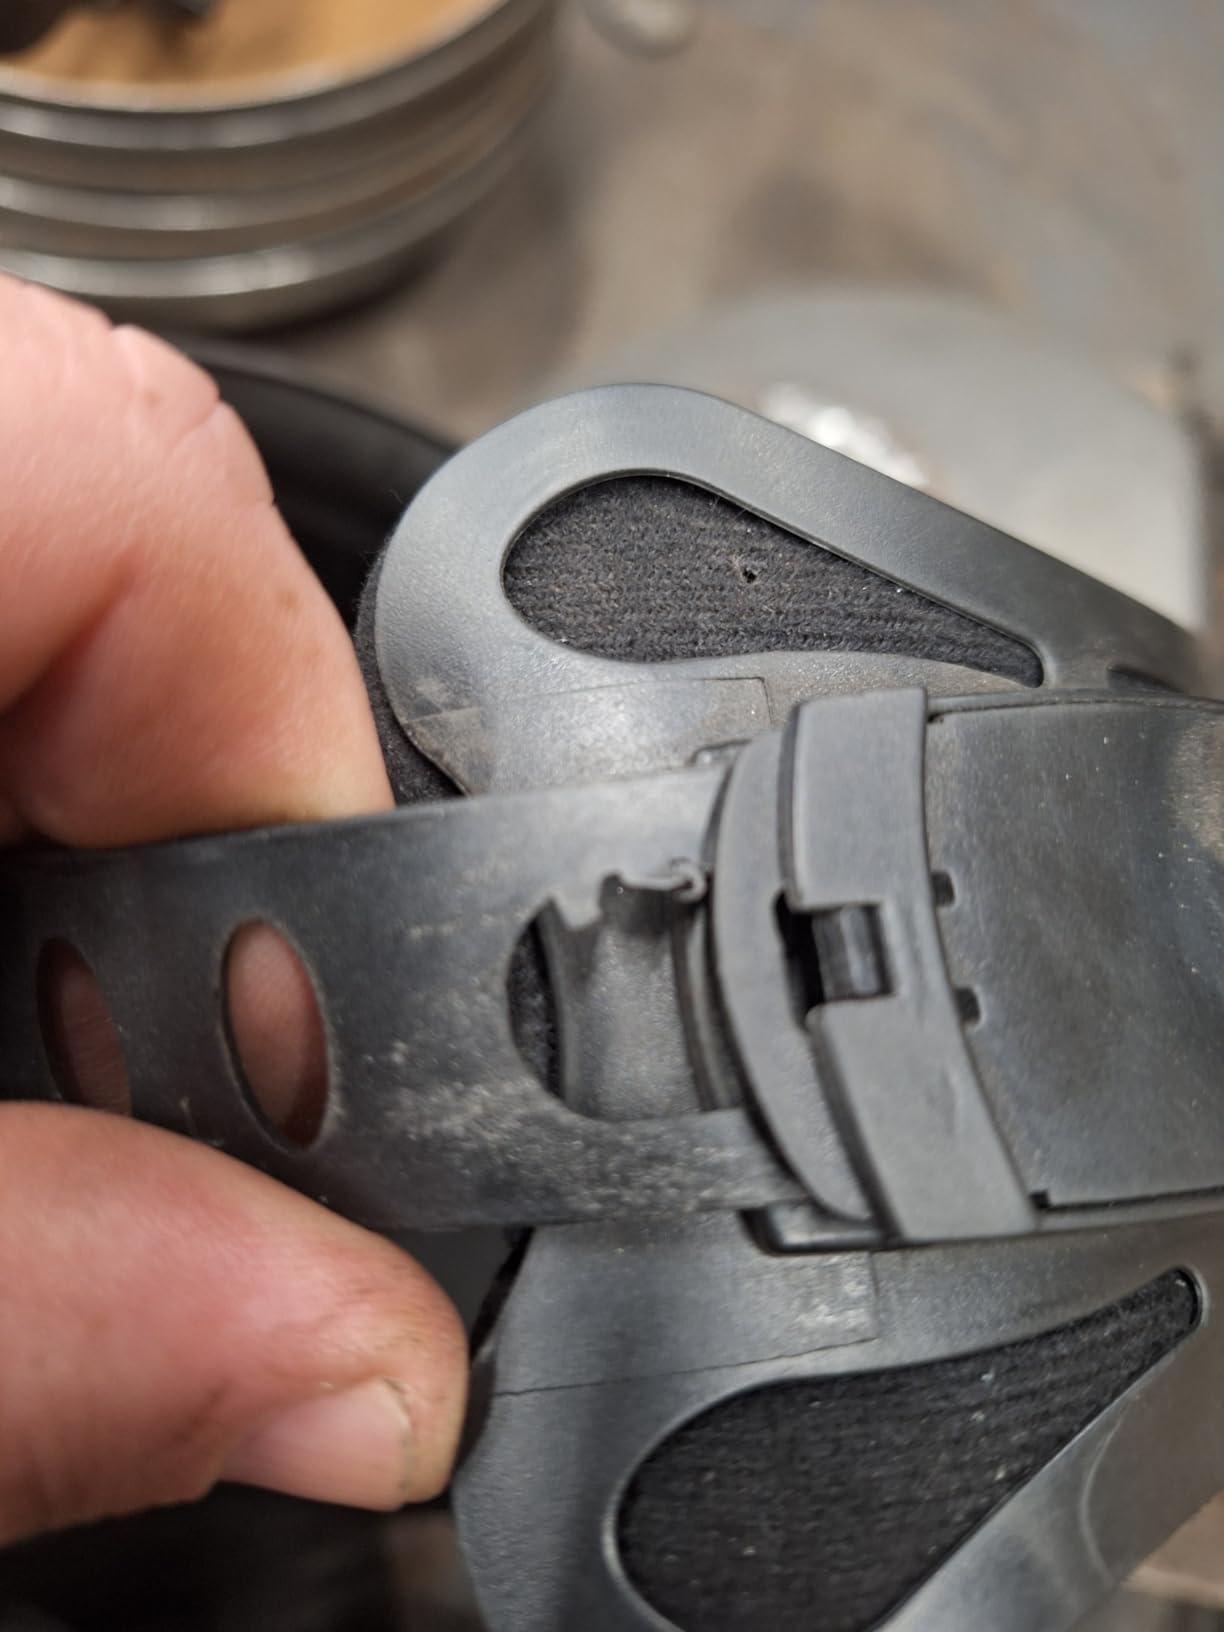
The build quality is the trade. The ratcheting side knobs that hold the helmet in the flipped-up position are described as flimsy and needing to be cranked down hard, and headgear tension can creep forward if you do not set it very tightly. That is the forum pattern worth knowing: on budget hoods, the headgear is usually the first thing that gives up, not the shell.
Viewing Area and the Tunnel Vision Problem
Viewing area is measured in square inches and it is the single most visible difference between a cheap hood and a mid-tier one. At 3.93 by 3.66 inches, this helmet gives you enough of the workpiece to track both sides of a joint, which is exactly the skill a beginner is trying to build.
Compare that to a small rectangular window and you understand why first-bead frustration is so common in cheap helmets. You are literally moving your head to find the arc. Once that stops happening, the learning curve flattens noticeably.
Four Sensors and External Controls
Four arc sensors mean the filter can be triggered from more angles, which is what makes overhead welding and tight joint work reliable instead of frustrating. Switching is 1/30,000 of a second, fast enough for low-amperage work.
Every adjustment lives on the outside of the shell: shade, mode, sensitivity, delay. That detail matters more than it sounds. Internal controls mean lifting the helmet on every change, and lifting the helmet means losing your setup and losing time. One piece of new-user confusion in the feedback traces directly to testing sensitivity in sunlight rather than under an actual arc.
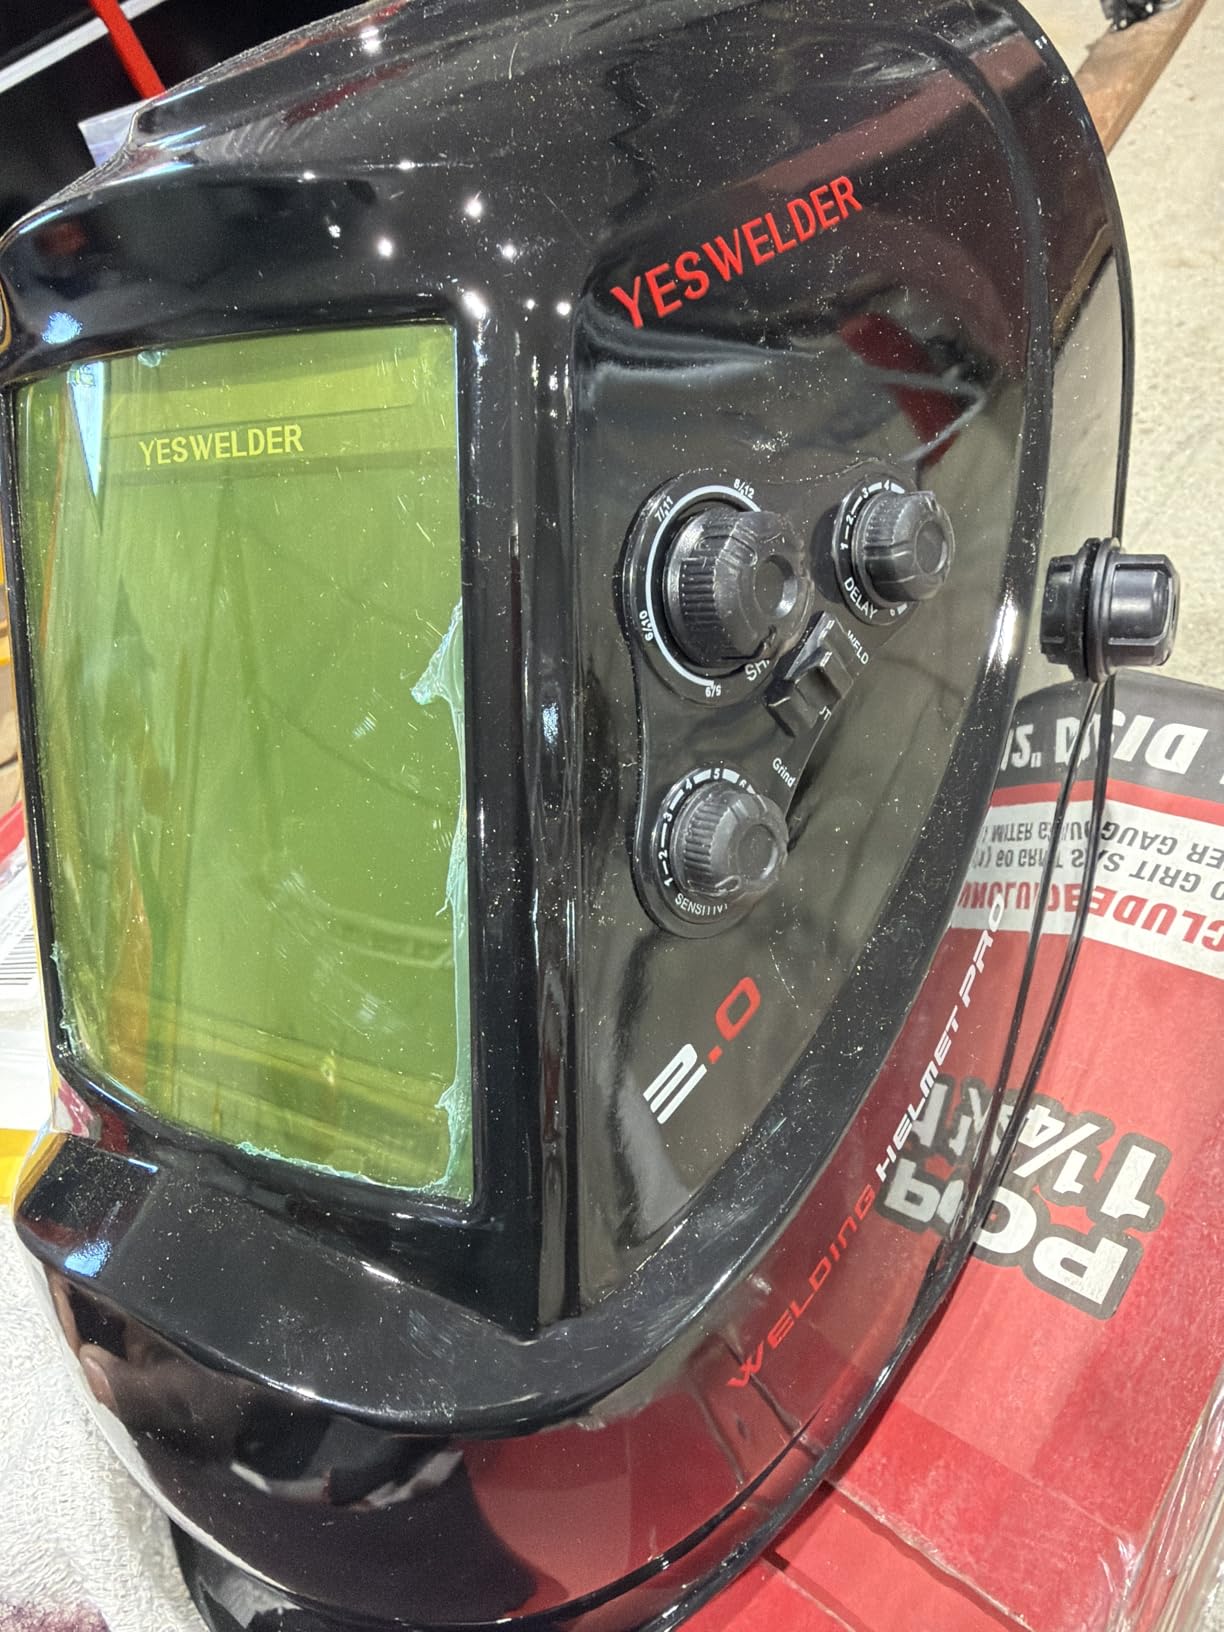
Shade 3/5-9 and 9-13 Across Five Modes
The shade layout is organized by task rather than as one continuous block: 3 for grind, 5 to 9 for cut, 9 to 13 for weld. That is easier to learn as a beginner than a single continuous dial, because the mode label tells you what you are about to do.
At roughly 1.32 pounds, this is one of the lighter hoods in the list, and owners consistently report wearing it for hours without neck fatigue. It is also cheater lens compatible, which matters more than most spec sheets admit, because a large share of welders over 30 wear prescription glasses or a magnifier under the hood.
3. YESWELDER LYG-Q800D – Best for Wider Periphery and Dim Work Areas
YESWELDER Auto Darkening Welding Helmet with LED, 180° View, LYG-Q800D
3.94 by 3.23 inch panoramic view
Fixed DIN5 side window
4 arc sensors
Integrated LED
1/1/1/1 true color
+ Pros
- Panoramic view plus a side window widens peripheral awareness
- Integrated LED is genuinely useful in dim garages
- 1/1/1/1 true color lens with four sensors
- Handles TIG MIG stick cut and grind
- Solar plus replaceable battery
- Three replacement lenses in the box
- Cons
- Side view is a fixed DIN5 lens that does not auto darken
- Bulkier than entry-level models and heavier on the neck
- Replacement lens panel is easy to misalign if handled roughly
This hood exists for a specific problem: working in a garage with the lights off, or doing a repair away from a window. The integrated LED mounted on top of the shell lights the workpiece before and after the arc, and owners working nights or in dark shops call it a real convenience rather than a gimmick.
The panoramic format also changes how you perceive the job. A side view window widens peripheral awareness, so you can see the ends of your plate and the approach of the joint without turning your head. On a first project that awareness is worth more than raw lens spec.
Two honest limits. The side view is a fixed DIN5 lens and does not auto darken, so it protects you without giving you the tinted view a welding shade would. And the shell is bulkier and heavier than the smaller models here, which adds neck fatigue on long jobs.

What the Side Window Does and Does Not Do
The side view panel is a fixed DIN5 filter, not an auto darkening one. It is there to give you a wider, always-clear peripheral picture of the joint and the workpiece, not to filter the arc. That is a deliberate design choice, and it means arc light arriving from an angle still gets partially filtered rather than fully blocked.
For a beginner, that is an acceptable trade because most of your arc light arrives straight on through the main window. For anyone who will spend real hours in awkward positions, it is worth knowing before you buy.
LED Lighting and Multi-Process Coverage
The LED is the reason this hood appears in this roundup. Setup and inspection work in a dim shop becomes far easier, and you can find your joint, your grinder marks and your workholding before you start. It is a comfort feature that pays off in the first ten minutes of every session.
Shade coverage runs 3/5-9/9-13 across TIG, MIG, MMA, cut and grind, driven by four arc sensors switching in 1/30,000 of a second. The box includes three replacement lenses, plus a replaceable battery and a solar panel, so consumables are not an immediate expense.
Who Should Choose This Over the L600A
Choose the Q800D if your shop is dim, if you are doing fabrication work where seeing the ends of your parts matters, or if you want a full complement of spare lenses from day one. The L600A is the better call if your workspace is well lit and your work is flat plate.
Both use the same true color 1/1/1/1 lens technology and solar-plus-battery power, so the optical experience is comparable. The decision is about field of view and lighting, not about seeing the weld better.
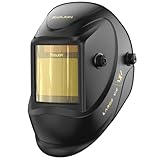
4. TOOLIOM TL-M800D – Best for Cutting and Grinding Between Passes
TOOLIOM True Color Auto Darkening Welding Helmet with Large View
12.9 sq inch viewing area
1/1/1/1 optical class
4 arc sensors
Three dedicated shade modes
Spare lenses included
+ Pros
- 12.9 square inch window is unusually large for the tier
- 1/1/1/1 optical classification with true color
- Four arc sensors for steady detection
- Separate weld cut and grind shade modes
- Box includes spare battery plus inner and outer lenses
- Cons
- Spec sheet lists ANSI Z89.1 rather than ANSI Z87.1
- Light duty plastic shell
- Strap closure is less secure than a ratcheting headgear
The TL-M800D is the one to look at if your work alternates between welding and grinding on the same piece. It is one of only two hoods here with three genuinely separate mode blocks rather than a single continuous range: shade 9 to 13 for weld, 5 to 9 for cut, and 3.0 for grind.
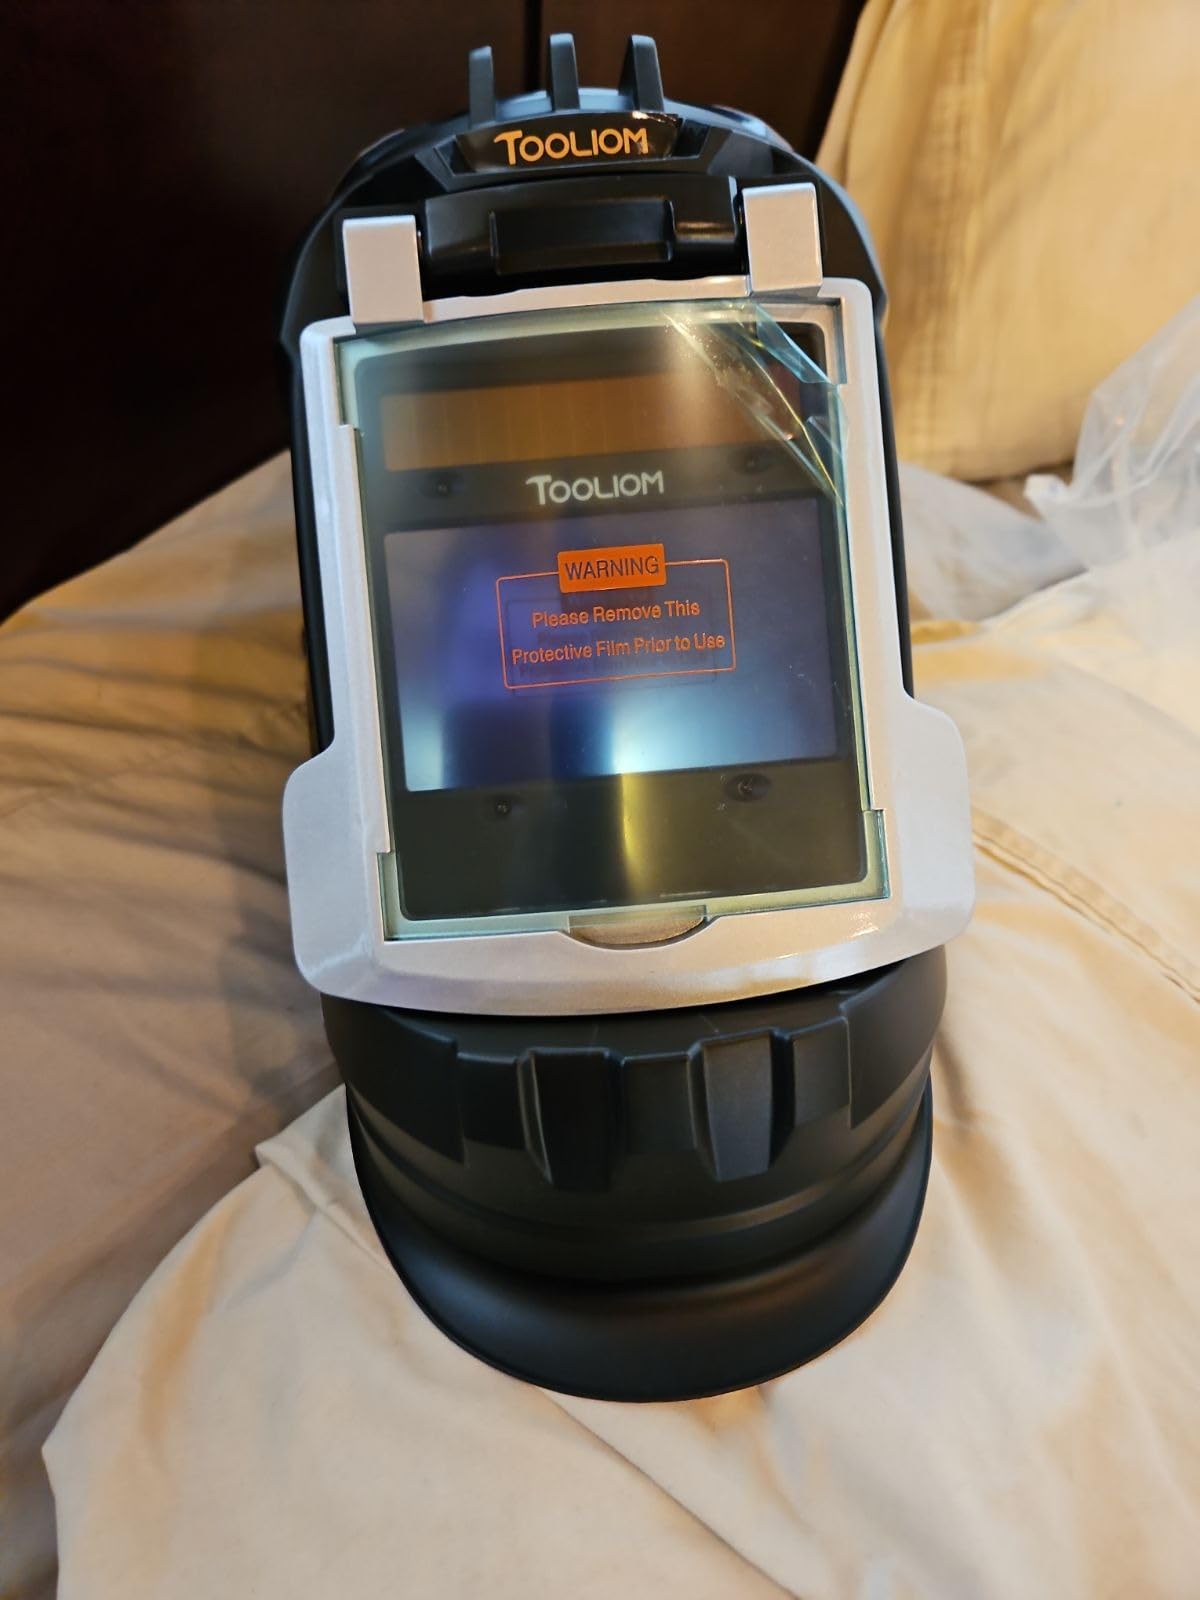
At 3.94 by 3.27 inches, the viewing area comes to 12.9 square inches, which is a large window for this tier. Four arc sensors handle detection, and the lens carries a 1/1/1/1 optical classification with true color technology.
The thing to check before buying is the standard. The spec sheet lists ANSI Z89.1, which is a safety eyewear standard rather than the welding-specific ANSI Z87.1 that most helmets here carry. It is not a deal breaker for a hobbyist, but if you are welding for an employer or a school program that verifies certification, check what your program actually requires.
Three Mode Blocks Instead of One Dial
Most budget helmets compress grind, cut and weld into one shade range and let you figure out the mapping. This one labels them. A beginner who has never welded does not know that shade 10 is a sensible default; a beginner who can see that grind mode is a separate, clearly marked position can learn that rule in one session.
Delay and sensitivity are adjustable, which is what you need when you switch between a bright garage and a dim one, or when you start a TIG root pass at low amperage and the helmet is not triggering quickly enough.
What Comes in the Box
One welding helmet, one replaceable battery, two replacement outer lenses, one replacement inner lens and a manual. For a first helmet, having spare cover lenses in the box removes the most common early frustration, which is discovering your cover lens is scratched or fogged and you have nothing to swap in.
Cover lenses are consumables. Keeping a spare inner and outer lens on hand is the cheapest helmet maintenance there is, and this box makes that easy to do from day one.
Where the Construction Falls Short
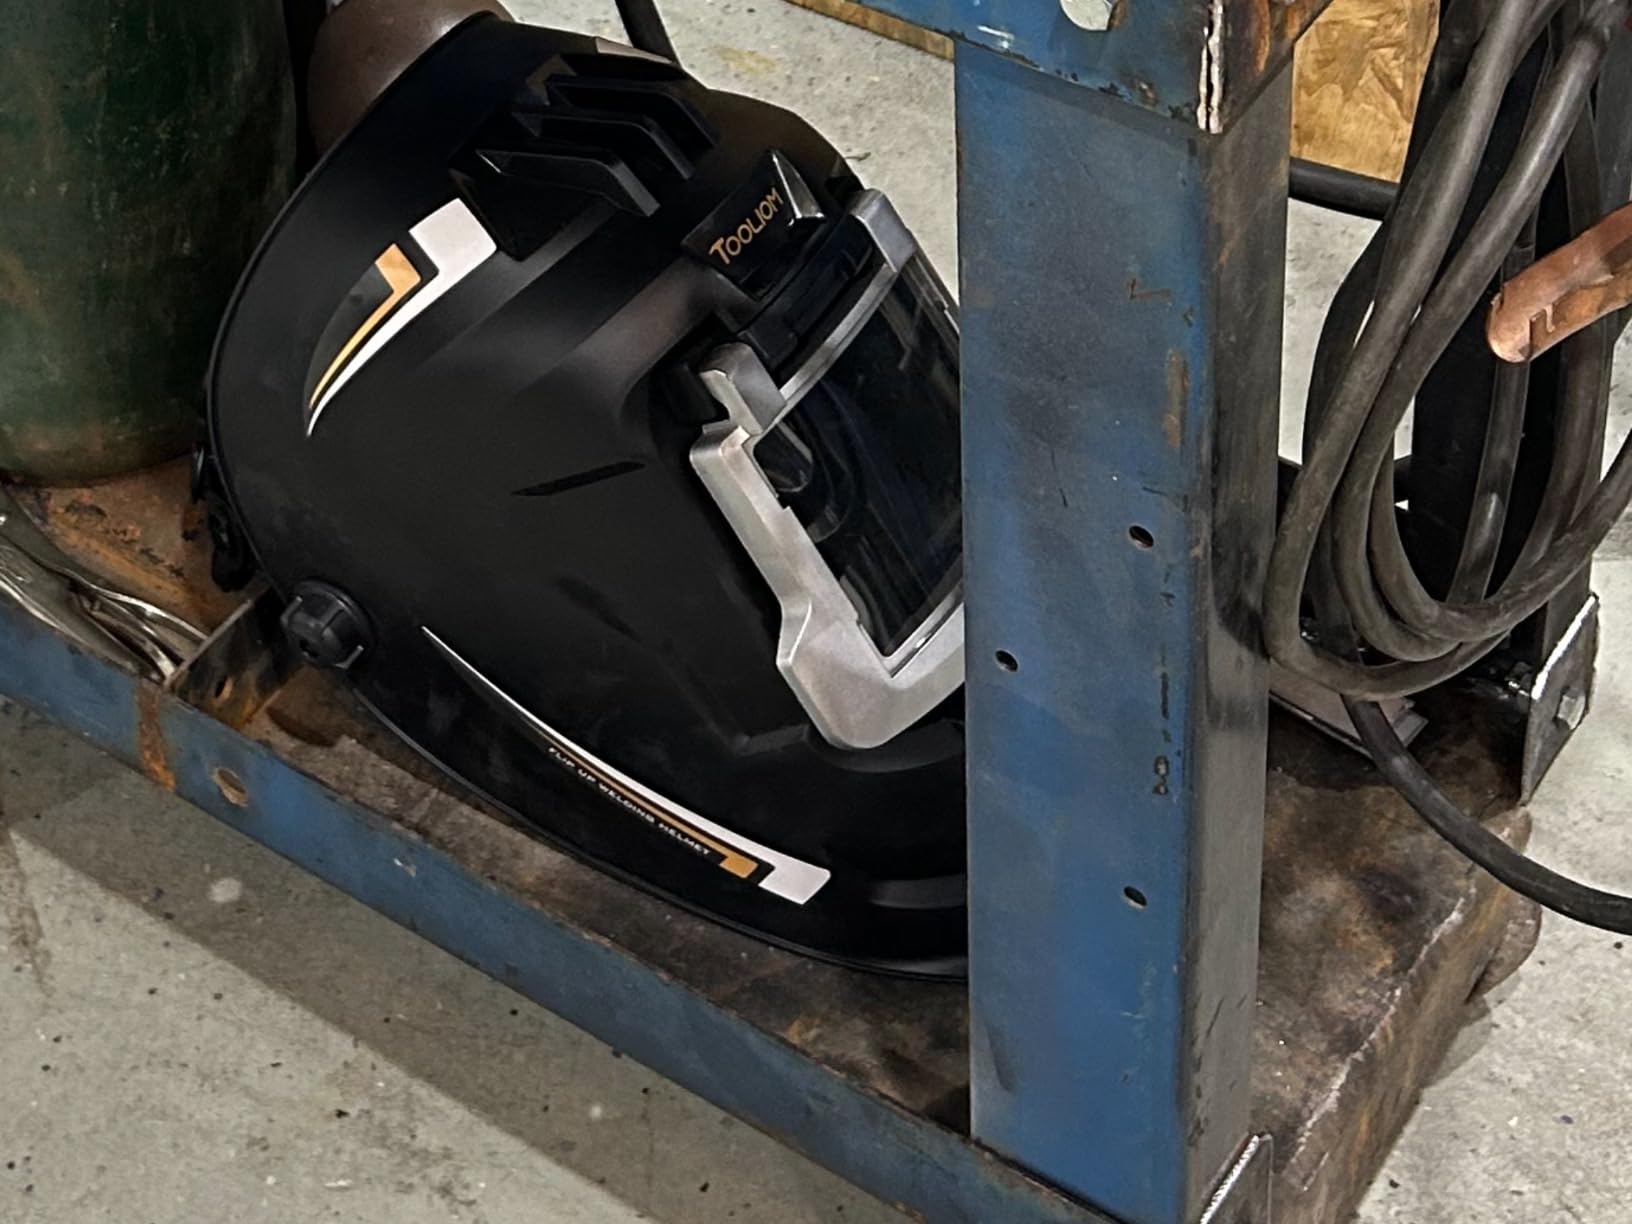
The shell is plastic and light duty, and the closure is a strap rather than a ratcheting headband. That means fit is less precise and less repeatable than a ratchet, and a strap can shift during a long session when you are sweating.
For occasional work this is a fair trade for the mode clarity and the large window. For daily work, factor in that headgear and straps are the components most likely to need replacing first, and a ratcheting hood is generally the more comfortable long-term choice.
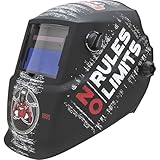
5. Lincoln Electric K4983-1 – Best Helmet for Trade Students and Program Requirements
Lincoln Electric No Rules No Limits Welding Helmet K4983-1, Auto Darkening, Lightweight Weld Headgear, Shade 7-13, Grind Mode, Use for Stick, TIG, Pulsed TIG, MIG, Pulsed MIG, Flux Core, Gouging
ANSI Z87.1 certified
4.33 by 3.54 inch view
Shade 7-13 plus grind
Solar with battery backup
17.5 oz
Hard hat compatible
+ Pros
- Recognized manufacturer name with ANSI Z87.1 certification
- Very light at 17.5 oz for all day wear
- Ratchet headgear with oversized absorbent sweatband
- Solar power with battery backup simplifies upkeep
- Covers stick pulsed TIG MIG flux core and gouging
- Hard hat compatible
- Extra lenses and batteries included
- Cons
- Smallest review base in this group so long term durability is less certain
- Shade range starts at 7 so it misses lighter low amp work
- Graphic heavy styling is polarizing
This is the pick if a school program, an employer or a certification check is part of the picture. It is ANSI Z87.1 certified, made of nylon, and carries the Lincoln Electric name, which is the difference between a hobby purchase and something you can defend on a form.
Physically it is a well-judged design. At 17.5 ounces with a 4.33 by 3.54 inch viewing area, it is one of the largest windows in this roundup paired with one of the lowest weights. The ratchet headgear and oversized absorbent sweatband are aimed squarely at long days in a hot shop, and the hard hat compatibility matters for anyone working on a job site rather than a bench.
Two real limitations. The variable shade range starts at 7, so it will not cover the lighter low-amperage shades you would want for a TIG root pass. And the review base here is the thinnest of the eight, which means long term durability conclusions are less certain than the 4.7 rating alone suggests.
Why Certification Matters More Than Features
ANSI Z87.1 is the welding and cutting eye protection standard in the United States. Most cheap helmets in this roundup carry it or its CSA equivalent. The TOOLIOM lists ANSI Z89.1, which is a different family of standard.
For a trade student the practical issue is not the number on the box so much as the paperwork. Programs and employers often specify a certified model by name or by standard, and owning a recognizable name-brand hood removes an argument you would otherwise have to have.
Solar Power With Battery Backup
The K4983-1 runs on a solar panel with battery backup, and two AAA batteries are included. In practice this is the lowest-maintenance power arrangement available: it charges itself during use and the cells are a standard type you can buy anywhere.
There is no recharge port, no proprietary pack, and no charging routine to forget before a weekend of welding. For someone who welds intermittently, that is genuinely valuable.
TIG From 5 Amps and the Shade Floor
Lincoln rates this hood TIG-capable from 5 amps, which is a strong claim at this level. The catch is the variable shade range of 7 to 13 plus a grind mode. If your plan involves low-amperage TIG where a shade 5 or 6 view is the difference between seeing the tungsten and the puddle edge clearly, this is not the helmet.
For stick, MIG, pulsed MIG, flux core and gouging work, the range is exactly right. Many beginners start on stick or MIG and never touch TIG at all, which is why this model works so well for a first year.
6. Hobart 770890 – Best for the Widest View and Warranty Backing
Hobart 770890 Auto-Darkening Welding Helmet, Large, Black
9.3 inch PureColor widescreen view
4 independent arc sensors
Auto on-off power control
Weld to Grind switching
2 year warranty
+ Pros
- PureColor lens with a very open 9.3 inch widescreen view
- Four independent arc sensors for dependable detection
- Auto on-off means no manual switch to remember
- Seamless Weld to Grind mode changes
- Analog knobs are simple to adjust by feel
- Backed by a limited 2 year manufacturer warranty
- Continuous UV and IR protection
- Cons
- Costs more than general hobbyist auto darkening hoods
- Analog knobs are less precise than digital controls
- Oversized view can feel clumsy on close pipe work
The Hobart 770890 is the most open-feeling hood on this list. A 9.3 inch widescreen viewing area with PureColor lens technology gives you a genuinely panoramic view of the puddle and the surrounding work, and owners describe the natural, colored view as a large part of the appeal.
Two design decisions here are aimed directly at beginners. Auto on-off power control means the lens triggers at the strike of an arc with no switch to remember, which removes the single most common new-welder mistake. And the Weld to Grind mode change happens without removing the helmet, so cleaning a bead between passes is a smooth motion instead of a juggling act.
The 2 year limited manufacturer warranty is also the strongest coverage listed here. It is the clearest signal that the manufacturer expects the cartridge to last, and it is backed by a brand with a long track record among hobby and trade welders.
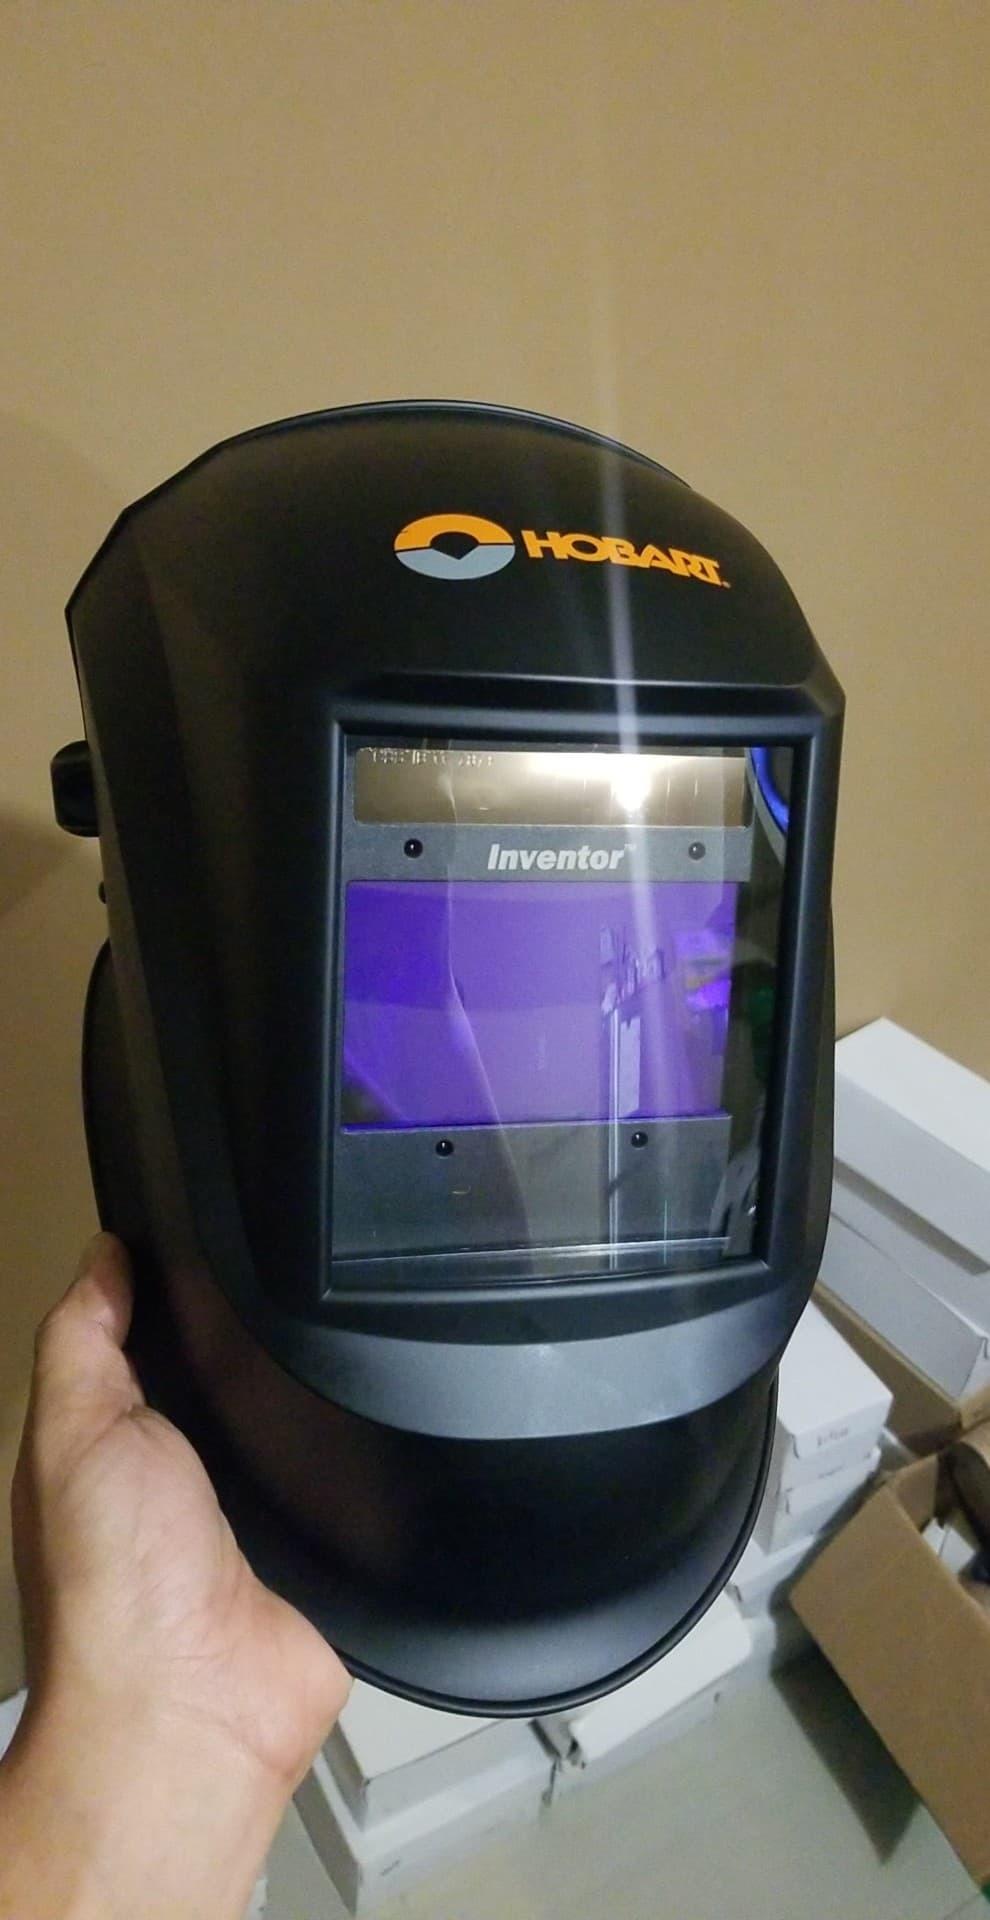
Widescreen Viewing Area and When It Helps
A 9.3 inch widescreen area changes the geometry of the work. Instead of looking through a letterbox, you see the full width of your joint, the surrounding plate, and your hands and torch in relation to both. For tracking a bead, that is a real difference rather than a spec sheet nicety.
The flip side is that owners report it feels oversized for close pipe work and tight spots. A very wide field of view can make a narrow joint harder to isolate because there is more to look at. If your work is tubing, structural steel or anything confined, test the fit before committing.
Auto On-Off and Weld to Grind Switching
Auto on-off power control triggers the lens at the strike of an arc. For a first-time welder this is worth more than it sounds, because manually switched helmets get left on the wrong setting, and a helmet that never darkens on the first strike is a genuinely bad first experience.
The Weld to Grind transition happens in place, without removing the helmet. Grinding a bead between passes is standard practice for almost every beginner project, and doing it without a full doff and don sequence is a small daily quality-of-life win.
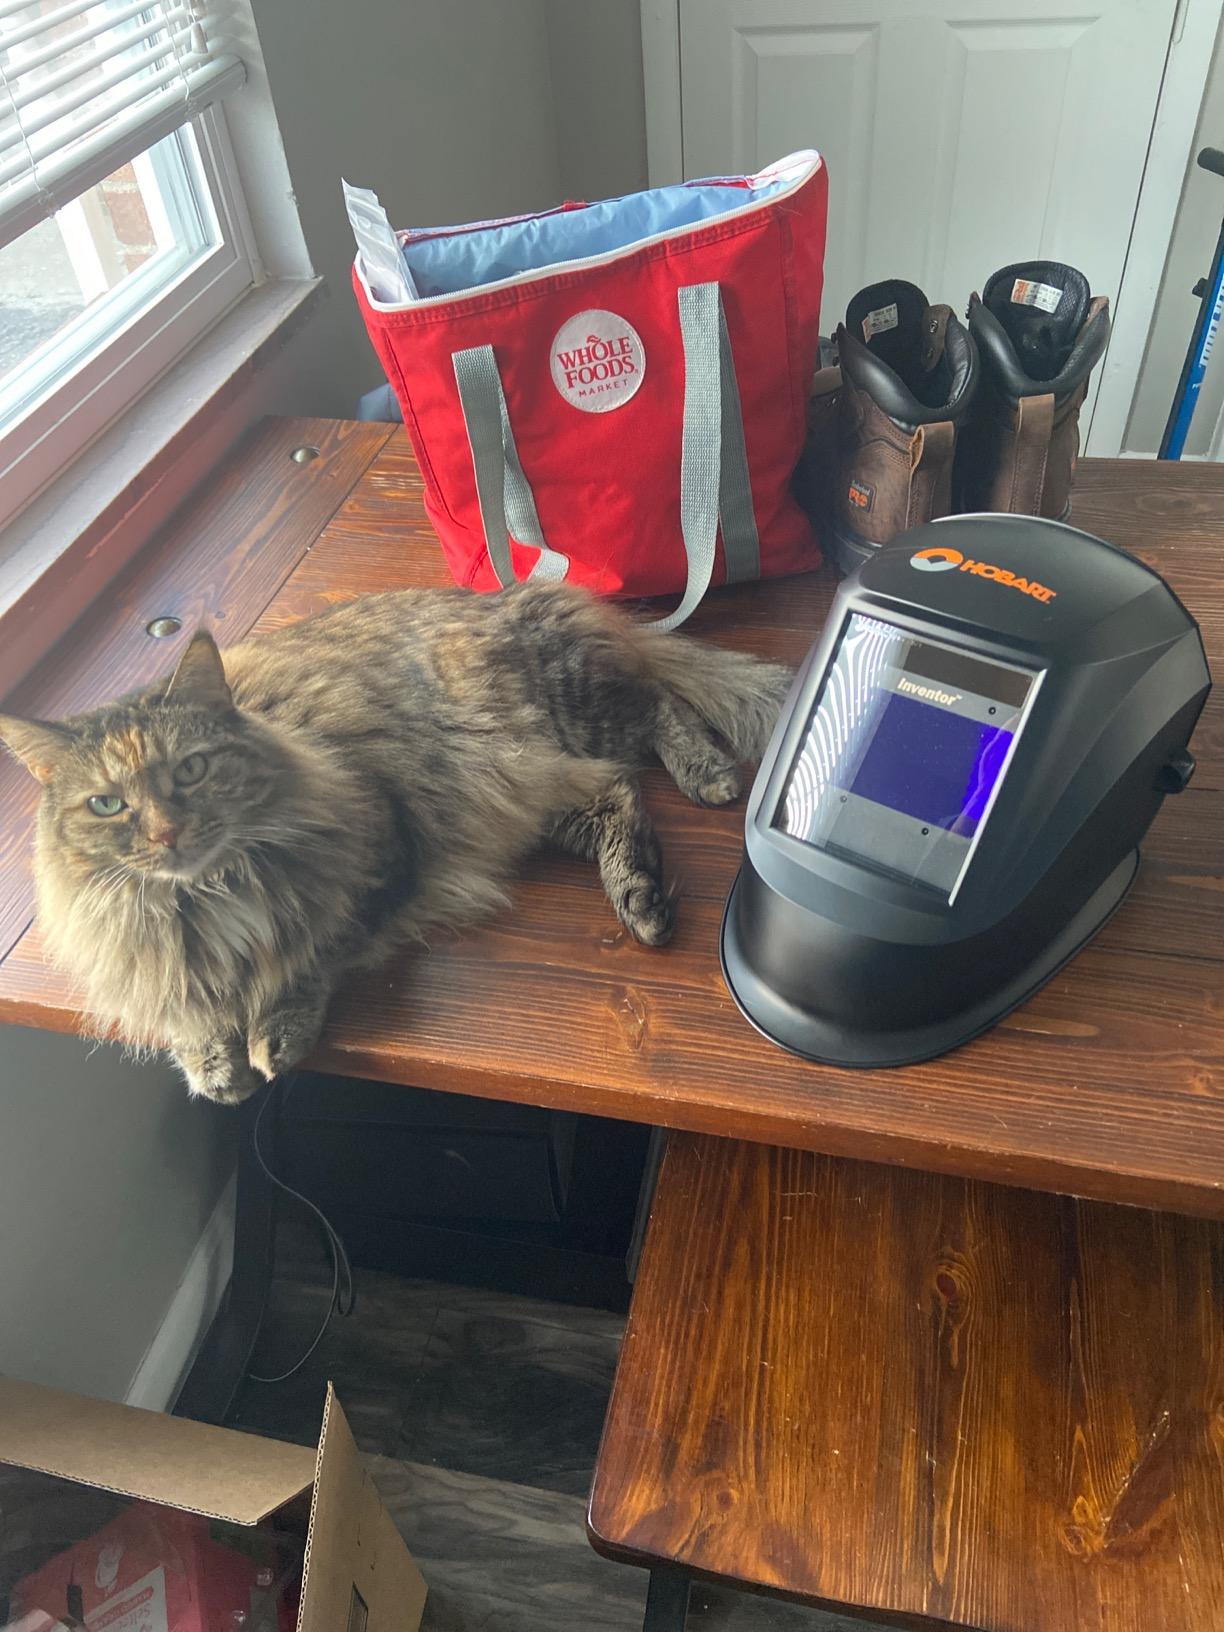
Analog Knobs Versus Digital Controls
Shade, sensitivity and delay are set with analog knobs you can adjust by feel, often with gloves on. For a beginner this is arguably easier than navigating a small digital interface, because the mapping from knob position to result is immediate and physical.
Digital controls do allow finer increments, which helps if you are switching between processes often or working at the edge of your amperage range. If you are learning one process, analog is fine and arguably preferable.
7. TRQWH KTS-JD03 – Best for Rechargeable Lighting and Student Budgets
TRQWH Welding Hood Auto Darkening Welding Helmet with Light True Color
1/1/1/2 optical clarity
USB rechargeable top LED
ANSI Z87.1 and EN 379
External grind button
Dual solar and battery power
+ Pros
- USB rechargeable top LED is useful in dim or dark environments
- Instant 1/20000s darkening with a true color view
- External delay sensitivity and grind controls work with gloves on
- Multi point headgear with sponge forehead pad
- Holds up to being dropped
- Meets ANSI Z87.1 EN 379 and CSA Z94.3
- Cons
- Optics are 1/1/1/2 so clarity trails the 1/1/1/1 models
- Strap loosens during use and needs retightening
- Plastic shell can crack if dropped or banged
- Top LED is dim and its battery is short lived
- Only a 30 day warranty
This hood shows up repeatedly as a first helmet for teens, apprentices and welding students, and owners confirm it holds up for daily shop use. The headline feature is the USB rechargeable LED mounted on top of the shell, which lights the workpiece in dark conditions before and after the arc.
Standards coverage is broad for the tier. It meets ANSI Z87.1, EN 379 CE and CSA Z94.3, and the double liquid crystal layer with an optical coating filter resists 99 percent of harmful light, switching in 1/20,000 of a second.
The trade-offs are real. Its optical classification is 1/1/1/2, one step below the 1/1/1/1 rating carried by most other helmets here, so clarity is a notch down. The head strap loosens during use, the plastic shell is brittle enough to crack if the helmet is banged, and the warranty is 30 days.
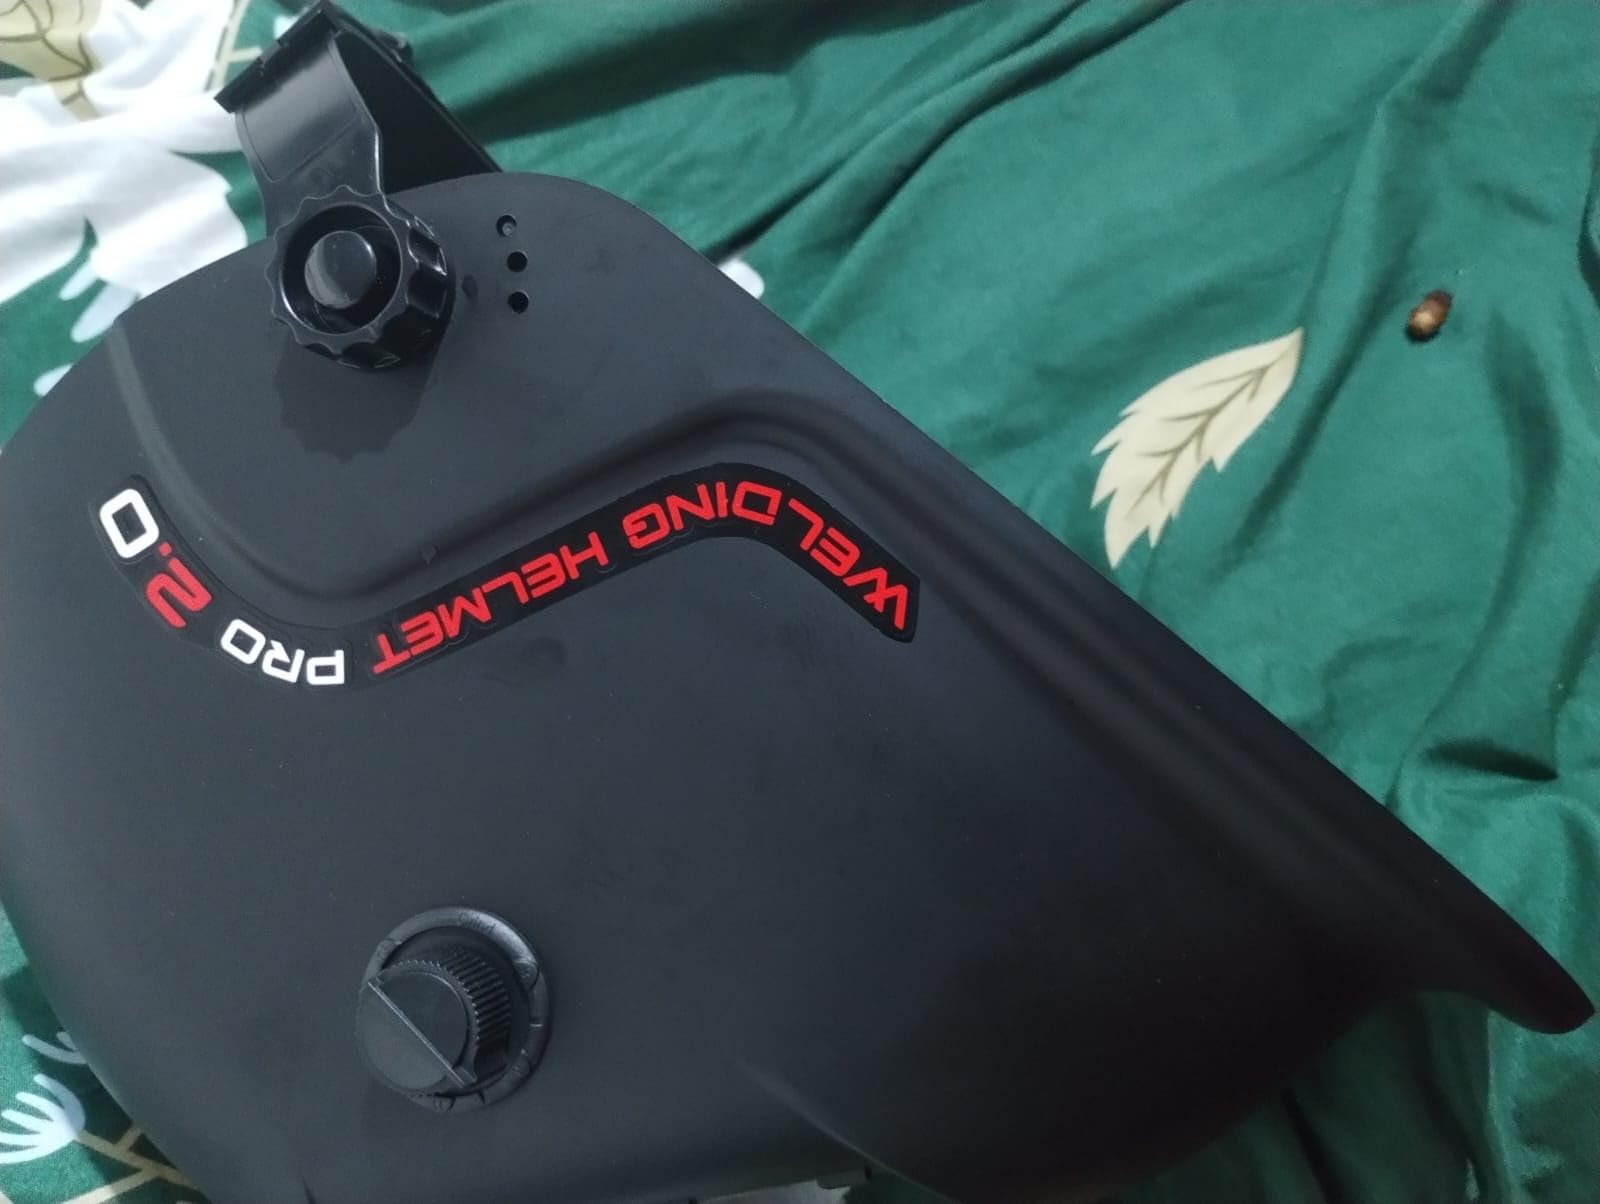
Why the Optical Rating Matters Here
EN 379 grades lenses on four criteria, and a 1/1/1/2 rating means three perfect scores and a step down on one. In practice the difference is a slightly less even image at an angle, which most beginners will not consciously notice on their first hundred welds.
It becomes noticeable on long sessions, where small optical imperfections compound into eye strain. If you know you will be welding for hours at a stretch, the small step up to a 1/1/1/1 lens is worth making. If you are learning in a class for a few hours a week, this is entirely adequate.
The Rechargeable LED in Practice
The LED is USB rechargeable, which removes the coin cell hassle entirely and means you can top it up from a power bank. For a garage or a farm workshop at night, being able to see your joint before striking an arc is worth the feature on its own.
Owners are less enthusiastic about the specifics: the light is dimmer than expected and its battery does not last a full day of intermittent use. Treat it as an assist rather than a substitute for lighting your workspace properly.
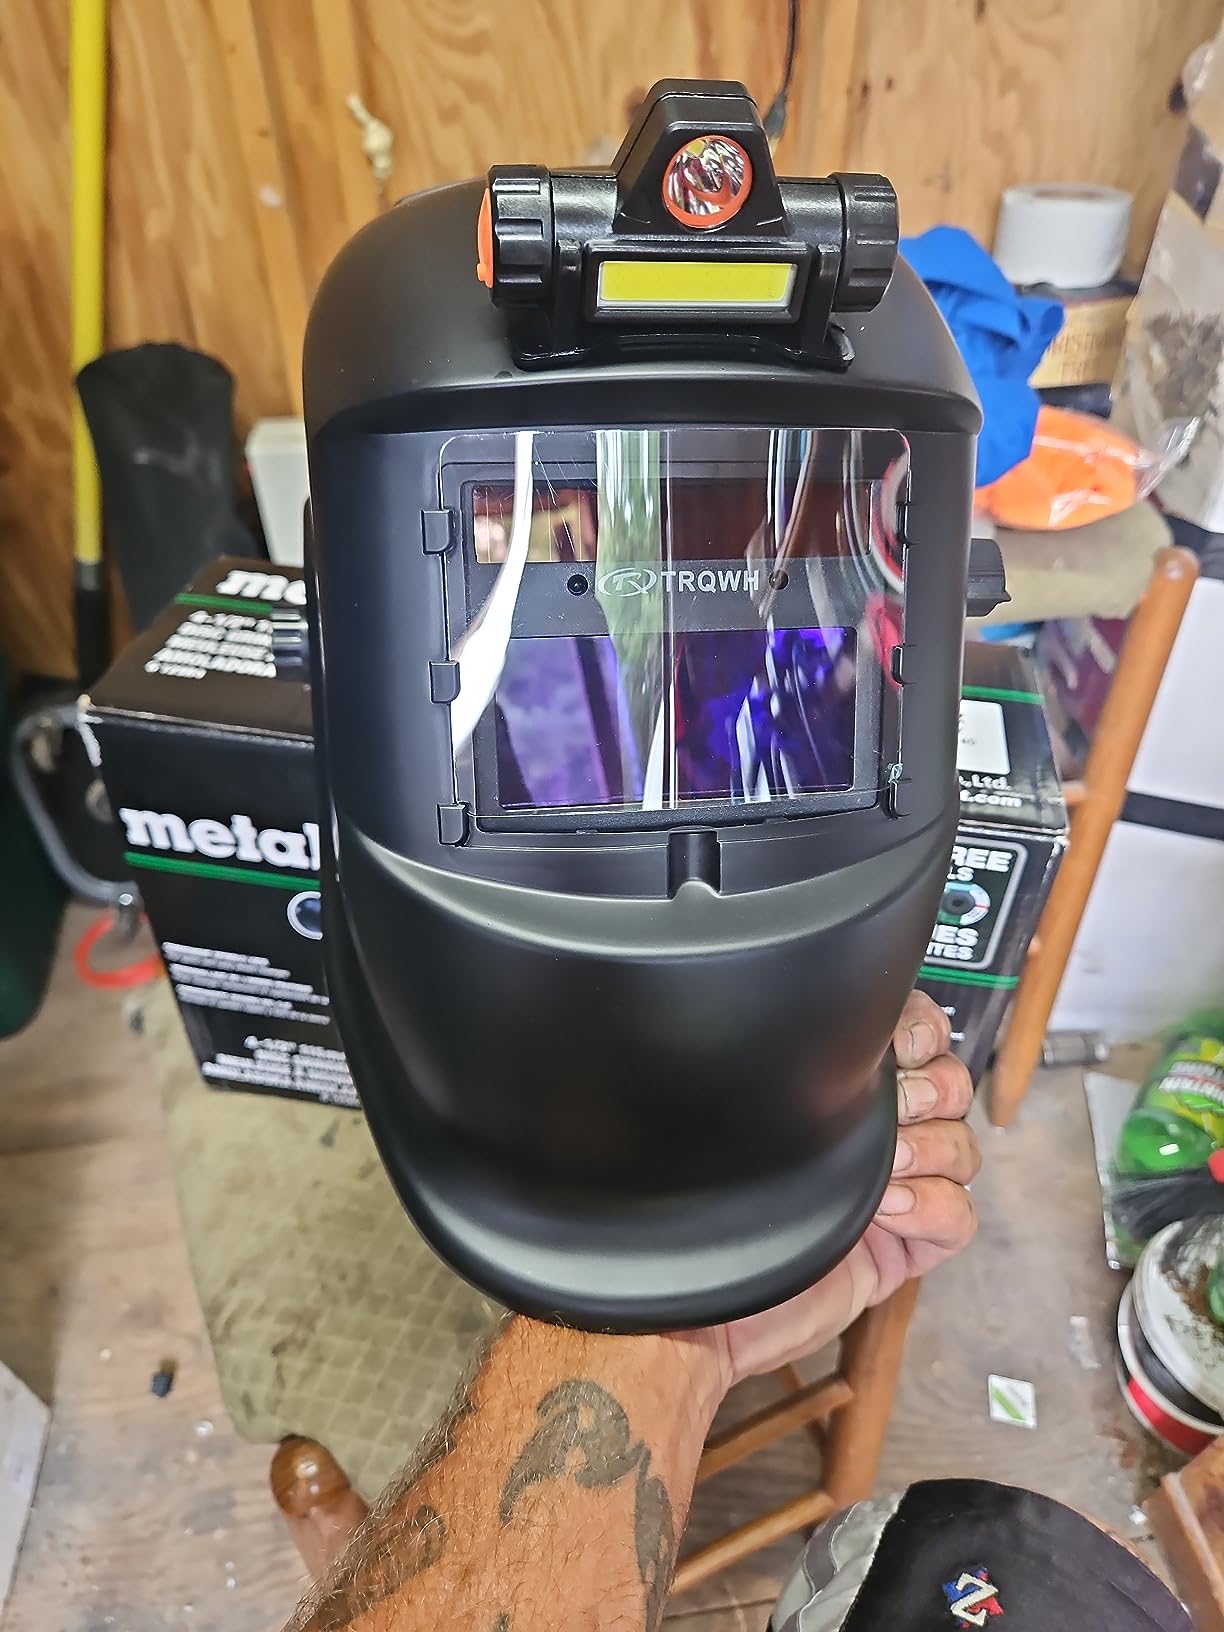
Controls and Fit
Delay, sensitivity and grind controls are all external, including a dedicated external grind button for switching modes with gloves on. The headgear has multi-point adjustment with a thickened sponge forehead pad and side angle knobs, which helps it fit a range of head sizes.
The recurring complaint is the strap loosening during use. If you fit it once at the start of a session and the front ratchet, check on it at the break. This is the single most common fix a budget helmet owner can make to extend a session comfortably.
8. Jackson Safety Insight – Best for Lightweight Comfort and Tight Positions
Jackson Safety Insight Auto Darkening Welding Helmet, ADF Hood – ANSI Z87.1
6 oz HLX shell
1/1/1/1 true color
4 arc sensors
Variable shade 9-13
Weld Torch and Grind modes
Hard hat adaptable
+ Pros
- Extremely light at 6 oz which cuts neck strain in tight and overhead positions
- Low profile flexible shell fits confined spaces
- 1/1/1/1 clarity with digital sensitivity and delay controls
- 370 Speed Dial ratchet headgear holds position with an up detent
- Four sensors work even with inverter machines
- Standard cover lens size so replacements are easy to find
- Owners report 3 to 5 plus years of daily use
- Cons
- Viewing area is smaller than widescreen models
- Light state is dimmer than some rivals in a dim shop
- Can be overly sensitive to reflected light off polished metal
- Less rugged than premium name brand hoods
- Higher priced than generic true color helmets
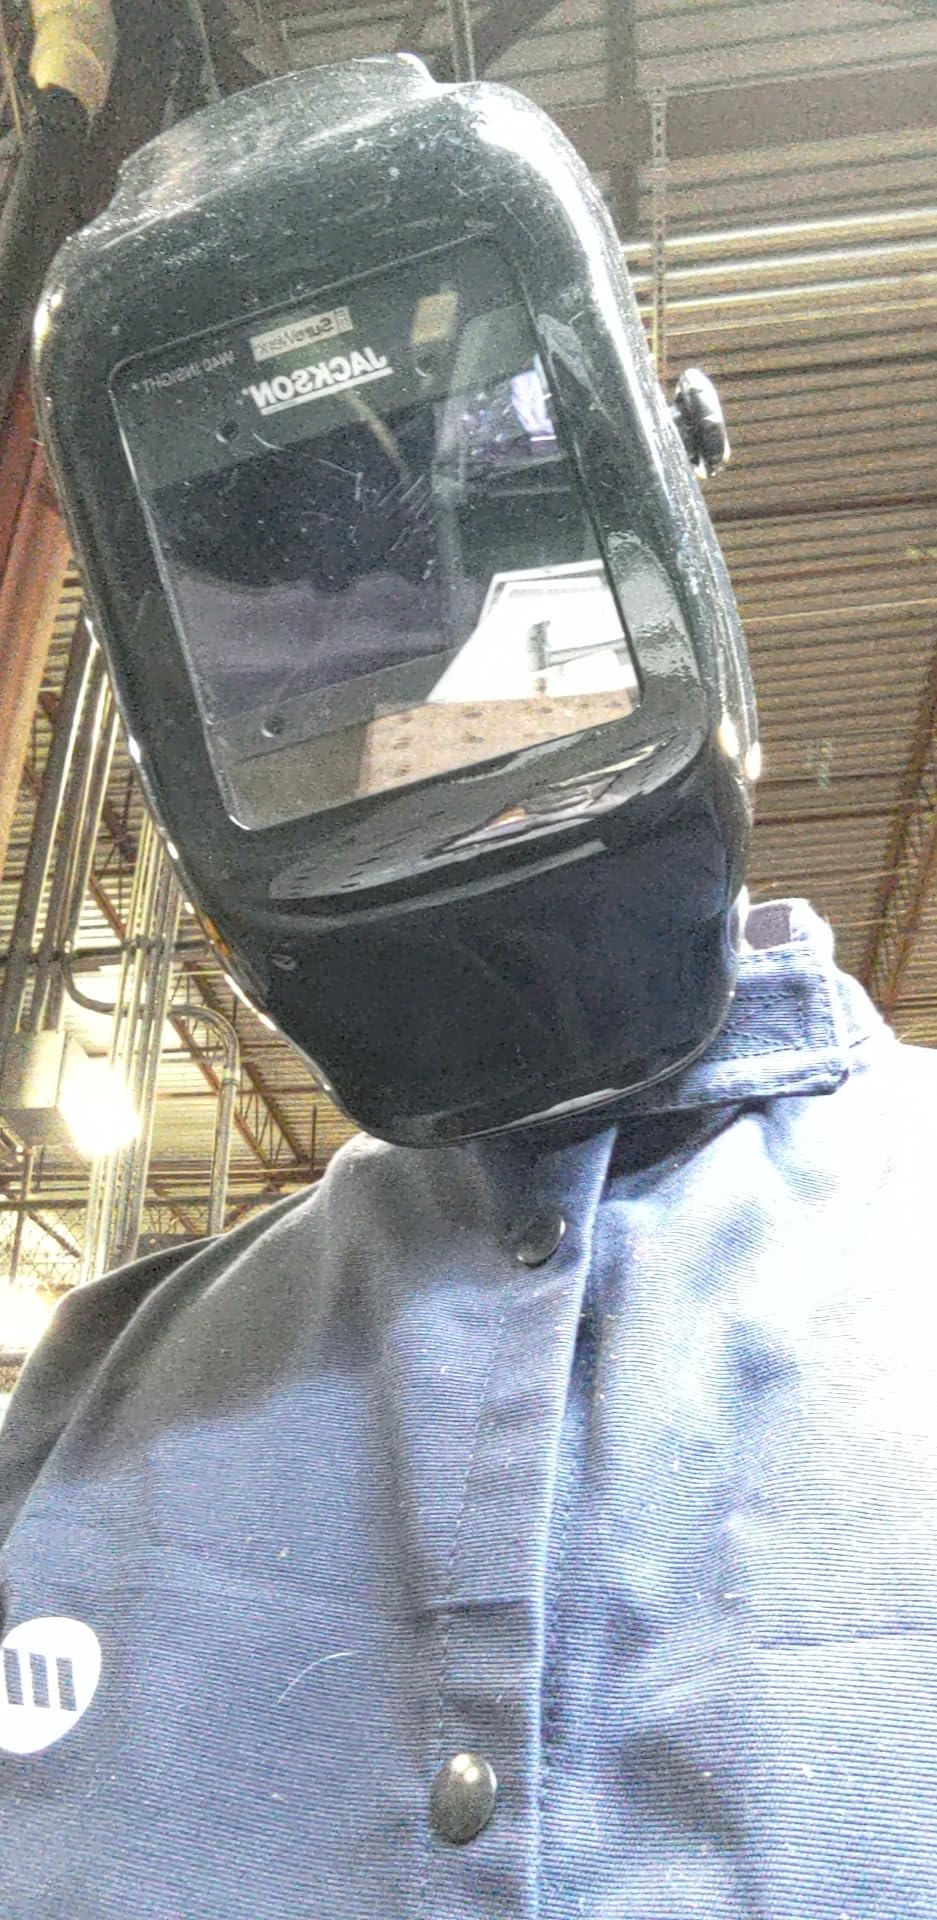
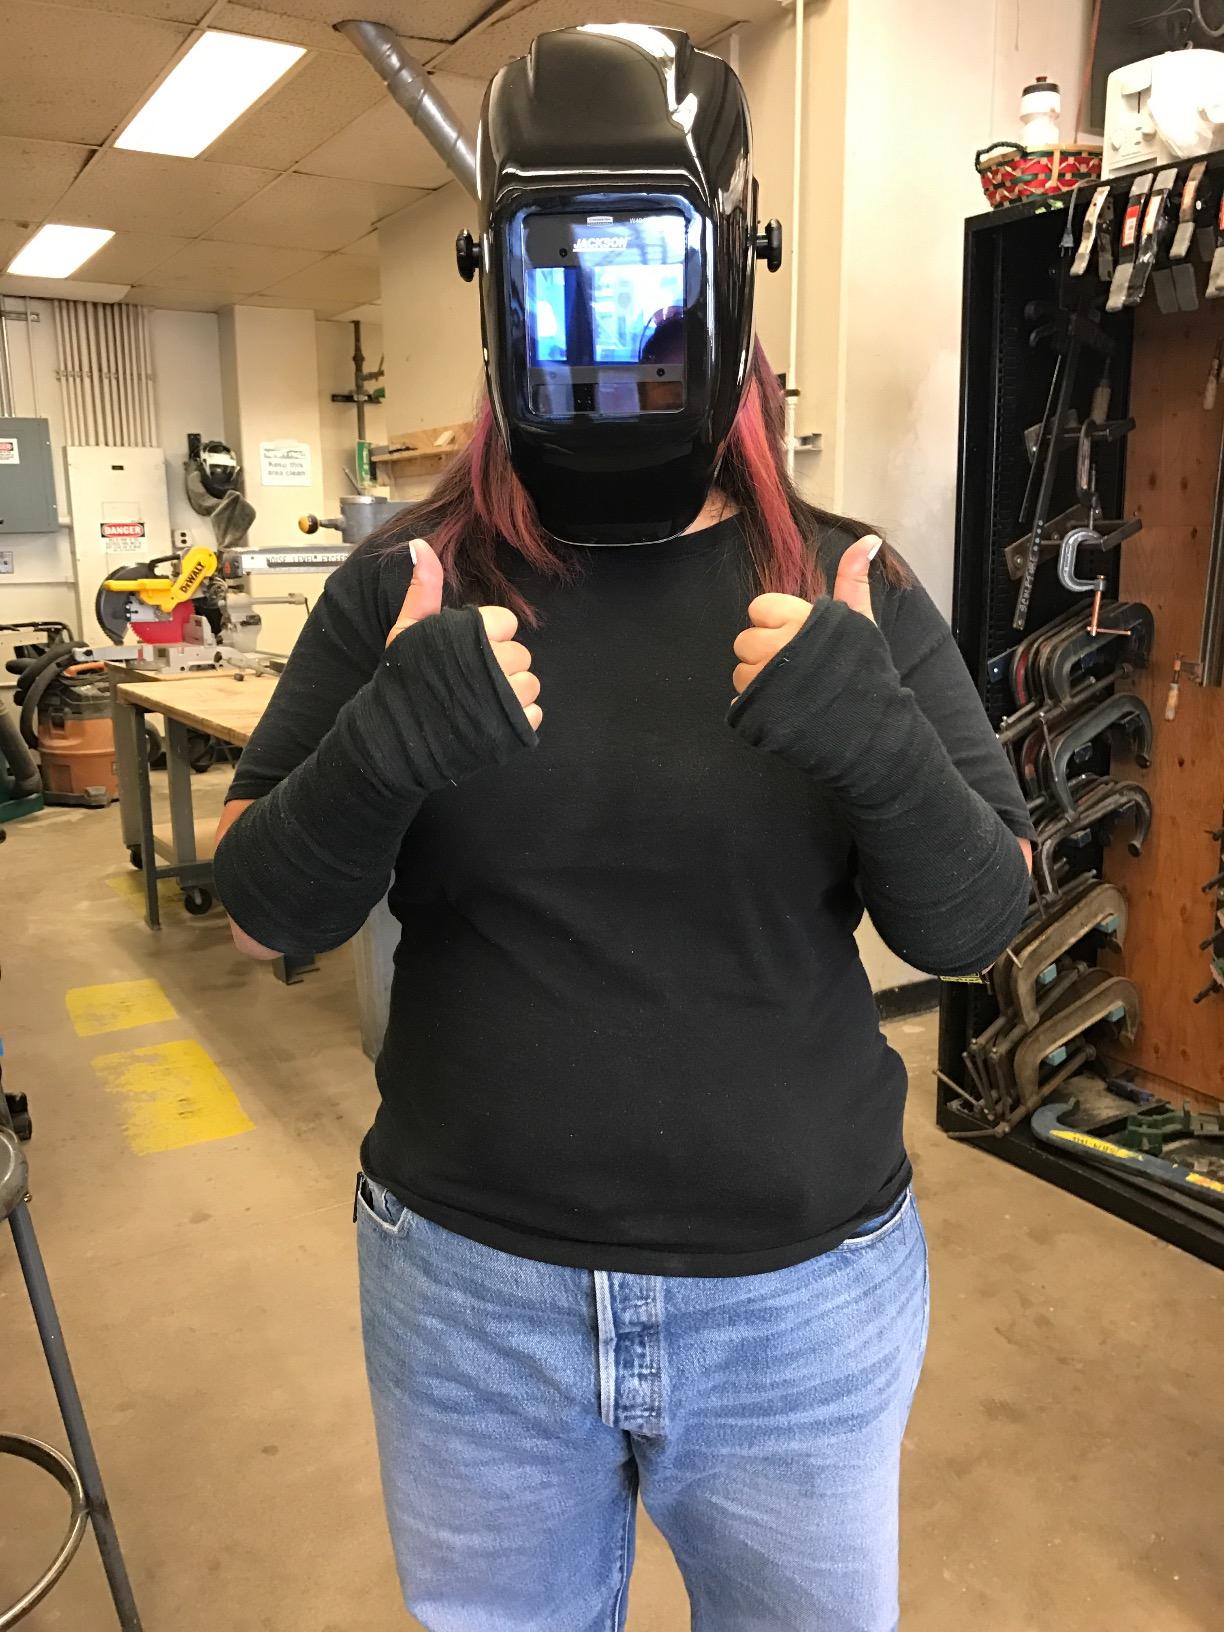
At 6 ounces, the Jackson Safety Insight is the lightest helmet in this roundup by a wide margin. That is not a marketing detail. Weight is the main reason beginners cut sessions short, and the owners who praise this hood most are the ones doing pipe work and overhead positions in confined spaces.
It is also the most field-proven product here. Multiple long-term owners describe three to five years or more of daily use, hard hat adaptation, and consistent reliability. The optics are 1/1/1/1 true color with variable shade 9 to 13, and there are four arc sensors that work even on inverter machines that defeat cheaper lenses.
The compromises are a viewing area of 3.94 by 2.36 inches, a light state that is dimmer than some rivals, and a tendency to be overly sensitive, which can cause the lens to darken from shop light reflecting off polished aluminum. You can turn sensitivity down, but it is worth knowing.
Six Ounces and What It Changes
Most helmets in this roundup sit between 1 and 2.4 pounds. A 6 ounce shell changes the ergonomics completely, particularly overhead and in tight spots where the helmet is the point of contact between your head and a hard surface.
The low profile flexible HLX shell is designed to be worn where bulkier hoods simply will not fit. If your plan includes pipe fitting, boat work, or anything where you are maneuvering your head around structure, that is the argument for this model.
Digital Controls and the 370 Speed Dial
Sensitivity and delay are set with digital controls, and there are three labeled modes: Weld, Torch and Grind. Torch mode matters for anyone doing TIG, since it is tuned for the lower, steadier light of a torch arc rather than a spray of MIG spatter.
The 370 Speed Dial ratcheting headgear with a Qwik-Fit rear swivel headband uses a ratchet with an up detent, meaning it holds position instead of drifting. On a helmet that stays on for hours, a headgear that does not creep is worth paying for.
Cover Lens Format and Long-Term Ownership
It uses a standard 4.5 by 5.25 inch cover lens format, which is the single most practical feature for long-term ownership. Replacement cover lenses in that size are widely available and inexpensive, so a scratched lens is never a reason to stop welding.
Owners also report that it can be adapted to a hard hat with the Jackson adapter, which matters for job site work. Several long-term users describe it as punching above its class against premium name-brand hoods, though it is less rugged than a heavy-duty professional shell.
How to Choose an Auto Darkening Welding Helmet as a First-Time Welder
Skip the feature lists and focus on six decisions, in this order. Everything else on a spec sheet is secondary for someone who is still learning to hold a puddle.
What 1/1/1/1 Actually Means
EN 379 grades a welding filter on four criteria, each scored from 1 to 3, and 1 is the best grade. The four criteria cover optical class, diffusion of light, luminous transmittance, and angle dependence. A helmet marked 1/1/1/1 scores the best possible grade on all four, which is the number to insist on.
The final digit is the one that drifts. A 1/1/1/2 helmet is one step down on one criterion, and 1/1/1/2 lenses are common in this price range. The difference is subtle in short sessions and cumulative over long ones, which is why it matters most to people welding daily.
Which Shade Number You Actually Need
Shade is a DIN scale where higher numbers mean less light transmission. Start here:
- MIG on mild steel: shade 10 is the standard starting point, and shade 9 if the room is bright.
- Stick or MMA: shade 11 to 13, since stick throws a denser, brighter arc than MIG.
- TIG, DC: shade 8 to 13 for general work, but shade 5 to 6 for low-amperage root passes and thin material, where a dark shade hides the puddle detail.
- Plasma or oxy-fuel cutting: shade 6 to 8, lighter than welding because the arc is a different animal.
- Grinding: shade 3 to 4 for general grinding, and lighter if you are doing finish work.
So when someone asks whether shade 10 or 11 is better, the answer is that neither is better in general. Ten is the MIG default and eleven is the stick default, and the correct shade is the darkest one you can still see your puddle and joint edges clearly through.
Four Arc Sensors Beat Two
An arc sensor is a light sensor that tells the filter an arc has been struck. Two sensors cover fewer viewing angles than four, and a two sensor helmet can simply fail to trigger when the arc is off to the side, when your head blocks the line, or when you are welding overhead or in a tight joint.
Three of the four sensors in the four sensor group here are shared across the budget and mid tiers. Only the cheapest model here runs two sensors. If your work will be flat plate in a well-lit garage, two is workable. If it involves overhead work, out-of-position welding, or pipe, spend the money for four.
Switching Speed and Low-Amperage TIG
Switching speed is how fast the filter goes from light to dark once it detects the arc. Most helmets here claim 1/30,000 or 1/20,000 of a second, and in practice the difference between those figures matters far less than sensitivity tuning.
What actually stops a helmet from working at low amperage is sensitivity, not speed. If the lens will not darken reliably on a TIG root pass, turn sensitivity up rather than assuming the helmet is faulty. A flicker during a weld is almost always a sensitivity setting, not a dying cartridge.
Viewing Area, Weight and Headgear
Viewing area is measured in square inches and ranges from about 6 square inches on a small rectangular window to well over 10 on a widescreen. Bigger is easier to learn on, because you are not constantly moving your head to find the arc.
Weight matters almost as much. The lightest shell here is 6 ounces and the heaviest are around 2.4 pounds, and that spread is the difference between finishing a session and cutting it short. Budget for headgear quality specifically, because forum experience consistently shows the headgear and strap failing before the shell does. Ratcheting headgear beats a strap closure for the same reason.
Power Source
Three arrangements appear here. Solar with a replaceable coin cell backup is the least maintenance and the most common. Solar plus a replaceable lithium battery is similar with more capacity. A rechargeable pack removes the coin cell entirely but introduces a charging routine and a failure mode when the pack ages out.
For intermittent welders, solar with a coin cell backup is the right answer. You will never arrive to a dead helmet.
Auto Darkening Versus a Passive Helmet
This is the first real decision a new buyer makes, and it is worth being blunt about it. A passive helmet is a fixed shade lens, usually shade 10, 11 or 12, with no electronics and no battery. It cannot fail electrically and it costs a fraction of an auto darkening hood.
The tradeoff is that you cannot see anything except through a fixed dark window, and you flip the hood up and down constantly to set your work. For your first few beads, that is workable and many welders learn on passive hoods without harm. The moment you are making repeat passes, grinding between them, or welding for more than an hour, the auto darkening route pays for itself in setup time, joint visibility and neck comfort.
Your Day One Settings
Set the helmet up before your first bead, not during it:
- Shade. MIG on mild steel starts at 10. Stick starts at 12. If the puddle detail is hard to see, step one shade lighter, not five.
- Sensitivity. Start in the middle of the range. Raise it if the lens is slow to darken, lower it if it darkens from ordinary shop light or from reflected glare off polished metal.
- Delay. This controls how long the lens stays dark after the arc stops. Longer delay keeps the view dark through slag and cleanup, which is useful on stick. Shorter delay clears faster for rapid MIG work.
- Test tack. Strike a short tack on scrap and confirm the helmet darkens instantly and clears. Do this in the same lighting you will weld in, not in sunlight, since testing sensitivity in daylight is the most common beginner mistake.
Glasses, Cheater Lenses and Respirators
If you wear prescription glasses, confirm cheater lens compatibility before you buy. Several models here are explicitly cheater lens compatible, and most standard frames fit inside a hood without modification. For close detail work a magnifier in a flip-down holder is a genuine upgrade.
If you also wear a half-mask respirator for fume protection, the fit order matters. Put the respirator on first, then the helmet over it, and check that the headgear band sits above the respirator straps rather than across them. A hood whose rear band competes with your respirator straps will not seal properly over a long session. Note also that a welding helmet protects your eyes and face, not your lungs, which is a separate piece of equipment entirely.
What a Beginner Should Not Pay Extra For
Memory modes that store multiple user profiles, internal digital displays, wide color internal screens, and PAPR respirator integration all add cost without helping someone who has welded fifty beads. Buy the optical clarity, the sensor count, the viewing area and the comfortable headgear, and save the rest for when you know which process you actually use.
Maintenance and Helmet Lifespan
Treat the cover lens as a consumable and keep spares. The outer lens takes spatter and scratches, the inner lens is the one you look through, and both are cheap to replace in standard formats. Wipe the inner lens with a soft cloth and never grind it, because grinding is what destroys the anti-reflective coating that gives you the clear view.
Keep the arc sensors clean with a dry cloth. A dirty or spattered sensor is the most common reason a good helmet stops triggering, and it costs nothing to fix. On solar plus battery models, replace the coin cell every year or two even if the helmet seems fine, because a marginal cell is a common cause of flickering.
On longevity expectations, be realistic. Quality name-brand helmets with a manufacturer warranty are built to last many years and can be repaired rather than replaced. Budget electronics can fail inside a year, and the headgear is the part to watch. A ratcheting headgear is the single best place to spend extra if your budget allows, because it is the component that gets adjusted most and breaks most.
Frequently Asked Questions
What is the best auto darkening welding helmet for beginners?
The YESWELDER LYG-L600A is the best auto darkening welding helmet for most beginners. It carries a genuine 1/1/1/1 true color lens, switches in 1/30000 of a second, covers shade 3 for grinding through shade 13 for stick work, and weighs just 16 ounces. It has only 2 arc sensors, so if you plan to weld overhead or in tight joints, step up to a 4 sensor model such as the YESWELDER LYG-M800H.
Is shade 10 or 11 better for welding?
Neither is better in general, because they match different processes. Shade 10 is the standard starting point for MIG on mild steel, and shade 11 is better for stick and MMA work, which throws a brighter, denser arc. The right shade is the darkest one you can still see the puddle and joint edges clearly through. If the pool detail is hard to make out, move one shade lighter, not five.
Are cheap auto darkening welding helmets safe?
Cheap helmets are not automatically unsafe. Look for an ANSI Z87.1 or EN 379 certification, a stated optical class of 1/1/1/1, and a switching speed of 1/25000 of a second or faster. Those three figures separate a real auto darkening filter from a marketing claim. Be cautious with unbranded listings that show no standard at all, and check that the certification is on the helmet rather than only in the listing.
Can I use a MIG welding helmet for TIG welding?
Yes, as long as the shade range reaches low enough. TIG on thin material and low-amperage root passes need a light shade, typically 5 to 8, and many budget helmets start at shade 9, which makes TIG genuinely hard to see. Models rated shade 3/7-13 or shade 3/5-9 and 9-13 cover TIG properly. Check for a dedicated Torch or TIG mode, and turn sensitivity up if the lens will not trigger on a low-amperage arc.
Do I need a respirator with my welding helmet?
Yes, they protect different things. A welding helmet blocks UV and infrared arc radiation and shields your face from spatter, but it does not filter welding fumes. Galvanized steel, stainless and painted surfaces produce fumes that require a properly fitted respirator. Put the respirator on first, then the helmet over it, and make sure the headgear band sits above the respirator straps so neither interferes with the other.
Which Beginner Welding Helmet Should You Buy?
Pick the one that matches your first six months of work, not the one with the longest feature list.
If you are starting on MIG or stick in a lit garage and want the least risk on your first purchase, the YESWELDER LYG-L600A is the pick. It is our editor’s choice because a real 1/1/1/1 true color lens, a shade range reaching shade 3 through 13, and a 16 ounce shell are the three things that matter, and the two sensor limitation is easy to work around on flat plate.
If visibility is where you keep getting stuck, move to the YESWELDER LYG-M800H. The much larger viewing window and four arc sensors solve the two problems beginners hit fastest, and it is the most sensible step up from the entry tier.
If your work happens in a dim shop, at night, or on tube and pipe where you need to see around the joint, the YESWELDER LYG-Q800D with its panoramic side view and integrated LED, or the TRQWH KTS-JD03 with its rechargeable top light, both solve the lighting problem that no spec on any other hood addresses.
If a certification or an employer is involved, the Lincoln Electric K4983-1 is the ANSI Z87.1 certified, hard hat compatible option at 17.5 ounces, with the caveat that its shade range starts at 7 and so will not serve low-amperage TIG. For the widest view and warranty backing, the Hobart 770890 gives you a 9.3 inch widescreen PureColor view and a limited 2 year warranty. For pipe work, overhead positions and long days, the Jackson Safety Insight at 6 ounces is the lightest and the most field-proven of the group.
Whichever you choose, buy a spare cover lens in the box with it, run one test tack before your first project, and set your sensitivity in the same lighting you will weld in. Those three habits solve most of the frustrations first-time welders report with auto darkening helmets. This roundup was updated for 2026, and every rating and review count above reflects the data available at the time of writing.