
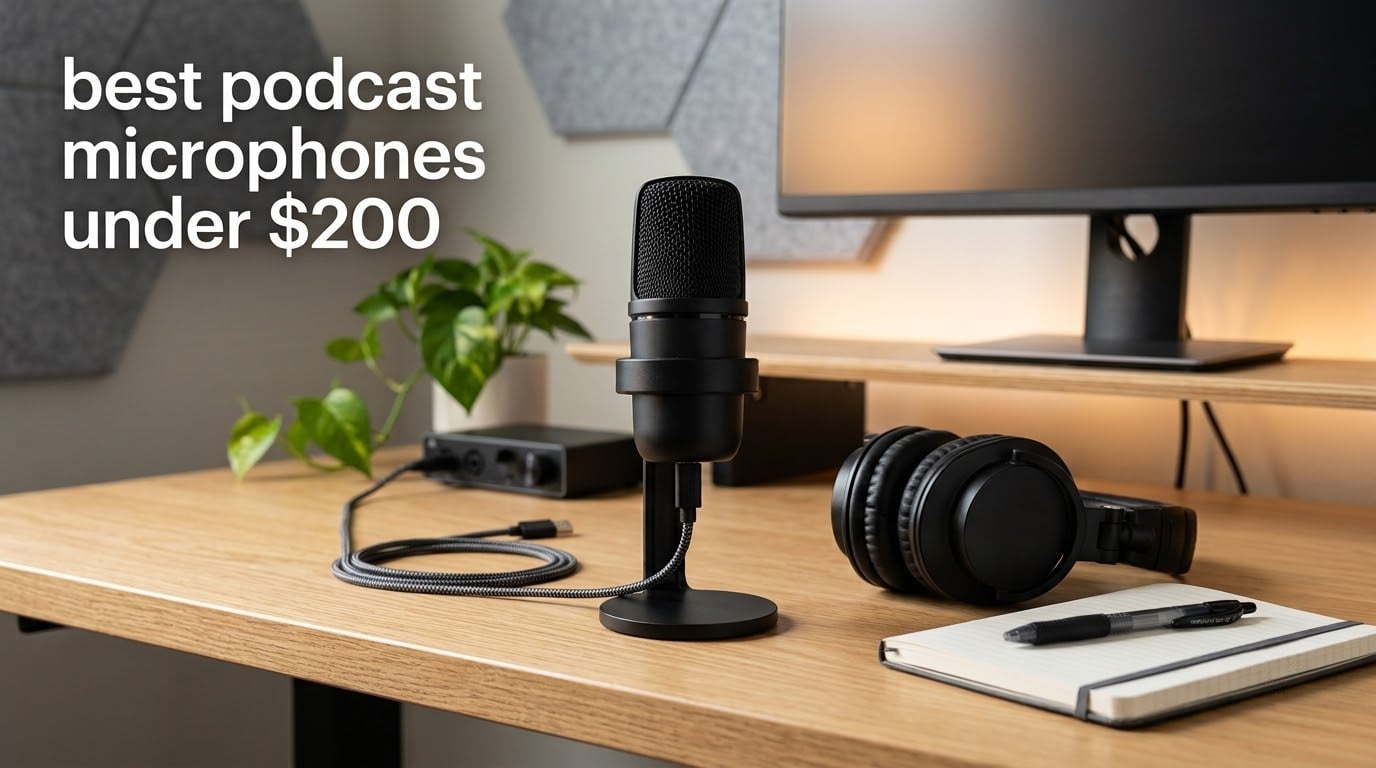
Most people buying their first podcast microphone make the same two mistakes. They spend on a condenser mic because it looks expensive, then record in an untreated bedroom and wonder why the audio sounds like it was recorded in a stairwell. Or they buy something so cheap that the noise floor is louder than their voice. Finding the best podcast microphones in this price range is less about finding a single winner and more about matching a microphone to the room you actually record in.
I have spent years setting up home recording spaces and reviewing broadcast gear, and the pattern is consistent. The best podcast microphones at this budget level all do one thing well: they pick up your voice and reject everything behind it. The differences between them come down to capsule type, connection type, and how much of the signal work happens inside the mic instead of in your editing software.
This roundup covers ten microphones in that price band, from a plug-and-play USB condenser to XLR dynamics that need an audio interface. I broke each one down on the things that actually change the finished recording: self-noise, polar pattern, gain headroom, monitoring, and what you have to buy separately. Two of the mics here have no headphone jack at all, three need extra hardware to reach their potential, and one ships with everything you need in the box.
I also want to be straight about a category myth. A microphone does not fix a room. If you can hear your fridge, a traffic hum, or your neighbour’s television in the recording, no microphone at this budget level will remove that. What a good microphone does is lower the relative level of that noise, and a dynamic capsule does it more aggressively than a condenser. Everything else in this guide follows from that one fact.
How We Tested These Podcast Microphones
Every mic here was evaluated on the same five criteria, in this order: how much of the room leaks into the recording, how clean the voice is at a normal speaking distance, how much gain you need to get a healthy level, what monitoring options you have while talking, and how much hardware you have to buy to make it work.
I read the full owner-review history for each product rather than the top reviews only, because the complaints in three- and four-star reviews are where the real buying advice lives. Cable longevity, stand quality, software stability, and the accessories that are missing from the box consistently show up there and almost never in the marketing copy.
Ratings and review counts quoted throughout are the current figures attached to each product. Where long-term owners describe durability, I have included that, because a microphone that sounds excellent but fails after a year of travel is a poor recommendation for anyone recording away from a desk.
One limitation worth stating plainly: I do not include microphones above the 200 dollar line, even when a model just over that threshold is arguably the better buy. The point of this guide is what you can get inside a specific, practical ceiling.
Our Top 3 Podcast Microphones Under 200 in 2026
The three below cover the most common situations. The Blue Yeti is the safe all-round pick for a beginner who wants four pattern options in one body. The Rode PodMic is the best-sounding option if you are willing to buy an interface. The Elgato Wave:3 MK.2 is the best fit if you want levels handled for you and software that handles the rest.

Logitech Blue Yeti
- Three-capsule condenser array
- Four pickup patterns
- Onboard gain and mute
- Zero-latency monitoring

Rode PodMic
- Speech-tuned dynamic capsule
- Internal pop filter and shock mount
- All-metal build
- XLR output

Elgato Wave:3 MK.2
- Clipguard 2.0 and Auto Gain
- Headphone jack with LED metering
- Free Wave Link mixer
Every Microphone in This Roundup at a Glance
Two numbers decide most of these purchases before anything else. A dynamic capsule records lower and needs more gain, but rejects room noise far better. A USB microphone needs no interface, but the converter is baked in and you cannot upgrade it later. Read the table, then read the reviews for the two or three that match your room.
| Product | Details | |
|---|---|---|
| Logitech Blue Yeti |
|
Check Latest Price |
 HyperX SoloCast HyperX SoloCast |
|
Check Latest Price |
| Elgato Wave:3 MK.2 |
|
Check Latest Price |
| Rode PodMic |
|
Check Latest Price |
 Samson Q2U Samson Q2U |
|
Check Latest Price |
 Audio-Technica AT2020USB+ Audio-Technica AT2020USB+ |
|
Check Latest Price |
 Shure MV7X Shure MV7X |
|
Check Latest Price |
 Rode NT-USB+ Rode NT-USB+ |
|
Check Latest Price |
 HyperX QuadCast 2 HyperX QuadCast 2 |
|
Check Latest Price |
 Sennheiser Profile Sennheiser Profile |
|
Check Latest Price |
1. Logitech Blue Yeti – The All-Rounder With Four Patterns in One Body
Logitech Creators Blue Yeti USB Microphone for PC, Mac, Gaming, Recording, Streaming, Podcasting, Studio and Computer Condenser Mic with Blue VO!CE effects, 4 Pickup Patterns, Plug and Play – Blackout
Three-capsule USB condenser
Four switchable pickup patterns
3.5 lb metal body
20 Hz to 20 kHz
+ Pros
- Plug-and-play USB with no interface needed
- Four switchable pickup patterns
- Onboard gain pattern mute and headphone volume
- Solid metal build that survives travel
- No-latency headphone monitoring
- Cons
- Large body can block your view
- Condenser sensitivity picks up room noise and plosives
- Dated micro-USB connection
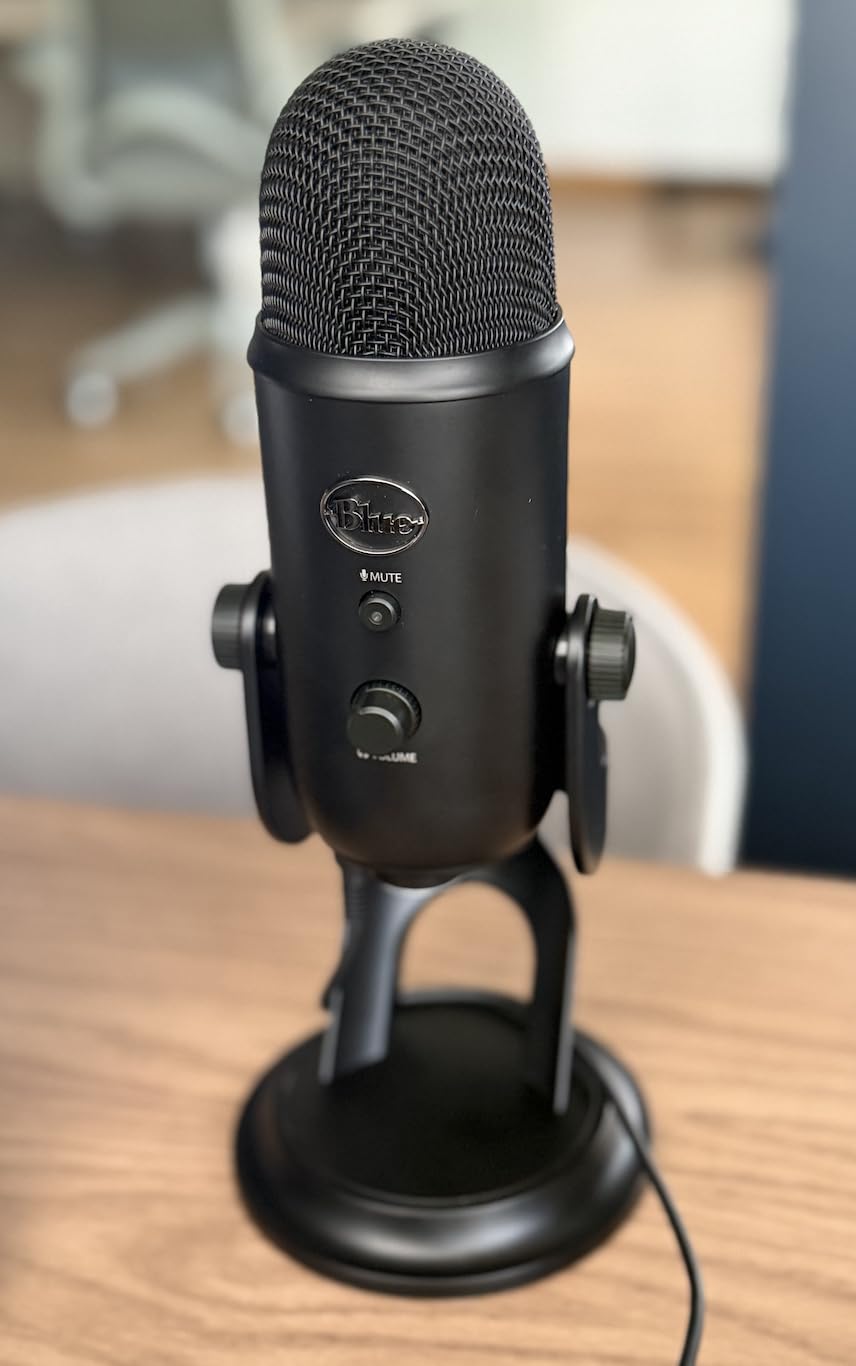
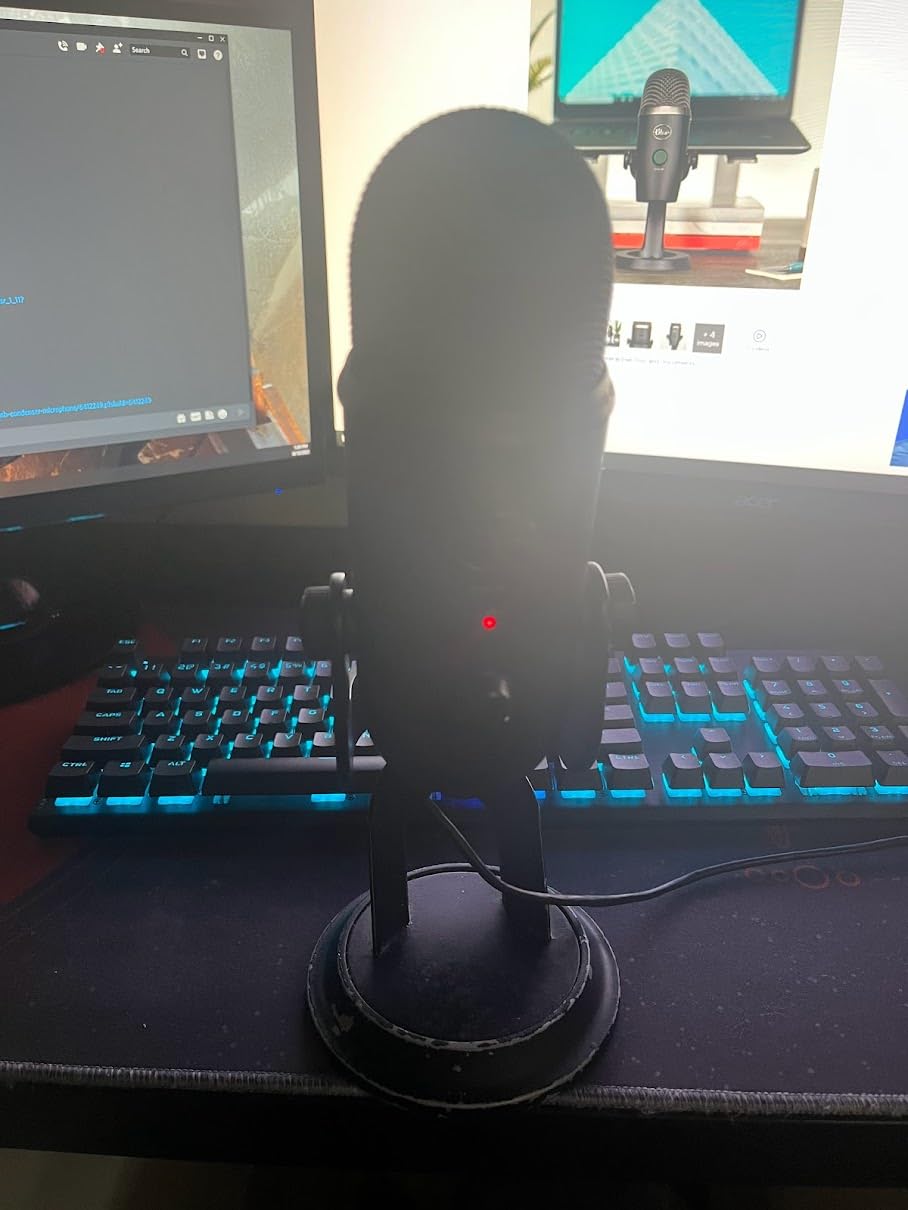
The Blue Yeti has been the default first podcast microphone for years, and reviewing it again did not change my view of why. Three capsules and a gain knob and a mute button and a headphone volume wheel, all on a 3.5 pound metal body that has been in continuous production for a very long time. It is the microphone I hand to someone who has never recorded a word and needs a good result on the first attempt.
Cardioid mode is the one to use for speech, and in that mode the voice comes forward cleanly. Switch to stereo and you get room sound as well, which is a feature for recording a room and a liability for recording a person. The onboard gain control means you are not hunting through an operating system for an input level, and the no-latency monitoring through the built-in headphone output is genuinely useful for hearing yourself during a live stream.
The compromise is the same one it has always been: this is a condenser, in a metal housing, with a bright pickup. In an untreated room it will capture your desk, your keyboard, and your own breathing. Position it closer than feels natural and keep it slightly off-axis, and it becomes a much better speech microphone than most buyers expect.
Why the Four Pattern Switch Still Matters
Most single-pattern microphones at this level give you cardioid and nothing else. The Yeti gives you cardioid, omnidirectional, bidirectional, and stereo from the same three capsules, switched from a dial on the body. For an interview across a table, bidirectional is the correct pattern; for recording a room or an instrument, omnidirectional is correct.
The practical warning is that three of those four patterns will pick up more room than you want in a podcast. Treat the switch as a tool for specific recording situations rather than something to rotate through while you talk. Cardioid is the default for voice, and the other three are for deliberate, planned recordings.
Build Quality, Ports, and the Micro-USB Question
The body is metal and the desktop stand pivots on a 5/8-inch thread, so it accepts most boom arms. That matters more than it sounds, because a condenser on a boom arm can pick up desk thumps and chair movement that you would rather not deal with. The dimensions run about 11.6 inches tall, which is tall enough to sit in front of part of a monitor.
The most common long-term complaint is the micro-USB data port on the base, which owners describe as a reliability risk on a mic that otherwise outlasts everything else in the setup. Long-term owners also point out that a compatible shock mount is not included and costs more than expected, and that the ports on the base make cable routing to a boom arm awkward. None of that ruins the microphone, but budget for it if you want it clean.
Who Should Buy the Blue Yeti
Buy it if this is your first microphone, you record in a reasonably quiet room, and you want to experiment with patterns without buying more hardware. It is also the safest recommendation to make to someone else, because the accessory ecosystem, the replacement advice, and the second-hand market are all deep.
Pass on it if you already know you will record in a noisy room, or if you plan to move to a multi-person show. For a noisy room, a dynamic mic on this list will do more for you than any pattern setting, and for a two-host setup you will want to capture each host on a separate track rather than sharing one microphone.
2. HyperX SoloCast – The Cheapest Credible Way to Start Recording
HyperX SoloCast – USB Condenser Gaming Microphone, for PC, PS4, PS5 and Mac, Tap-to-Mute Sensor, Cardioid Polar Pattern, great for Streaming, Podcasts, Twitch, YouTube, Discord,Black
Cardioid USB condenser
24-bit 96 kHz capture
Tap-to-mute sensor
261 g body
+ Pros
- Genuinely high 24-bit 96 kHz capture
- Very low entry cost
- Tap-to-mute with clear LED status
- Compact stand fits under a monitor
- Adapts to 3/8-inch and 5/8-inch mounts
- Cons
- No gain control or headphone jack on the mic
- Single cardioid pattern
- Condenser needs close positioning
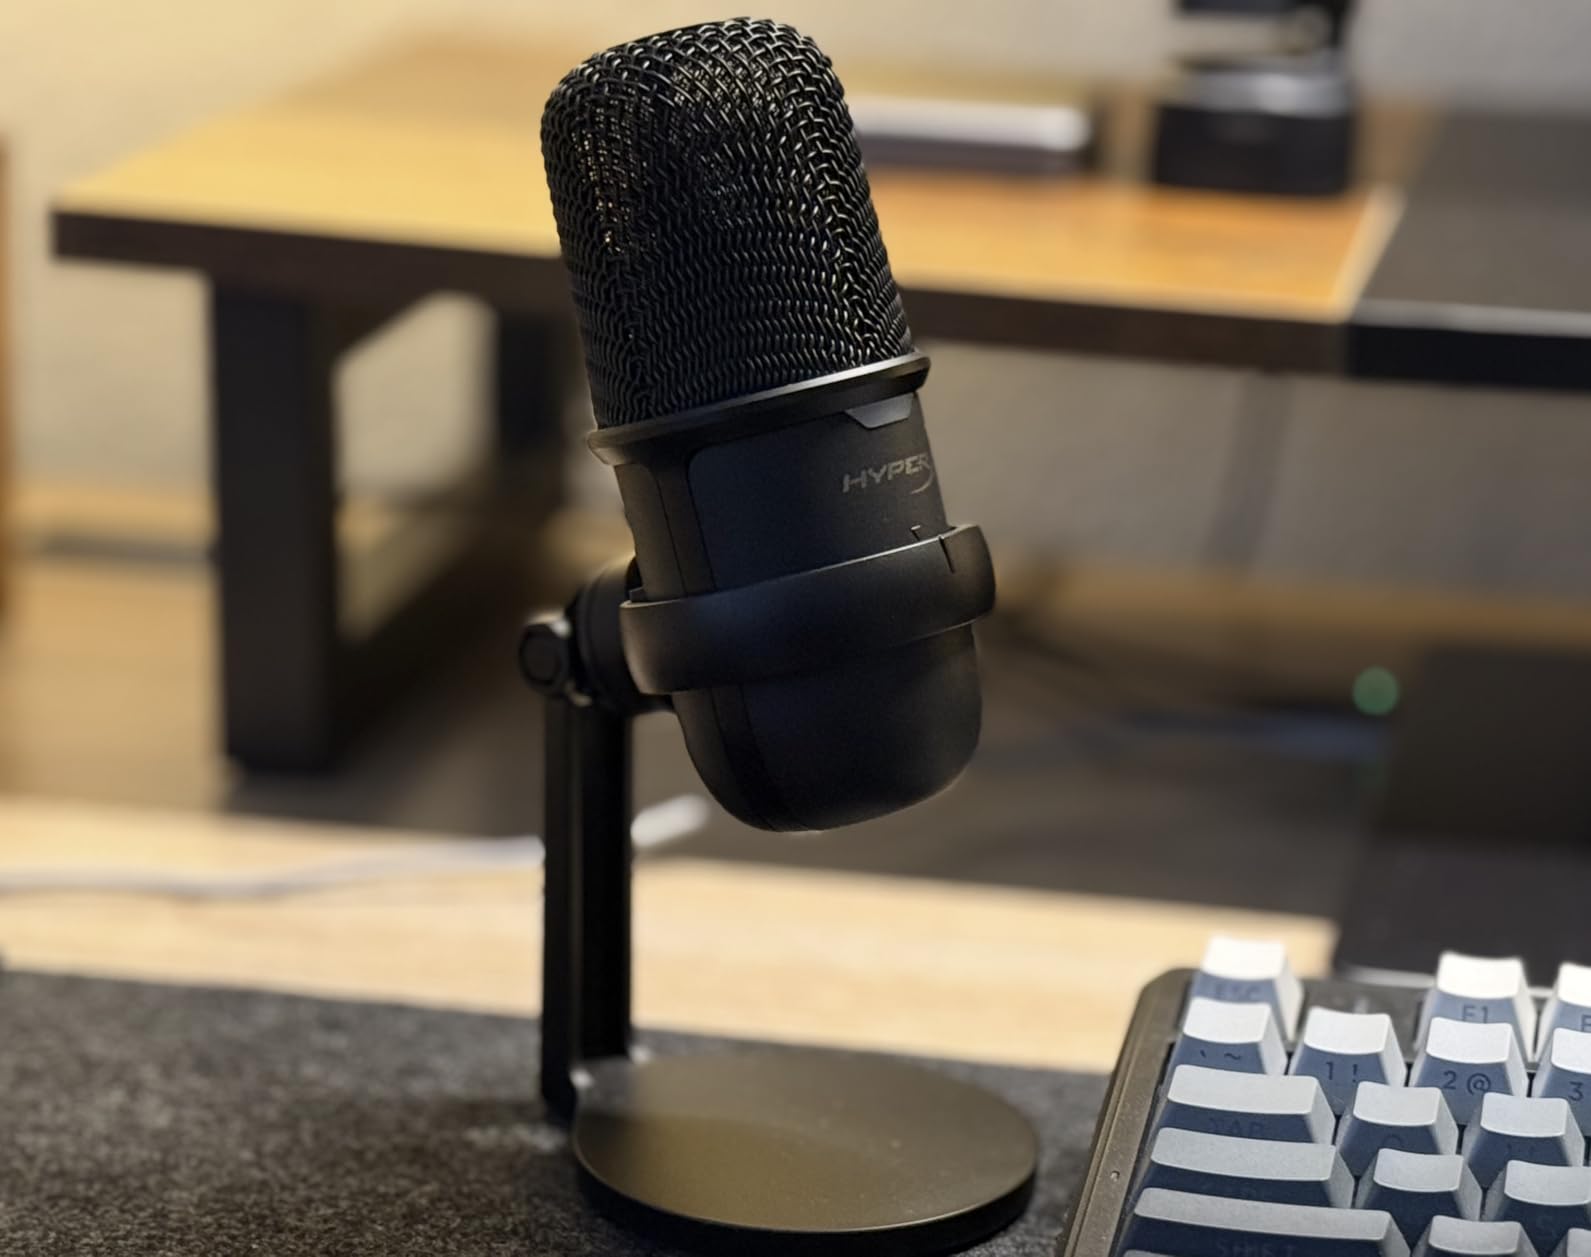
The SoloCast does one job and does it with fewer parts than anything else here. There is a small condenser capsule, a tap-to-mute sensor on top, a swiveling desk stand, and a USB-C cable. It weighs 261 grams, which is about as much as a large coffee mug, and it will disappear next to a monitor on a small desk.
What surprised me more than expected is the resolution. Recording at 24-bit and 96 kHz is a spec you normally see on mics costing several times more, and on a voice recording it gives you real headroom for editing later. The signal chain is bus-powered, so there is nothing else to plug in and no interface to buy. You connect it, choose it in your recording app, and record.
That simplicity is the whole appeal. If your goal is to publish episodes rather than to assemble a studio, this removes every decision between you and a finished file. You do need to set your input level in software, because there is no gain control on the body, and you are recording blind, because there is no headphone output.
Resolution on a Mic With No Controls
The 24-bit depth determines how much quiet space exists between your voice and the noise floor before you run out of digital headroom. At 24 bits you have far more usable room than the 16-bit converters common in cheap gear, which is why the file needs less corrective gain and less noise reduction in post. The 96 kHz sample rate is above what spoken word strictly needs, but it costs nothing extra to record.
The important thing to understand is that this resolution does not fix a room. A clean 24-bit file of a noisy room is still a noisy recording. The SoloCast is a cardioid condenser, so the same proximity rule applies as to the other condensers here: get close, stay on-axis, and use the included windscreen or add a pop filter if plosives are a problem.
Desk Placement and Mounting Options
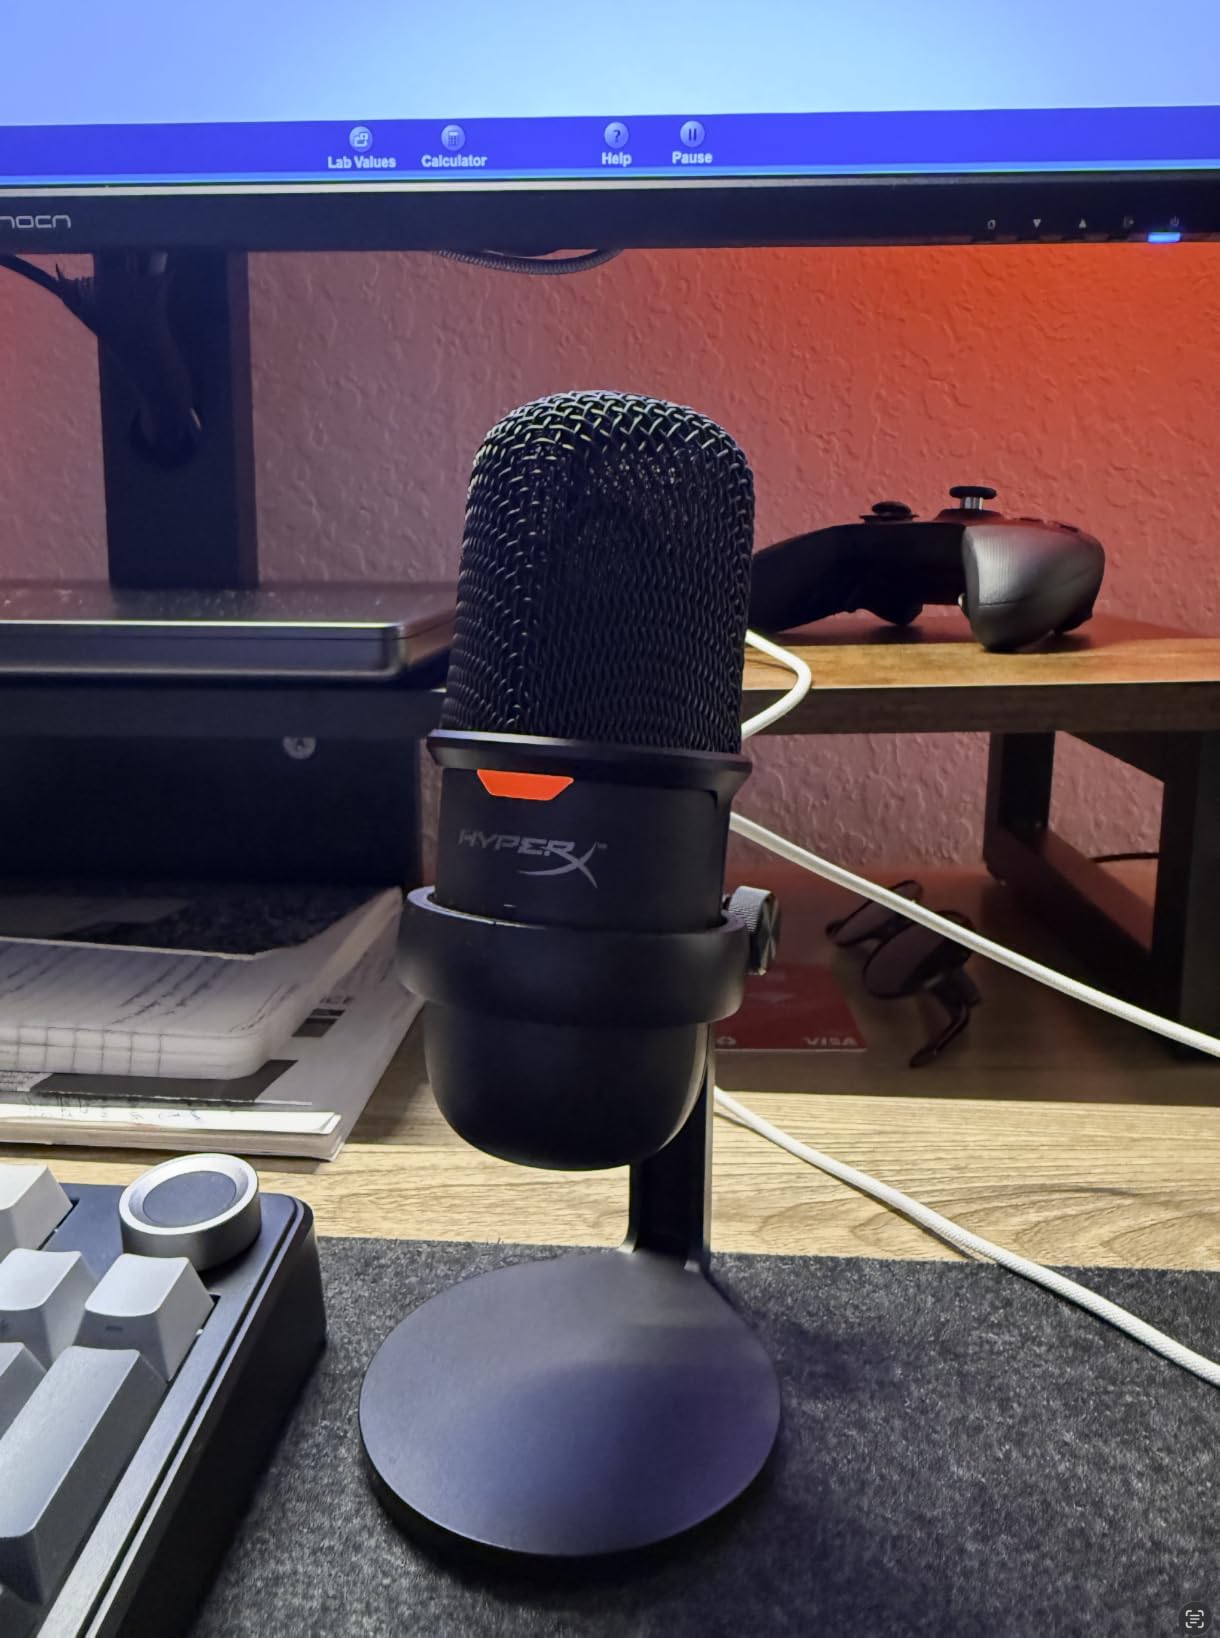
The built-in mount adapter accepts both 3/8-inch and 5/8-inch threads, so it will fit most boom arms and many desktop stands. The swiveling base is genuinely useful on a cramped desk, and it can tuck under a monitor where a larger body would not fit. At roughly 6.85 inches wide and 7 inches tall, it is the least obstructive microphone in this roundup.
Because the capsule is small and the pattern is fixed cardioid, the mic is very dependent on position. Mount it too high and the room tone creeps in. Mount it too far back and the voice turns thin. The fix is unglamorous: put it at mouth height, angled slightly off-axis, and take the recording seriously rather than adjusting later.
Where the SoloCast Runs Out
There is no headphone jack, so you cannot hear yourself while recording without enabling system monitoring, which introduces a delay you will notice if you speak while monitoring. There is no mute button with a definite physical state beyond the tap sensor, and the single cardioid pattern rules out any two-person or ambient recording.
That is the honest limit of this pick. It is a very good way to publish a first season, and it is a limited tool for anything more ambitious. Treat it as a stepping stone rather than a permanent studio decision, and the money you save can go toward a pop filter and a proper stand.
3. Elgato Wave:3 MK.2 – Best Software in the Group for Level Control
Elgato Wave:3 MK.2 USB Condenser Microphone, DSP Effects
Super cardioid USB condenser
110 dB signal-to-noise
Clipguard 2.0 and Auto Gain
+ Pros
- Free Wave Link software acts as a virtual mixer
- Auto Gain and Clipguard 2.0 remove guesswork
- Integrated headphone jack with LED level feedback
- Onboard compressor EQ and voice enhancer
- Tap-to-mute still working after years
- Cons
- Wave Link has a real learning curve
- Condenser pickup of background noise
- Accessories sold separately
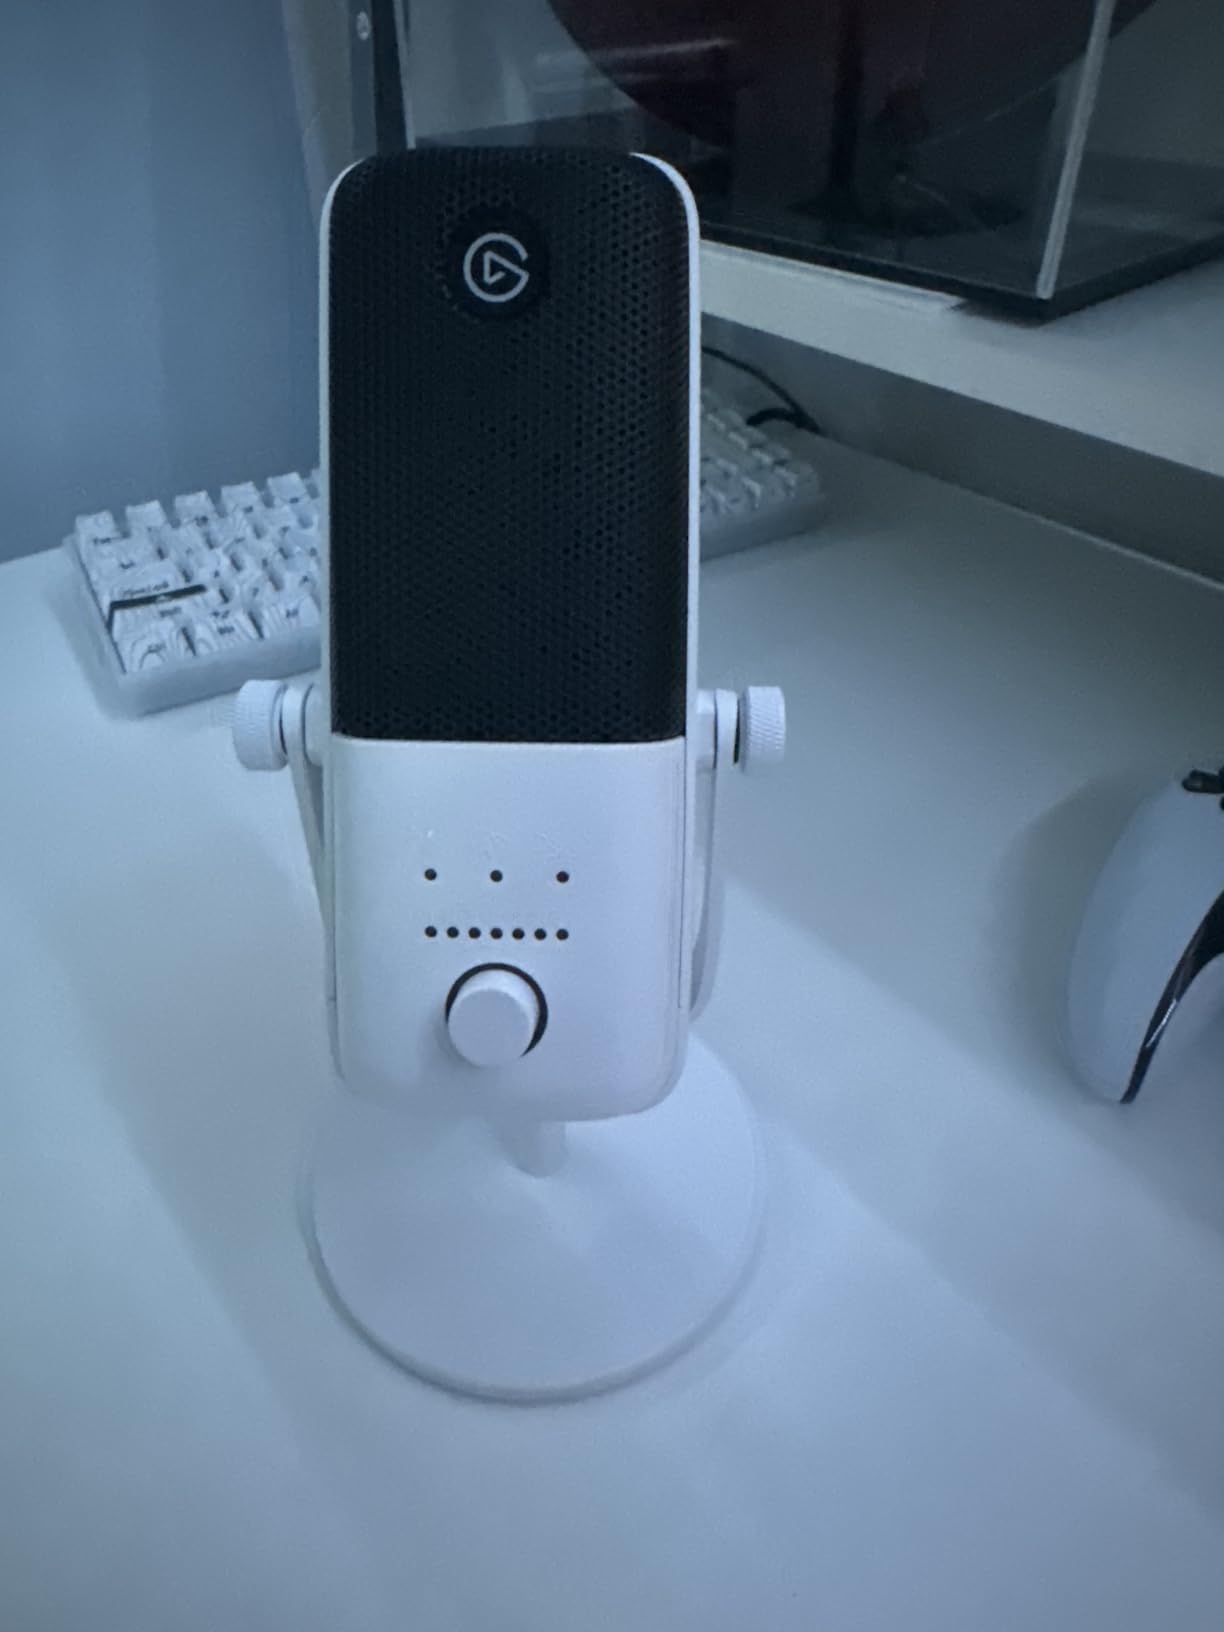
The Wave:3 MK.2 is the pick for someone who wants the microphone to make the technical decisions. The signature feature is Wave Link, free software that turns the mic into a fully routed virtual mixer with effects, plugin support, and per-app volume control. Several long-term owners describe it replacing a hardware mixer they had otherwise bought separately.
That matters more than it sounds for podcasting. If you are recording a Zoom call, playing a video clip, and capturing your own voice at the same time, you normally need a physical mixer to keep those three levels in proportion. Wave Link does that in software, which means one fewer box on the desk and one fewer cable to fail.
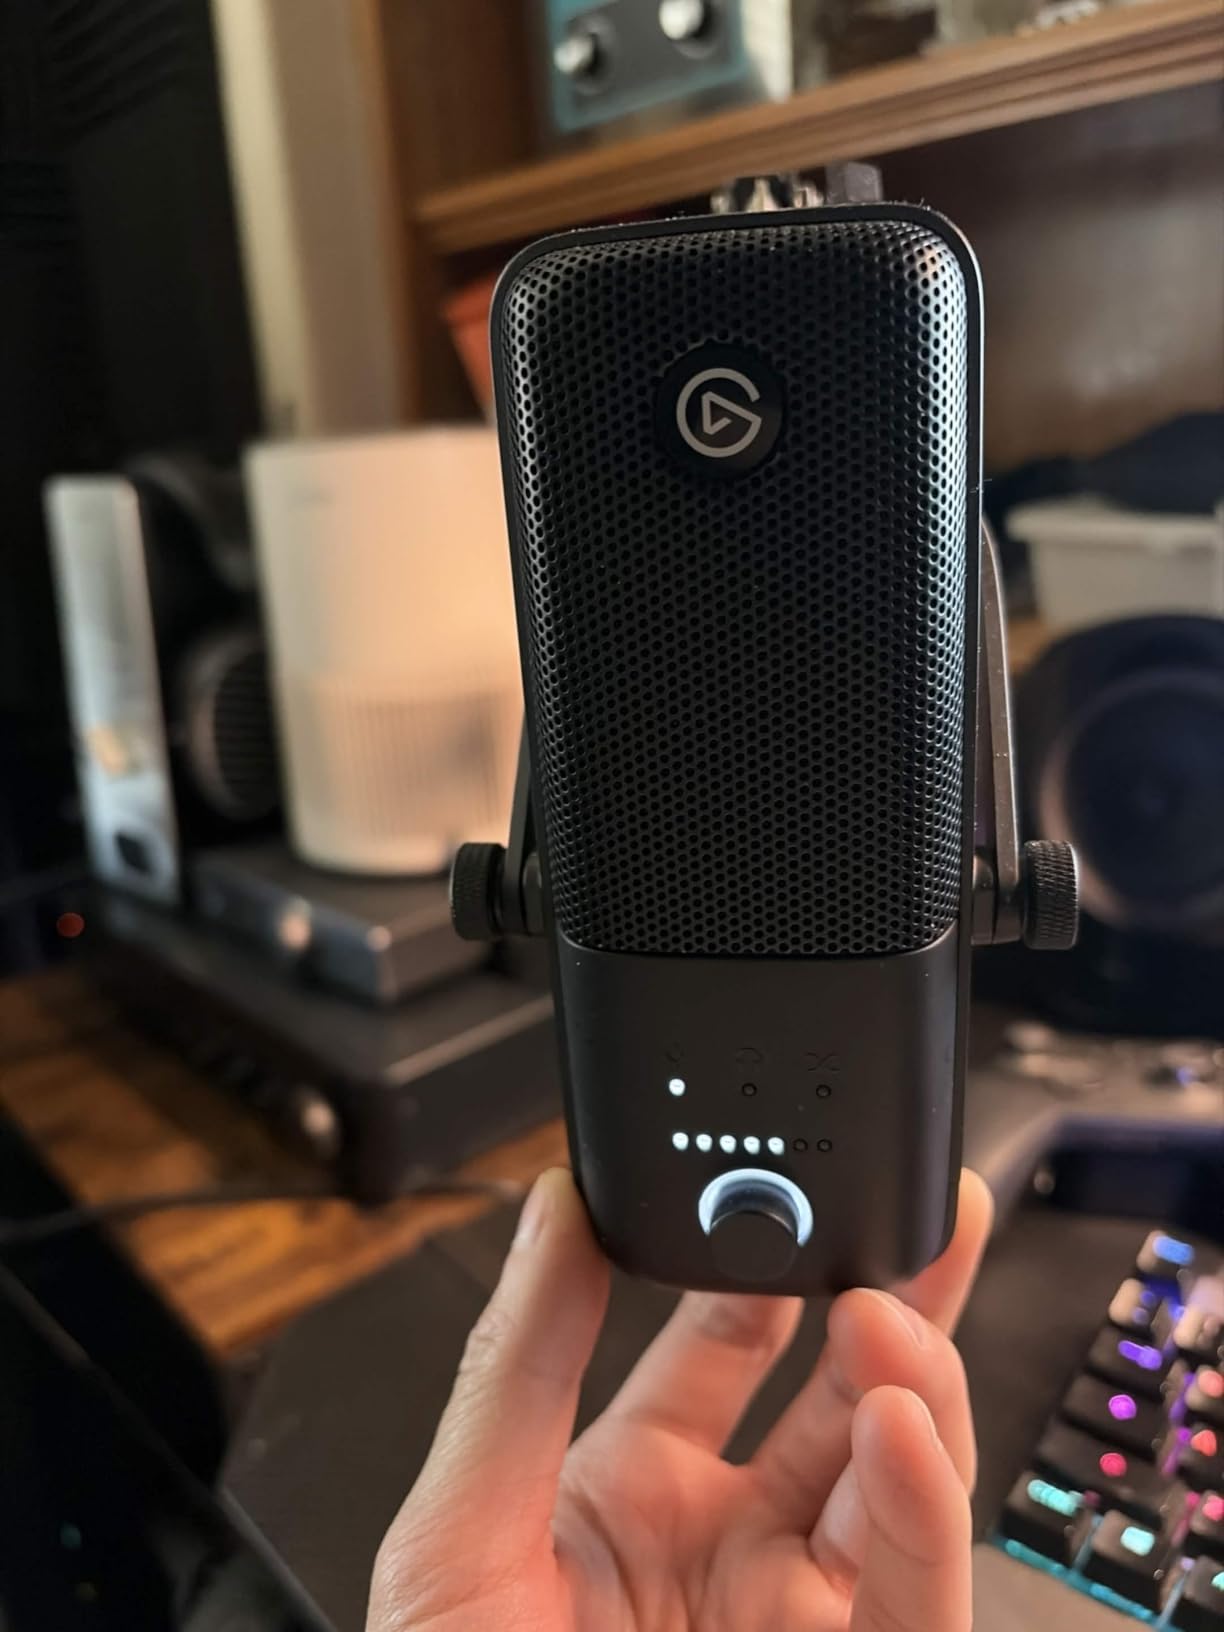
On the hardware side, the mic is a slim super cardioid condenser with a multifunction dial, tap-to-mute, a real-time LED level readout, and an integrated headphone jack. The dial changes function depending on what you have selected in the software, so the controls stay on the mic body rather than disappearing into a menu.
Auto Gain and Clipguard 2.0, Explained
Auto Gain measures your level over a short window and sets the input so that peaks land where they should, which removes the single most common beginner mistake: recording too quietly and boosting noise later. Clipguard 2.0 is a multi-stage distortion limiter that engages before the signal clips, so a sudden loud syllable or a laugh does not produce the digital crackle you cannot repair in editing.
Neither feature replaces good technique. They are a safety net that makes a bad take less catastrophic, and in a podcast where the recording happens while you are talking, that safety net is worth having. The 110 dB signal-to-noise figure means the noise floor sits low enough that moderate editing will not pull hiss up with your voice.
The Wave Link Learning Curve Is the Real Cost
The most common complaint from owners is not the sound, it is the setup. Wave Link exposes routing, effects, and monitoring options that a simpler microphone simply does not have, and several reviewers describe the first session as taking real effort to configure properly. Anyone who wants a device that works the moment it is plugged in will find this one more demanding than a class-compliant USB microphone.
Once configured, the payoff is real. The built-in voice enhancer, compressor, and EQ live in the same signal chain as your VST plugins, so a broadcast-style vocal sound is a few clicks rather than a purchase. Read the documentation before your first recording rather than during it, and you will avoid the frustration that turns people off software-based gear.
Build, Stand, and What Is Missing
The body is metal and plastic, 7.52 ounces, and 8.4 inches tall, with 3/8-inch and 5/8-inch adapters plus a desk stand in the box. It is thin enough to sit near a monitor without hiding it. Owners report the tap-to-mute continuing to work reliably after five or more years of use, which is the kind of detail that matters more than a spec sheet.
The gap is the accessory chain. A shock mount and a pop filter are not included, and at this tier they can cost as much as the microphone did. This is a super cardioid condenser, so it is more forgiving of a slightly imperfect room than a cardioid, but it is still a condenser and still picks up background sound. Add the accessories and it becomes an excellent podcast microphone; skip them and you are relying on software to fix a mechanical problem.
4. Rode PodMic – The Best-Sounding Voice, If You Will Buy an Interface
RØDE PodMic Cardioid Dynamic Broadcast Microphone, XLR
Speech-tuned dynamic cardioid
Internal pop filter and shock mount
All-metal body
+ Pros
- Highest rating in this roundup at 4.8
- Speech-tuned dynamic capsule rejects room noise
- Internal pop filter and internal shock mount
- All-metal durable build
- Integrated swing mount for boom arms
- Cons
- Requires a separate XLR interface or mixer
- Low output needs a capable preamp or you add hiss
- No headphone monitoring on the mic
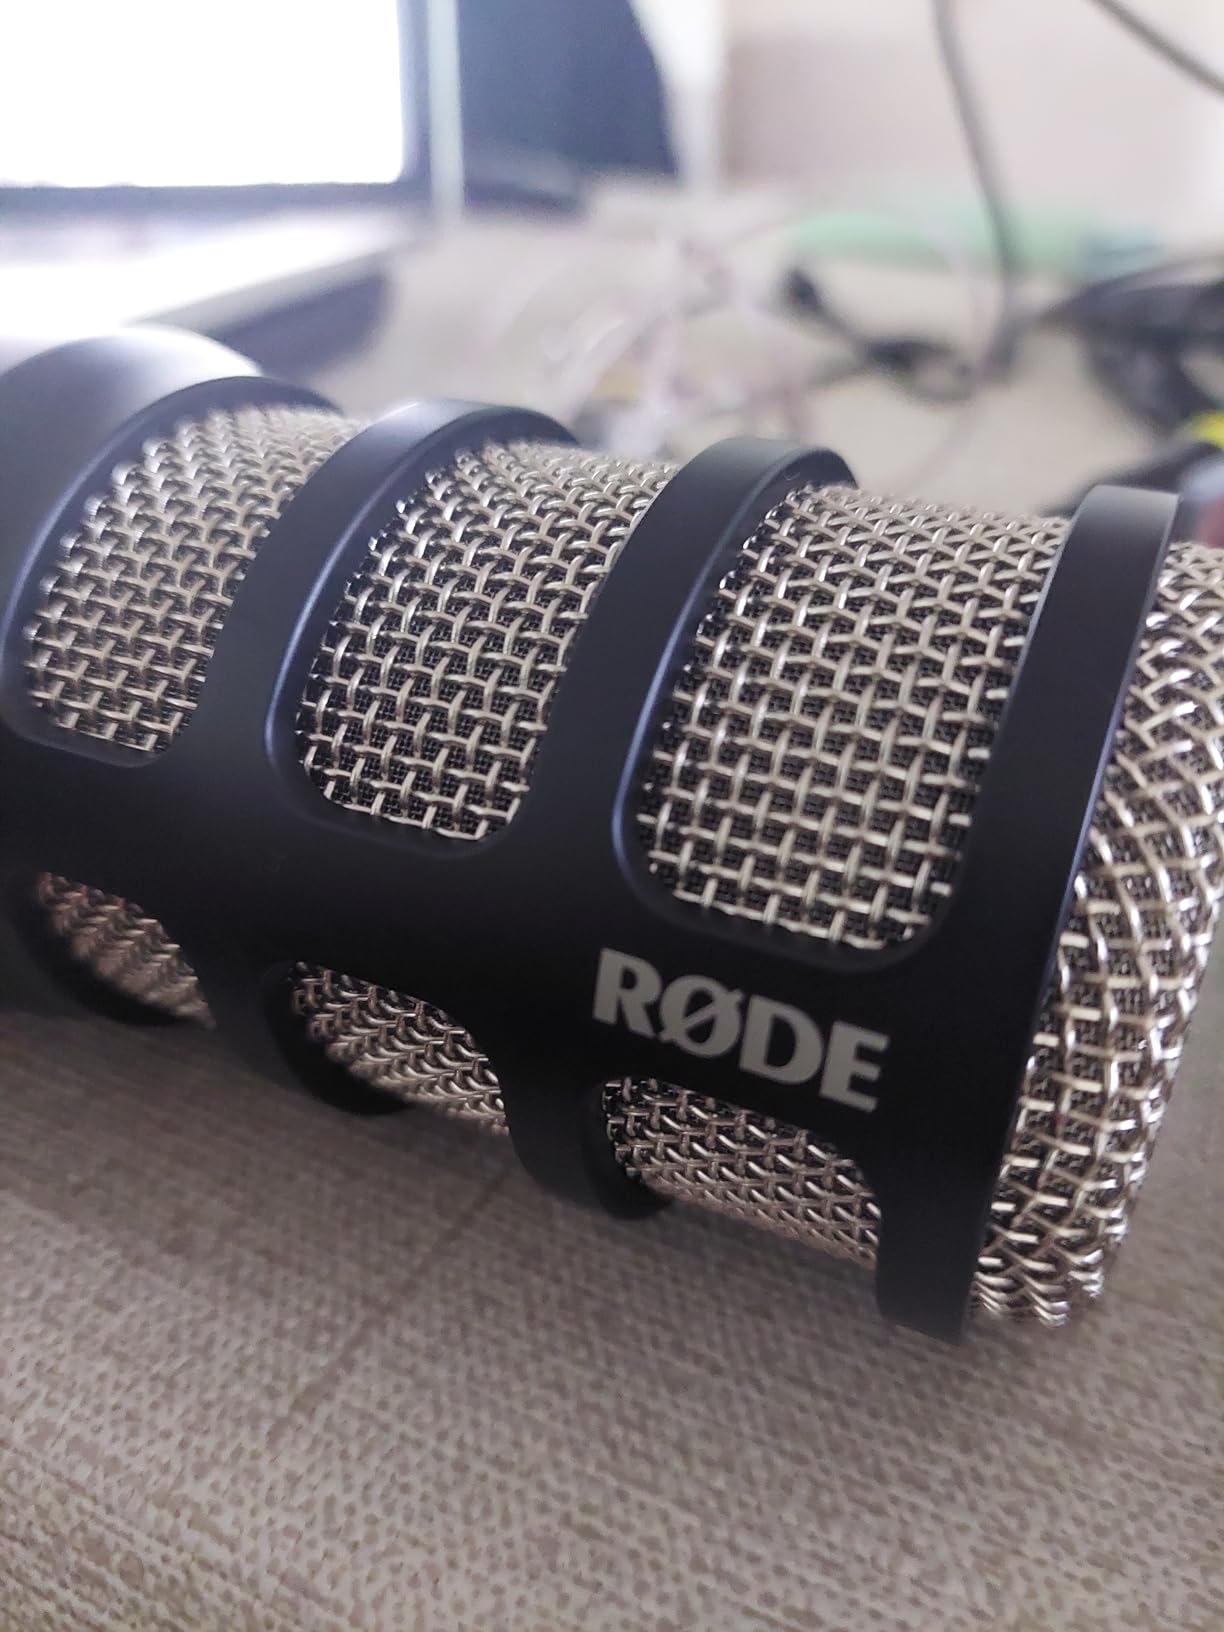
The PodMic holds the highest average rating of anything in this roundup, and the reason is visible in the voice rather than the spec sheet. This is a dynamic capsule tuned specifically for speech, and it produces a warm, full sound with less manual editing afterwards than the USB condensers here. Owners moving over from a Blue Yeti consistently report a sudden drop in room noise.
It is also built like a piece of professional broadcast equipment. The body is all metal, it weighs 937 grams, and the internal shock mounting and internal pop filter are built in rather than sold as accessories. That combination removes the two purchases most budget podcast setups end up making later anyway.
The catch is the one that keeps this microphone out of first place for most beginners. It is XLR only. There is no USB output, no converter, and no headphone jack, so you need an audio interface with phantom power before this microphone records anything at all. Add that interface to the cost before deciding.
Why a Dynamic Capsule Sounds Better Here
A dynamic microphone uses a coil and magnet rather than a lightweight condenser diaphragm, which makes it far less sensitive to small pressure changes in the room. It does not hear your computer fan, your air conditioning, or the traffic outside at the level a condenser does. The PodMic is specified at 78 dB signal-to-noise, a lower figure than the USB condensers in this list, and that is precisely the point: it is hearing less of the room on purpose.
Being a dynamic mic also means it handles a loud voice and an untreated space gracefully, which is why so many working podcasters land on this type. The trade-off is sensitivity: the output is quiet, and you need real gain to reach a healthy recording level. Pair it with a capable interface and that is a non-issue. Pair it with a very cheap preamp and you will amplify its self-noise along with your voice, which is the single most common complaint from owners.
Internal Pop Filter and Shock Mount
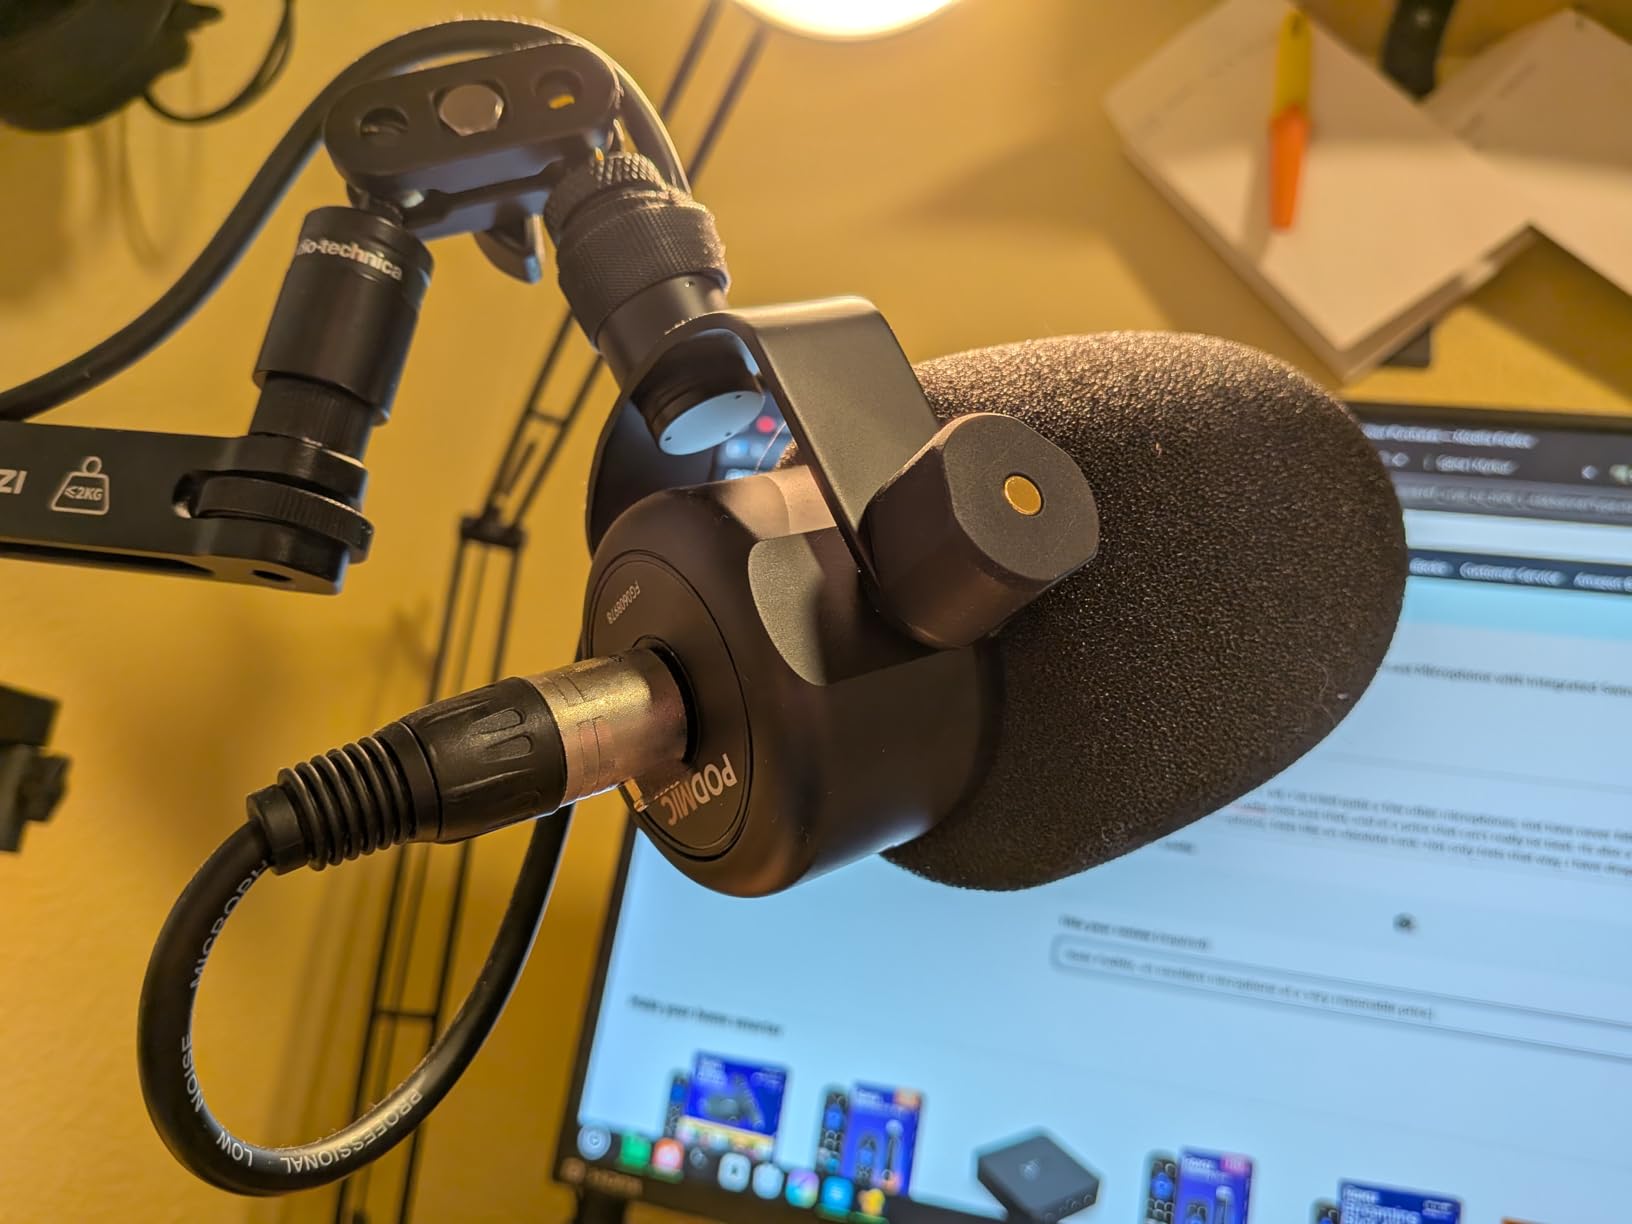
Plosives are the explosive consonants at the start of words like pay and bit, and they hit a microphone as a burst of low-frequency pressure. Most budget setups solve this with an external pop filter on a gooseneck. The PodMic has an internal pop filter, which means it is always in the right position and cannot be knocked out of alignment by a boom arm.
The internal shock mounting handles the other problem: desk thumps and cable bumps travelling straight into the capsule. Neither accessory is perfect, and the PodMic is still weaker against sibilant sounds than it is against plosives, but for a microphone with a swing mount included, this is an unusually complete package. A separate pop filter still helps if you speak emphatically, and it is the one accessory I would still consider.
What You Gain and Lose Going XLR
What you gain is control. An interface gives you gain, phantom power, real monitoring through headphones, and a signal chain you can adjust and expand. Two microphones later, the interface is already there, and every future purchase slots into the same setup. That is why most people who start with an XLR microphone rarely go back to USB.
What you lose is simplicity. The PodMic cannot be plugged into a laptop and used immediately, cannot be carried to a remote interview without an interface and a cable, and cannot be connected to a phone. Monitoring depends entirely on the interface. For someone who records from one desk and plans to grow a show, that trade is worth it. For someone who records on location, it is not, and one of the USB hybrid microphones later in this list is the better starting point.
5. Samson Q2U – Dual USB-C and XLR in One Body
Samson Q2U USB/XLR Dynamic Microphone Recording and Podcasting Pack
Dynamic handheld cardioid
USB-C and XLR outputs
Complete accessory bundle
Bus-powered
+ Pros
- Dual USB-C and XLR connectivity
- Warm full voice reviewers rank above cheaper USB condensers
- Handles keyboard and room noise well
- Complete bundle with stand cables and windscreen
- Works straight off laptop power
- Cons
- Included stand and tripod clip are flimsy
- Plosive-sensitive so a pop filter is needed
- Must be spoken into directly and closely
The Q2U has been a podcasting staple for long enough that many working broadcasters use it daily, and its reason for existing has not changed. It is a dynamic handheld microphone with both USB-C and XLR outputs, which means a complete beginner can record straight into a computer today and a more technical creator can plug the same microphone into an interface tomorrow without buying anything else.
The sound is warm and full, and reviewers with professional audio experience routinely place it above similarly priced USB condensers for speech. That is the dynamic capsule working as intended. A mechanical keyboard, a desk fan, or a humming laptop sits well below your voice in the recording, which is exactly what you want in a shared household.
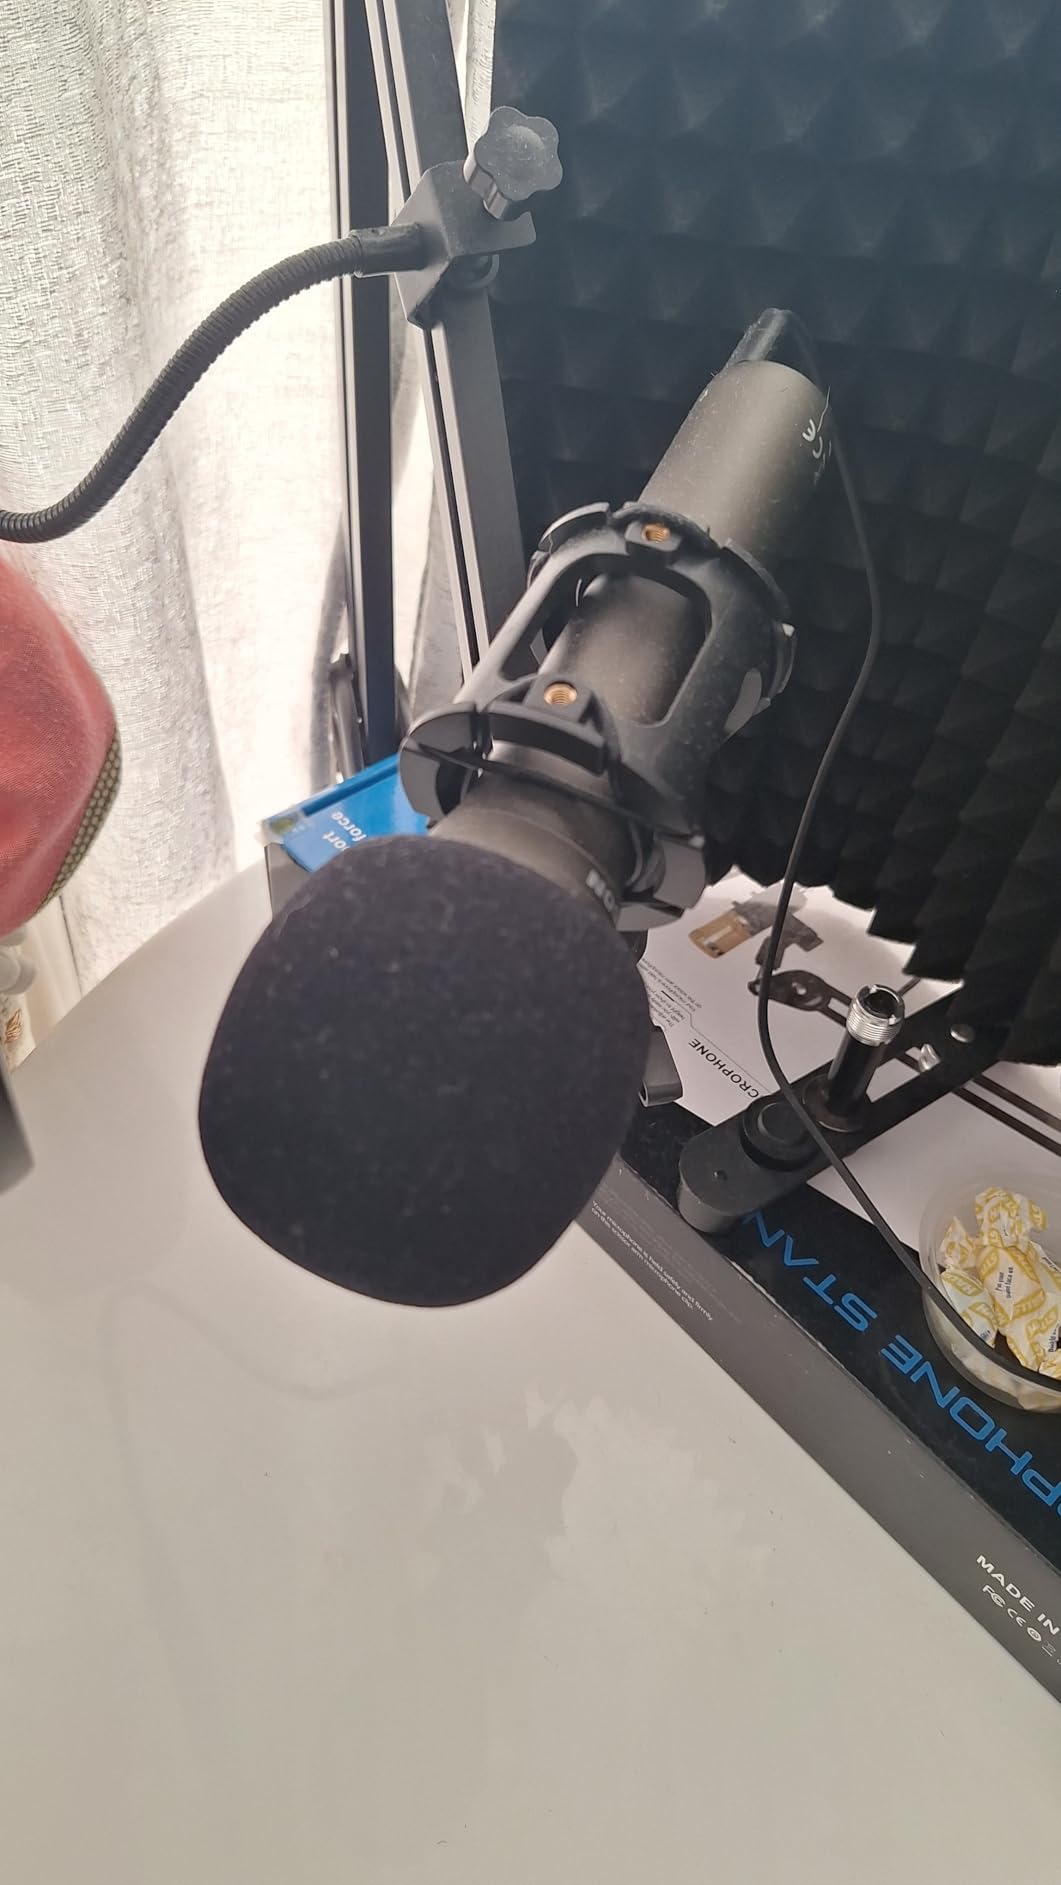
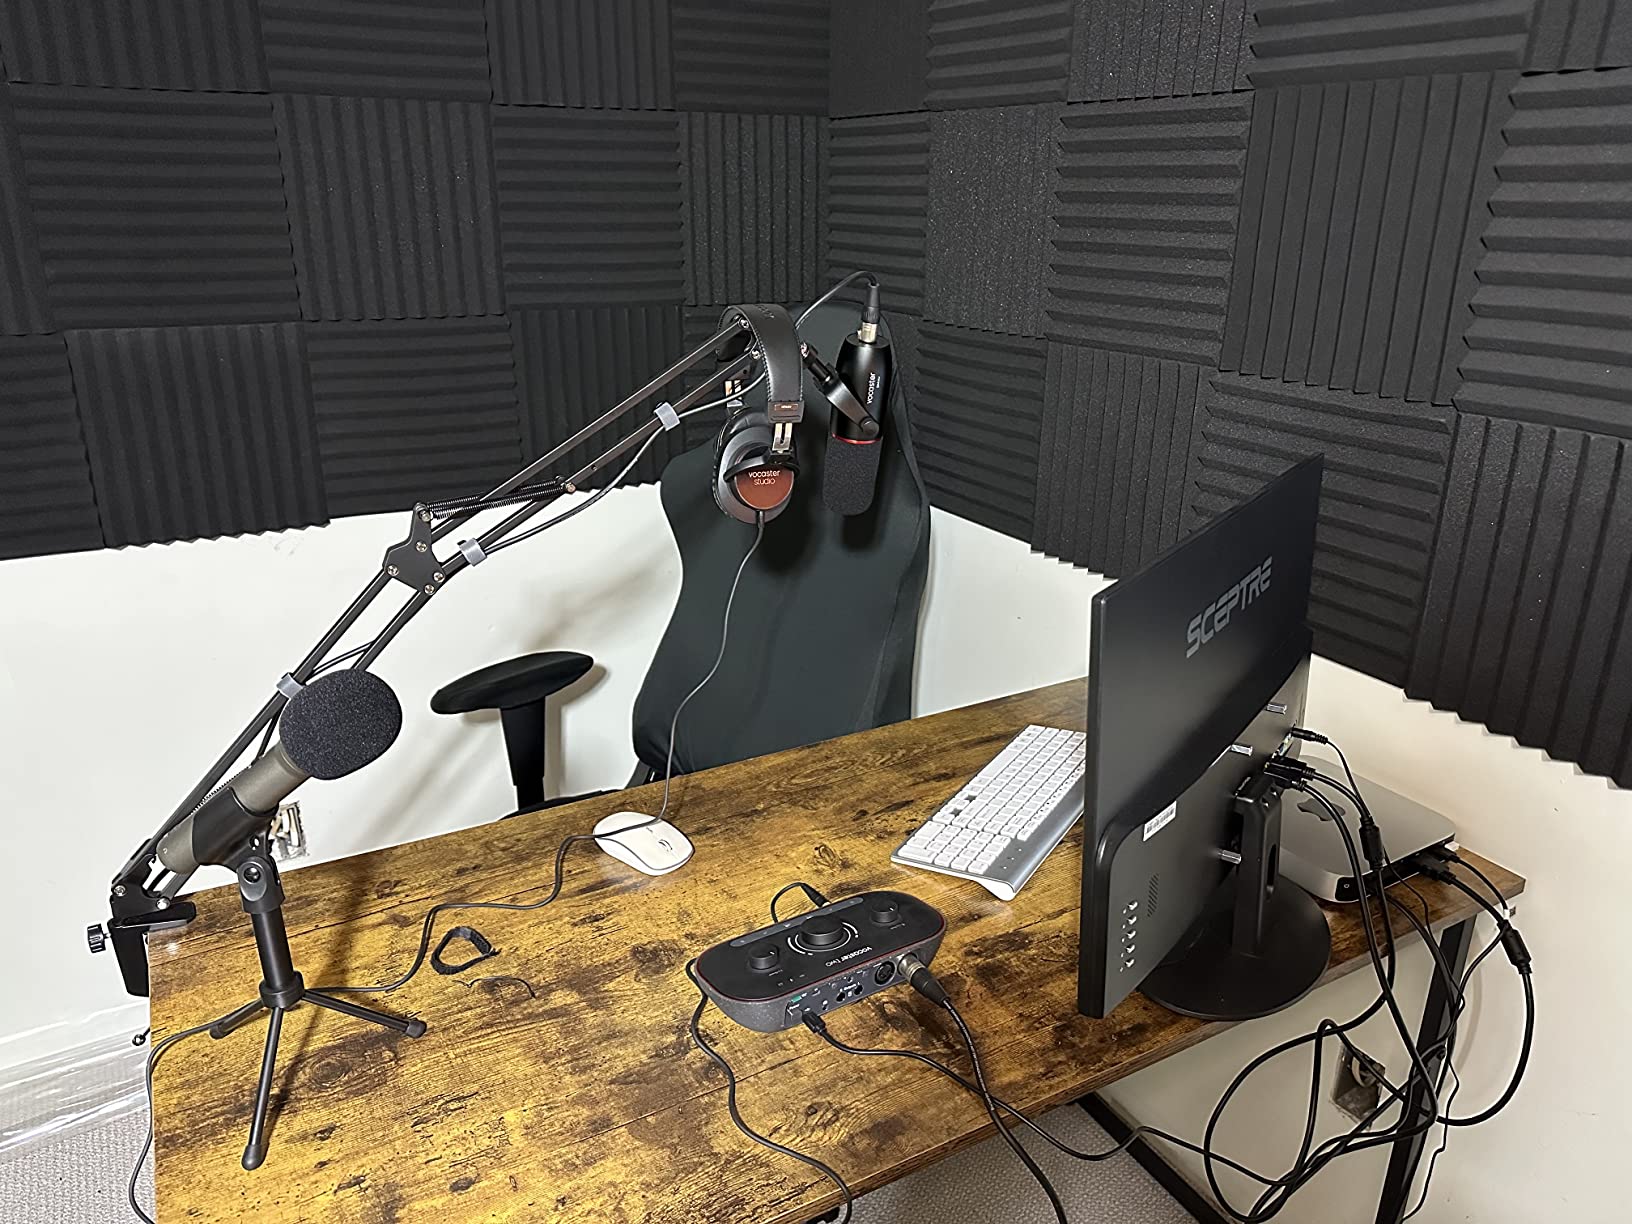
The box is unusually generous for this tier. You get a tripod desktop stand, a tripod extension, a mic clip, a windscreen, a USB-C cable, and an XLR cable. That is the whole entry kit, including the cables that cheaper microphones leave you to source separately.
USB-C and XLR: The Practical Middle Ground
Hybrid connection is a real advantage rather than a marketing label. The USB-C side means no interface, no phantom power question, and no configuration, so you can be recording in the time it takes to plug in a cable. The XLR side means that when you are ready for a real preamp and real monitoring, the microphone is already capable of it.
There is a version-history note worth knowing. Earlier revisions of this microphone shipped with a mini-USB data cable, and replacing those cables has been a persistent frustration for owners. The revision reviewed here ships with USB-C, so that particular problem does not apply to the current unit. The XLR side is unchanged and works with any interface or mixer that provides phantom power.
Technique: Speak Into the End
This is a handheld end-address microphone, which means the capsule is at the top and you speak into the end of it, not the side. That is a different physical habit from a side-address desk condenser, and it is the single most common adjustment new owners need to make. Get it right and the noise rejection works as intended. Speak across it instead and you lose most of the benefit of the dynamic capsule.
Plosives are the other technique issue. A handheld dynamic has no internal pop filter, and the included windscreen helps only so much. A separate pop filter placed about 8 centimetres from the capsule is the single most effective upgrade available to this microphone, and it will do more for episode quality than any setting in your editing software.
The Accessories Are Good, the Stand Is Not
Owners consistently single out the bundled desktop stand and tripod clip as the weakest parts of the package. They are described as flimsy, prone to droop, and wobbly, which matters because a microphone that moves picks up handling noise on every take. The tripod extension and mic clip are useful for an existing stand, but the small desktop tripod is a launch pad rather than a permanent solution.
Other minor points from owner reviews: some units are not detected by the computer on first boot until the USB cable is re-seated, and the microphone is a computer accessory rather than a standalone recorder, so you still need recording software. Both are five-second fixes. Neither changes the recommendation for someone who wants one microphone to cover both a laptop workflow and a future interface setup.
6. Audio-Technica AT2020USB+ – The Quietest Condenser Here
Audio-Technica AT2020USB+ Cardioid Condenser USB Microphone, with Built-in Headphone Jack & Volume Control, Perfect for Content Creators (Black)
Cardioid USB condenser
74 dB signal-to-noise
Mix control and headphone jack
16-bit A/D converter
+ Pros
- Exceptionally low self-noise with no audible hiss
- Mix dial blends mic and playback audio
- Zero-latency monitoring with a high-output headphone amp
- Milled metal construction
- Lower sensitivity than typical condensers
- Cons
- No mute button or on-mic gain control
- Lightweight tripod stand is unstable
- Needs a shock mount and pop filter
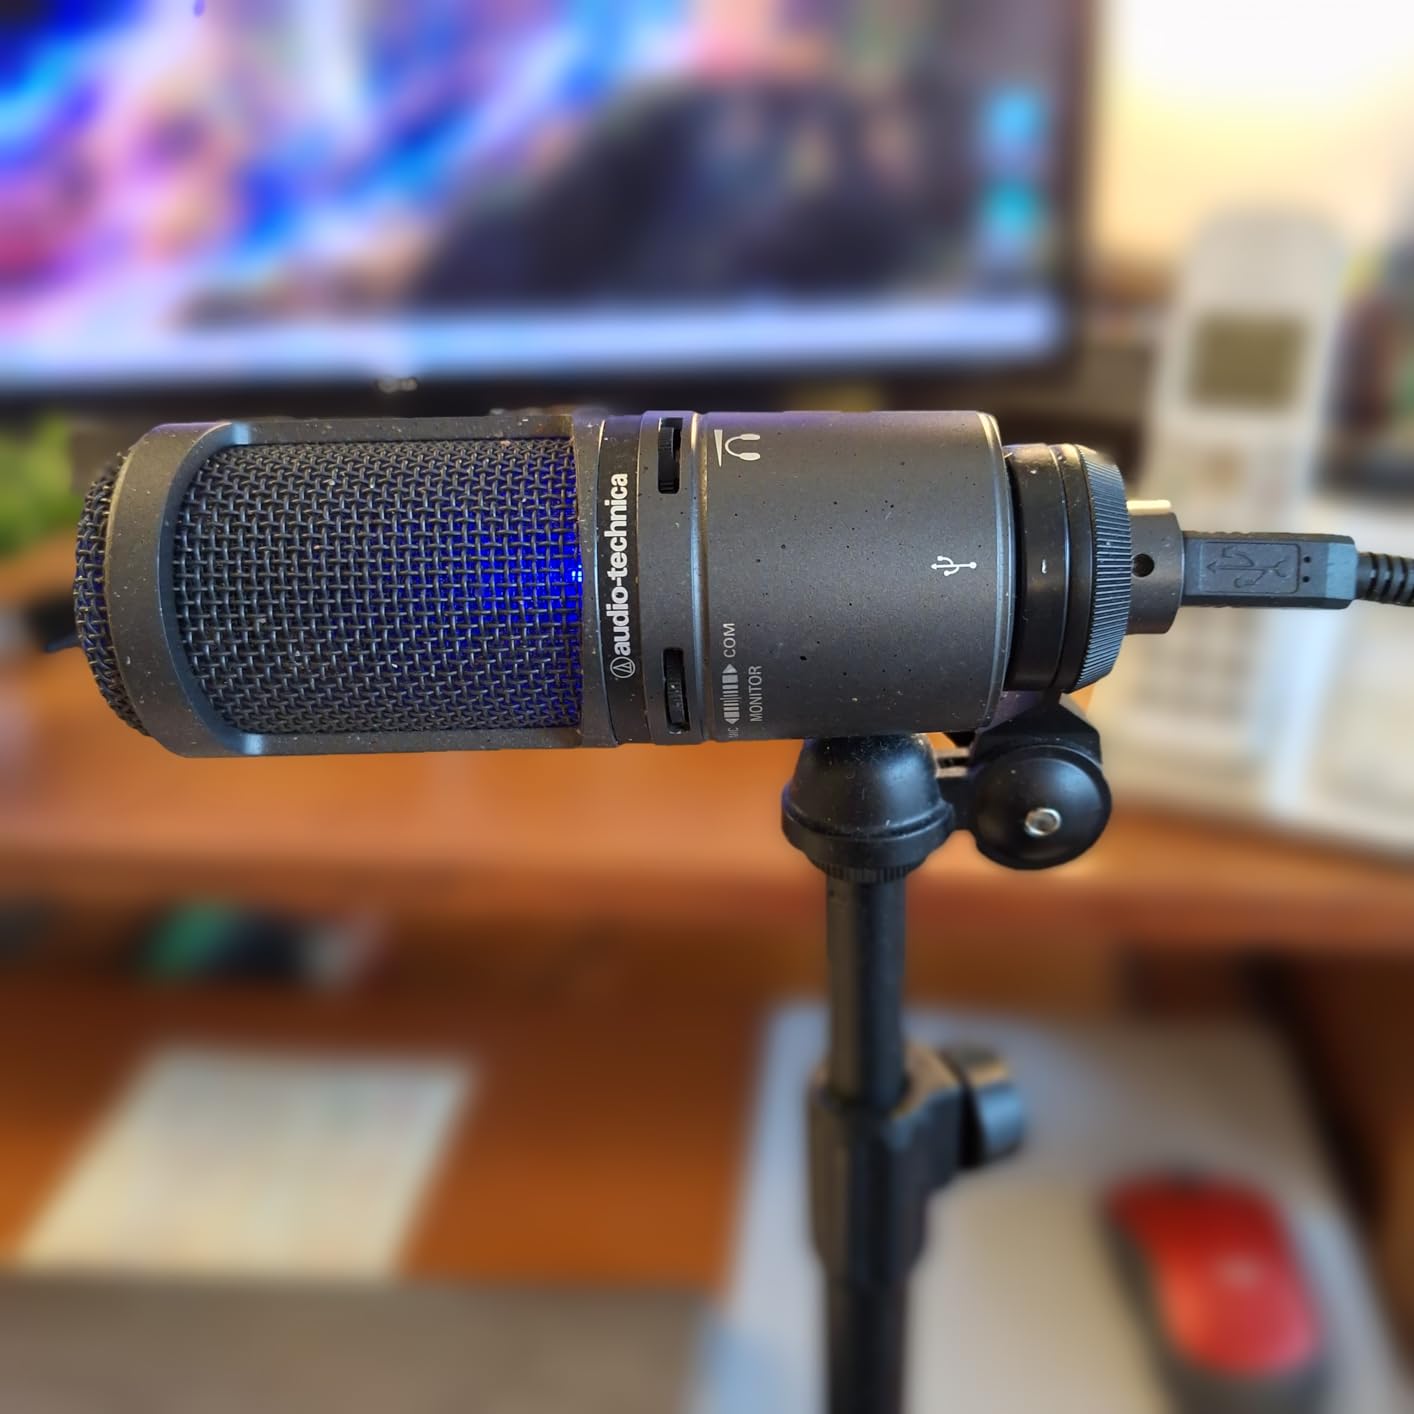
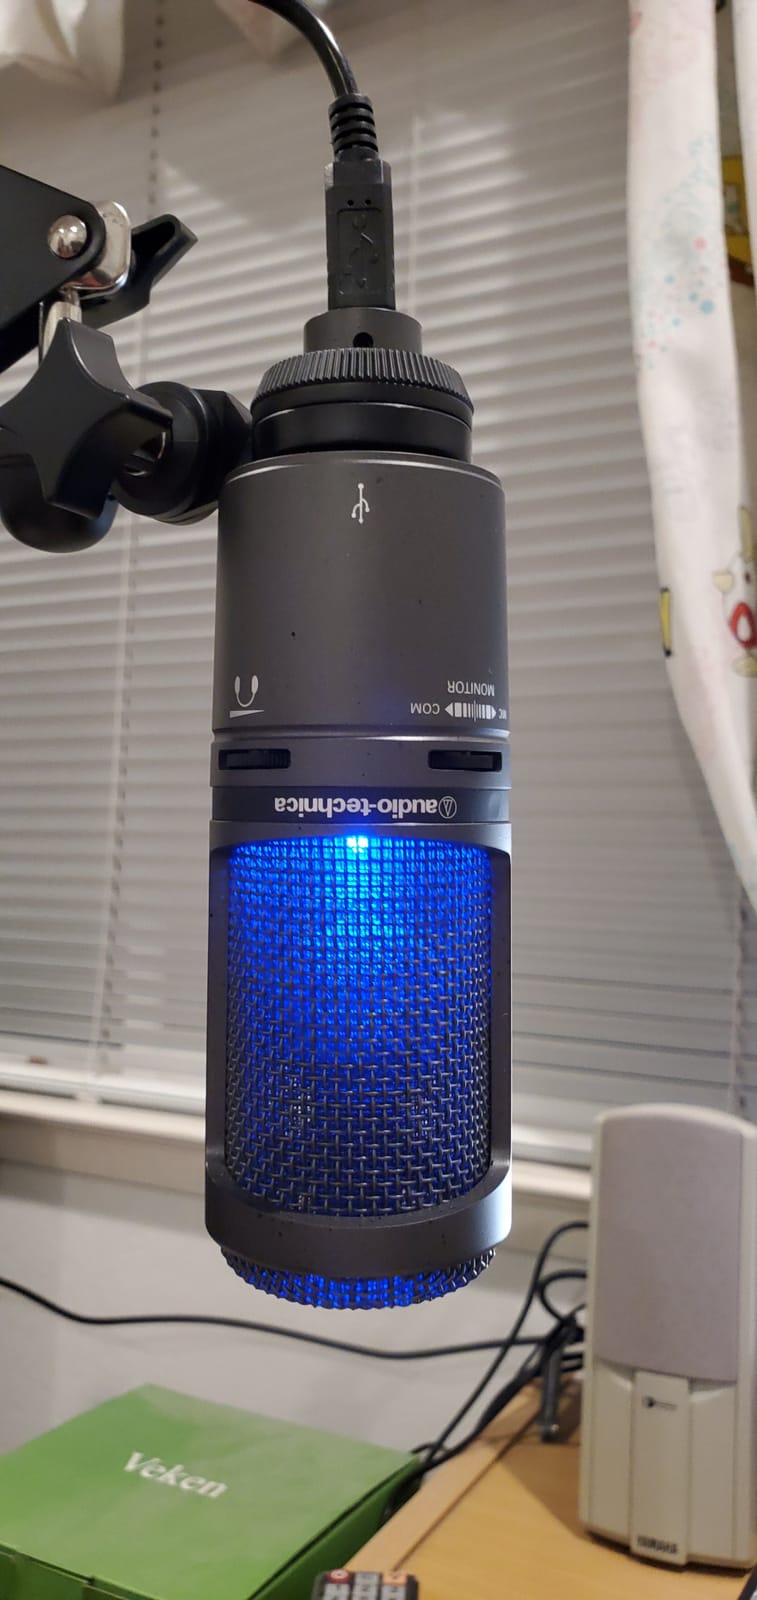
The AT2020USB+ is the condenser to buy if the room you record in is not perfect. Audio-Technica built this one with lower sensitivity and lower self-noise than a typical USB condenser, and the effect in practice is that it needs less corrective gain and less noise reduction than a Blue Yeti to reach the same finished result. Reviewers with audio experience point at exactly this as the reason to choose it.
The mix control is the feature I use most. The dial blends the live microphone signal with whatever your computer is playing, so you can hear music or a remote guest alongside yourself with no second device and no added delay. On a show with intro music, that one control removes a step from every session.
It sits at the upper end of this price bracket, and it is one of the few high-end purchases here that does not depend on an audio interface. You plug it into a USB port and it works. There is no software to install, no interface to buy, and no firmware conversation to have.
Self-Noise: The Number That Matters Most for Condensers
Self-noise is the sound the microphone makes when nobody is talking to it. A condenser with high self-noise forces you to record hot, which amplifies room tone along with your voice and produces the faint hiss that listeners notice before they can identify anything specific. The 74 dB signal-to-noise figure here is high for a USB condenser in this class, and owners report no audible hiss even in a non-quiet room.
The related figure is sensitivity. This microphone is a cardioid condenser, so it does pick up more of the room than a dynamic would, but it is deliberately less reactive to distant sound than most USB condensers. Combined with a shock mount and a pop filter, that is what makes it viable in a home office or a bedroom rather than only in a treated space.
Monitoring, Mix Control, and Output Level
The headphone jack has its own volume control and is fed by a high-output internal amplifier, which means you can monitor at a comfortable level without turning your computer volume up past useful levels. Monitoring is zero-latency, so what you hear is what you are recording, with none of the echo you get from system monitoring through speakers.
The mix dial sits alongside it and blends your microphone with computer playback. The converter is 16-bit at 44.1 or 48 kHz, which is below the 24-bit capture of two microphones in this roundup, but for spoken word at a healthy level the difference is small compared with the difference the low self-noise makes. The output is consistent and predictable, which is the property that matters over the long term.
Where It Falls Short
There is no mute button and no gain control on the body, so level and mute live in your software or operating system. The included tripod stand is light and wobbles if the desk is nudged, and owners report that a shock mount materially improves results by isolating desk and chair vibration. A pop filter is effectively required for plosives, as with any side-address condenser at this sensitivity.
There are also isolated reports of humming or buzzing that is electrical rather than acoustic, and of stripped threads on the included stand over time. On a four-year-old body, the microphone itself is still working for owners. Treat the included stand as disposable and buy a proper arm or mount, and the remaining complaints are largely resolved.
7. Shure MV7X – Built for Creators Who Already Own an Interface
Shure MV7X XLR Dynamic Podcast & Recording Microphone – Black
XLR-only dynamic cardioid
Integrated shock mount
All-metal body
508 g
+ Pros
- Integrated shock mount reduces handling and desk noise
- Focused voice isolation in untreated rooms
- Rugged all-metal construction
- Yoke mount and thread adapter included
- Full control through an interface
- Cons
- XLR-only so an interface is required
- No USB or on-mic gain or monitoring or mute
- Dynamic capsule needs real preamp gain
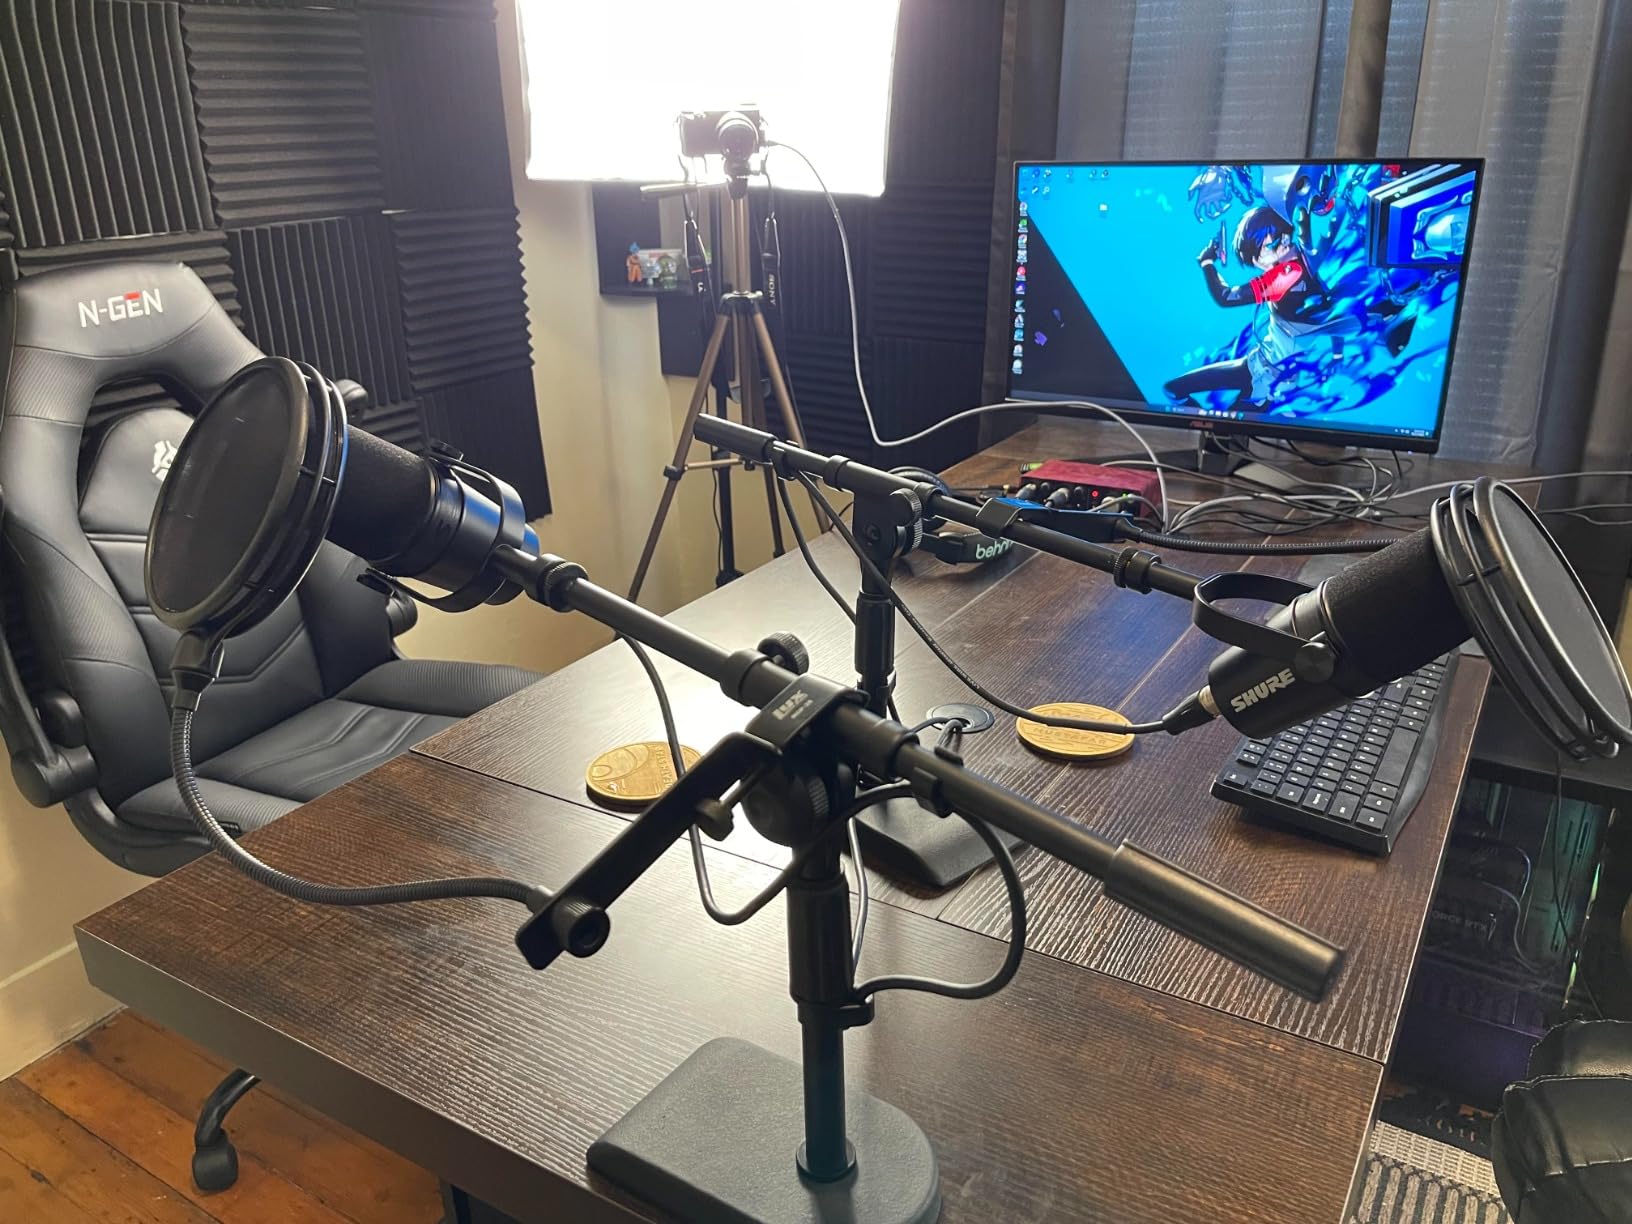
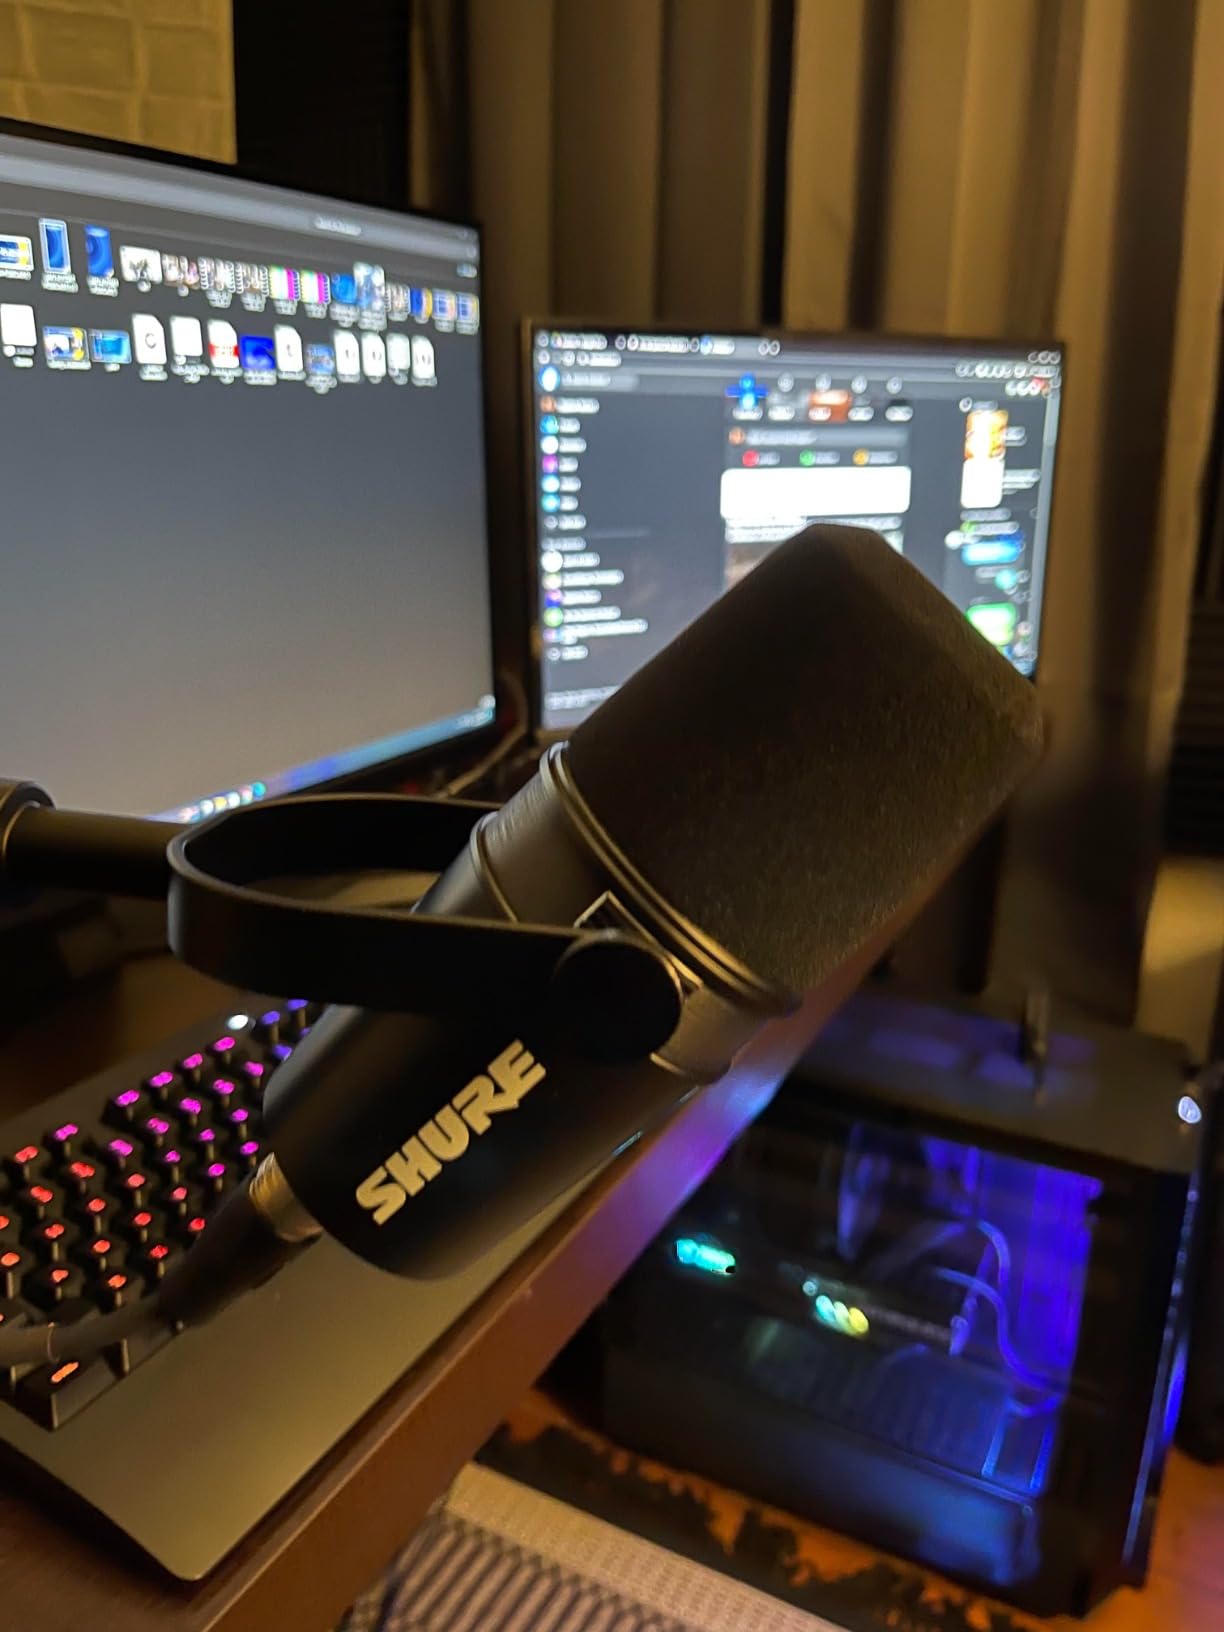
The MV7X is the Shure version of the same idea as the PodMic, with a different balance of priorities. It is an XLR-only dynamic cardioid microphone with an integrated shock mount, an all-metal body, and a yoke mount that fits most stands and boom arms. Everything about the design assumes a proper signal chain upstream.
If you already own an interface with good gain and monitoring, this is an excellent purchase and the buying decision is straightforward. If you do not, the same purchase is the start of a larger project, and you should read the total-cost section below before committing.
The shock mount is the detail that separates it. Rather than relying on the capsule to reject vibration, the microphone is physically suspended inside the body, which is why owners single it out first. On a shared desk, with a keyboard and a mouse and an active chair, that is a meaningful difference in the finished file.
Frequency Range and What It Means for Speech
This microphone is specified from 50 Hz to 16 kHz, and that narrower ceiling compared with the condensers here is normal for a broadcast dynamic. The upper limit sits above where most speech intelligibility information lives, so the practical result is a voice that sounds present and clear without the bright, sibilant edge that a sensitive condenser can produce.
The 72 dB signal-to-noise figure reflects a dynamic capsule that is deliberately less sensitive to the room. Combined with a cardioid pattern, the microphone focuses on the person in front of it and rejects a good share of what is behind. In an untreated room this is the difference between a usable recording and one you fight for the whole episode.
Mounting, Adapters, and Build
The adjustable yoke mount gives you a wide range of positioning angles, which matters because a dynamic microphone at a poor angle will pick up the room it was meant to reject. The included 3/8-inch to 5/8-inch thread adapter means it fits the large majority of boom arms and stands without another purchase, and the 508 g weight sits between the heavy PodMic and the featherweight SoloCast.
At roughly 10.8 inches tall, it is a full-size broadcast form factor rather than a compact desktop mic. That is appropriate for an arm-mounted setup and less appropriate for a cramped desk. The all-metal body and a two-year manufacturer limited warranty are what you are paying for over a plastic alternative.
The Honest Trade-Off List
There is no USB output, so the microphone will not record to a laptop on its own. There is no on-mic gain control, no headphone monitoring, and no built-in mute function, all of which are things the USB microphones in this roundup provide as standard. Monitoring is entirely the interface’s job, and level control happens wherever your interface puts it.
None of that is a flaw for the intended buyer. It is a signal that this microphone is the second purchase in a chain rather than the first. If you are already running an interface, buy it. If you are not, choose one of the USB-C models earlier in this list and spend the difference on a pop filter and a shock mount, which is a better use of a limited budget.
8. Rode NT-USB+ – The Most Complete Box for a First Episode
RØDE NT-USB+ Professional-Grade USB Condenser Microphone for Recording
Large diaphragm USB condenser
24-bit 48 kHz over USB-C
Pop filter included
+ Pros
- Detachable pop filter and desk stand in the box
- Ultra-low-noise high-gain preamp
- 24-bit 48 kHz hi-res USB-C capture
- Zero-latency headphone monitoring with high power
- Class-compliant USB for phones and tablets
- Cons
- APHEX features require RODE Central software
- Ring mount adapts to boom arms less easily
- Condenser sensitivity needs gain staging
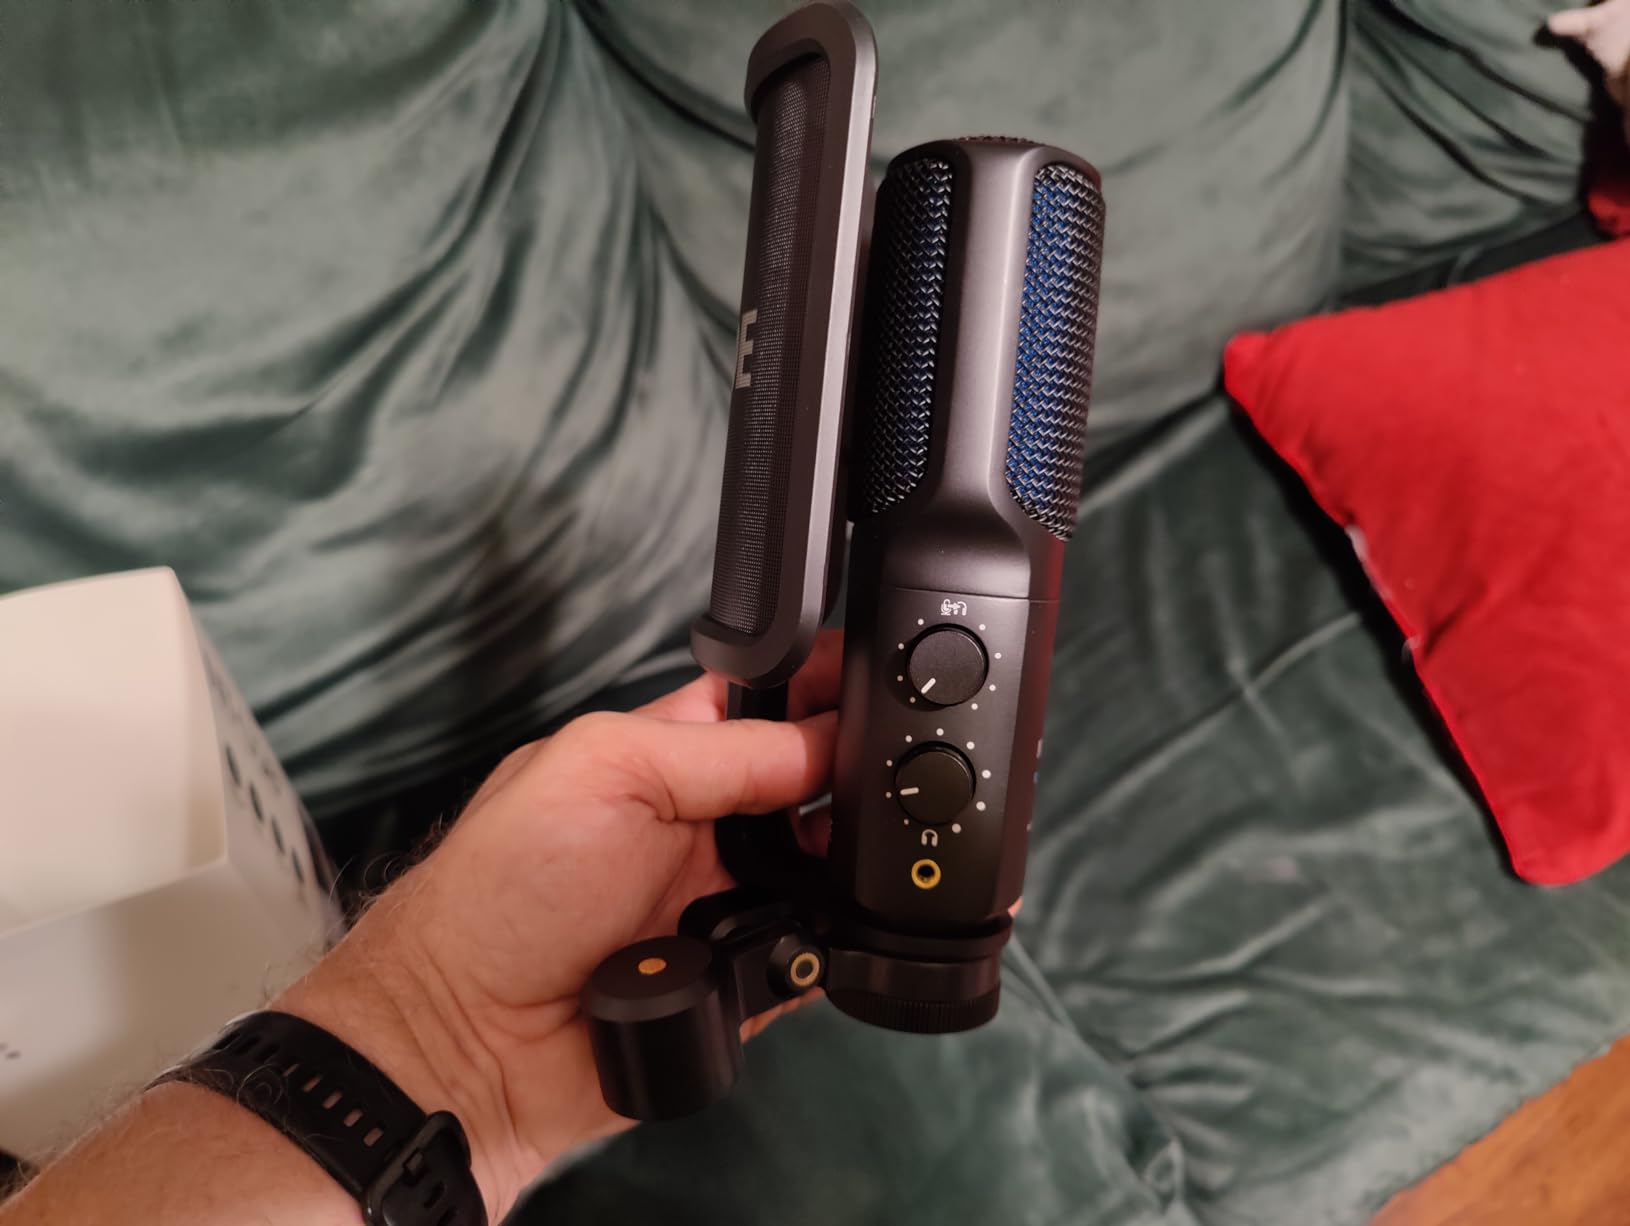
The NT-USB+ is the only microphone in this roundup that ships with a pop filter. The box contains the mic, a detachable pop filter, a ring mount, a desktop stand, and a 3 metre USB-C cable, which means you can record a usable episode on the first afternoon without buying an accessory.
That completeness is the argument. Several microphones here are cheaper and sound excellent, but they assume you will buy a pop filter, a mount, and possibly a cable. If you are starting from nothing and do not want to research accessories, this is the shortest path to a finished recording.
The capture is 24-bit at 48 kHz over USB-C, and the output is class-compliant, so it also works with tablets and compatible smartphones. For a podcaster who records a guest on a phone in another location, being able to use the same microphone on both ends is more useful than it sounds when you are planning an interview.
What the Revolution Preamp Actually Fixes
The preamp is the stage between the capsule and the converter, and it determines how much gain you can add before the electronics themselves start contributing noise. A low-noise, high-gain preamp means you can record a quiet voice at a healthy digital level without bringing up hiss in post. That is the single most valuable internal component in any USB microphone, and it is where this model spends its budget.
The headphone output is described as high-power with zero-latency monitoring, which matters when you are recording for two hours. Monitoring at a decent level without the audio interface underneath struggling is the difference between a comfortable session and a tiring one, and it also lets you judge distance and gain by ear rather than by looking at a meter.
APHEX Processing and the Software Dependency
Via RODE Central, the microphone exposes APHEX processing including an Aural Exciter for presence and a Big Bottom processor for low-end weight. These are useful tools for making a voice cut through on small speakers, and having them in hardware means they apply before the signal reaches your recording app.
The dependency is the caveat. Several features are unavailable without the companion software, so a user who wants the bare microphone and nothing else is giving up some of the value. The counterargument from owners is that the software is optional for basic recording and only required if you want those specific processors.
Mounting and Care Considerations
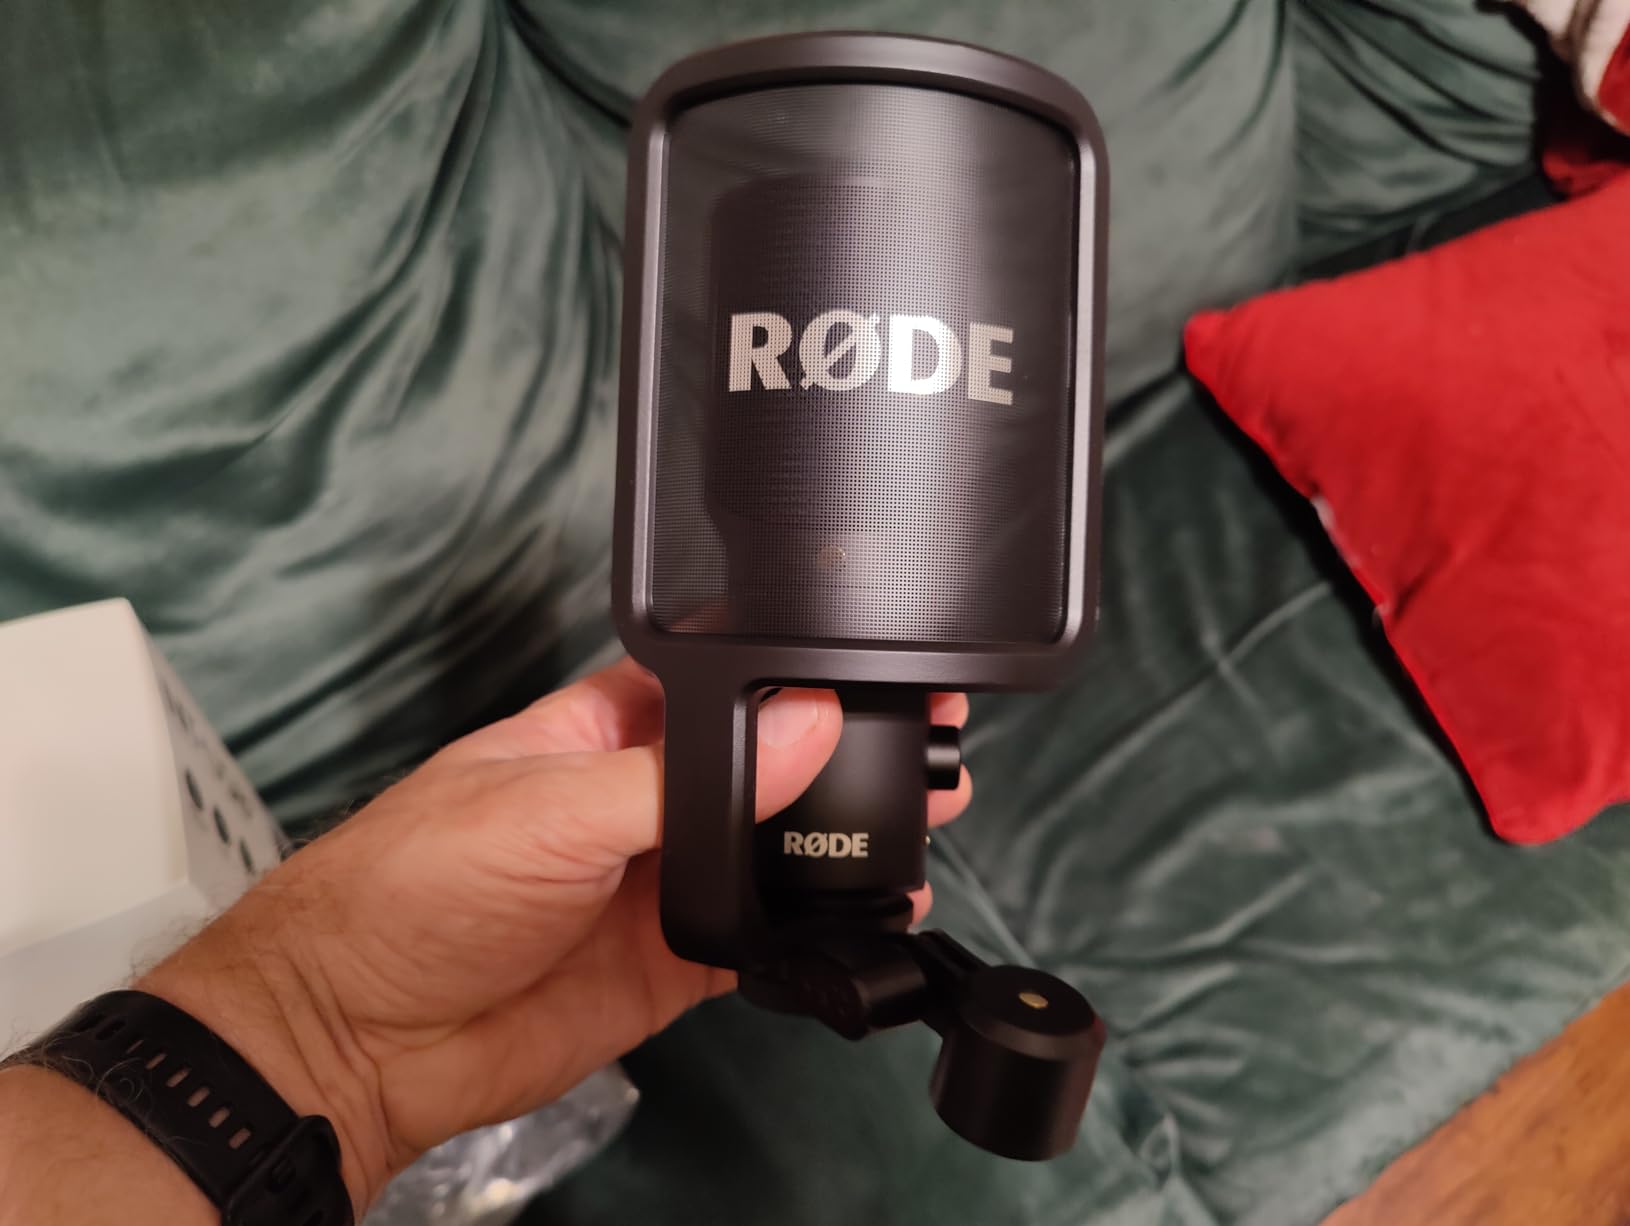
The ring mount design is less adaptable to boom arms than a standard threaded body, and that is the practical limitation to plan around. If you expect to move to an arm, factor in a replacement mount. The desktop stand is stable for desk work, and the detachable pop filter clips on and off, so you can remove it for narration work where your mouth is further from the capsule.
One honest limitation applies across this roundup: this model carries a noticeably smaller review base than the others, so there is less long-term owner feedback available. Condenser sensitivity means good gain staging and some room awareness are still required, and the microphone will not rescue a noisy space. Used as designed, in a normal room, with the included pop filter, it is a strong all-round choice.
9. HyperX QuadCast 2 – Four Patterns and a Shock Mount, for Streamers
HyperX QuadCast 2 – USB Microphone for Gaming, Streaming and Podcasting, with On-Board Controls, LED Lighting, Removable Shock Mount, PC, Mac, PS5, PS4, USB-C – Black
USB condenser, aluminum body
Four polar patterns
Removable shock mount
Gain knob and RGB
+ Pros
- Four polar patterns including stereo and bidirectional
- Removable shock mount included
- Tap-to-mute with instant LED feedback
- Higher-mounted gain knob harder to bump
- Clearer and louder than the previous generation
- Cons
- Pattern change needs a long-press on the volume button
- Distortion at higher gain settings
- Picks up keyboard and mouse clicks without a pop filter
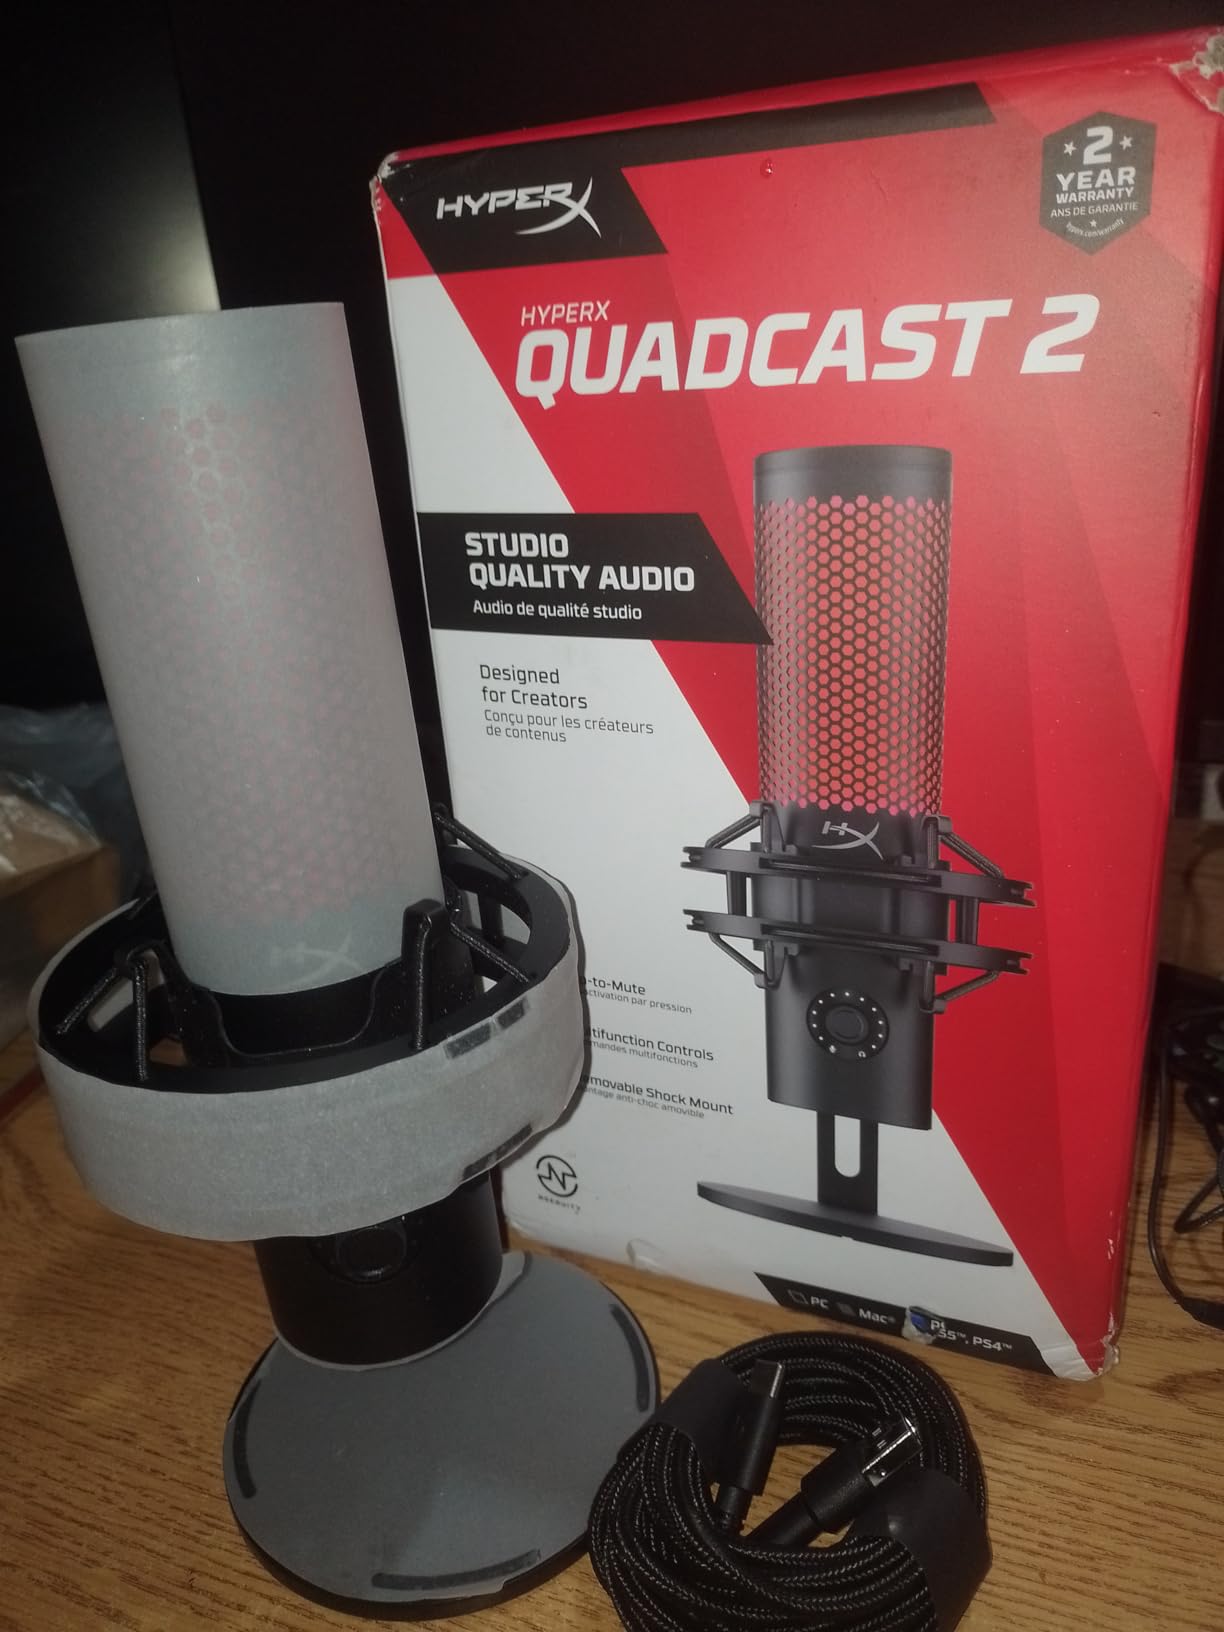
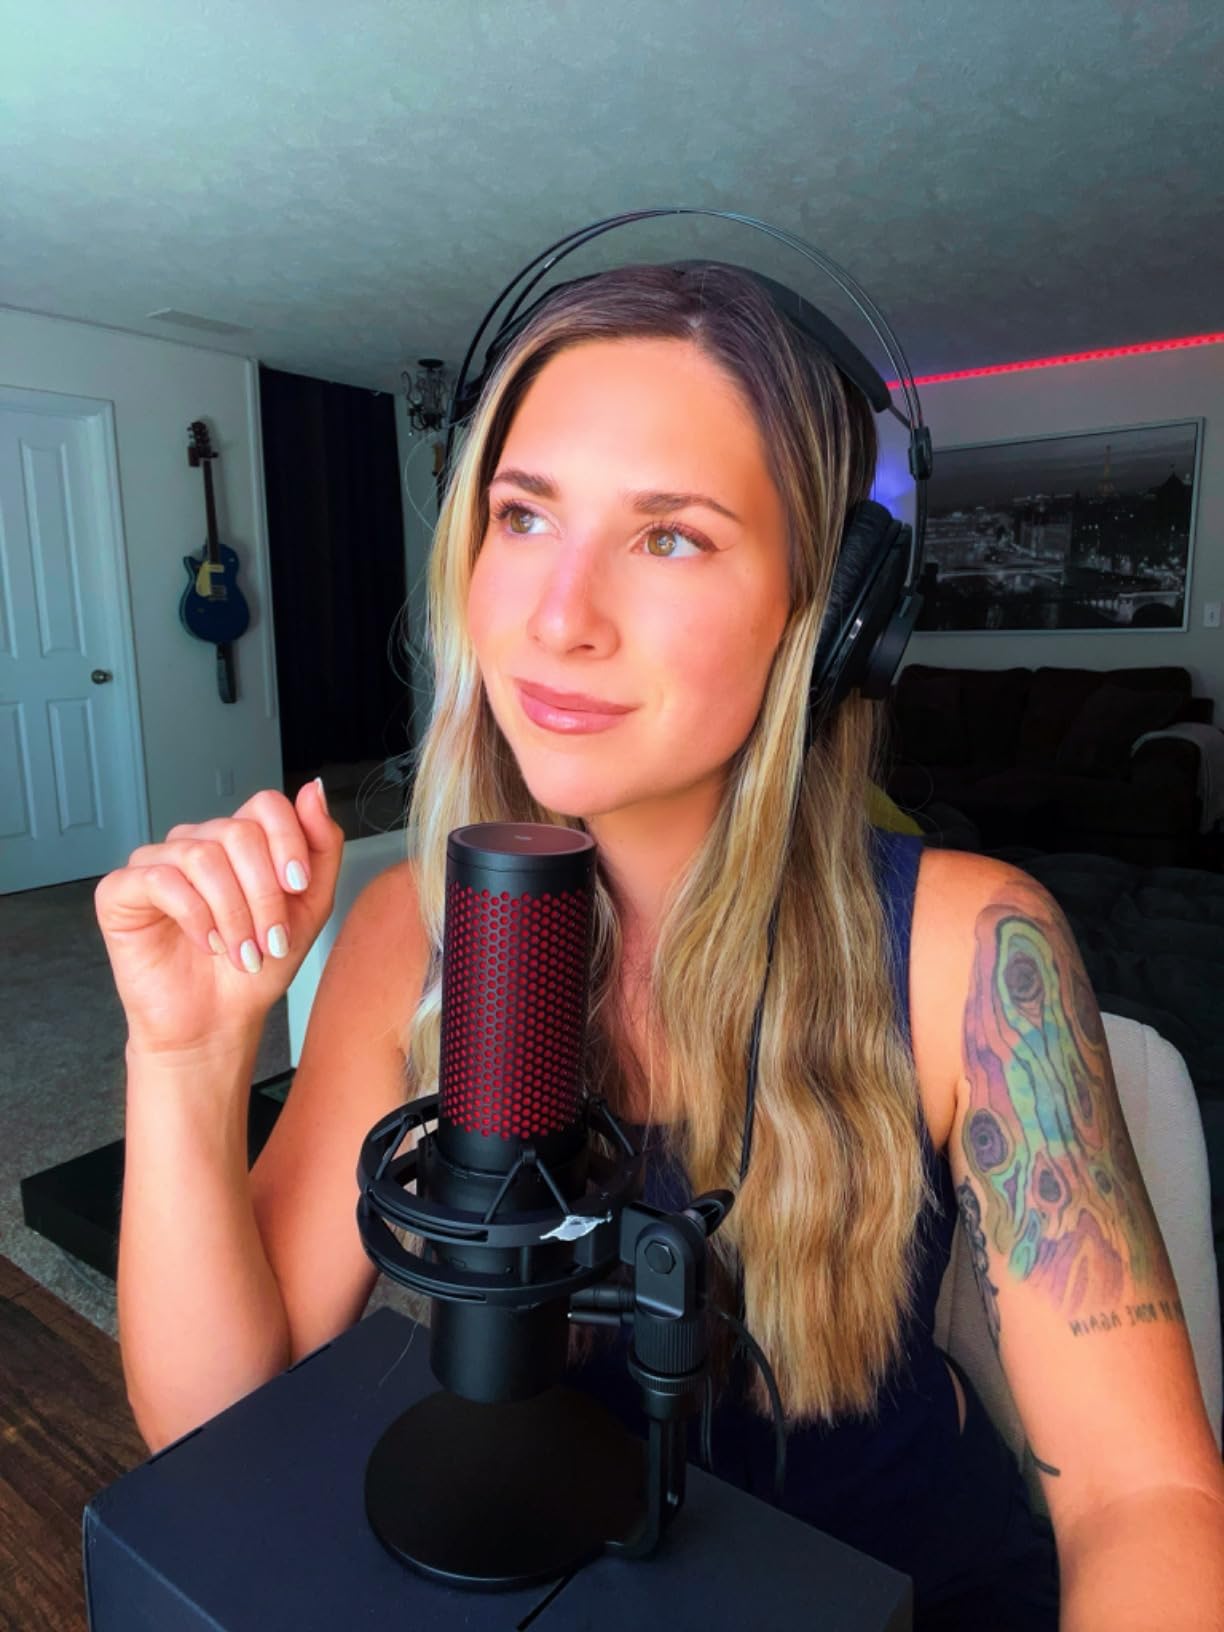
The QuadCast 2 is built for people who talk and play at the same time. The body is aluminum, the controls sit higher on the chassis where a bump will not change them mid-stream, and RGB lighting lets you match the rest of a streaming setup. Owners upgrading from the previous QuadCast report a clear improvement in output loudness and clarity.
Like the Blue Yeti, it offers four patterns: cardioid, omnidirectional, bidirectional, and stereo. For a solo stream, cardioid is correct. For a two-person conversation on one microphone, bidirectional. The extra flexibility is useful when the format changes, and the removable shock mount handles desk vibration without a separate purchase.
Its weakness is specific and fixable. At higher gain settings the output distorts, and without a pop filter it picks up mechanical keyboard clicks, which is the one sound that a streamer can least afford. The companion software also offers an optional high-pass filter, which removes low-frequency rumble before it reaches the recording.
Pattern Selection Without Interrupting the Show
Switching patterns here is less convenient than on the Blue Yeti, where the pattern is a dedicated dial. On this model the change is triggered by holding the volume button for several seconds, which is a deliberate trade for a simpler front panel. You set the pattern before you start, not while you are talking.
For most streaming formats, that is not a problem. Cardioid is set once and never touched, and the tap-to-mute sensor on top gives you a clear LED confirmation of whether you are live. The mute is a single tap rather than a menu, which is what you want when a notification fires mid-sentence.
Gain, Distortion, and the Software Filter
The gain knob is positioned higher on the body than on the previous generation, so a stray forearm is less likely to change your level. That is a small design change with a disproportionate effect on the finished stream. Push it too far and the output distorts, so the practical approach is to set gain as high as you can without distortion and control loudness in the streaming software afterwards.
The optional high-pass filter in the companion software removes low-frequency energy that has no business in a voice recording. Desk rumble, traffic sound through a floor, and handling noise all live in that region, and cutting them at capture is far cleaner than trying to remove them with a compressor and an equaliser later.
Who This Suits
Buy it if you are splitting time between streaming and podcasting and want one microphone to do both with pattern flexibility. The removable shock mount and tap-to-mute are the features that make it work in a live setting, and the aluminum body will not suffer the way a plastic desktop microphone does.
Pass if you only record speech in a quiet room. A cardioid-only microphone with a built-in headphone jack will give you a better recording for pure voice work, and the pattern flexibility here is capability you are unlikely to use. As with every condenser in this roundup, add a pop filter before the first episode.
10. Sennheiser Profile – Best Setup With No Software at All
SENNHEISER Professional Profile – USB Cardioid Condenser Microphone & Table Stand, 1.2 m USB-C Cable – Mute Button, Built-in Headphone Jack, Gain, Mix & Volume Control, for PC & Mac,Black
Cardioid condenser, metal housing
Class-compliant USB-C
Mute, gain and mix dials
+ Pros
- Class-compliant USB needs no software or drivers
- Hardware mute button plus gain and mix dials
- Compact body fits on a boom arm without blocking a monitor
- Picks up less keyboard and background sound than most condensers
- Cons
- Single cardioid pattern only
- Table stand is very basic
- Still a condenser so room sound is captured
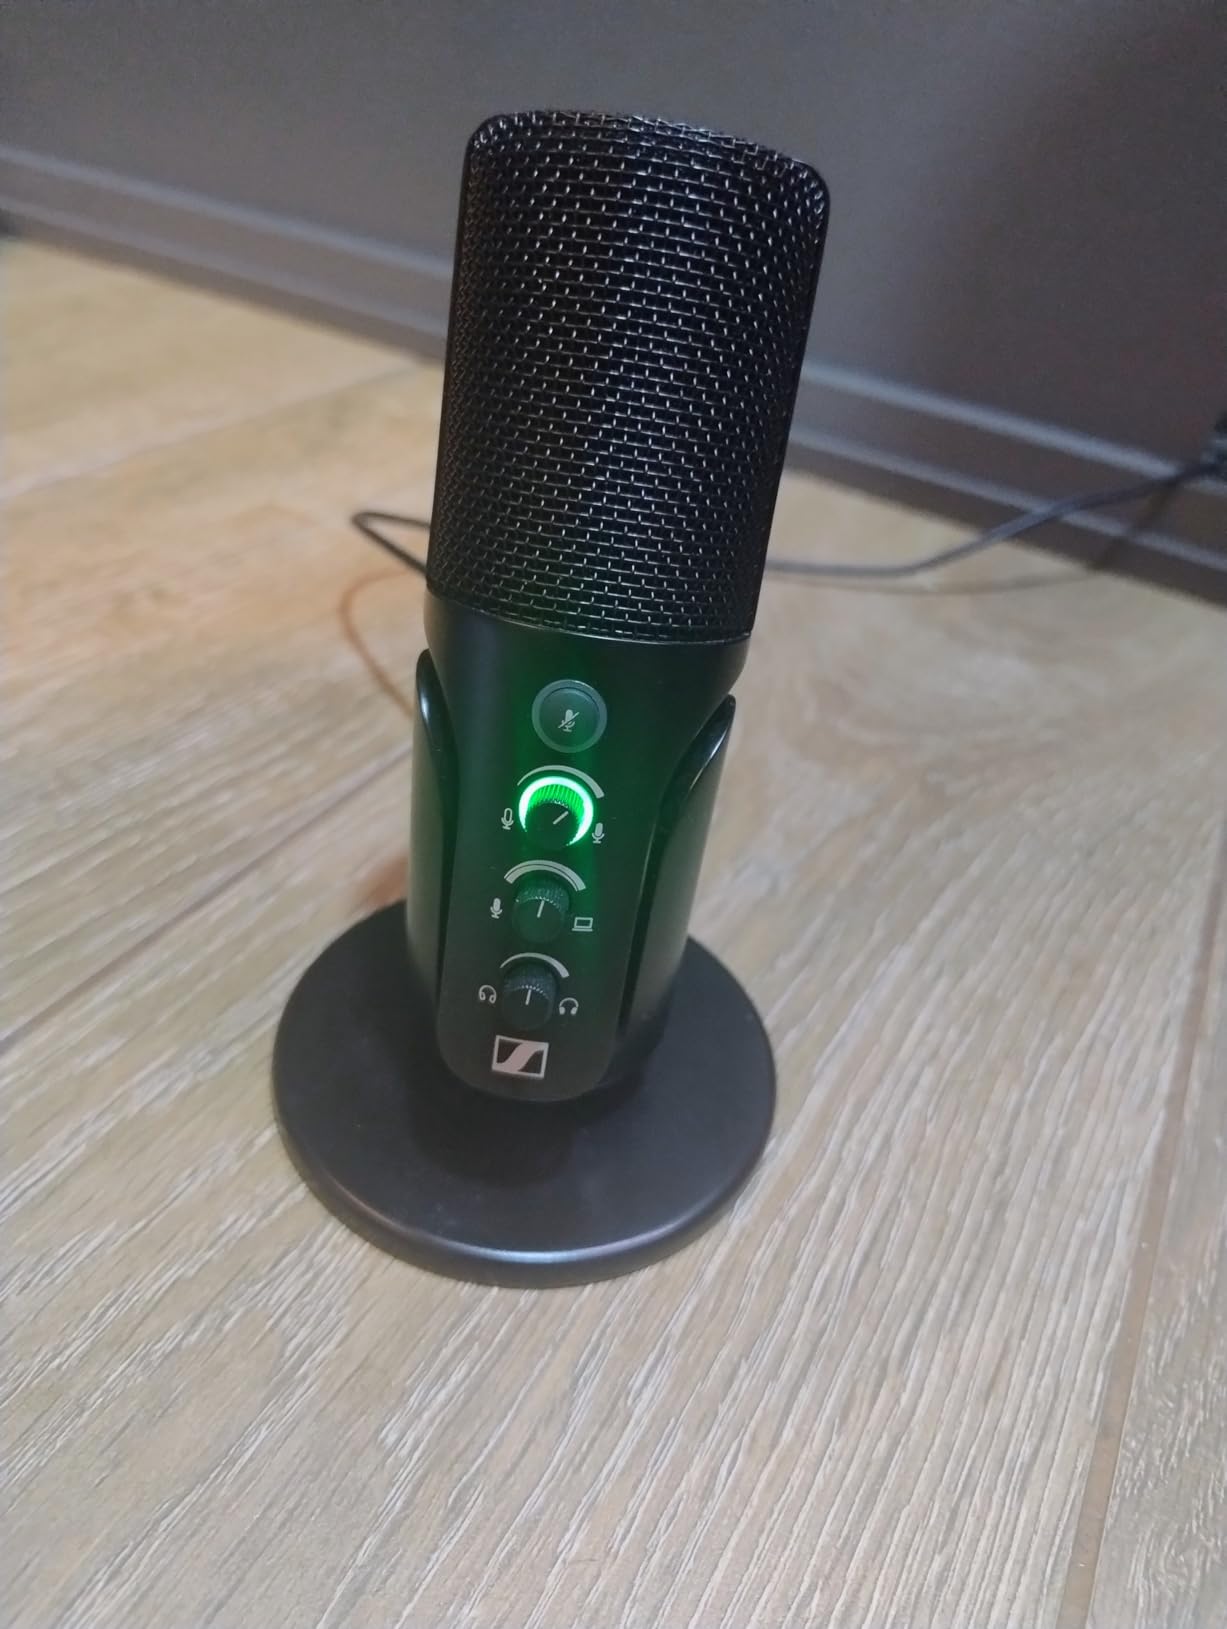
The Profile takes the opposite approach to the Elgato. Instead of putting processing in software, it puts the controls on the microphone and stays out of the way entirely. It is a class-compliant USB-C device, so it needs no install, no driver, and no ongoing software support from the manufacturer. It works, and it keeps working.
Owners who moved over from a Blue Yeti often stay, for reasons that have little to do with specs. It is smaller, it has a hardware mute button you can find without looking, and reviewers report that it picks up less keyboard noise and background music than the larger condenser it replaced. The metal housing and the German-engineered cardioid capsule give it a heavier feel than the price suggests.
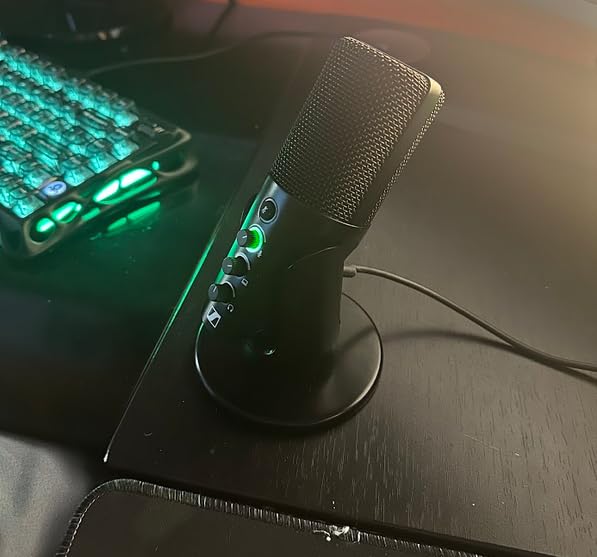
Three dials sit on the body: gain, mix, and headphone volume. The gain sets your input level, the mix blends your voice with computer playback, and the headphone dial sets your monitoring level. Nothing is hidden in a menu, which is the entire appeal.
Why Class-Compliant USB Matters More Than It Sounds
Class-compliant means the microphone follows the standard USB audio specification, so the operating system treats it as a standard recording input. No driver to install, nothing to update after a system upgrade, and no vendor software that can become a source of problems. On a machine you do not control, or on a computer you reimage often, that reliability is worth more than a long feature list.
The trade-off is that you get no processing. There is no noise reduction, no compressor, and no level automation from the manufacturer. Everything happens in your recording application or in post. For a podcaster who already edits audio, that is fine. For someone who wants the microphone to sound finished on capture, one of the software-driven models is a better match.
Size, Footprint, and Desk Fit
At 4.37 inches square and 7.95 inches tall, this is among the most compact microphones in the roundup, and owners specifically note that it fits on a boom arm without blocking a monitor. For a small desk with a laptop and a keyboard, that is a real practical advantage over a full-size body that occupies the middle of the workspace.
The included table stand, however, is very basic, and most owners recommend replacing it with a proper arm early. A boom arm also lets you hold the mic at mouth height and slightly off-axis, which is the single most effective treatment for a condenser in an imperfect room. Spending a little on mounting will return more than spending the same amount on software.
Honest Limitations
There is a single cardioid pattern and no stereo or omnidirectional option, so two-person recording on one microphone is not a possibility. As a condenser it still captures room sound, just less of it than most, and the 60 dB signal-to-noise figure is lower than several USB condensers here, so it is not the right choice for a genuinely noisy space.
It is also not aimed at mix-desk or studio console workflows, which is a fair limitation given the form factor. Within the brief of a simple, reliable desktop microphone for speech, it does that job cleanly. If you want a mic you never have to think about, this is the one in this roundup I would most confidently hand to a beginner who also has to record on a work laptop.
How to Choose: USB vs XLR, Dynamic vs Condenser, and the Accessories That Matter
Every question about which microphone to buy reduces to four decisions. What room are you in, how are you connecting it, how much of the signal control do you want on the mic itself, and what are you willing to buy separately. Answer those in order and the model choice becomes obvious.
Dynamic or Condenser: Match the Mic to Your Room
A dynamic microphone uses a coil and magnet to convert sound, and it is less sensitive to small changes in air pressure. A condenser uses a lightweight diaphragm and is more sensitive, which means it captures more detail and more of everything else at the same time. Condensers sound excellent in a treated room and reveal every noise in an untreated one. Dynamics are more forgiving and will always be the right answer for a bedroom, a shared office, or anywhere with a computer fan running nearby.
The practical decision tree is short. If you can hear your room clearly when you speak, buy a dynamic. If the room is genuinely quiet, a low-self-noise condenser will give you a more open, detailed voice. Among the dynamic options in this roundup, the Samson Q2U works over USB with no extra hardware, while the Rode PodMic and Shure MV7X need an interface and are the better-sounding choices once you have one.
USB, XLR or Hybrid: Where the Extra Money Goes
USB microphones contain their own converter, preamp, and often their own monitoring, so they work the moment you plug them in. XLR microphones output a balanced analogue signal that requires an audio interface providing preamp gain, phantom power, and headphone monitoring. The interface is a real cost, but it is also the part of the system you keep for years and every future microphone plugs into.
Hybrid models like the Samson Q2U sit between the two. You start with USB and keep the option of XLR later, which is the least risky way to enter the category. The trap is buying a cheap interface to go with a dynamic microphone that needs a lot of gain, and ending up with more hiss than you started with. Spend on the interface or stay with USB, but do not split the difference badly.
Cardioid and Supercardioid: What Actually Reaches the Mic
A polar pattern describes which directions the microphone hears most. A cardioid pattern is most sensitive directly in front and rejects sound from behind, which is why almost every microphone in this roundup offers it. Omnidirectional hears equally in all directions and is the right choice for capturing a room rather than a person. Bidirectional hears front and back equally and is what you want for a two-person interview across a table.
Supercardioid, as found on the Elgato Wave:3 MK.2, tightens the front pickup and increases rear rejection further at the cost of some sensitivity to sound arriving from the sides. In practical terms, supercardioid is more forgiving of a slightly noisy room than cardioid, which is a meaningful advantage for home podcasting. None of these patterns reject sound behind a wall or a closed door, so pattern choice is a real improvement and never a substitute for room treatment.
Accessories That Change the Recording More Than the Mic
A pop filter is the first purchase for any microphone without an internal one. It is a few dollars, it sits about 8 centimetres in front of the capsule, and it removes the burst of low-frequency pressure that turns the word people into a puff of noise. Nearly every owner in this roundup mentions plosives as an early problem, and nearly all of them were solved with a filter rather than with equalisation.
A shock mount or boom arm is the second. It isolates the microphone from desk thumps, chair movement, and cable bumps, and it lets you hold the capsule at mouth height and slightly off-axis, which reduces room pickup on a condenser more than any software setting. Both the Rode NT-USB+ and the HyperX QuadCast 2 include a pop filter and shock mount respectively, which is why they feel more complete out of the box.
A decent XLR cable is the third, and it matters more than most buyers expect. Cheap unbalanced or poorly shielded cables introduce hum that sounds exactly like a fault in your microphone. If you buy an XLR microphone, buy the cable with it rather than using whatever is in the drawer.
Placement Recipes You Can Repeat Every Session
For solo speech, put the microphone at mouth height, angled slightly off-axis rather than pointed straight down a line of the mouth, and as close as you can without feeling the air movement of your own words. Closer means more of your voice and less of the room, which is the whole principle. Set your gain so peaks sit below clipping, then leave it alone.
For a two-person interview at one table, use a bidirectional pattern if your microphone has one, place it on a stand between the two speakers at equal distance, and angle each person slightly toward it. For two separate microphones, record each speaker to a separate track, which is the only way to balance levels afterwards without a physical change.
For recording in a car or on location, get closer than the safety advice suggests, use the windscreen, and record a short test before the interview. A dynamic microphone is the right tool for a car, and the reason is rejection of low-frequency engine and road noise rather than any premium on its output level.
Frequently Asked Questions
What is the best affordable microphone for podcasting?
The most affordable option that produces a publishable recording is the HyperX SoloCast if you have a quiet room and want to spend as little as possible. In a normal untreated room, spend the difference on the Samson Q2U, which uses a dynamic capsule and rejects room noise far better than any condenser at a similar price. The single most useful upgrade at any budget is a pop filter, which costs very little and solves the most common recording complaint.
What kind of microphone is best to use for a podcast?
A dynamic microphone with a cardioid polar pattern is the best general choice for podcasting, because it is less sensitive to room noise and does not need an audio interface to work well. A condenser microphone is the better choice if you record in a genuinely quiet or treated room, because it captures more vocal detail and can sound more open. The deciding factor is your room, not the microphone category.
Should I use a condenser or dynamic microphone for podcasts?
Use a dynamic microphone if you can hear your room when you speak, because it will reject fans, traffic, computer noise, and general room tone. Use a condenser if your room is quiet, because it captures more vocal detail and low self-noise models need less editing. Many podcasters start with a dynamic and move to a condenser later, once they have treated their recording space.
Is an XLR microphone better quality than a USB microphone?
Not automatically. A USB microphone contains its own converter and preamp, which is convenient but fixed. An XLR microphone sends a balanced analogue signal to an audio interface you choose, so quality depends on the interface, its gain, and its monitoring. For sound alone, a good interface and a good dynamic microphone beat a cheap USB condenser. For convenience, USB wins every time.
Is the Audio-Technica AT2020 a good microphone for podcasting?
Yes, and the AT2020USB+ version in this roundup is one of the strongest choices for a home room. It has low self-noise and lower sensitivity than a typical USB condenser, so it needs less noise reduction in editing. It is a cardioid condenser, so add a shock mount and a pop filter, and avoid a very noisy room. It has no mute button and no on-mic gain control.
Is the Rode PodMic a good podcast microphone?
The Rode PodMic is rated highly by owners for good reason. It is a speech-tuned dynamic capsule in an all-metal body with an internal pop filter and internal shock mounting, and it handles untreated rooms better than any USB condenser at a similar price. The limitation is that it is XLR only, so you need an audio interface with good gain, and a quiet output level that a cheap preamp will amplify along with its own noise.
Which Podcast Microphone Should You Buy in 2026?
If you are starting from nothing and want the least chance of a bad first recording, the Logitech Blue Yeti is the safest purchase in this guide. It works the moment it is plugged in, it has real controls on the body, and the accessory market around it is deep enough that you will never be stuck.
If your room is the problem rather than your budget, buy the Samson Q2U. The dynamic capsule will do more to clean up a noisy home recording than any amount of editing, and the dual USB-C and XLR outputs mean you keep the option of a proper interface later without replacing the microphone.
If you want the interface already handled, the Elgato Wave:3 MK.2 gives you level control, monitoring, and effects in one device, at the cost of a software setup session you should do before you record. If you want the opposite, the Sennheiser Profile requires no software at all and puts every control on the mic.
If you already own an audio interface, buy the Rode PodMic. It has the highest rating in this roundup, the internal pop filter and shock mount save you two accessory purchases, and the all-metal body will outlast the rest of your first setup. Pair it with a capable interface rather than the cheapest one available, because the microphone is quiet and needs real gain.
Whatever you choose, spend a little of the remaining budget on a pop filter and a boom arm. Those two purchases improve the recording more than any software setting, and they cost a fraction of what the microphone did. The best podcast microphones under 200 dollars are the ones that match your room, and this roundup covers every kind of room I have recorded in.