
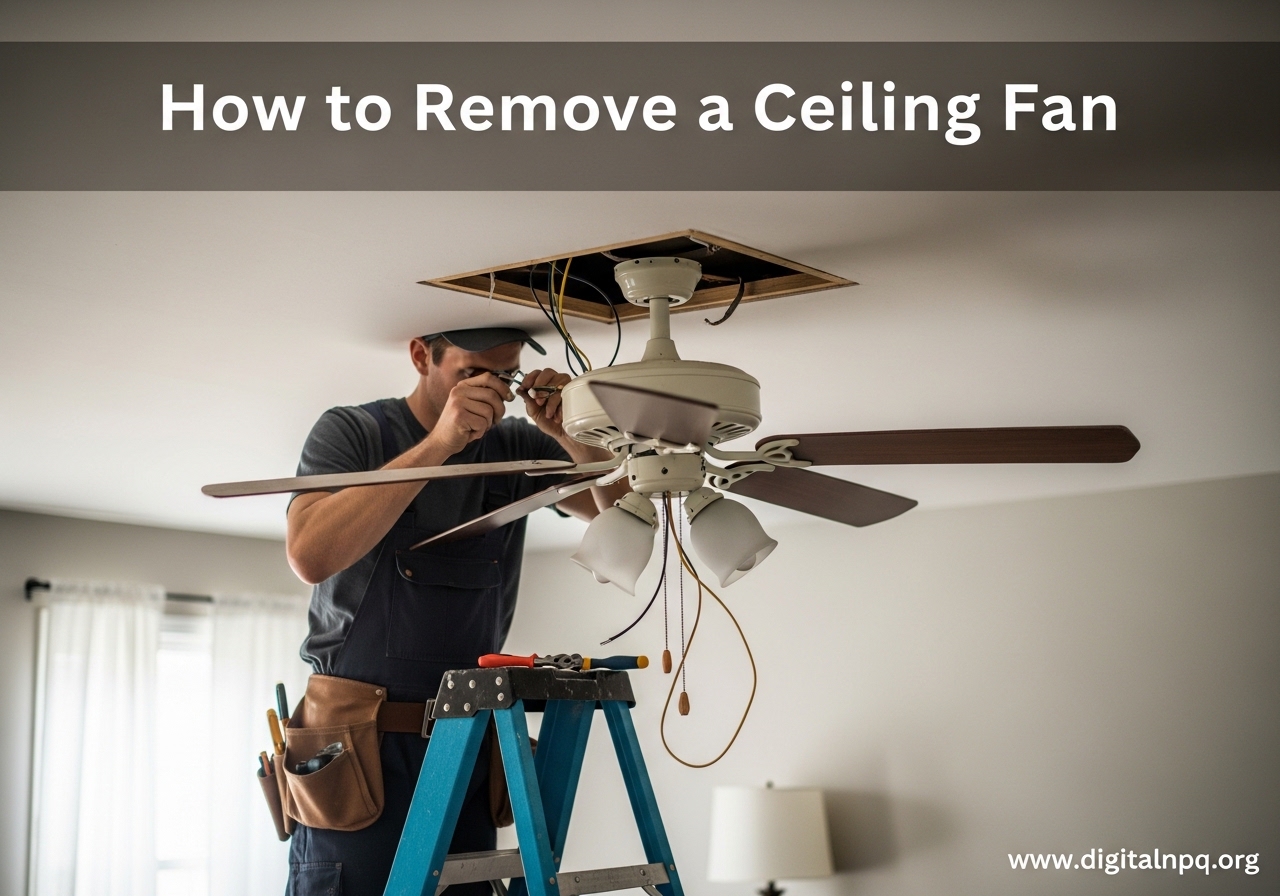
Removing a ceiling fan is a manageable DIY project that most homeowners can complete in about 1 to 2 hours. Whether you are replacing an outdated fan with a modern light fixture, upgrading to a newer model, or simply getting rid of a fan you no longer use, the process follows the same basic steps. You do not need to be an electrician to tackle this job, but you do need to take electrical safety seriously and work methodically. In this guide, I will walk you through every step of how to remove a ceiling fan, including troubleshooting common problems like stuck screws and hidden fasteners that trip up a lot of people.
Tools and Materials You Will Need
Before you start taking anything apart, gather all your tools. Having everything within reach saves you from making multiple trips up and down a ladder, which is where most accidents happen. Here is the complete list of what you need.
- Phillips and flathead screwdrivers
- Non-contact voltage tester
- Sturdy step ladder (tall enough to work comfortably)
- Wire nuts and electrical tape
- Needle-nose pliers
- Flashlight or work light
- Masking tape and a marker (for labeling wires)
- Blank ceiling cover plate (if not installing a new fixture right away)
- Penetrating oil like WD-40 (for stuck screws)
I also recommend having a helper nearby, especially for heavier downrod-style fans. A second pair of hands makes supporting the fan motor while you disconnect wiring much safer and less stressful.
Safety Precautions Before You Start
Working with electricity demands caution. The single most important step in this entire project happens before you touch a single screw: shutting off the power at the breaker box. Flipping the wall switch is not enough. Wall switches only cut power to one wire, and some fans are wired directly without a switch in the circuit.
Go to your electrical panel and turn off the breaker that controls the room where the fan is located. If you are not sure which breaker it is, turn the fan on, then flip breakers one at a time until the fan stops. Once the fan is off, try the wall switch and any other lights or outlets in the room to confirm the right breaker. Then use your non-contact voltage tester at the fan to verify zero current before proceeding.
Ladder safety matters too. Set your ladder on a flat, dry surface. Never stand on the top rung. If you are working alone, move the ladder rather than overreaching. And if you open the junction box and see damaged wiring, aluminum wiring, or anything that looks like it was done incorrectly, stop and call a licensed electrician. That is not a situation for a DIY fix.
How to Remove a Ceiling Fan: Step-by-Step Instructions
Follow these eight steps in order. Each one builds on the previous, and skipping ahead can make the job harder or less safe. I have included approximate time estimates based on my experience removing several different fans.
Step 1: Turn Off Power and Verify (5 minutes)
As covered in the safety section, shut off the correct breaker at your electrical panel. Then use your non-contact voltage tester at the ceiling fan to confirm no electricity is reaching the fixture. Touch the tester to the fan housing, the pull chain, and if possible, the wires inside the switch housing. The tester should show no reading. If it lights up or beeps, you have the wrong breaker. Go back and try again.
Step 2: Remove Light Bulbs, Globes, and the Light Kit (10 minutes)
If your ceiling fan has a light fixture attached, start here. Unscrew and remove all light bulbs. Then remove any glass globes or shades by loosening the screws at their bases or twisting them counterclockwise, depending on the style.
Next, remove the entire light kit if your fan has one. The light kit is the housing unit below the fan that holds the bulbs. Look for two or three small screws around the edge of the light kit where it meets the switch housing. Remove those screws and lower the light kit gently. You will see wire connectors (wire nuts) joining the light kit wires to the fan wires. Disconnect those by twisting the wire nuts counterclockwise and set the light kit aside.
Step 3: Remove the Fan Blades (10-15 minutes)
Each fan blade attaches to the motor through a metal blade bracket. You will see one or two screws at the point where each blade bracket meets the motor housing. Remove these screws for every blade, and the blades will come free. You can usually leave the metal brackets attached to the blades for easier handling.
If your fan has quick-connect blade arms that slide into slots rather than using screws, look for a small release tab on each arm and press it while sliding the blade out. Some newer Hunter and Harbor Breeze models use this system.
Step 4: Remove the Canopy Cover (10 minutes)
The canopy is the decorative bowl-shaped cover that sits flush against the ceiling and hides the wiring and mounting bracket. This is where many people get stuck because the attachment method varies by fan type and brand.
For most standard fans, look for two or three small screws spaced around the lower rim of the canopy, close to where it meets the ceiling. Remove these screws and the canopy will slide down, exposing the mounting bracket and wiring inside.
For downrod fans, the canopy may be held by a setscrew on the side or a clip mechanism. Loosen the setscrew and slide the canopy down the downrod. For flush-mount (hugger) fans, the canopy often twists off counterclockwise after you remove visible screws.
If you do not see any screws, check the troubleshooting section below for hidden fastener solutions.
Step 5: Disconnect the Wiring (10 minutes)
With the canopy removed, you can see the wire connections between the fan and your ceiling wiring. Before you touch any wires, test them one more time with your voltage tester.
Take a photo of the wiring with your phone before you disconnect anything. This gives you a reference if you plan to install a new fixture later. Then untwist the wire nuts connecting the fan wires to the house wires. Most fans have three or four connections: a black wire (hot), a white wire (neutral), a green or bare copper wire (ground), and sometimes a second hot wire for the light kit (usually blue or striped).
Once all wire nuts are removed, separate the fan wires from the house wires. Tuck the house wires up into the junction box temporarily so they are out of the way.
Step 6: Remove the Mounting Bracket (5 minutes)
The mounting bracket is the metal piece bolted to the ceiling junction box that the fan hangs from. You will see a ball-and-socket joint on downrod fans or direct bolts on flush-mount fans. Unhook or unbolt the fan from the mounting bracket.
At this point, the fan motor is free from the ceiling. It is still heavy, so hold it firmly or have your helper support it while you disconnect the last physical attachment. Once free, carefully lower the fan motor and set it aside.
Then remove the screws holding the mounting bracket to the junction box. Use your screwdriver to take out the two or four screws securing it, and set the bracket aside.
Step 7: Cap the Exposed Wires (5 minutes)
Now that the fan is completely removed, you have exposed house wires in the ceiling junction box. For safety, twist a wire nut onto each individual wire end, even if you plan to install a new fixture soon. Wrap each wire nut with electrical tape for extra security.
Make sure no bare copper is visible on any wire. If any wire ends are frayed or damaged, use wire cutters to trim them back to clean copper, then strip about half an inch of insulation before capping.
Step 8: Install a Cover Plate or New Fixture (10 minutes)
If you are not installing a new fixture immediately, attach a blank plastic ceiling cover plate over the junction box. These cost just a few dollars at any hardware store and screw directly into the junction box mounting holes. This keeps the enclosed wires protected and up to code.
If you are installing a new light fixture, follow the manufacturer instructions for that specific product. The existing house wires in the junction box are ready for your new connection.
Troubleshooting Common Ceiling Fan Removal Problems
Not every ceiling fan comes apart cleanly. After helping friends and family with several removals, I have run into the same set of problems repeatedly. Here are solutions for the most common issues.
Canopy Has No Visible Screws
This is the number one question I see in forums. Many canopy covers hide their fasteners behind decorative trim rings or logos. Try these approaches in order.
First, look for a decorative ring or trim piece at the bottom of the canopy near the ceiling. Gently rotate it counterclockwise. On many Hampton Bay fans, a plastic trim ring twists off to reveal three or four screws underneath. On some Harbor Breeze models, there is a small notch where you can insert a flathead screwdriver to pry the ring loose.
Second, check for a small hole on the side of the canopy. Some fans use a recessed Allen setscrew. Insert an Allen wrench and loosen it, then slide the canopy down. Third, try squeezing the sides of the canopy gently. Some models use spring-loaded clips that release when you press inward on opposite sides.
Screws Are Stuck, Rusted, or Stripped
Older fans in humid environments like bathrooms or outdoor porches often have rusted screws that will not budge. Spray penetrating oil on the stubborn screws and wait 10 to 15 minutes before trying again. Apply firm, steady downward pressure on your screwdriver while turning to avoid camming out.
For stripped screw heads where the screwdriver just spins without gripping, lay a wide rubber band over the screw head and press your screwdriver through it. The rubber fills the gap and often gives enough grip to turn the screw. If that fails, grip the screw head with needle-nose pliers and turn manually.
Canopy Is Stuck From Old Paint
In many older homes, ceilings get painted around the canopy, essentially gluing it in place. Run a utility knife around the seam where the canopy meets the ceiling to score the paint line. Then gently wiggle the canopy while pulling down. Work slowly and evenly around the edges to avoid cracking the canopy or damaging the ceiling surface.
Brand-Specific Removal Tips
Hampton Bay ceiling fans commonly use a twist-off trim ring at the base of the canopy. Rotate this ring counterclockwise to access hidden screws. Some Hampton Bay hugger models use a squeeze-release clip system on the sides of the canopy.
Hunter ceiling fans often use a twist-lock canopy that turns counterclockwise to release. Look for a small alignment mark on the canopy and the mounting plate. Line them up, then twist. Some Hunter models also have a quick-connect blade system where blades slide out rather than unscrew.
Harbor Breeze fans frequently use set screws on the downrod or canopy. Look for a small hex screw on the side of the canopy or downrod collar. Loosen it with the included Allen wrench and the canopy will slide free.
What to Do After Removing Your Ceiling Fan
Once the fan is down, you have a few options for the space. If you are replacing the fan with a new light fixture, the existing wiring in the junction box is ready to go. Match the new fixture wires to the house wires: black to black (hot), white to white (neutral), and green or bare to green or bare (ground). Use new wire nuts and follow the new fixture instructions.
If you are leaving the ceiling open without a new fixture, a blank cover plate keeps things safe and code-compliant. For a cleaner look, you can patch the ceiling hole. Remove the junction box if it is no longer needed (turn off power first), fill the hole with joint compound, sand smooth, and paint to match the ceiling. This takes a few days due to drying time but leaves a seamless finish.
For the old fan, consider donating it if it still works. Many Habitat for Humanity ReStore locations accept working ceiling fans. Otherwise, check your local recycling center for electronics or small appliance disposal guidelines.
How long does it take to remove a ceiling fan?
Most ceiling fans can be removed in 1 to 2 hours. If it is your first time, budget closer to 2 hours. Experienced DIYers can often finish in under an hour. Add extra time if you encounter stuck screws or hidden fasteners.
Do I need an electrician to remove a ceiling fan?
Most homeowners can remove a ceiling fan themselves by following proper safety steps. However, you should call a licensed electrician if you find aluminum wiring, damaged wires, a non-fan-rated junction box, or if you are uncomfortable working with electrical connections.
How do I remove a ceiling fan with no visible screws?
Look for a decorative trim ring at the base of the canopy that twists off counterclockwise, revealing hidden screws underneath. Some fans use a recessed Allen setscrew on the side, or spring-loaded clips that release when you squeeze the canopy sides. Check the troubleshooting section above for detailed brand-specific instructions.
How difficult is it to remove a ceiling fan?
Removing a ceiling fan is a beginner-friendly DIY project. The main challenges are safely handling the electrical connections and managing the weight of the fan motor while disconnecting it. Having a helper makes the job significantly easier, especially for heavier downrod fans.
Can I remove a ceiling fan by myself?
Yes, you can remove a ceiling fan alone, but having a helper is strongly recommended for safety. The fan motor can weigh 15 to 50 pounds, and holding it steady while disconnecting wires is awkward on a ladder. If you work solo, remove all blades and the light kit first to reduce the weight before disconnecting the motor.
How do I know which breaker controls the ceiling fan?
Turn the fan on, then go to your breaker box and flip breakers one at a time until the fan stops running. Have someone help you by watching the fan or listening for it to stop. Once identified, label that breaker for future reference. Always verify with a voltage tester at the fan before starting work.
Learning how to remove a ceiling fan comes down to preparation and patience. Turn off the power at the breaker, verify it with a voltage tester, work from the bottom up by removing lights and blades before tackling the canopy and wiring, and cap every exposed wire when you are done. The whole process takes about 1 to 2 hours for most fans, even if it is your first time. Take photos of the wiring before you disconnect anything, have a helper on standby for the heavy lifting, and do not force anything that seems stuck. With the right tools and a methodical approach, you can safely take down that old fan and have your ceiling ready for whatever comes next.